原料
低筋面粉: 70g, 可可粉: 20g, 白砂糖: 200g, 牛奶: 130g, 鸡蛋: 4个, 香草精: 6g, 盐: 3g, 泡打粉: 3g, 白醋: 10g, 黄油: 90g, 红丝绒色素: 20ml, 奶油芝士: 160g, 白巧克力: 80g, 糖粉: 30g, 淡奶油: 20g, 黄油: 100g, 长方形烤盘 40×28×4cm: , 1个:
步骤
1用电动打蛋器将软化的黄油打发1分钟,加入70g白砂糖,再打发2分钟;

2将蛋白、蛋黄分离,蛋白备用;将蛋黄分两次加入1中,混合均匀;

3将面粉、可可粉、泡打粉和盐一起过筛,加入到2,混合均匀;

4将牛奶、香草精、白醋和色素混合完全,加入到3;

5将130g白砂糖加入到蛋白中,用电动打蛋器打发到中性发泡;

6先将1/3的蛋白加入到4,混合均匀,再将剩下的蛋白倒入面糊,翻拌均匀;

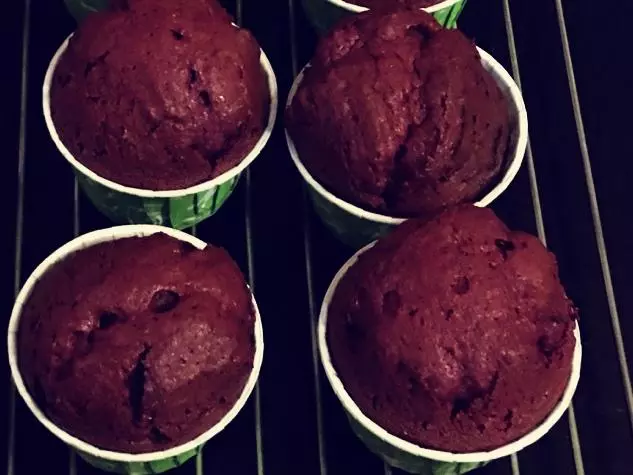
7将油纸铺在烤盘上,“Z”字型倒入面糊,轻震几次烤盘,再用抹刀将面糊整平整;

8放入烤箱,上火180℃,下火160℃,15-20分钟;取出烤盘,将蛋糕连同油纸一起取出,置于晾架,冷却至室温;

9用另取大张油纸,撒上少许糖粉,将蛋糕倒扣在油纸上,撕去烘烤过的油纸,卷起蛋糕,定型,备用;

10将淡奶油隔水加热至45℃,加入白巧克力,溶化,搅拌均匀;

11在已经软化好的奶油芝士中加入糖粉,混合搅拌至顺滑;

12将软化好的黄油加入到11中,打发至蓬松;

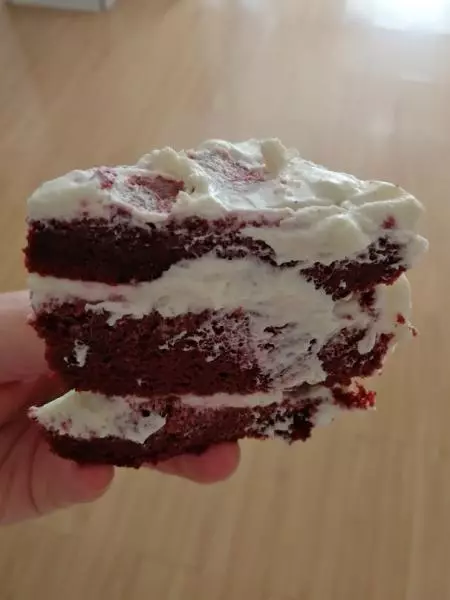
13将10和12混合均匀,做成奶油霜,均匀涂抹在摊开的蛋糕体上;

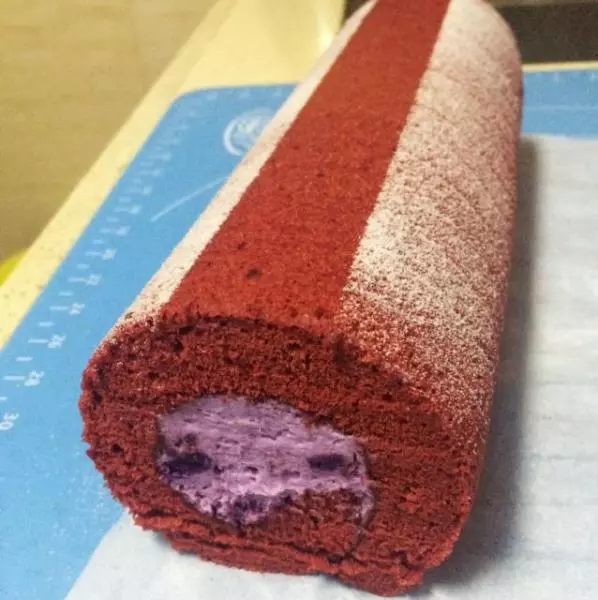
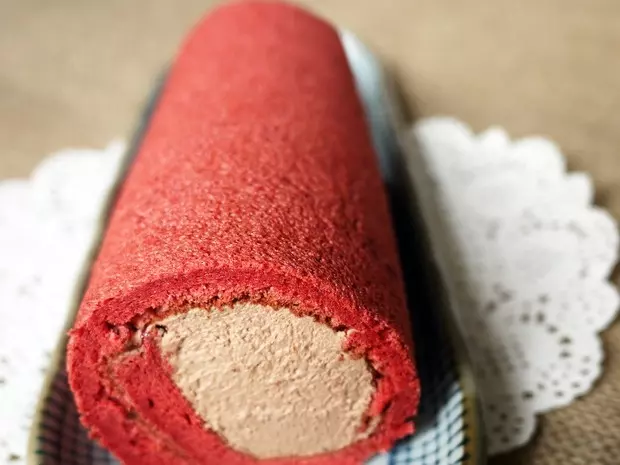
14将蛋糕卷起,包上油纸,再裹一层保鲜膜,冷藏1小时;

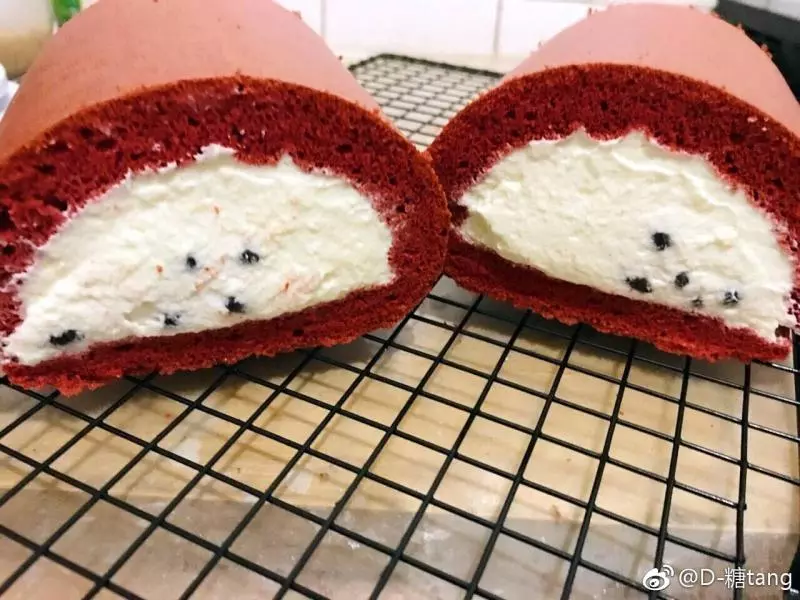
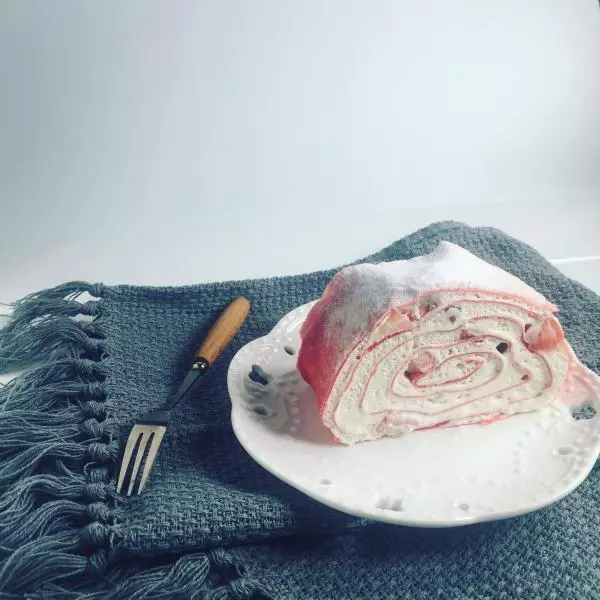
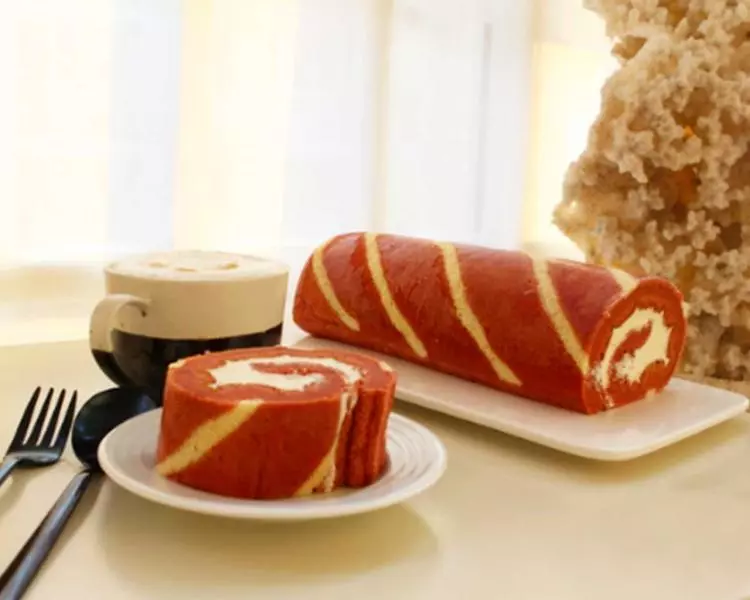
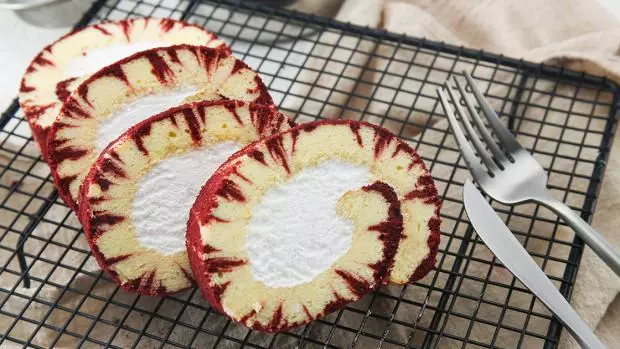
15取出,切块,撒上糖粉装饰,即可食用。

小技巧
1、糖粉可以更好的帮助蛋糕卷定型。