原料
鸡蛋: 5个, 红丝绒液: 15克, 低筋面粉: 65克, 细砂糖: 60克, 玉米油: 50克, 豆浆: 50克, 奶油: 180克, 豆浆粉: 15克, 糖粉: 10克
步骤
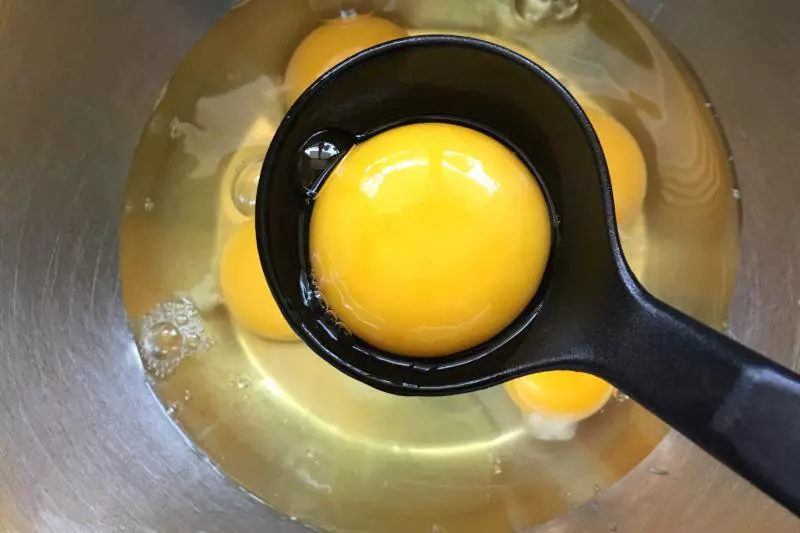
1鸡蛋打入无水无油的盆里,分离蛋清蛋黄
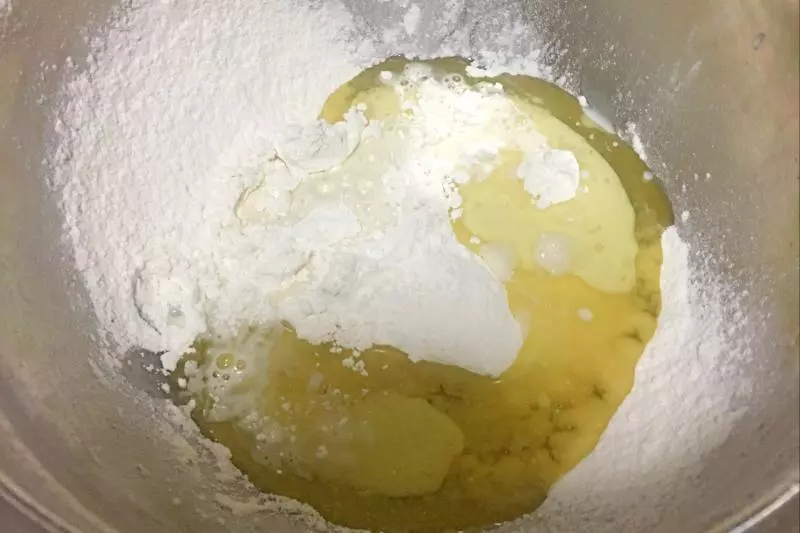
2低粉过筛加入玉米油、豆浆
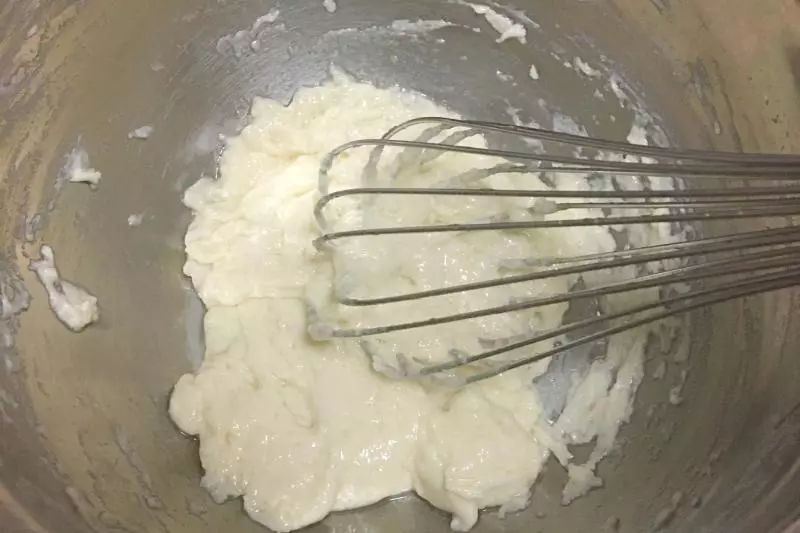
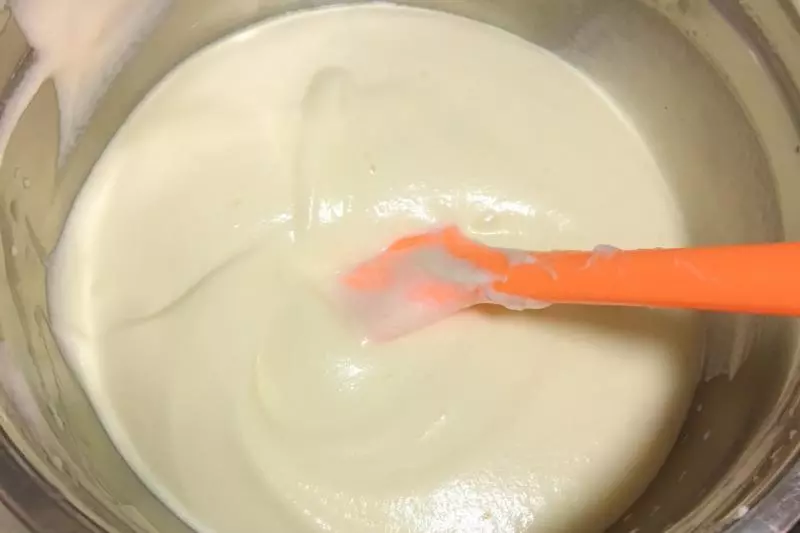
3用手抽Z字形拌匀
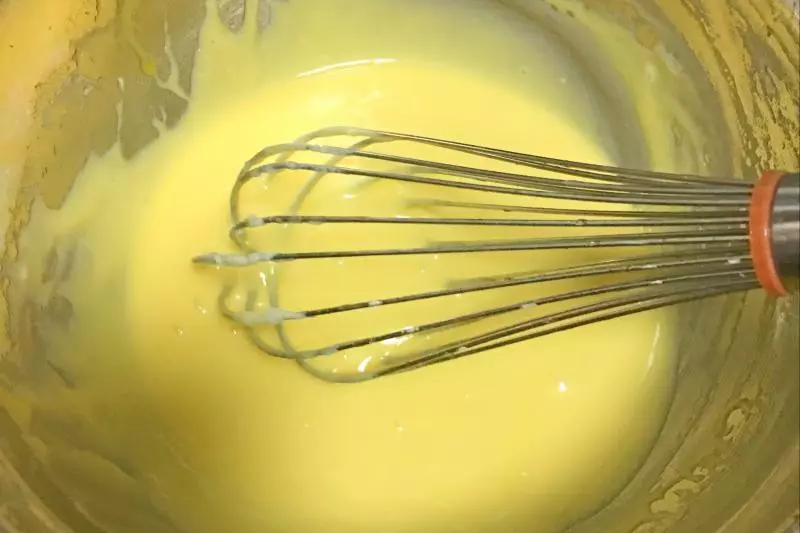
4加入蛋黄用手抽Z字形拌匀
5蛋清打到大鱼泡状分三次加入细砂糖打到大弯勾

6取三分之一蛋白加到蛋黄糊中用刮刀拌匀,再加入剩下三分之二蛋白翻拌均匀
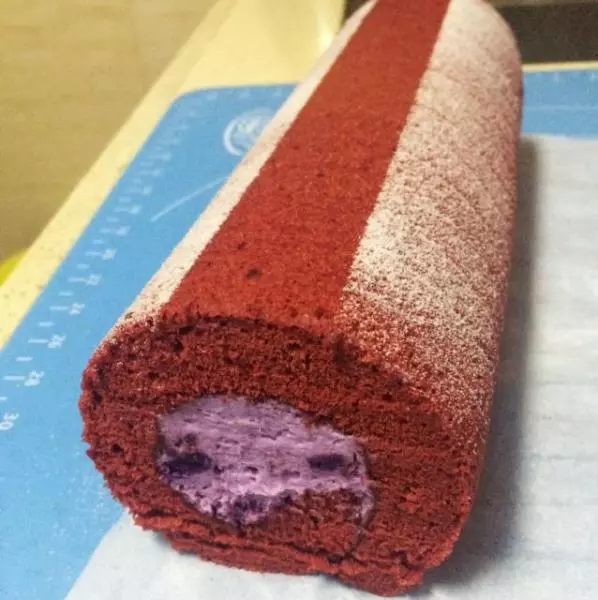
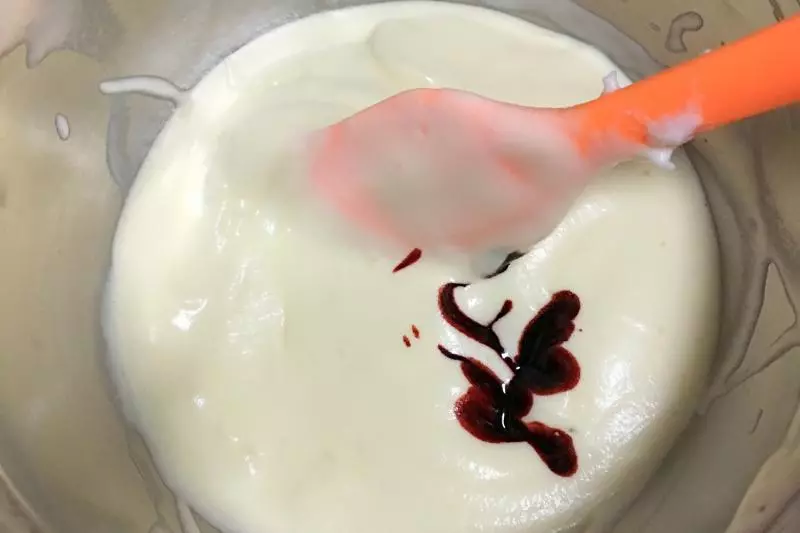
7取150克面糊加入红丝绒色素翻拌均匀
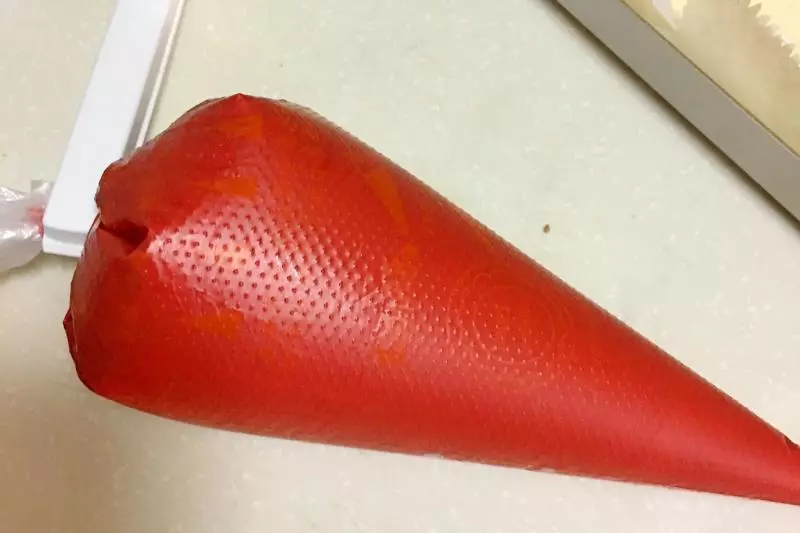
8拌好后装入裱花袋中备用
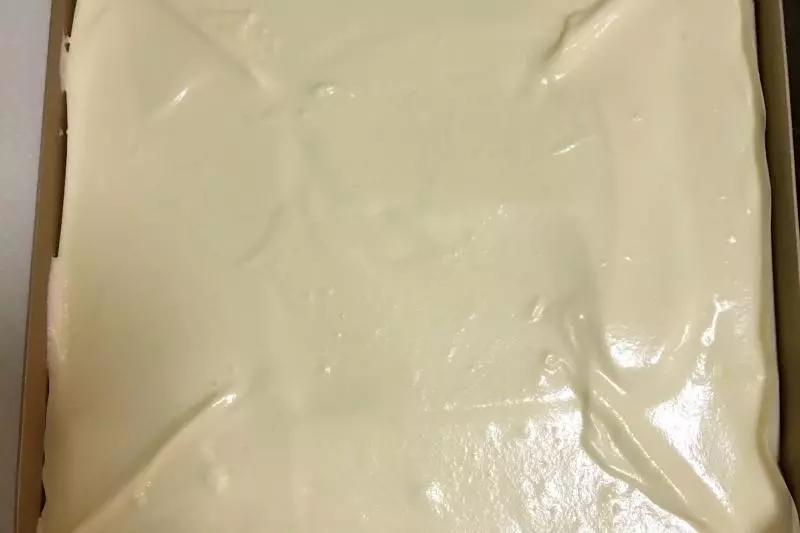
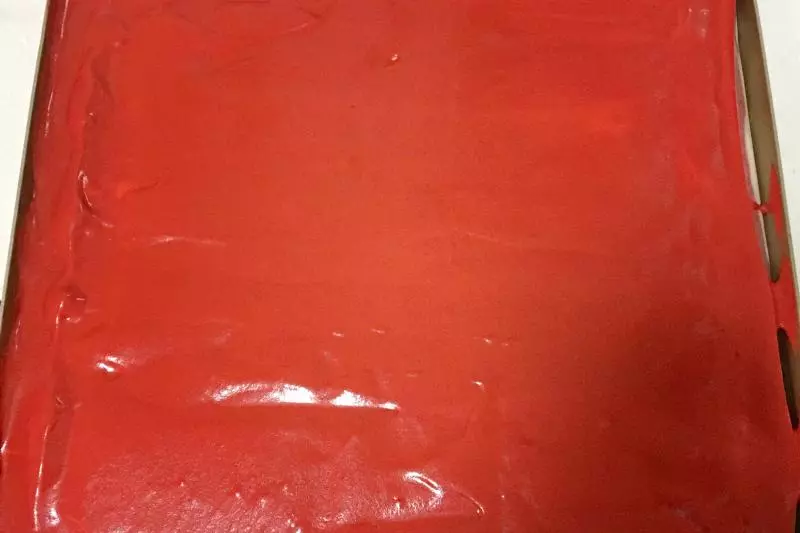
9剩下的原味面糊倒入烤盘中,用刮板轻轻刮平
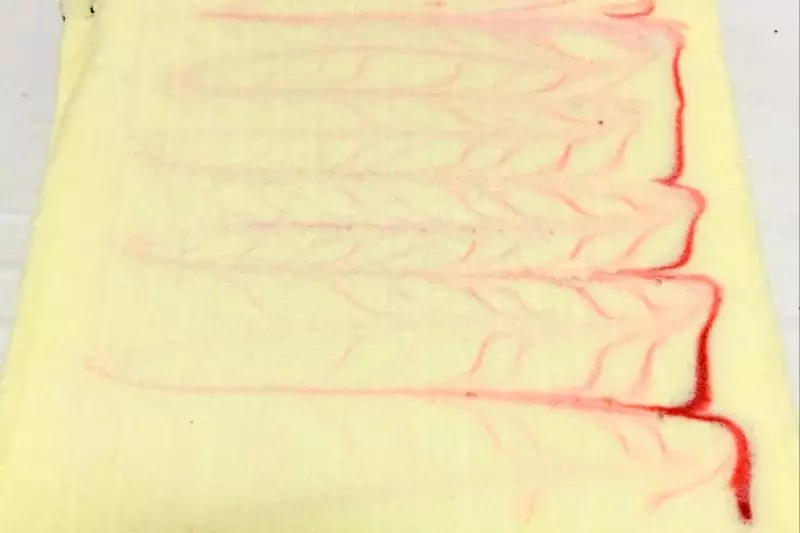
10把红丝绒面糊小心挤到原色面糊上再用刮刀轻轻刮平
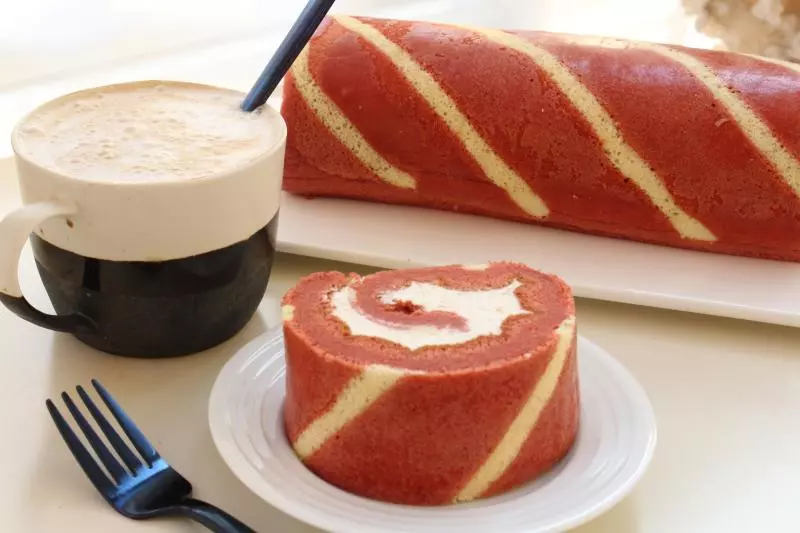
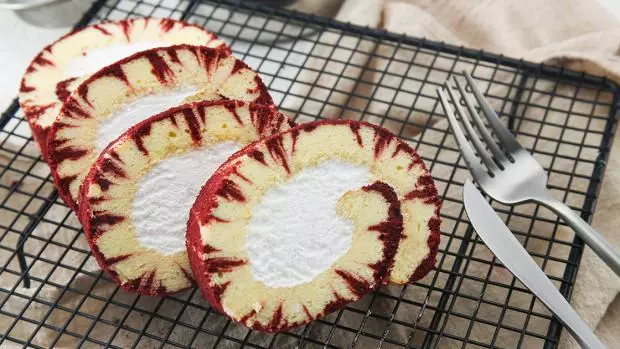
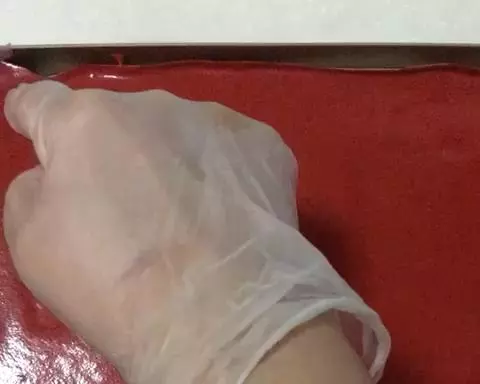
11带上手套用食指在面糊上轻轻画Z字形(手指要戳到底)
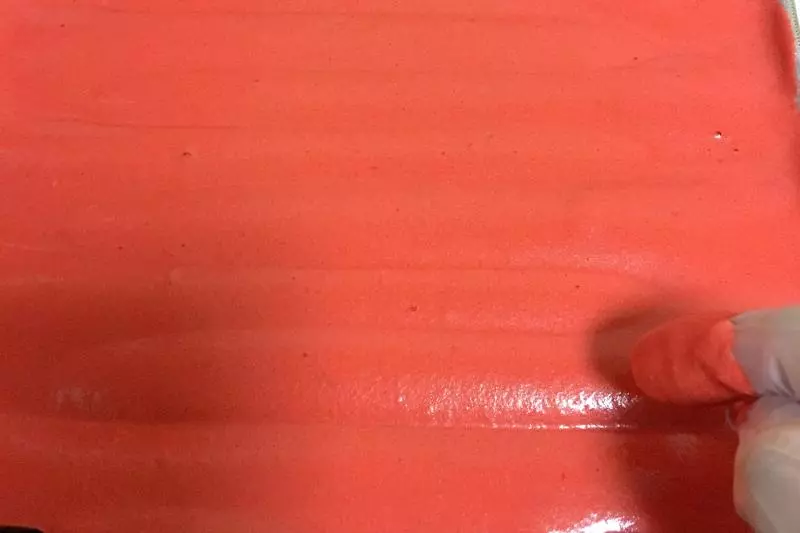
12转个方向继续画Z字形
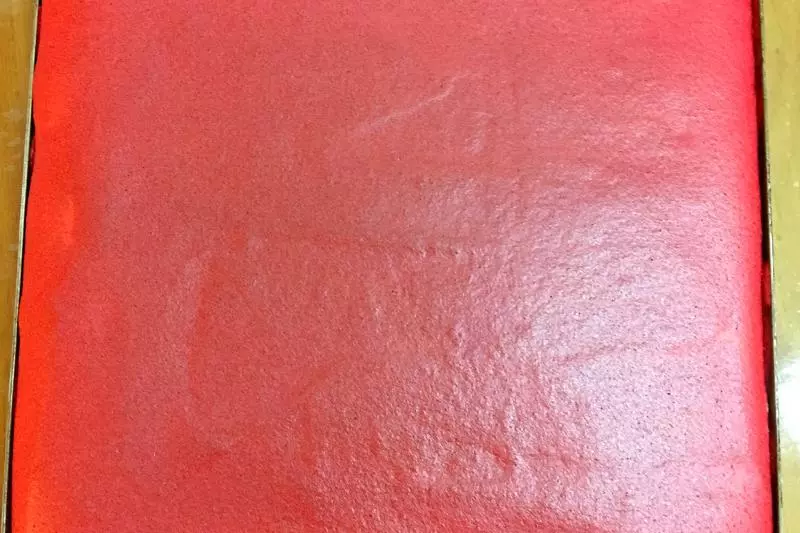
13画完后轻轻刮平表面,放入180度预热好的烤箱中下层烤15分钟再移到中层烤5分钟出炉震出热气,拎起油纸移到烤网上撕开四周的油纸晾凉
14晾凉后桌上垫油纸把蛋糕倒扣在油纸上,蛋糕一边用刀切出斜角
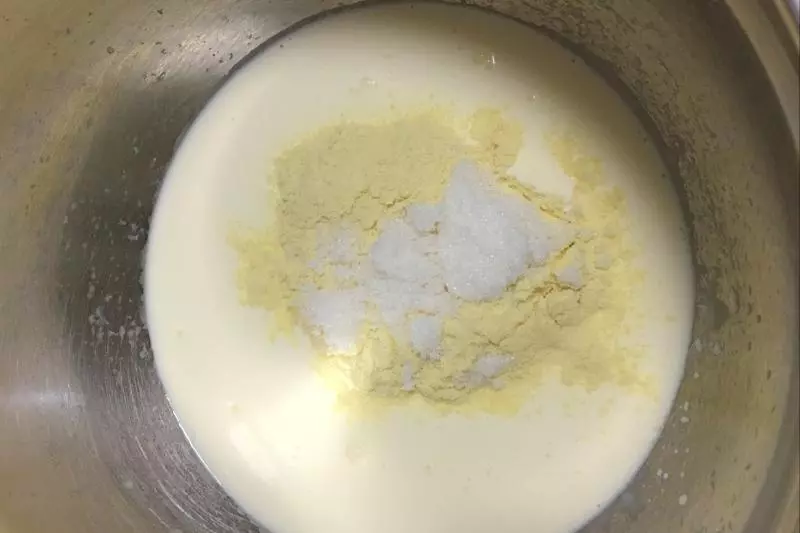
15奶油加入豆浆粉和糖
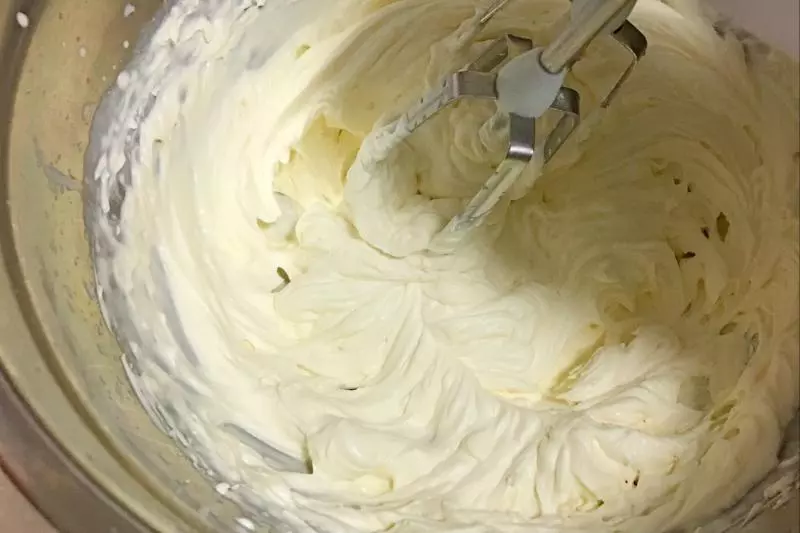
16打致9分发
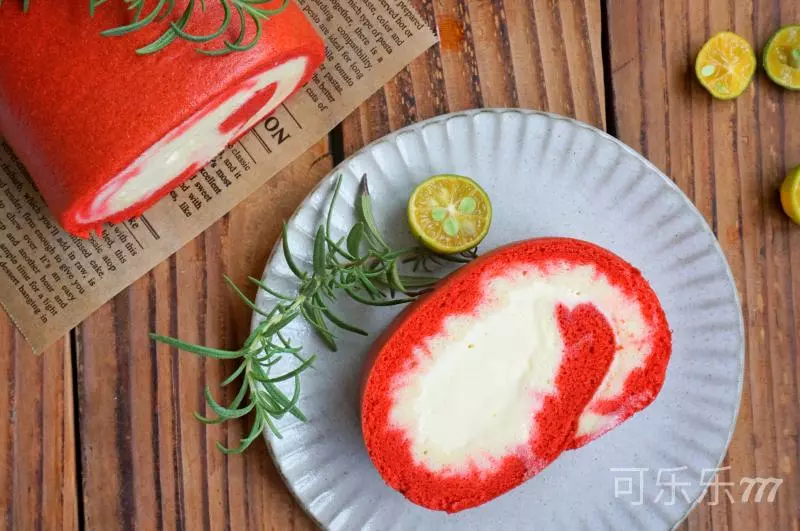
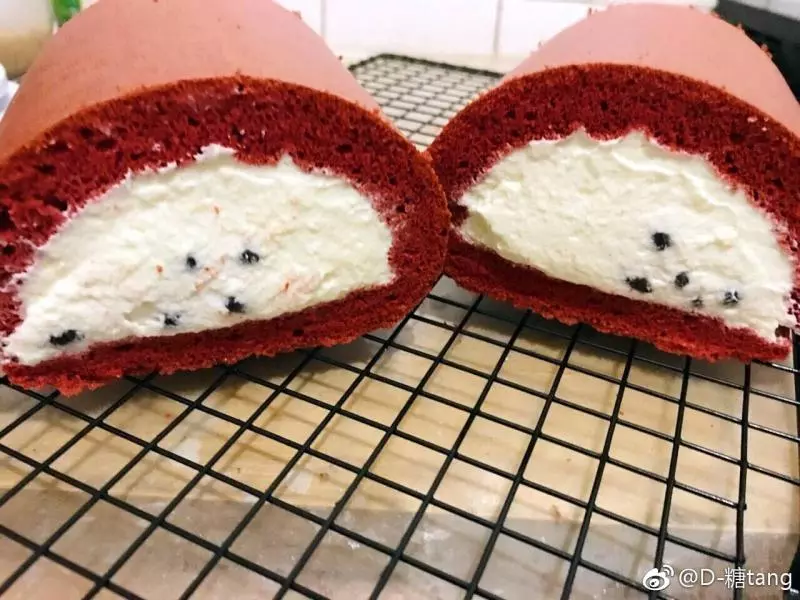
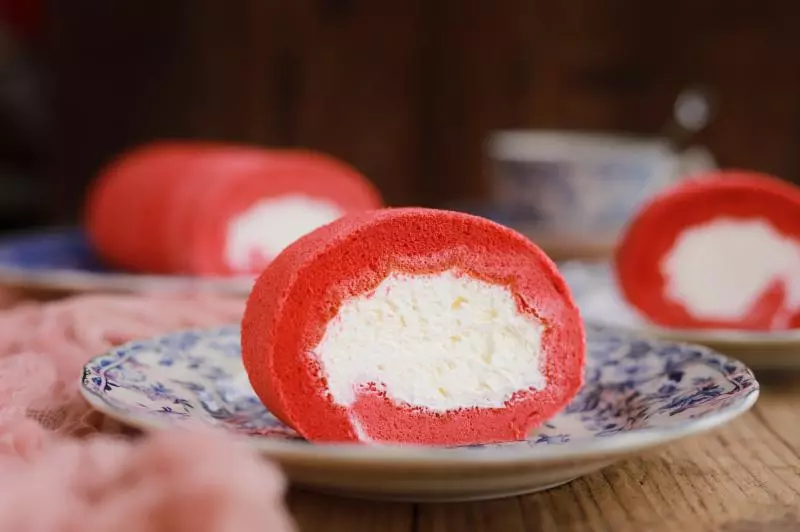
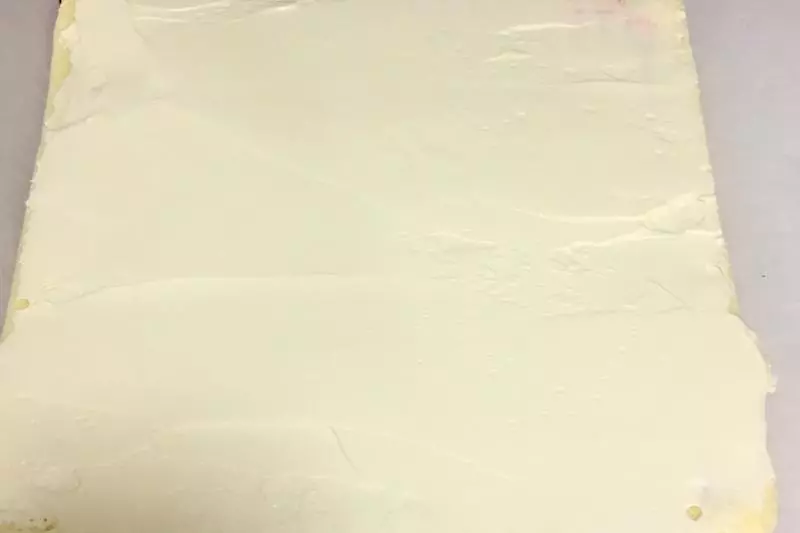
17抹在蛋糕面上,蛋糕卷的方向一定要平行最后画Z字形的方向,卷紧用油纸包好放冰箱冷藏2小时后再切开食用
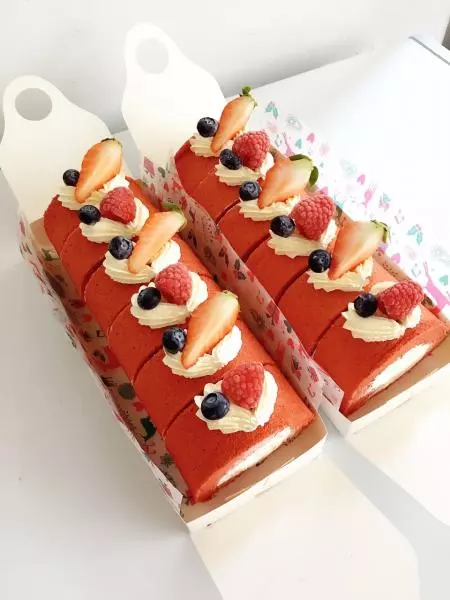
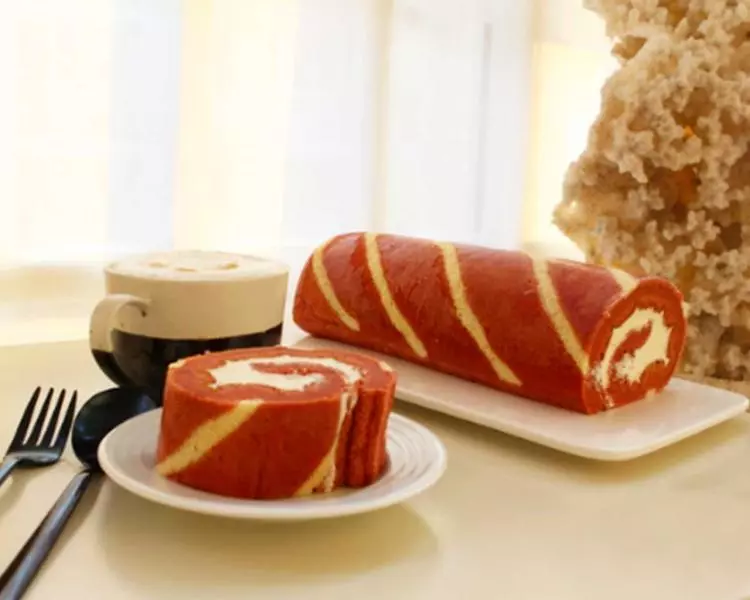
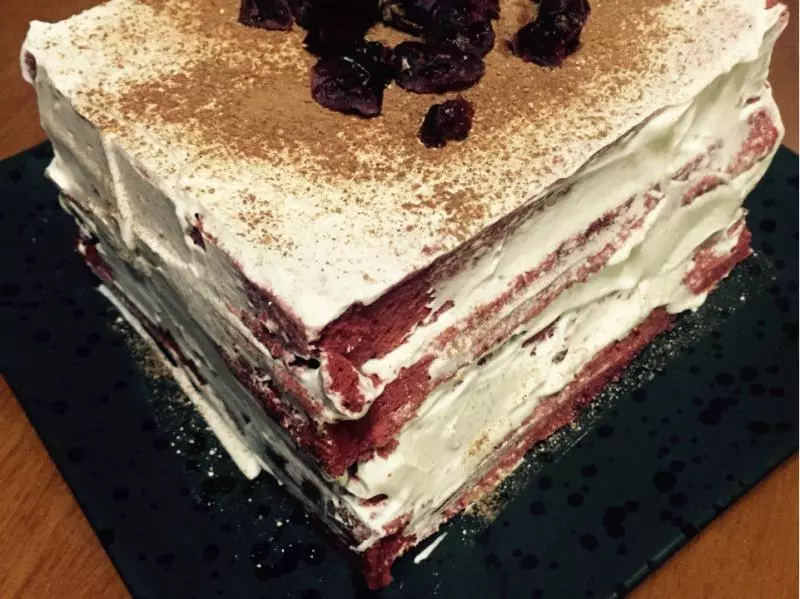
18旋风卷美不美啊,这个是第一次做的还不是太完美