原料
鸡蛋: 8个(去壳后大概每个60克左右), 蛋糕粉: 150克, 细砂糖: 50克(口感不甜,喜糖的可以再加), 玉米油: 60克(8寸的量,因为我不喜多油,还可以加量), 大枣: 250克(外面卖的半干枣,未去核的重量), 柠檬汁: 几滴, 10寸模具: 一个
步骤
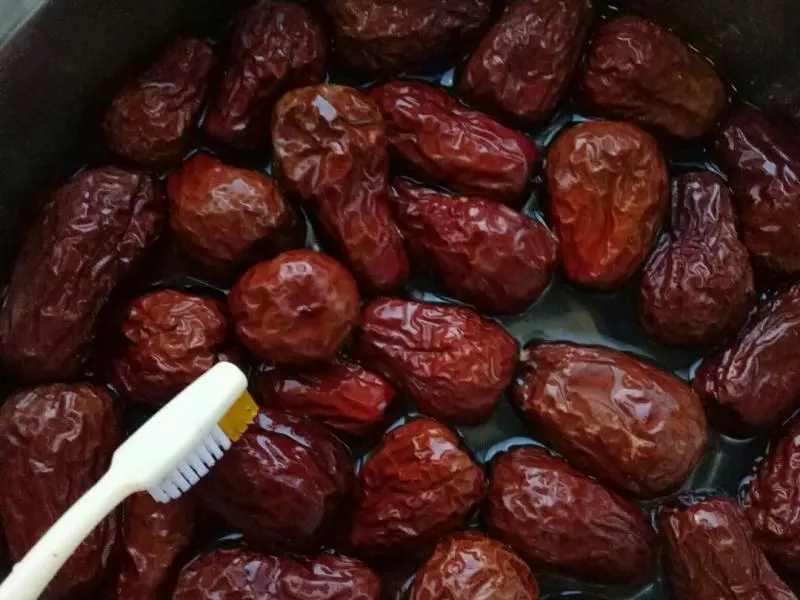
1把250克枣洗净去核,加入适量水大火烧开,然后转小火煮30分钟关火,盖好盖子焖1小时。
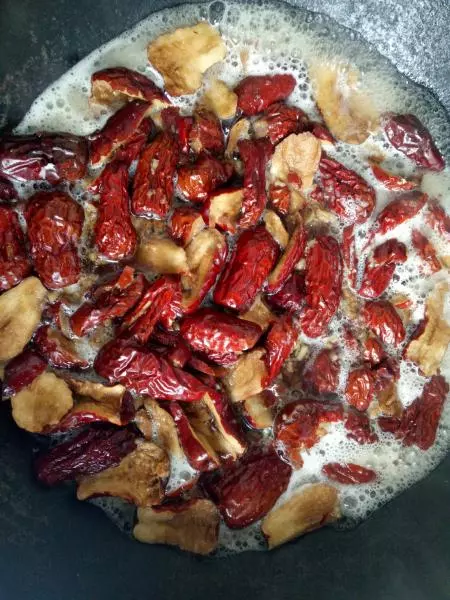
2焖一个小时后捞出(注意捞出时不用挤干水分,因下一步放入料理机打时还需加水),放入料理机打成枣泥(个人觉得不用去枣皮,因为打出来的枣皮已经非常细腻)

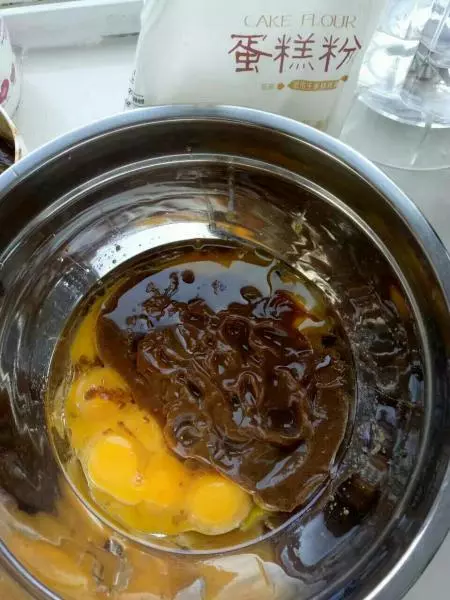
3打蛋盆倒入枣泥,玉米油和事先分离好的蛋黄,用手动蛋抽搅拌均匀。
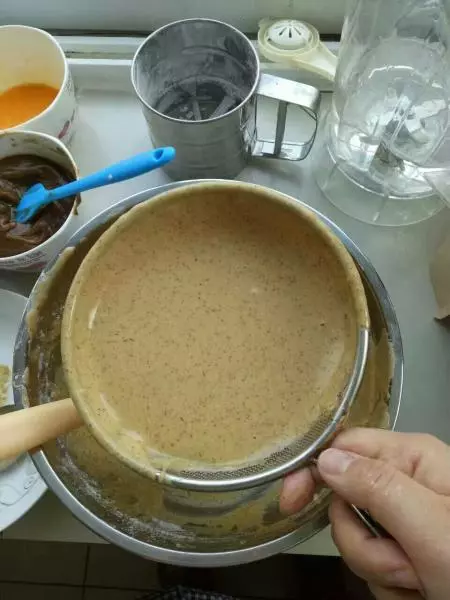
4筛入蛋糕粉,用不规则手法拌匀(小窍门:可以把加入蛋糕粉的蛋黄糊直接过筛,这样既节省时间,同时蛋黄糊会搅拌的非常均匀,最重要一点是蛋黄糊不起筋)
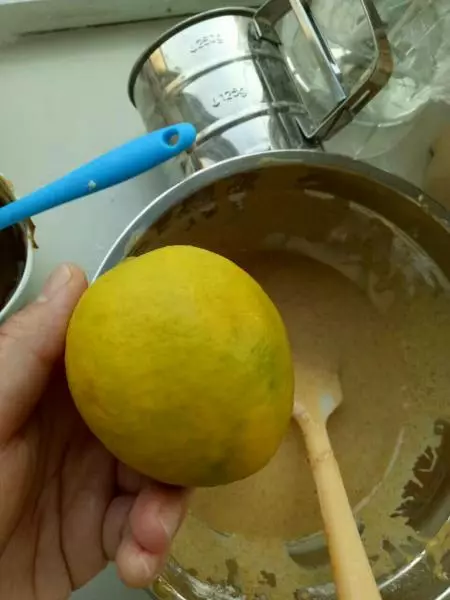
5蛋白中加入几滴柠檬汁,用低速打至粗泡加二分之一糖,然后改为高速,当蛋白打到微尖,把剩余二分之一的糖全部倒入,继续打至九分发。
6烤箱预热160度,蛋白分三次与蛋黄糊翻拌均匀(切勿画圈)

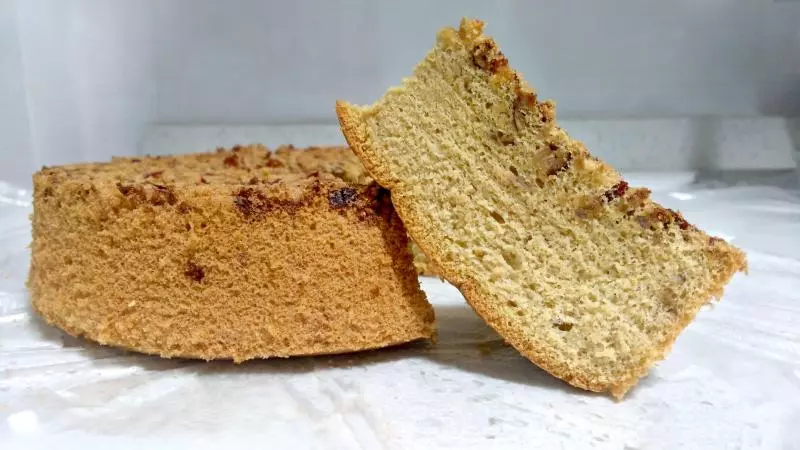
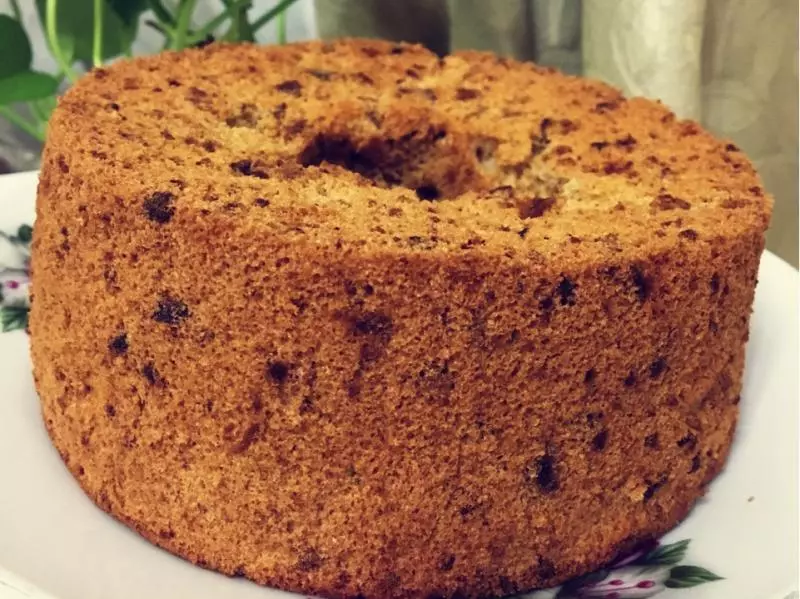
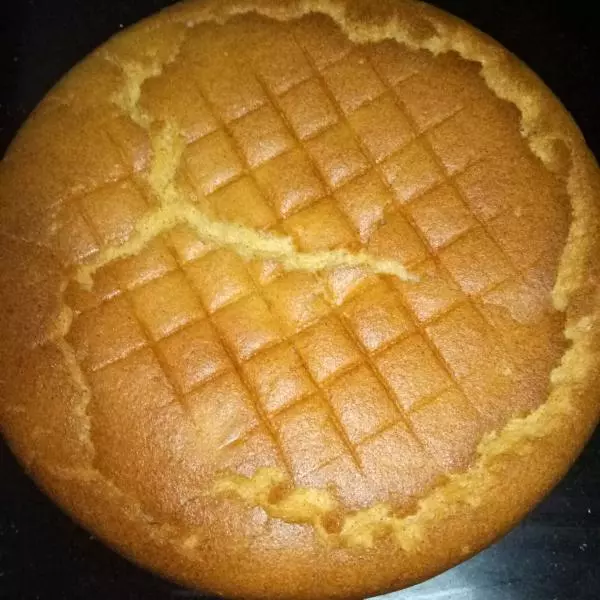
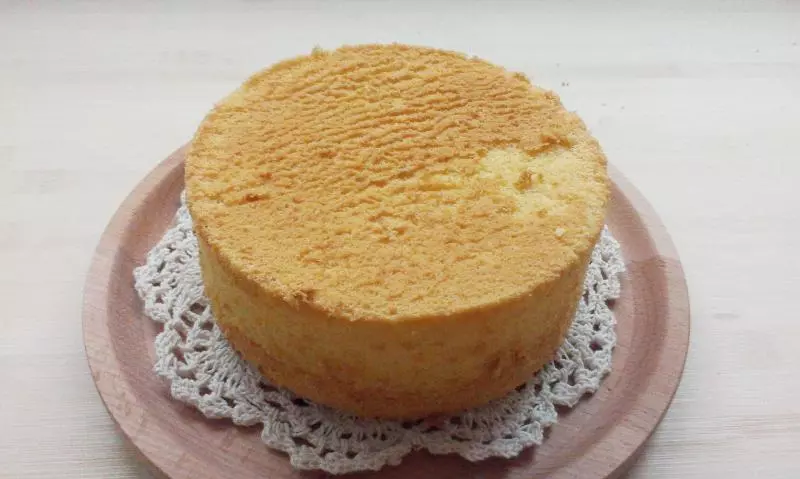
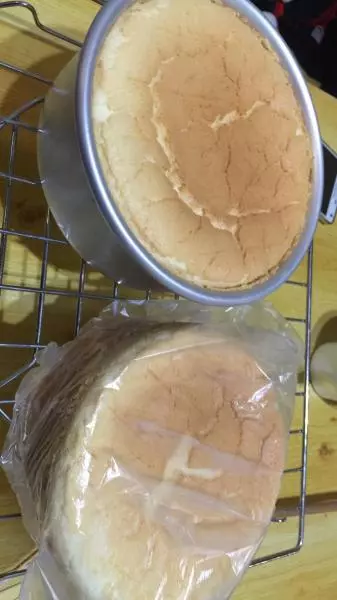
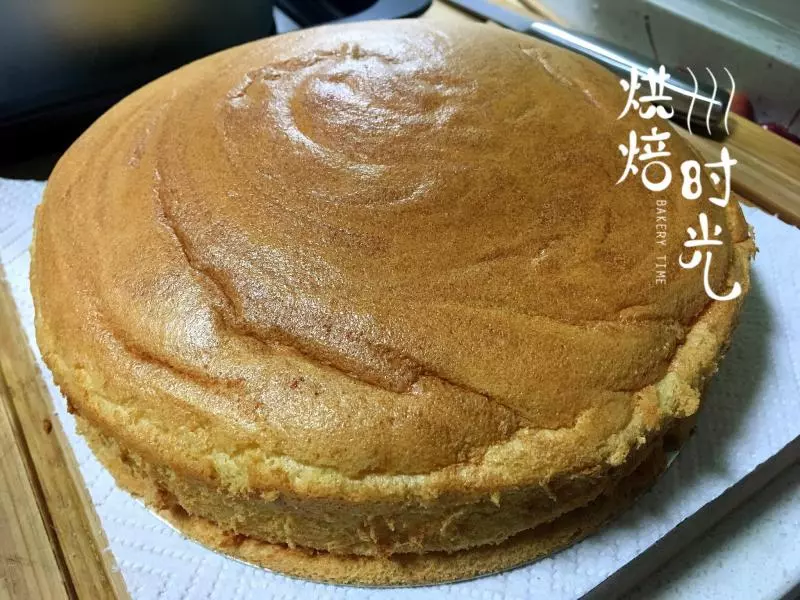
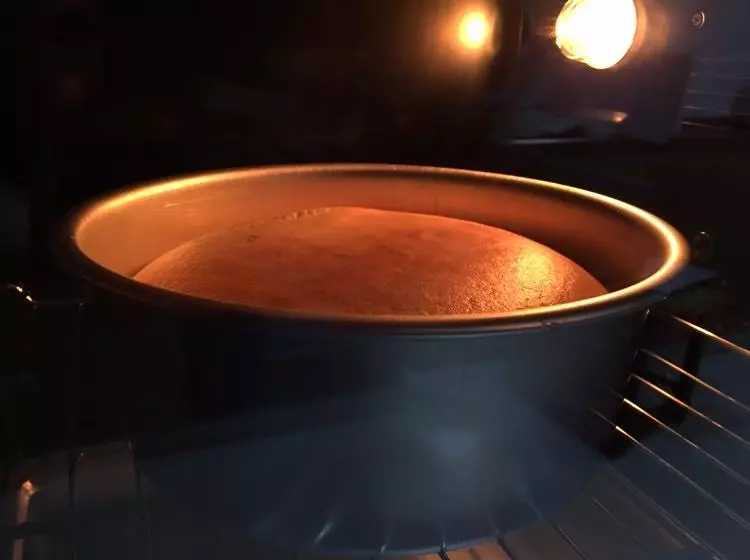
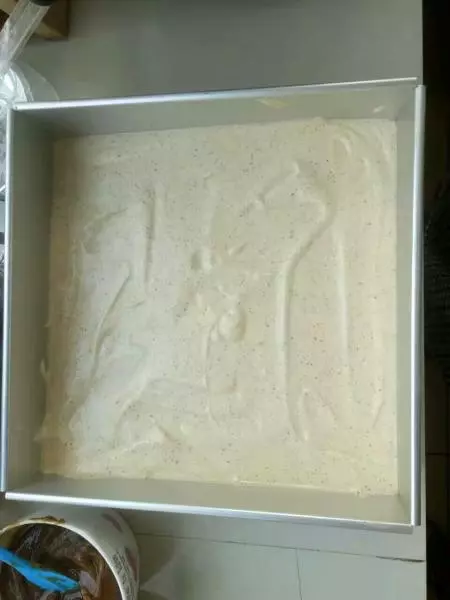
7翻拌好的蛋糕糊入模具,从20厘米高处震荡2次,入烤箱160度中下层烤60分钟。(根据自家烤箱脾气自行调节温度)
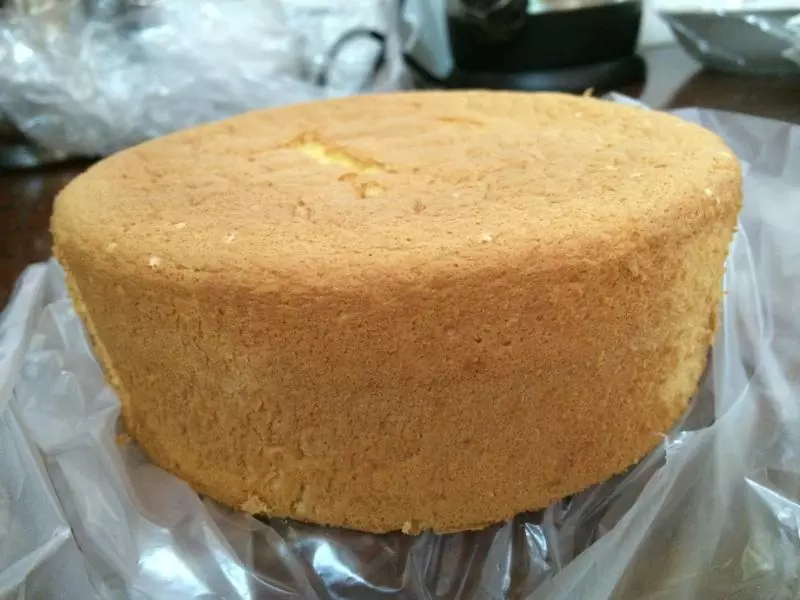
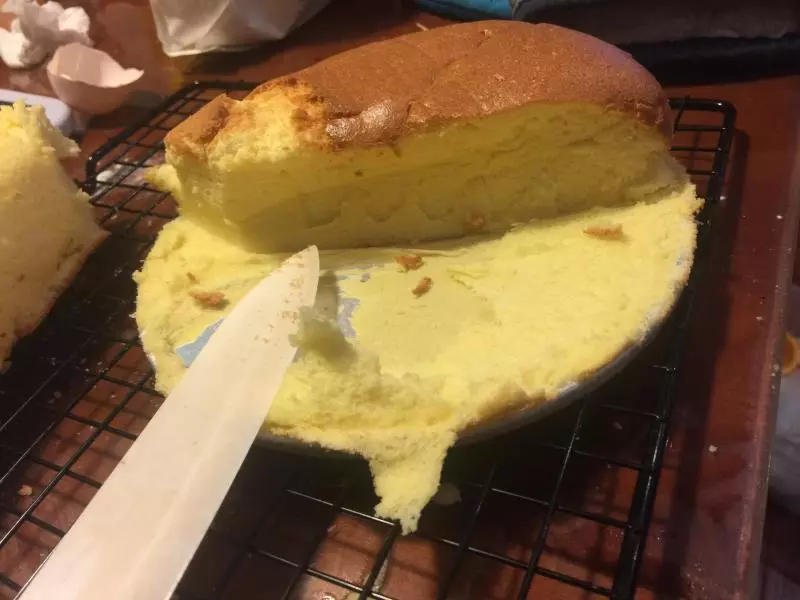
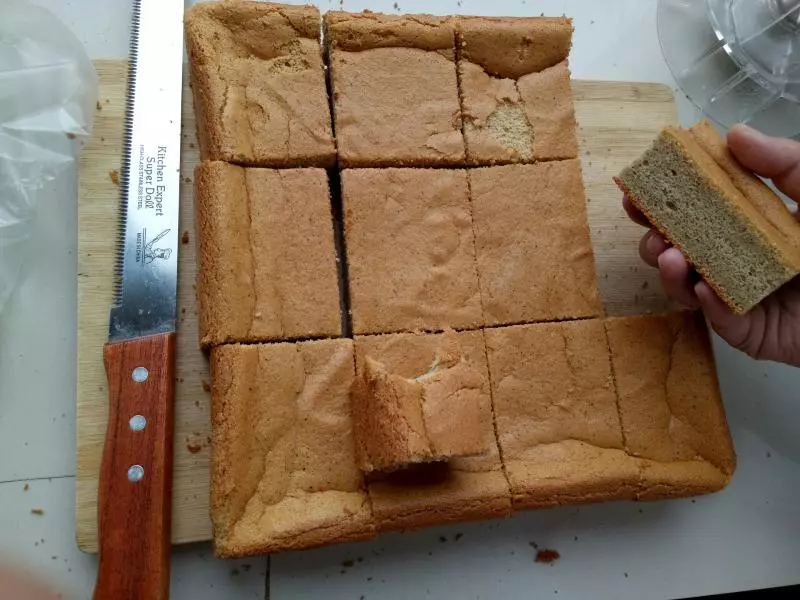
8出炉后震荡两次倒扣,凉透取出。
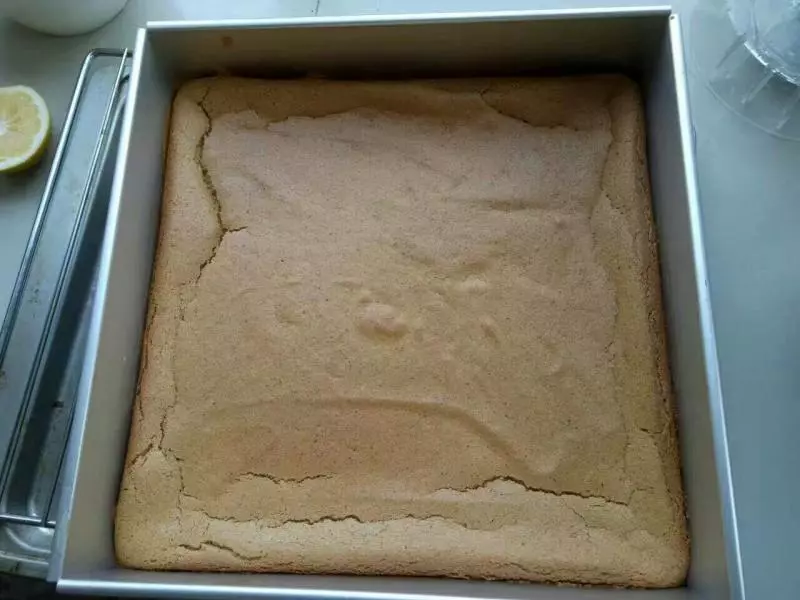
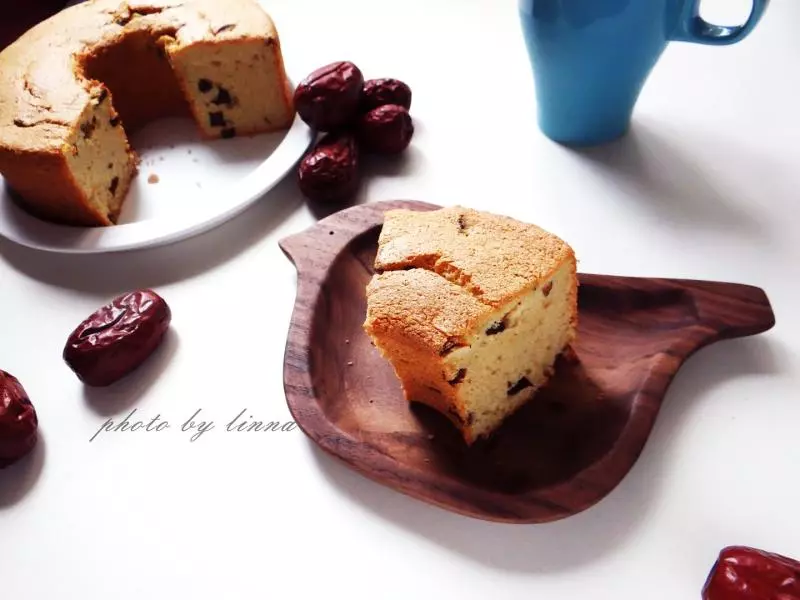
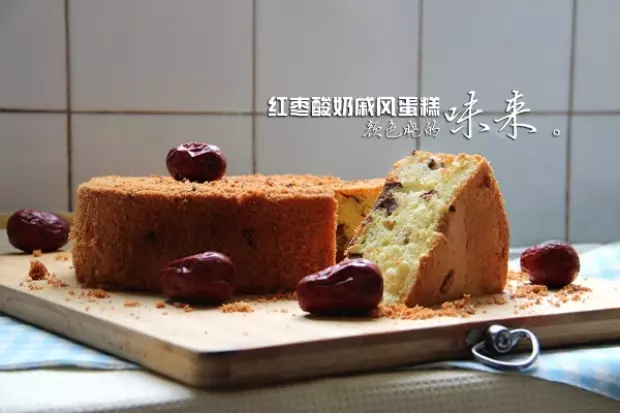
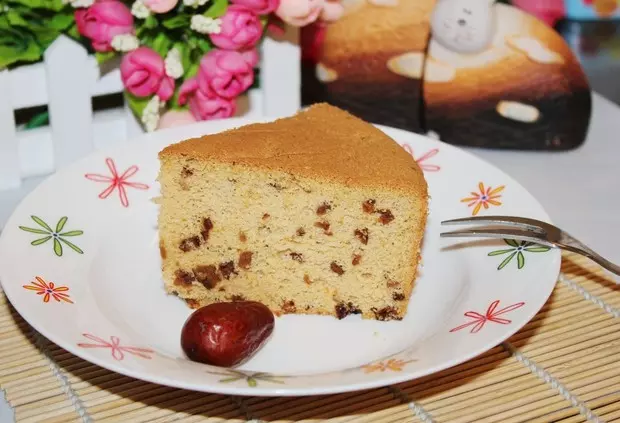
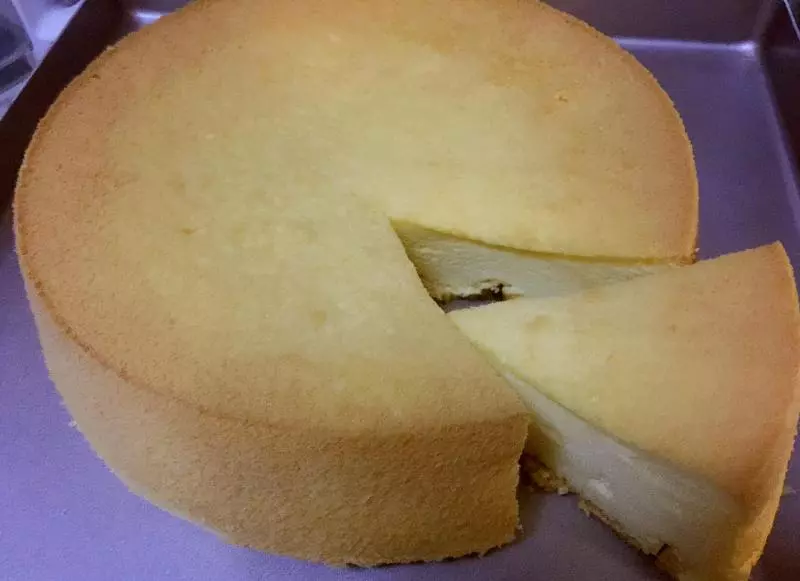
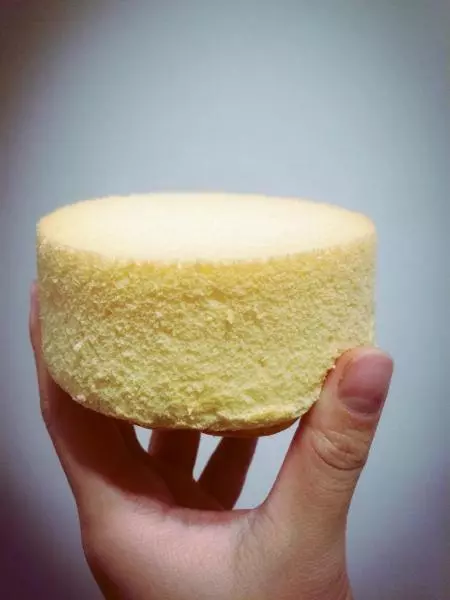
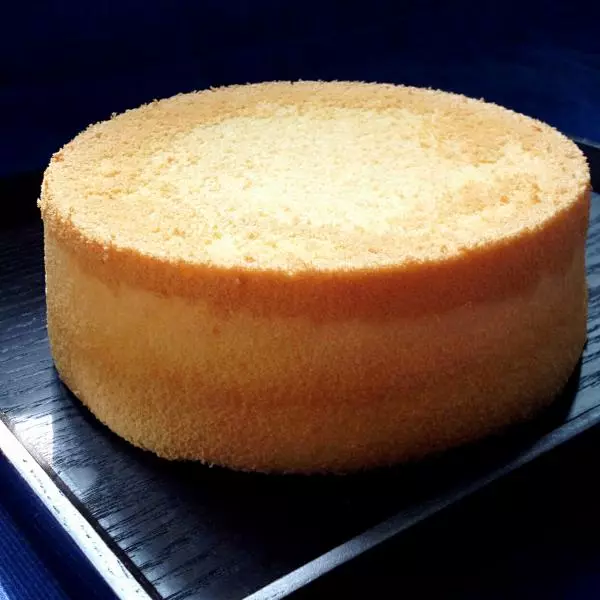
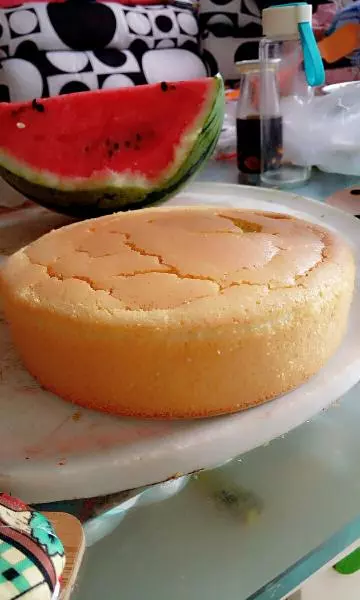
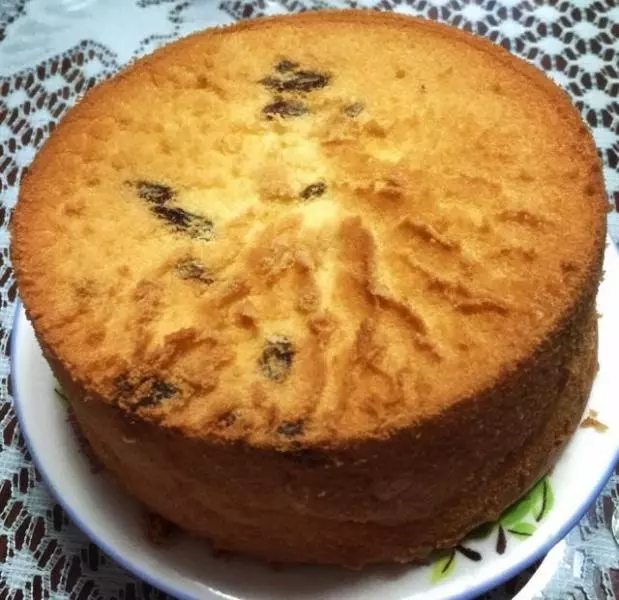
9少油少糖的红枣戚风就做好了,祝大家成功。
小技巧
所有注意事项全在步骤后面,请仔细阅读,也都是本人在实践过程中所遇到过的问题,希望对大家会有所帮助。