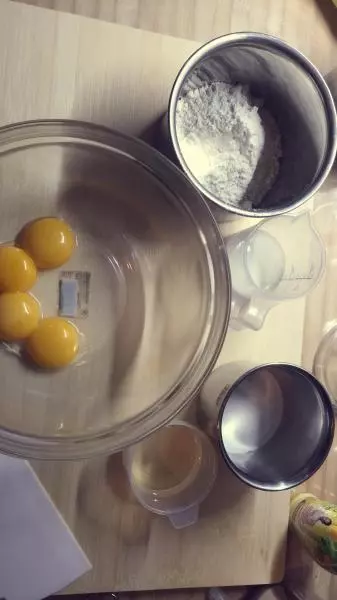
原料
蛋黄: 2, 低筋面粉: 50克, 细砂糖: 13克, 植物油: 25克, 牛奶: 32克, 泡打粉: 1克
步骤
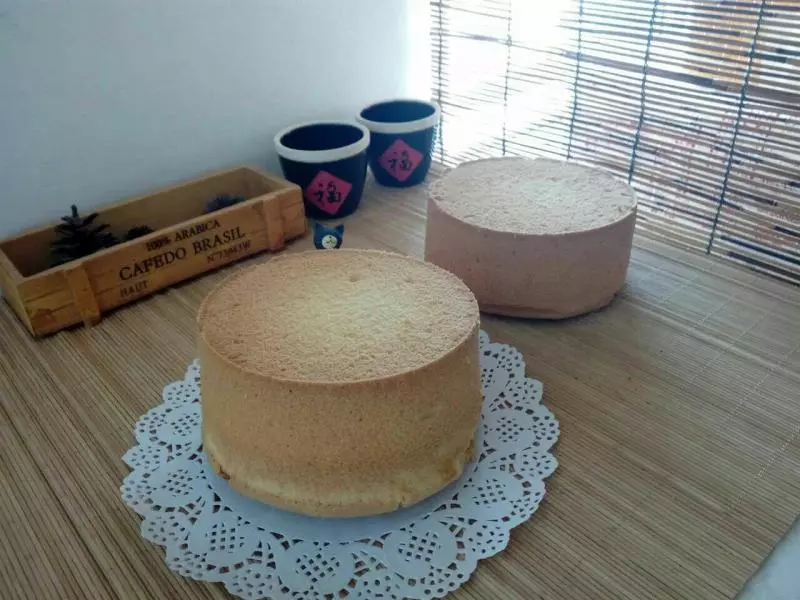
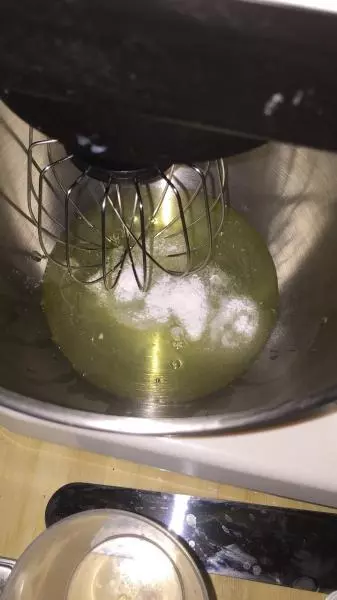
1备好料,把蛋清,蛋黄分开,蛋清放进打蛋器盆里备用。我这是两个6寸的
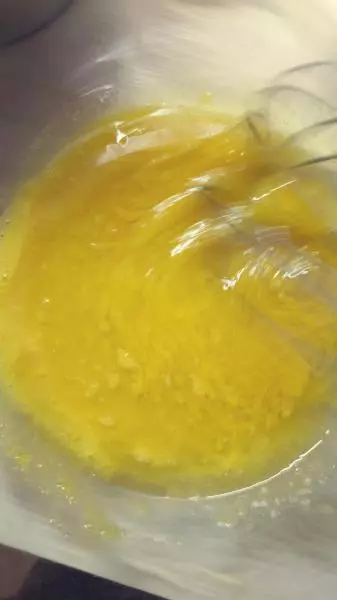
2蛋黄加糖,搅拌

3加入植物油搅拌,我是一次性倒进去,没有分次,用打蛋器搅拌
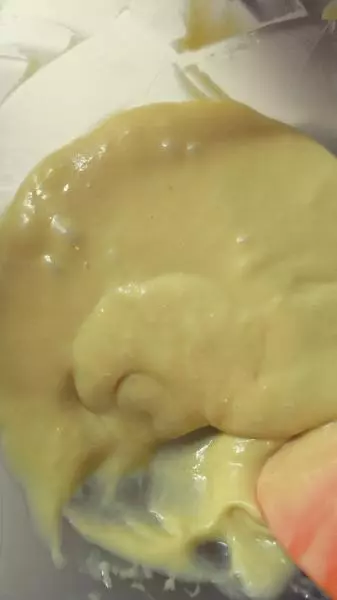
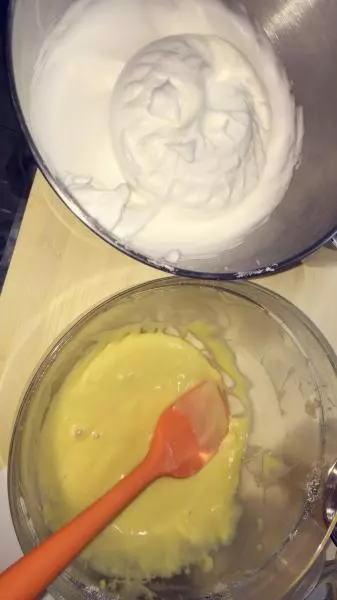
4搅拌就是乳化过程,搅拌到植物油都融进蛋黄糊里,图片是已经乳化的
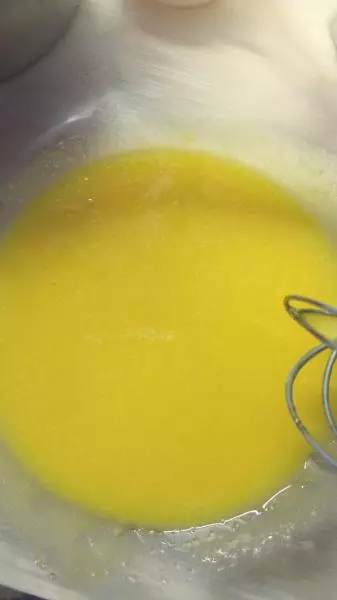
5加入牛奶继续搅拌
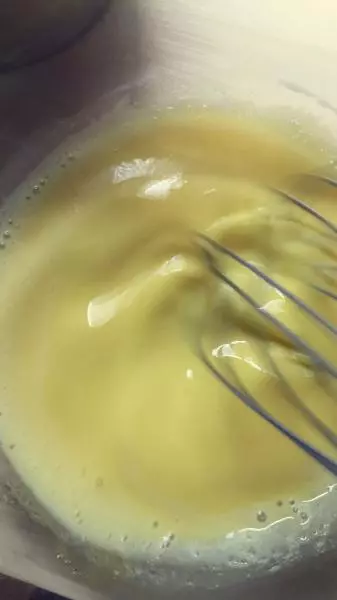
6加入面粉进行搅拌,到没有白色颗粒
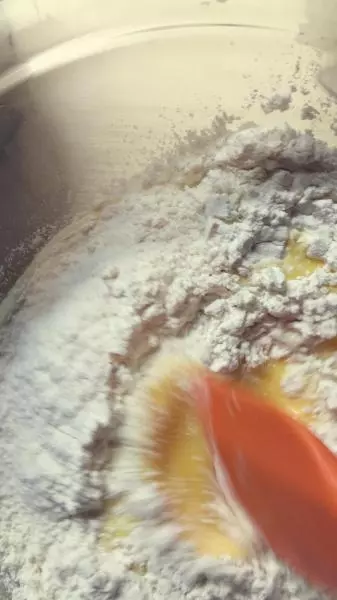
7翻搅,按压到没有看不到粉末
8加哒哒粉
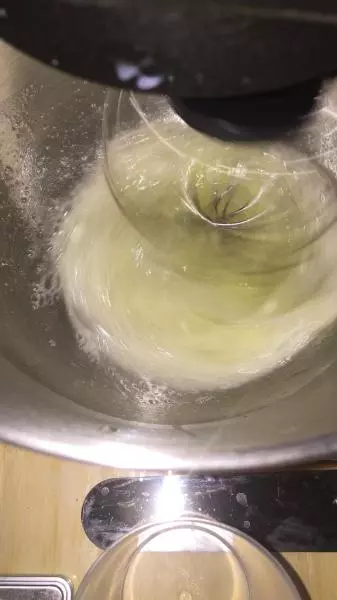
9搅拌有大泡泡时候加三分之一糖,到有纹路时倒1/3,出现软性打发时候都倒进
10搅拌到有小尖头
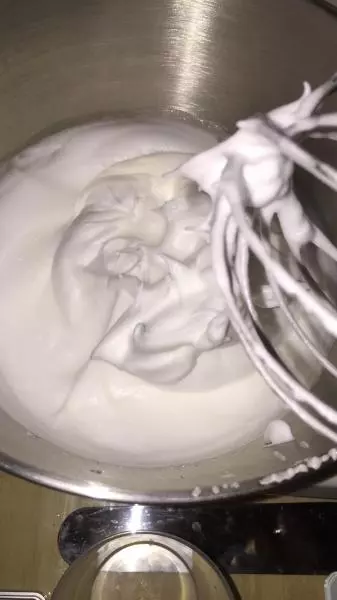
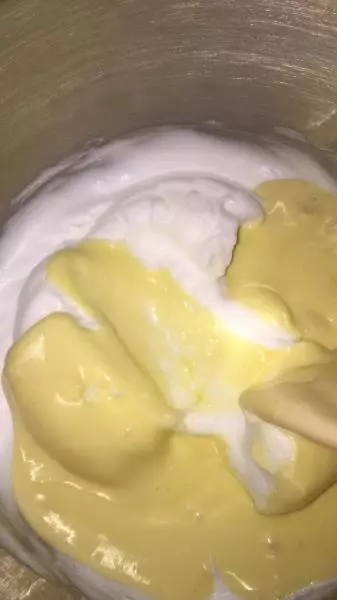
11先把蛋清三分之一倒进蛋黄面糊,翻搅,,均匀后回倒进打发的蛋清里面,一字上下翻搅
12这个时候可以预热
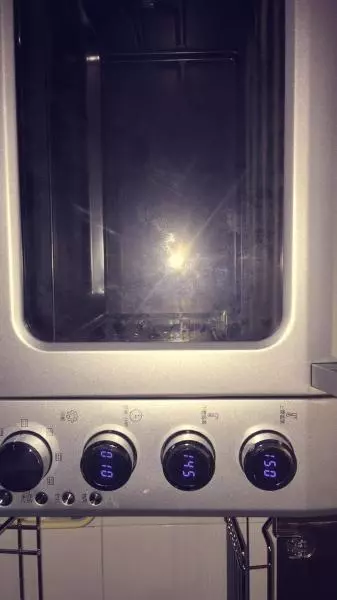
13刚才又转了2圈,感觉有点过了,出现棉花形状
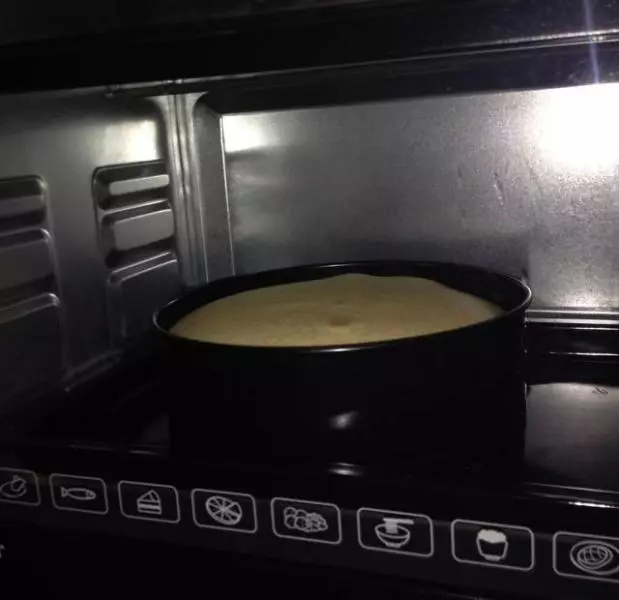
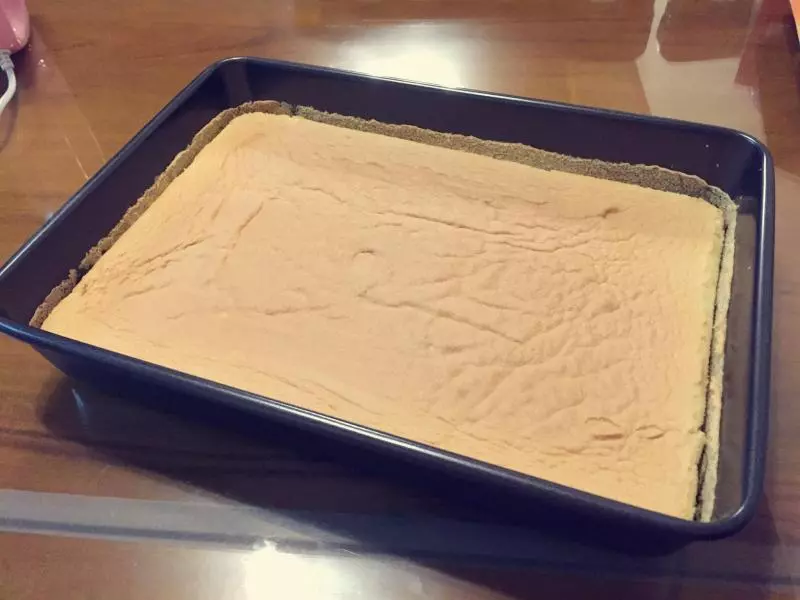
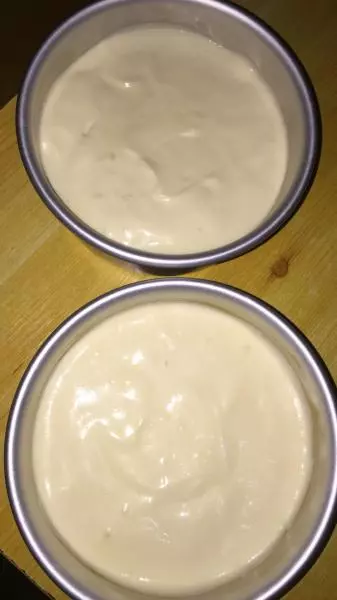
14把搅拌好的面糊倒进蛋糕模,刮平
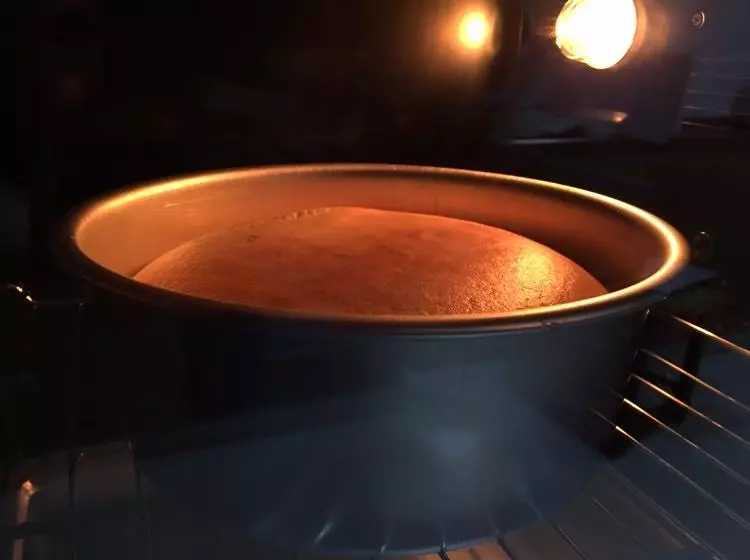
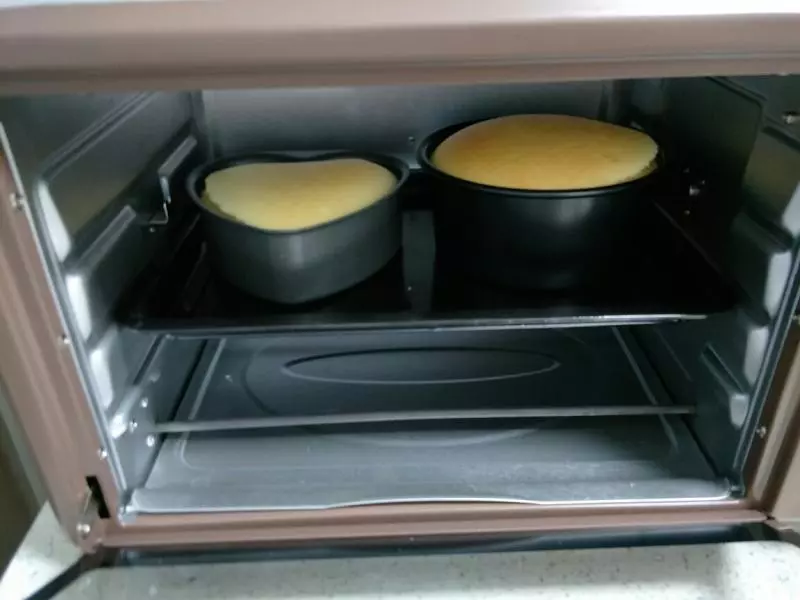
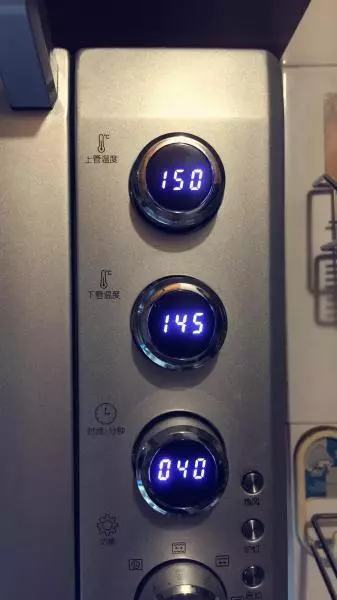
15温度看图,各品牌的温度设定不一样,我这个品牌的可以跟我一样设置
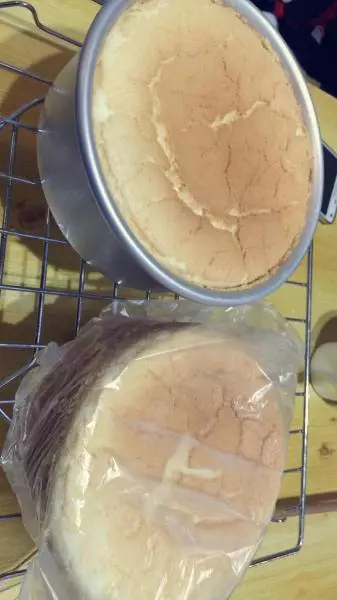
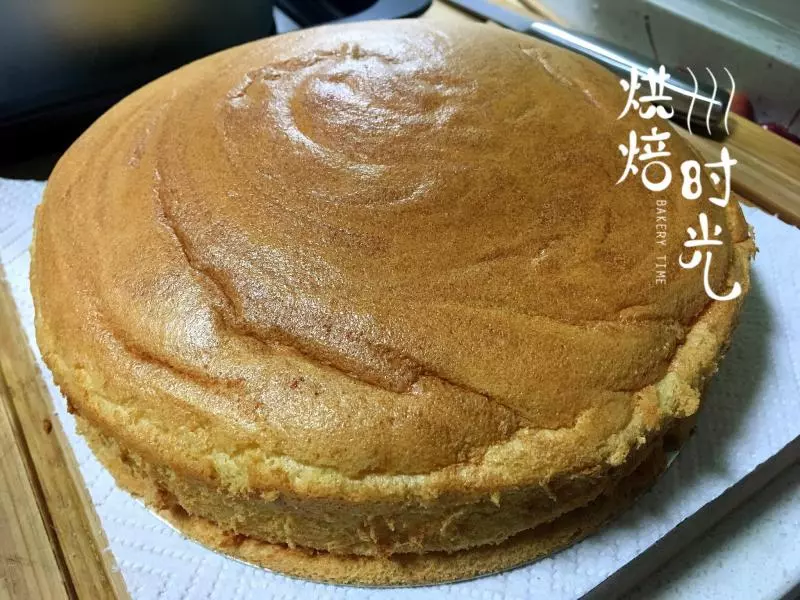
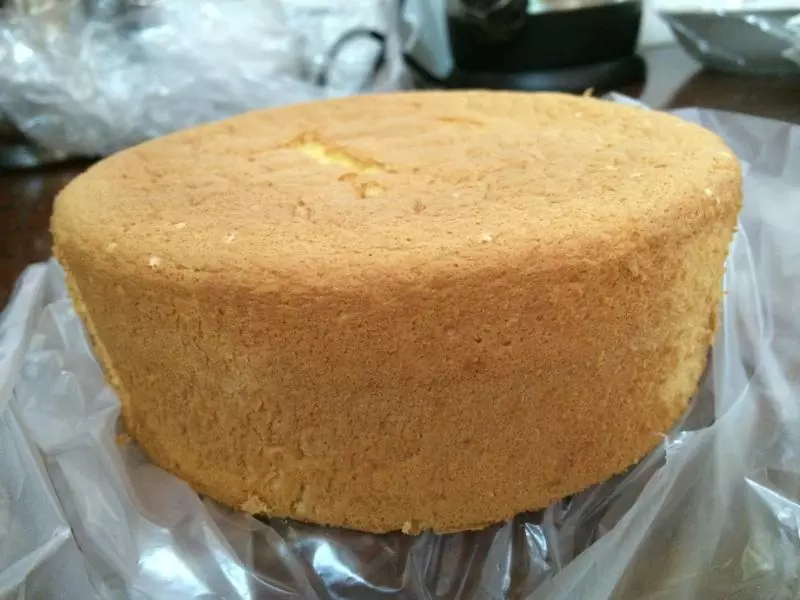
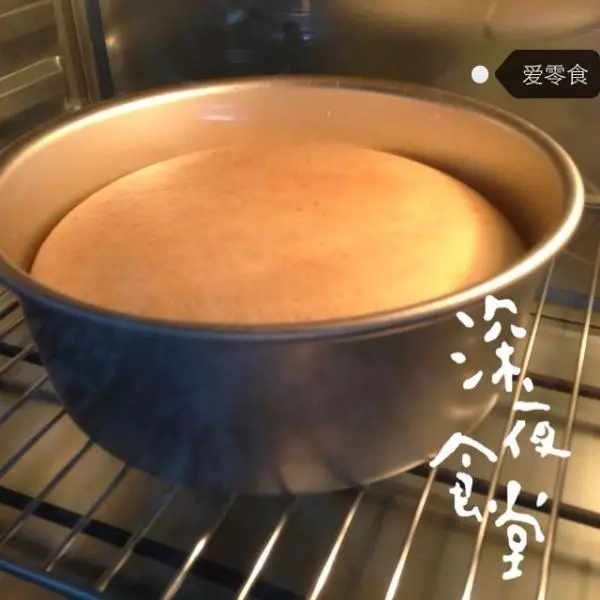
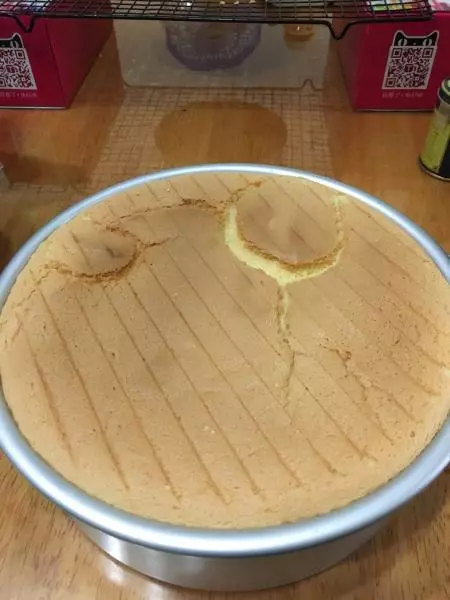
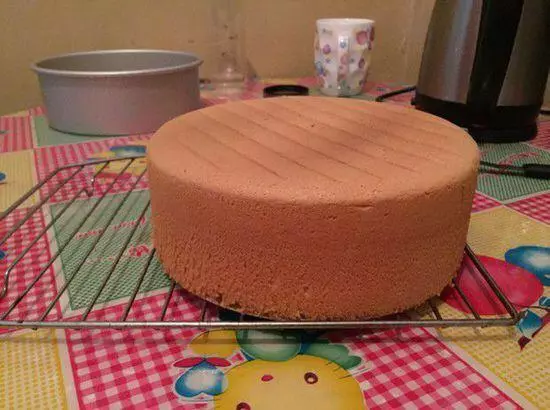
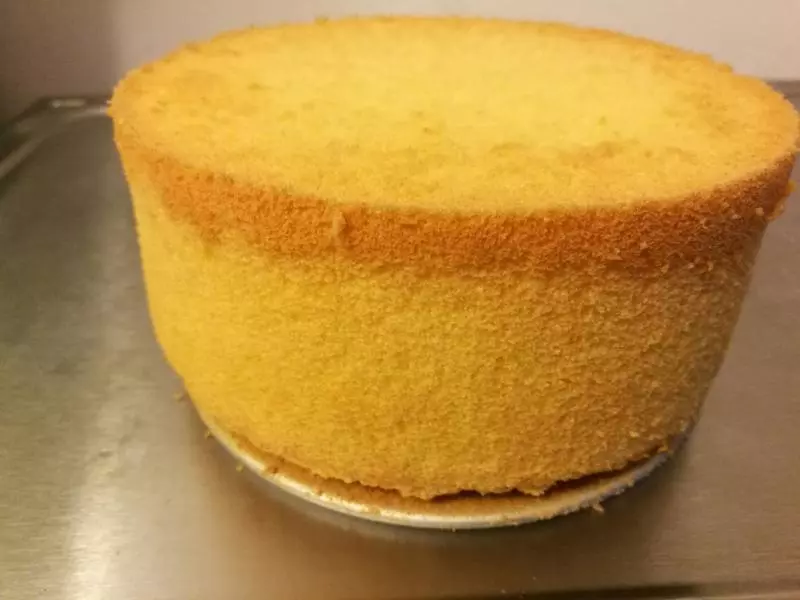
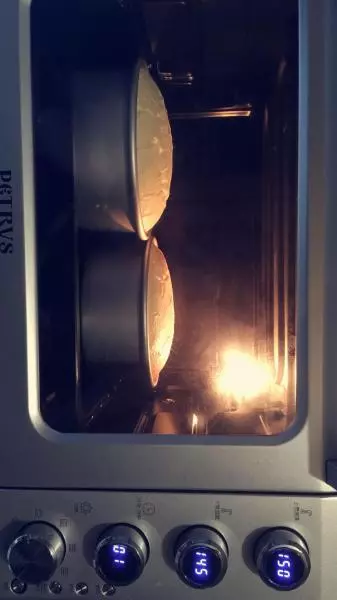
16开始发起了
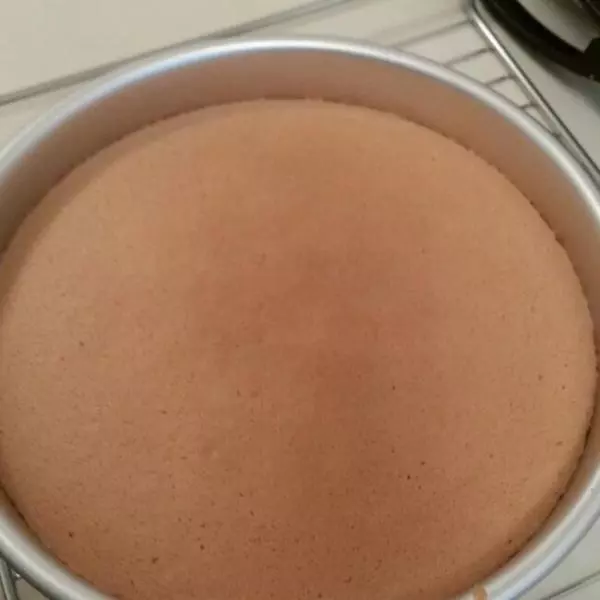
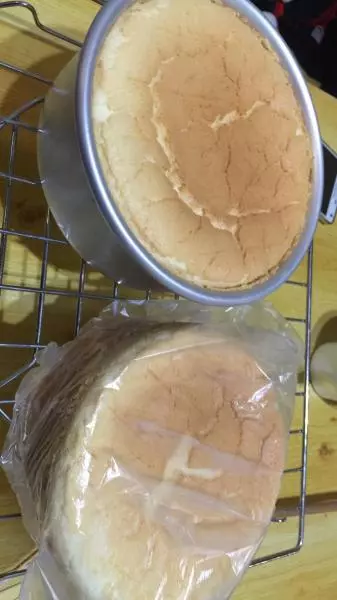
17记得,把模在桌子上,从十几公分上放下,然热气散去