原料
芒果: 1个, 易小焙雪莓娘预拌粉: 100g, 淡奶油: 70g, 水: 80g, 白糖: 5g
步骤
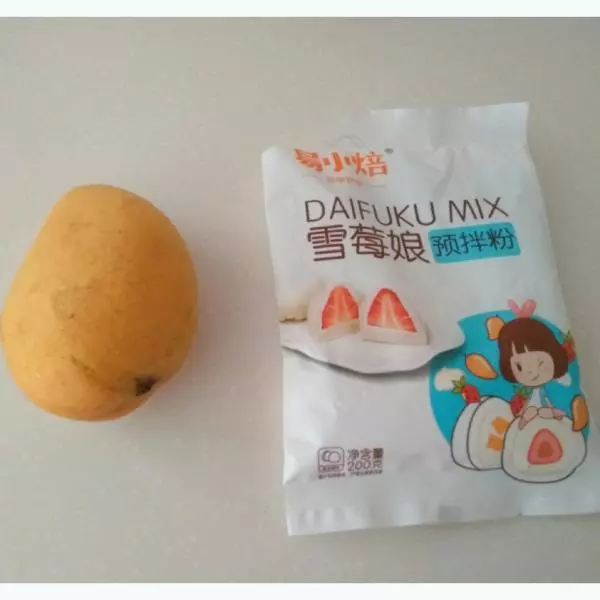
1准备材料:芒果一只,易小焙的雪莓娘预拌粉1袋
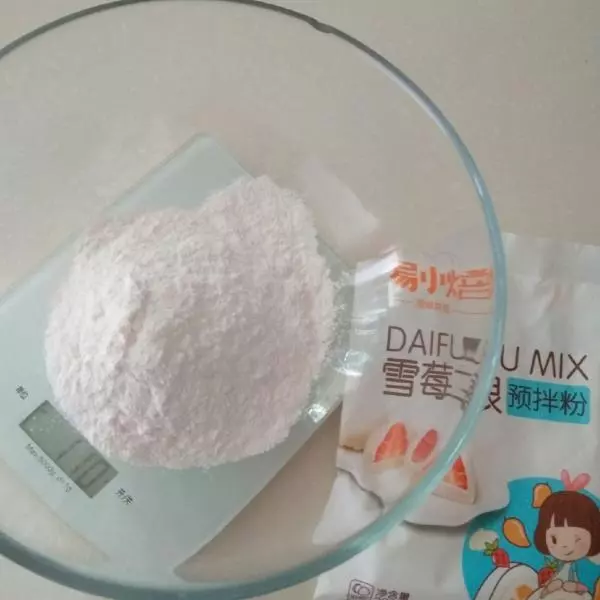
2秤好100g预拌粉
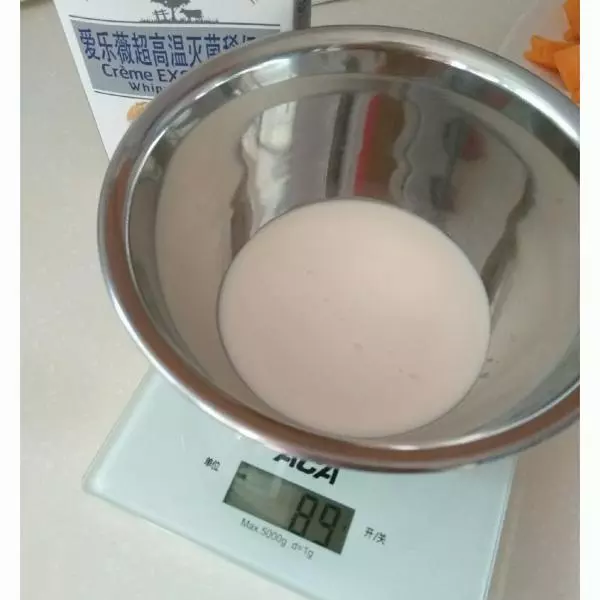
3淡奶油70g,继续放冰箱冷藏
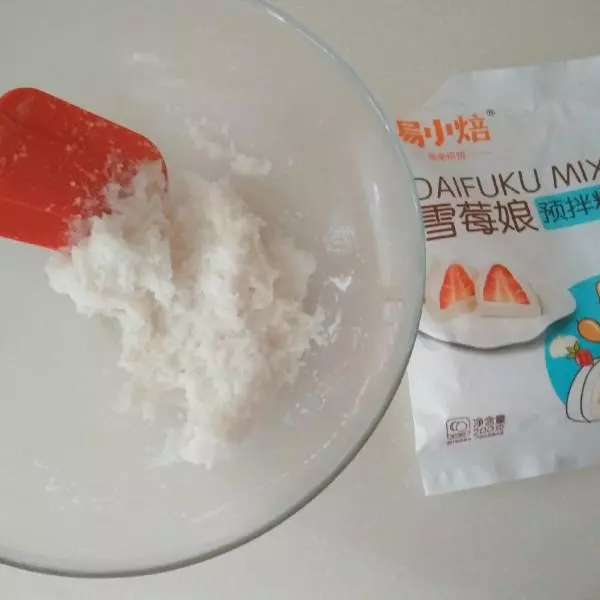
480g沸水冲入预拌粉中,刮刀拌匀到无干粉,盖保鲜膜晾凉
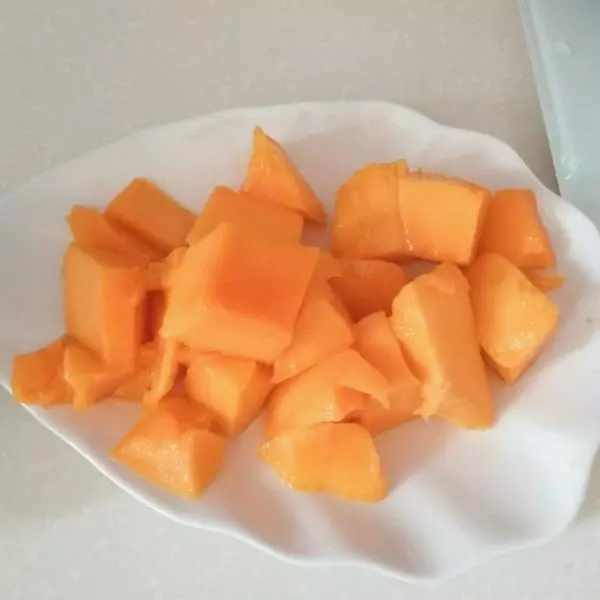
5期间切芒果
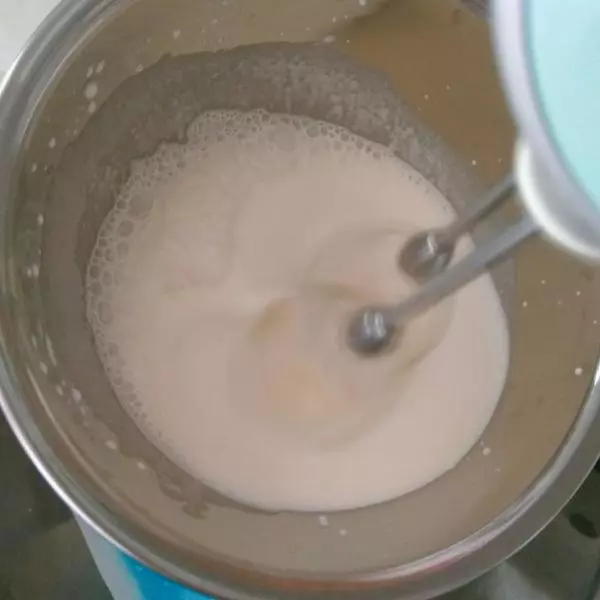
6打淡奶油
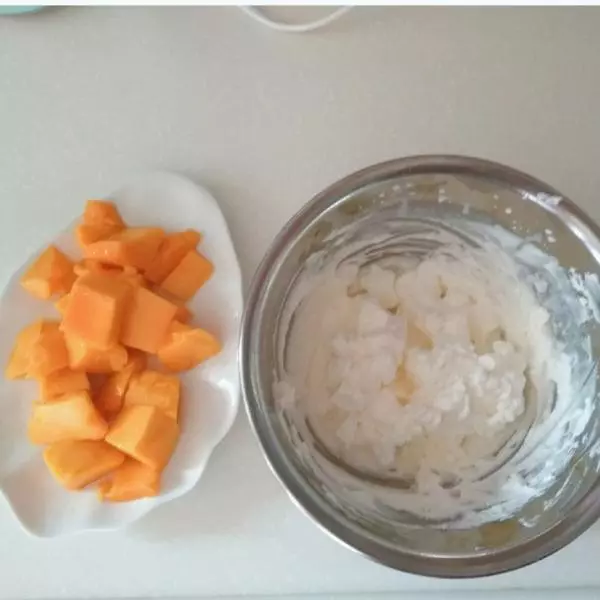
7打好的淡奶油还有芒果
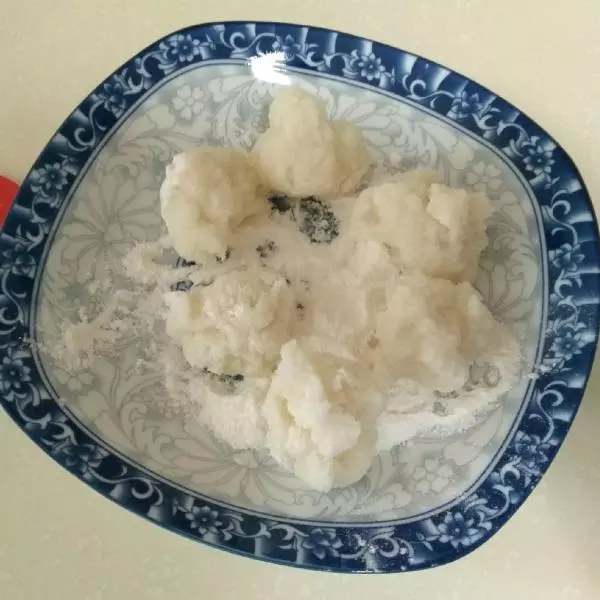
8晾凉的雪莓娘皮分成25g一份,共6份,因为面团比较粘,我直接放在手粉里了
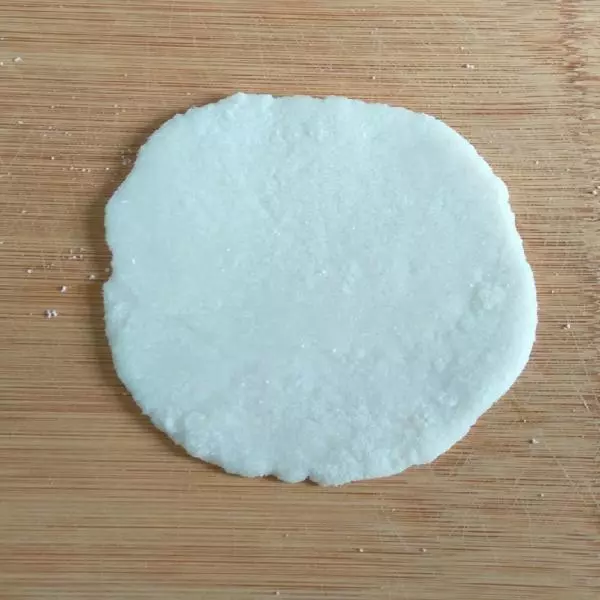
9每一份都擀薄擀圆
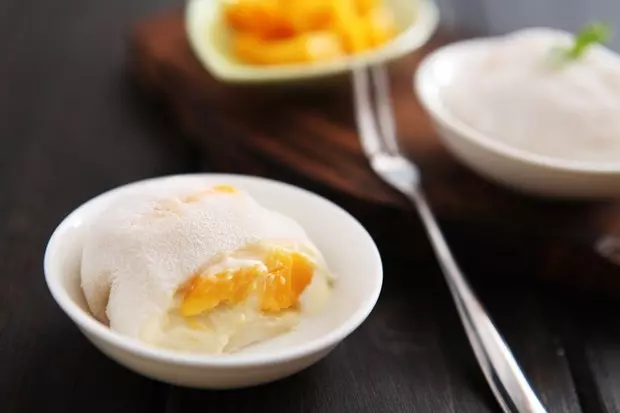
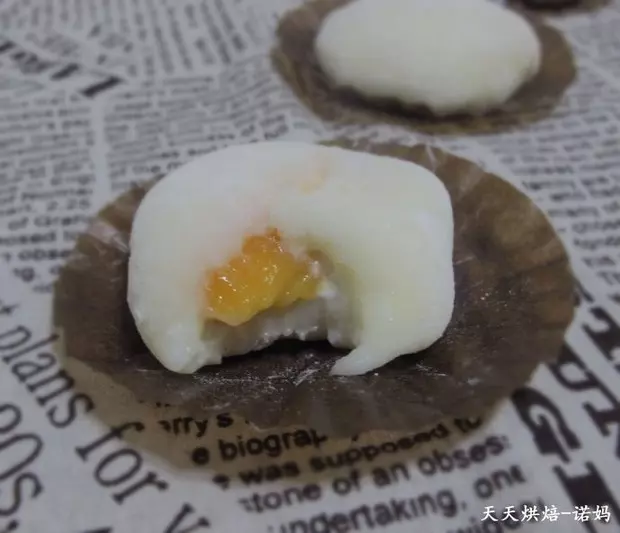
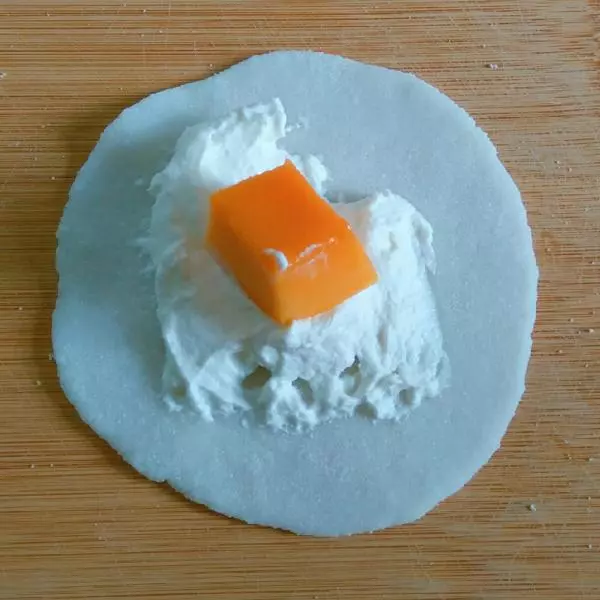
10包入适量的淡奶油和芒果,收紧口
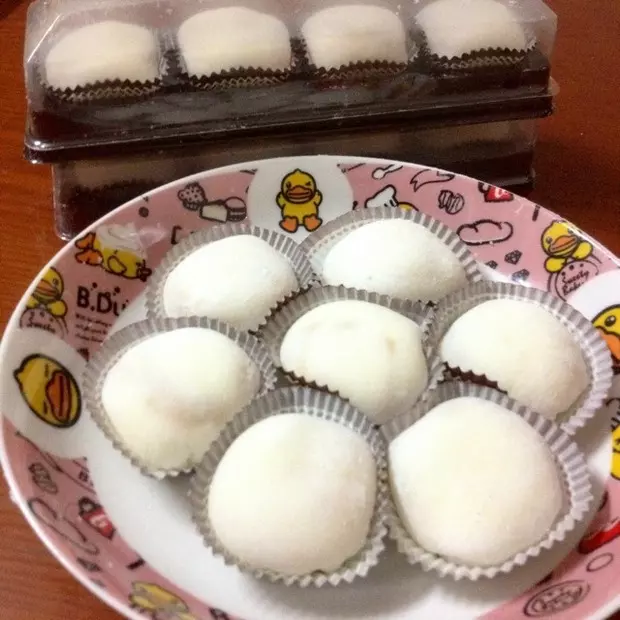
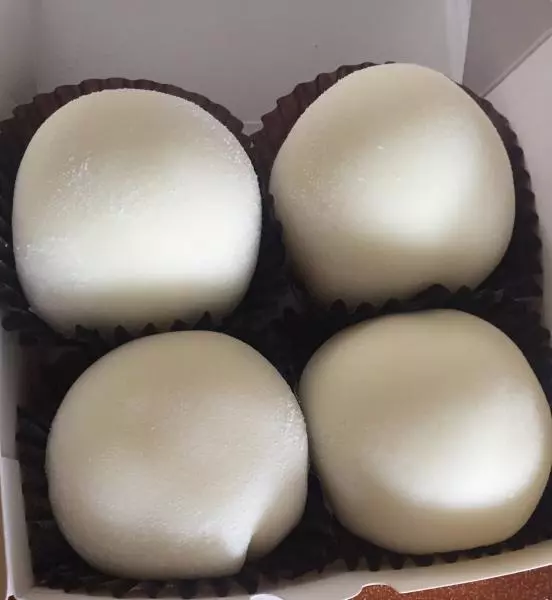
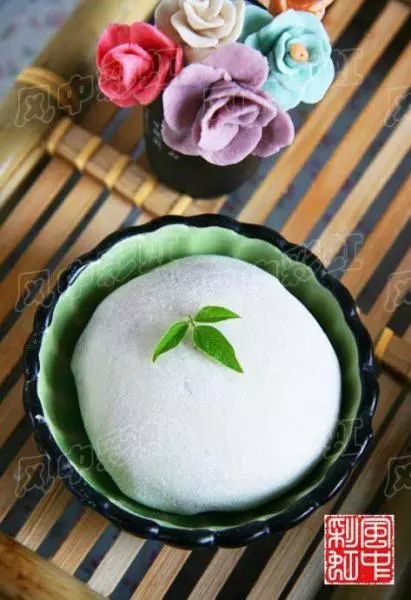
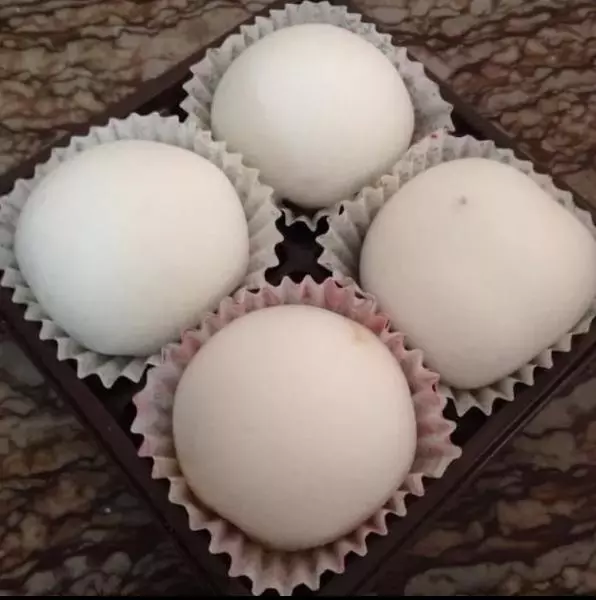
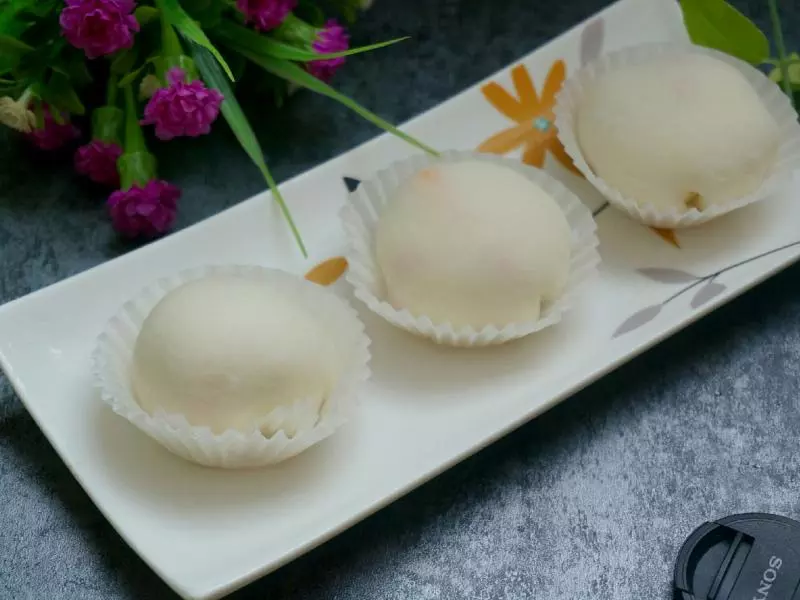
11圆嘟嘟的雪莓娘做好啦!
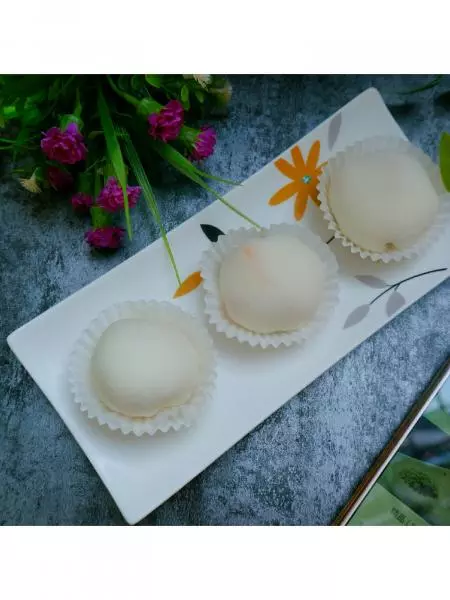
12记得放冰箱冷藏,二小时后再吃口感最好啦

小技巧
易小焙的雪莓娘预拌粉,小清新吧!200g一袋,可以做12个雪莓娘,背面有做雪莓娘的具体操作步骤,零基础的你都可以完美做好,所以我入了好几袋在家,因为女儿特喜欢吃雪莓娘