原料
蛋黄糊: , 鸡蛋: 4个, 低筋面粉: 60克, 食用竹炭粉: 7.5ml 3勺, 植物油: 50克, 牛奶: 55克, 蛋白糊: , 蛋清: 4个, 细砂糖: 65克, 奶油夹心: , 淡奶油: 220g, 奥利奥碎: 适量, 细砂糖: 适量
步骤
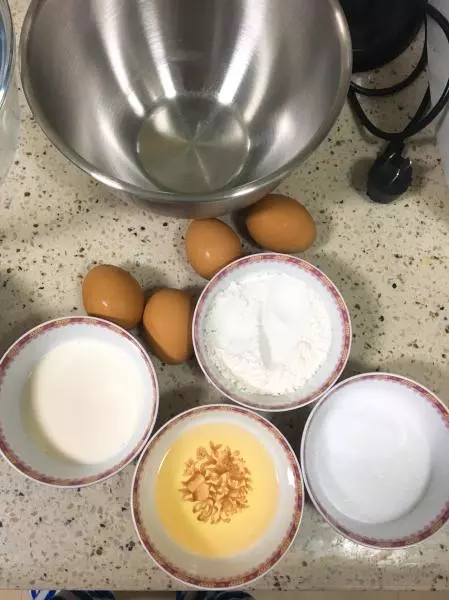
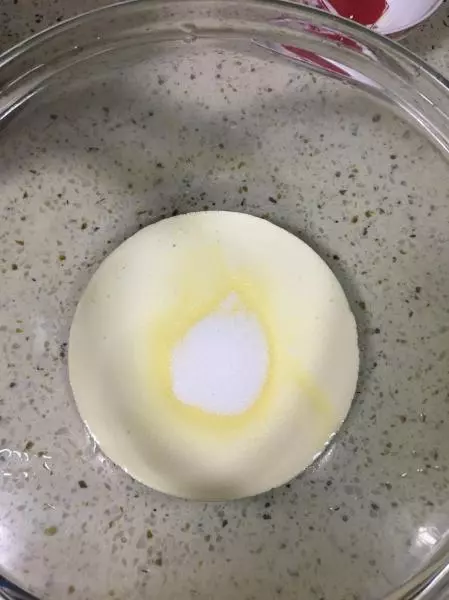
1准备材料,装到碗里
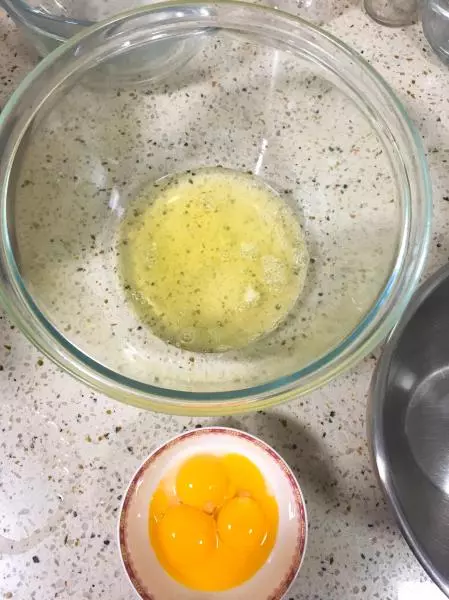
2分离蛋黄蛋清,我用的后蛋法,这样蛋黄糊会比较细腻。 蛋清放入冰箱冷藏。
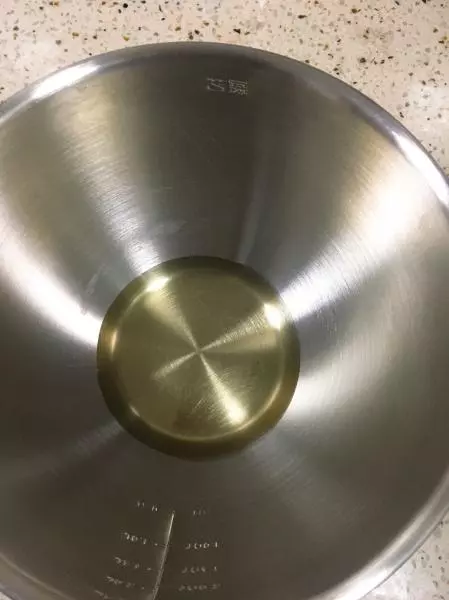
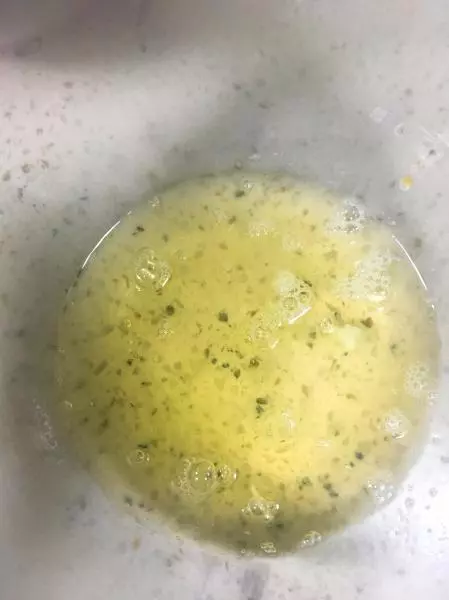
3在干净的打蛋盆里加入油
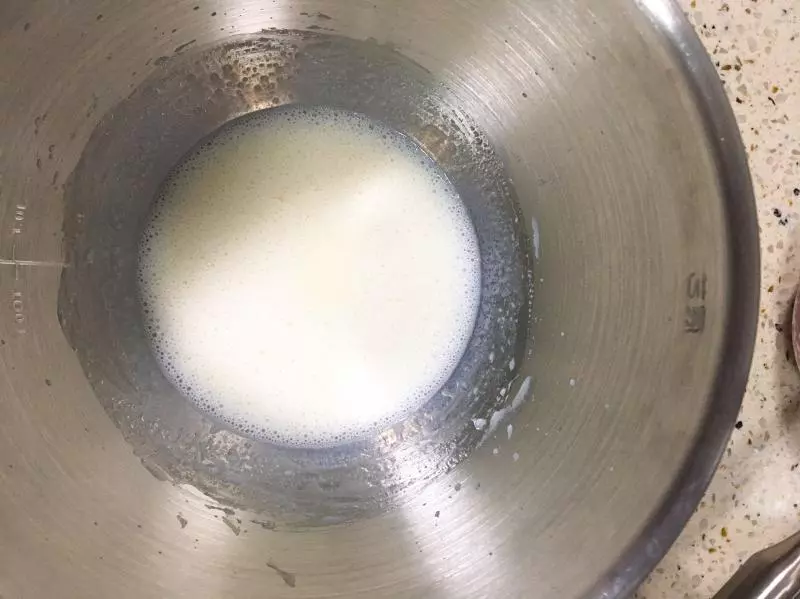
4加入牛奶,搅拌均匀
5筛入低粉
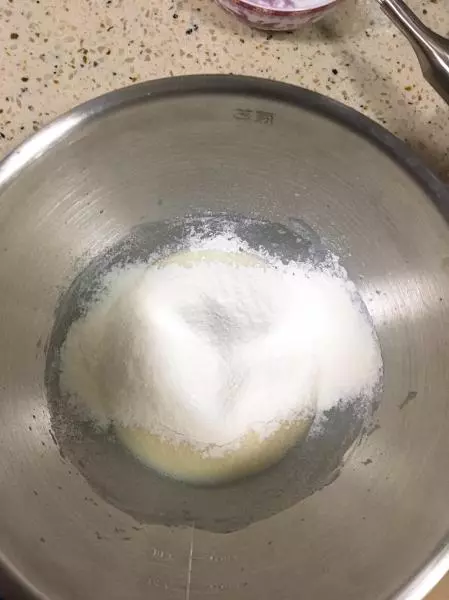
6筛入低粉后z字型搅拌均匀
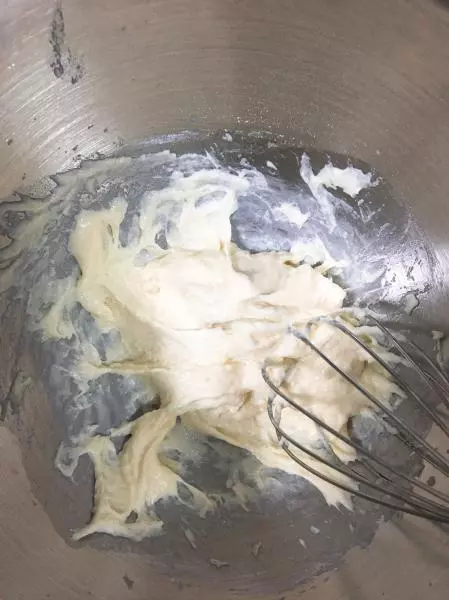
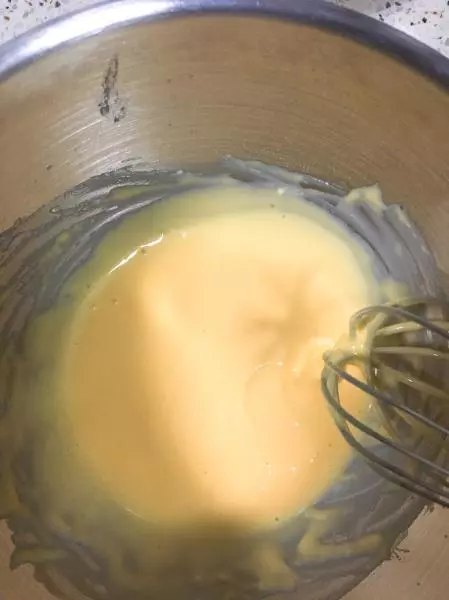
7倒入4个蛋黄,z字型搅拌均匀
8加入竹炭粉3勺
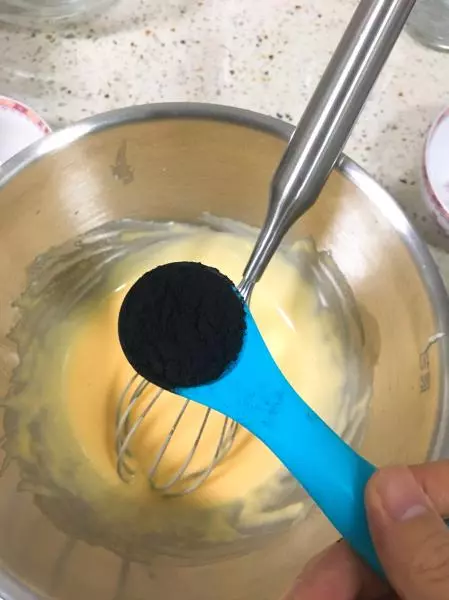
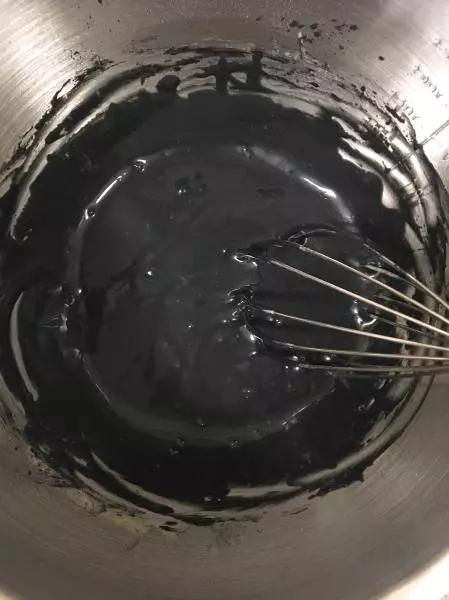
9一定要z字型搅拌,竹炭粉比较轻,动作要轻柔一些,不然会飞溅的到处都是。 搅拌均匀后放一旁备用。
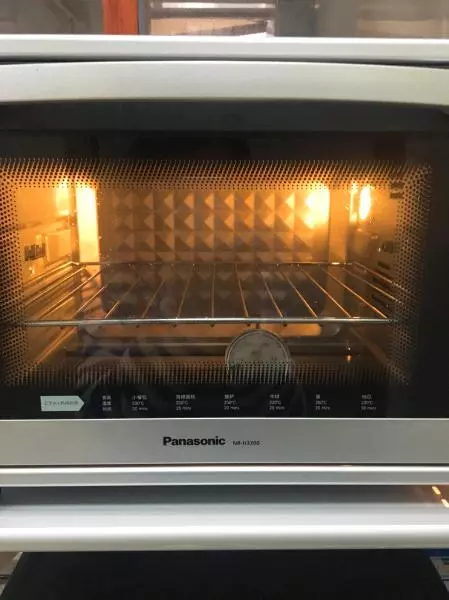
10烤箱170°C预热
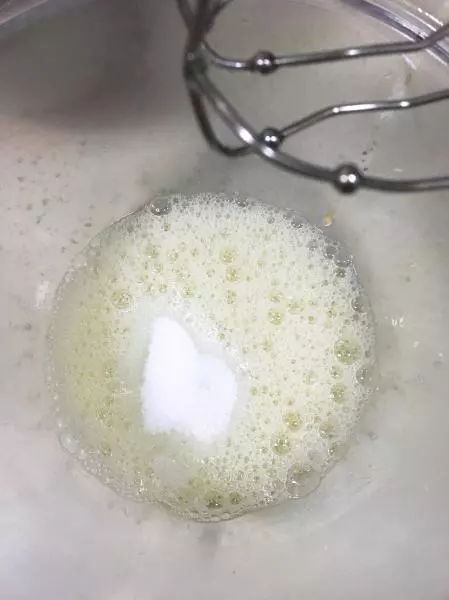
11蛋清从冰箱拿出来,放几滴柠檬汁
12打蛋器中速打至鱼眼气泡,加入3分之1糖
13打蛋器高速打至体积变大,加入剩下糖的一半
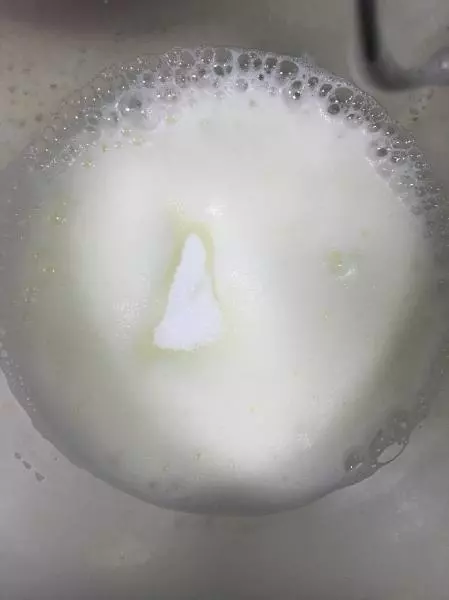
14蛋清稍微有点纹路时,加入剩下的糖,转中低速打
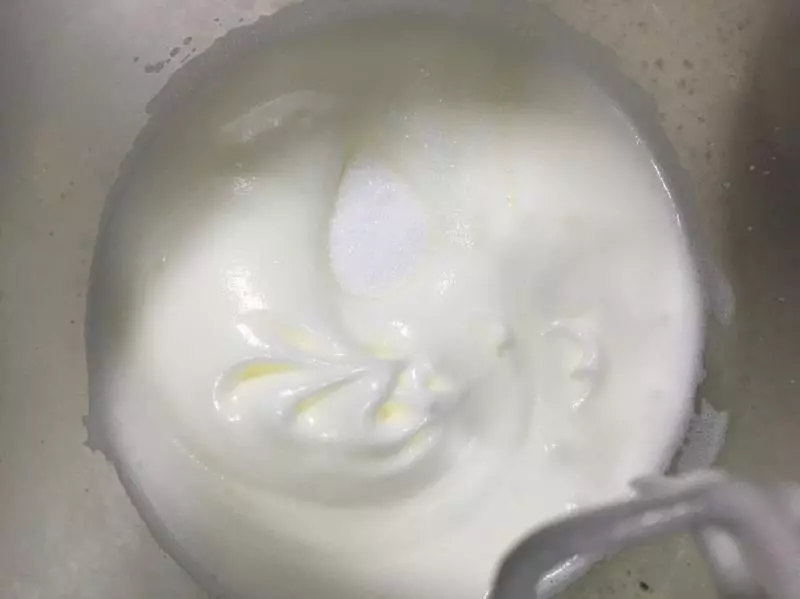
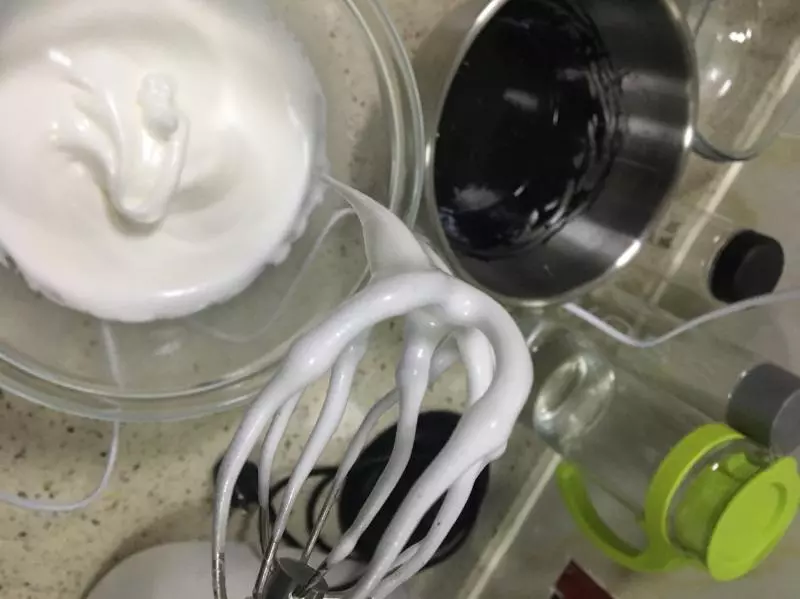
15蛋白打至中性,有大弯勾就行了,蛋白不要打太硬,卷的时候会开裂。打蛋器停的时候在手动搅拌均匀后提起打蛋器看看蛋白情况
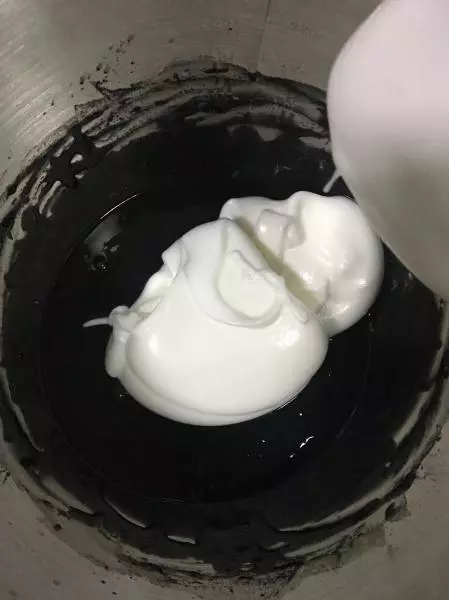
16蛋黄糊加入3分之1蛋白,刮刀1点钟方向下,7点方向起。再将蛋黄糊倒回剩下的蛋白里,搅拌均匀
17油纸铺好在烤盘上
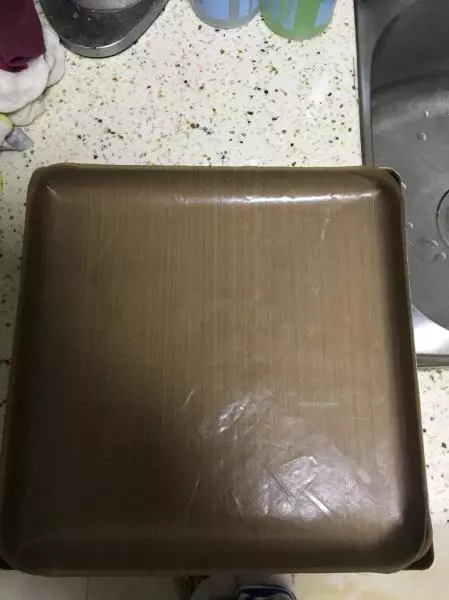
18将混合均匀的糊从高处倒入垫了油纸的烤盘(28x28的),抹平,在台上大力的震两下,放入烤箱。170°C中层烤15分钟。

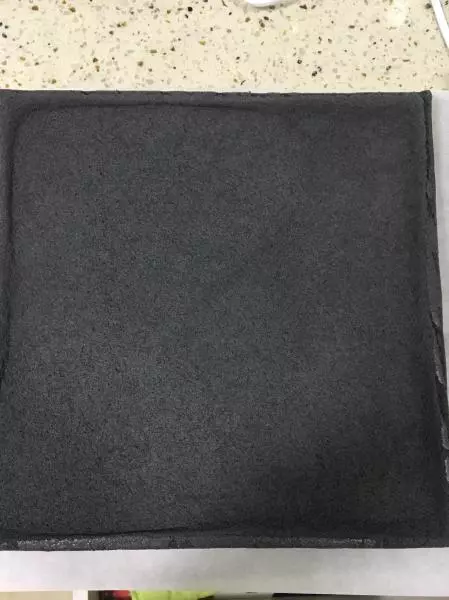
19出炉,放晾晒网上晾凉,撕掉上面的油纸,再在上面盖一张油纸,避免水分流失。
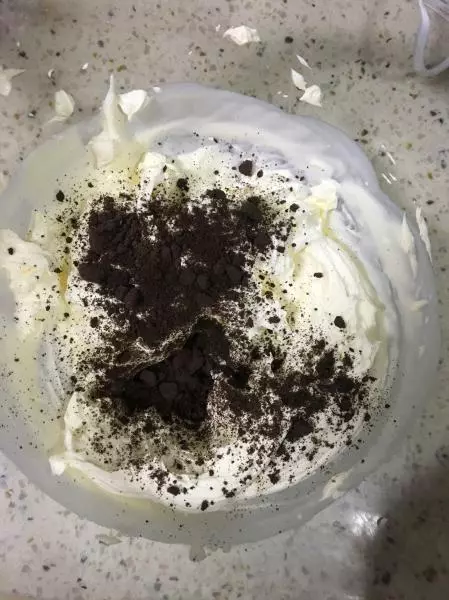
20220g淡奶油加入适量糖,喜欢吃甜一点可以加多一点,自己把握
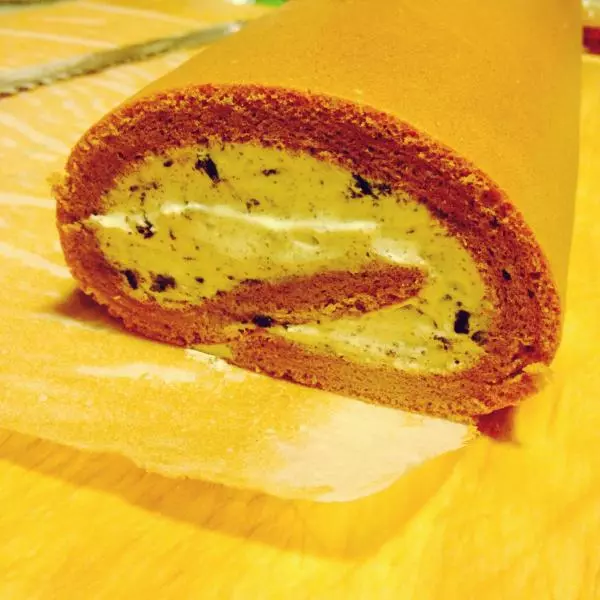
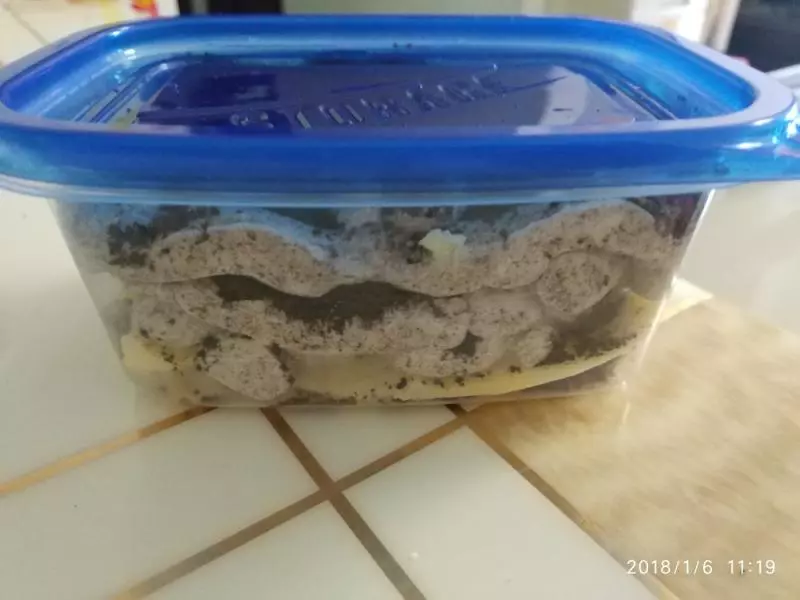
21中速打至浓稠,不流动。加入适量奥利奥碎,手动搅拌均匀
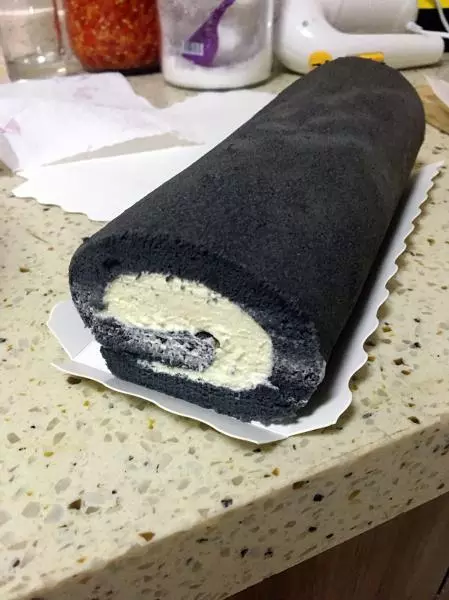
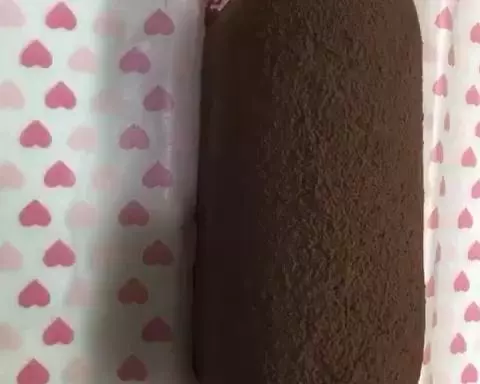
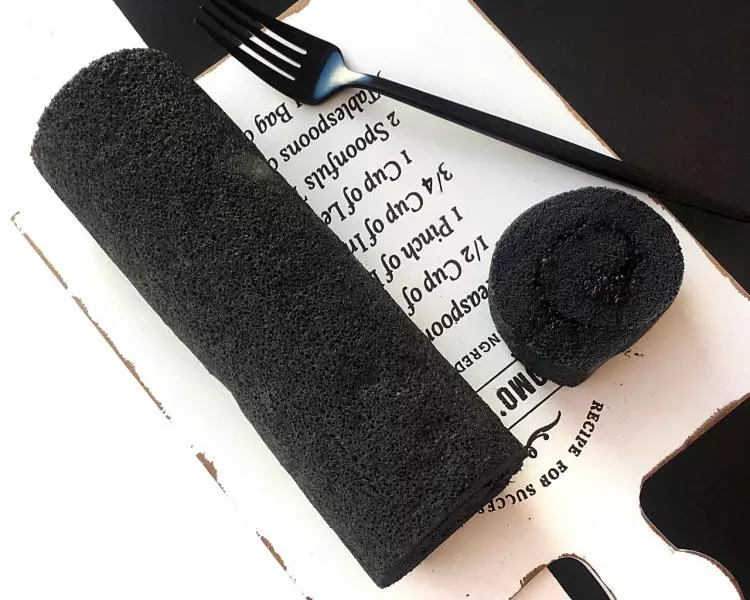
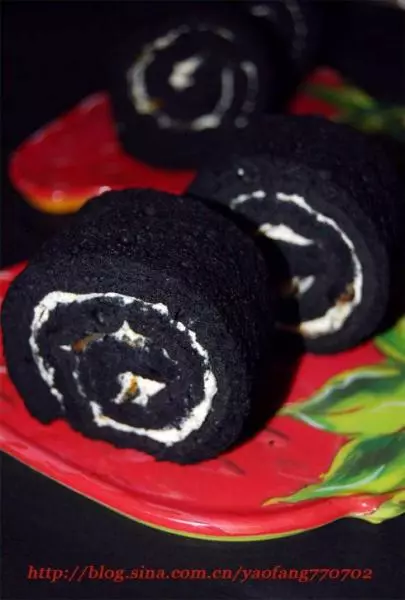
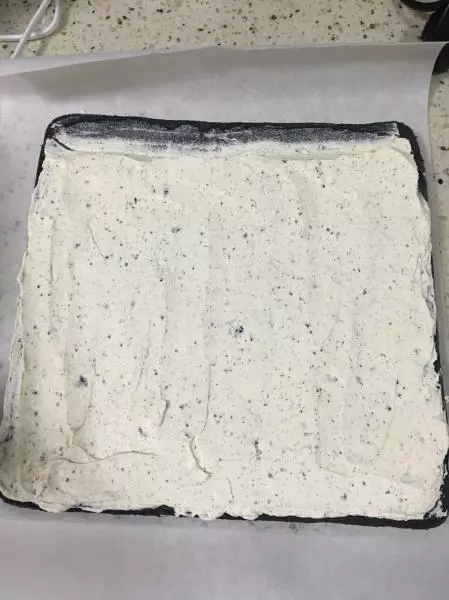
22晾凉的蛋糕片翻转一面,用抹刀抹均匀奶油,尾巴留2cm不涂,避免卷起来时奶油溢出。 借助擀面杖把蛋糕片卷起,包成大白兔奶糖的样子,放入冰箱冷藏。
23用锯齿刀将蛋糕卷头尾切掉
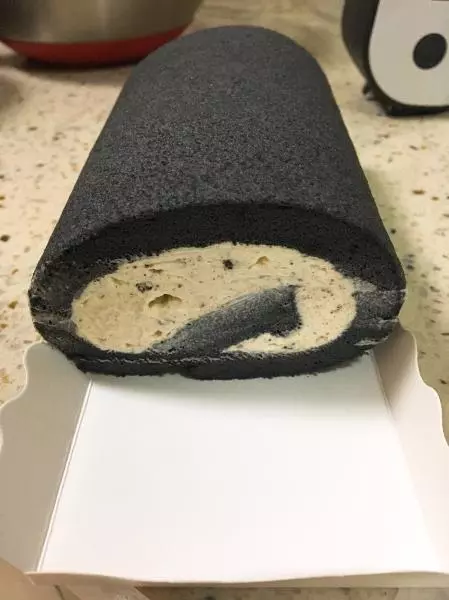
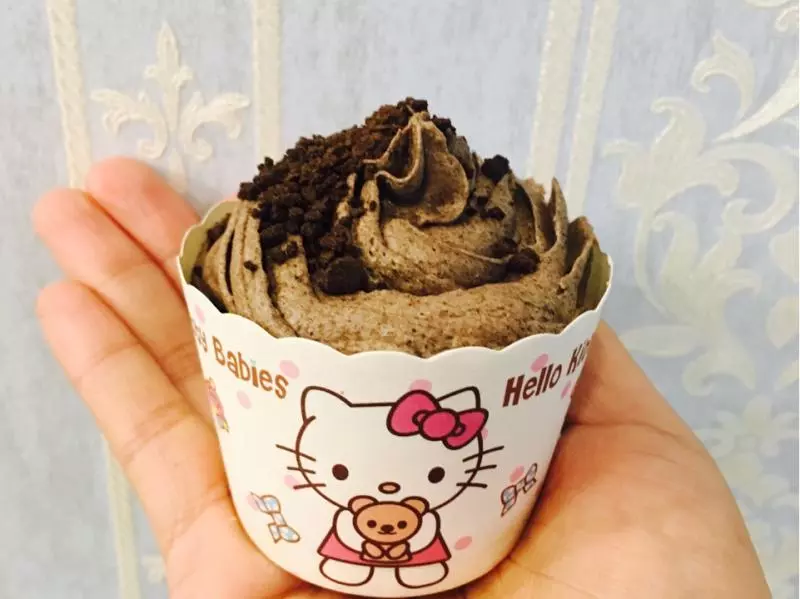
24装入包装盒,完成~