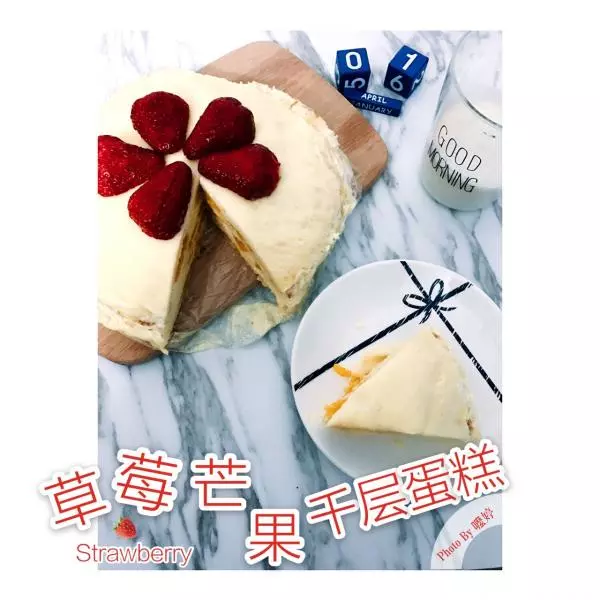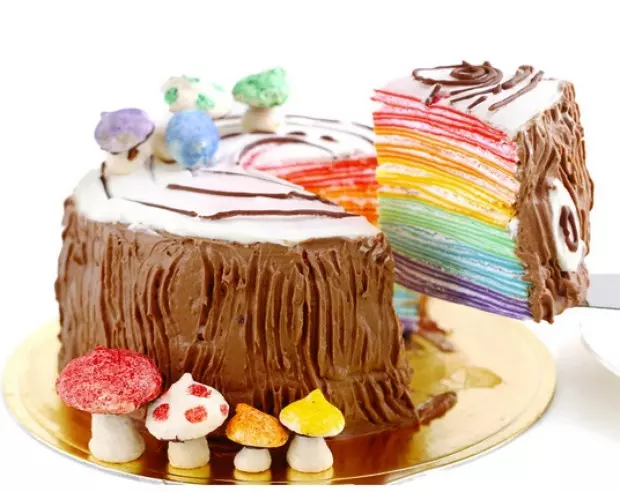
简介
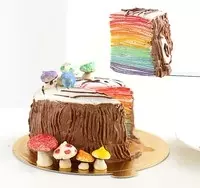
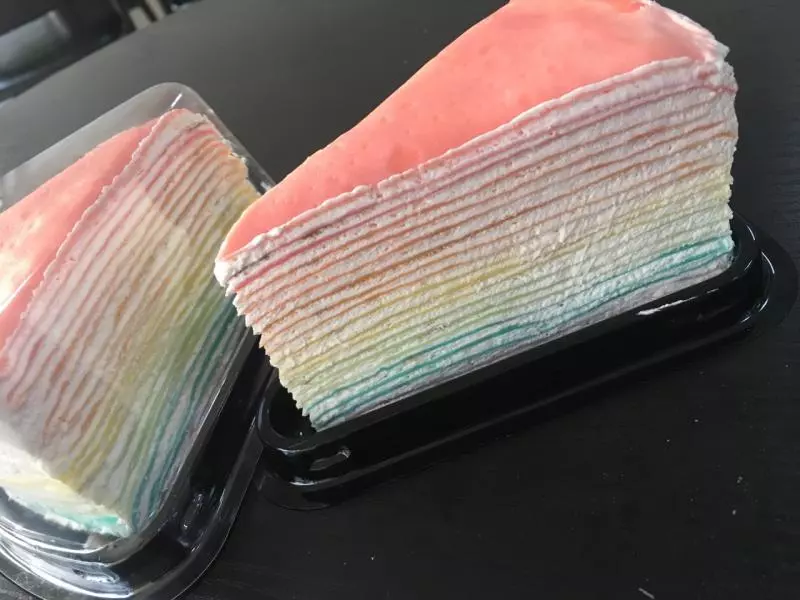
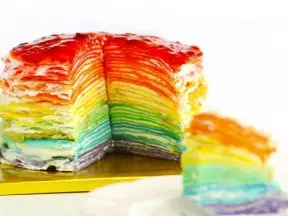
粗汉的内心是软妹!! 内外美得让人心碎~让彩虹千层蛋糕再上一个层次! 方子来至万能的油管Eugenie Kitchen~油管就是YouTube啦!我简称油管~~~ 彩虹可丽饼做法请参考:http://www.xiachufang.com/recipe/100416082/
原料
可丽饼, 鸡蛋 4个, 细砂糖 40g, 无盐黄油 55g, 牛奶 500ml, 低粉 250g, 融化的巧克力 装饰用, 奶油馅, 淡奶油A 500ml, 糖A 50g, 香草精 5ml, 巧克力奶油, 淡奶油B 125ml, 糖B 25g, 半甜巧克力 60g, 蘑菇蛋白霜, 鸡蛋 3个, 糖 130g, 巧克力 融化, 食用色素 适量
步骤
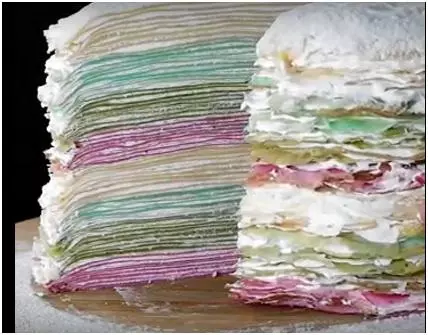
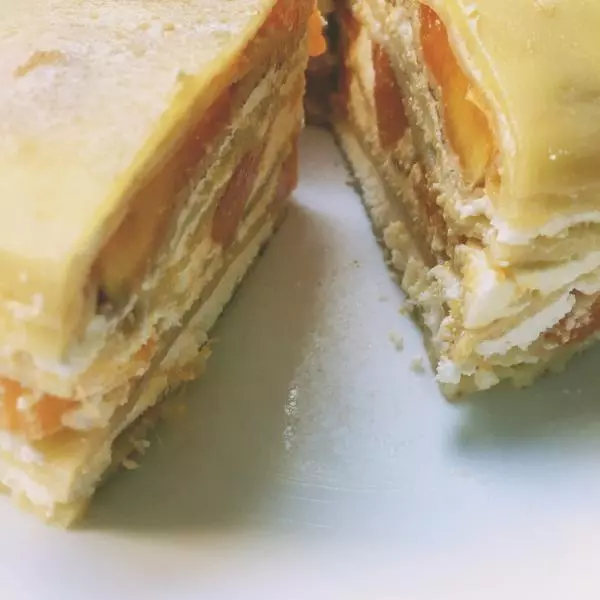
1用慕斯模把做好的可丽饼切平整。可以将多层叠在一起切节省时间。
2可丽饼的做法请看http://www.xiachufang.com/recipe/100416082/ 这个做千层可丽饼的方子。

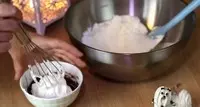
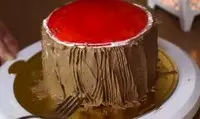
3将500ml淡奶油A加50g糖A打至7分时加入香草精后继续打发至10分。在一层皮上涂抹上一层奶油。
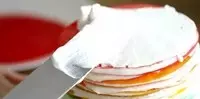
4一层饼一层奶油叠起来直到所有皮用完后放入冰箱冷冻2小时。奶油留一点后面装饰用。

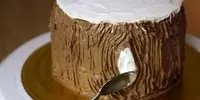
5制作巧克力奶油:隔水融化40g巧克力。
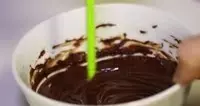
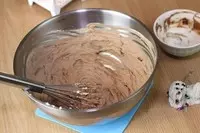
6将125ml淡奶油B加25g糖B打发至10分。挖一勺打发好的奶油倒入融化的巧克力中,搅拌均匀。
7搅拌均匀后的巧克力奶油倒入到剩余的奶油中,搅拌均匀。
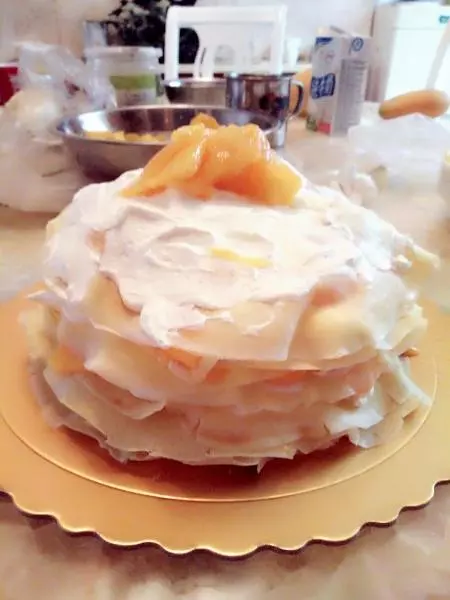
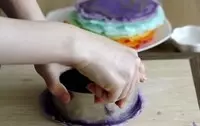
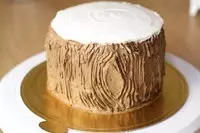
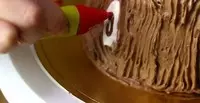
8在蛋糕边上抹上巧克力奶油,不需要摸得太平整。
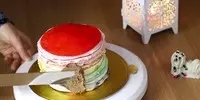
9用叉子划出树纹。(如图可以划一个小的涡)
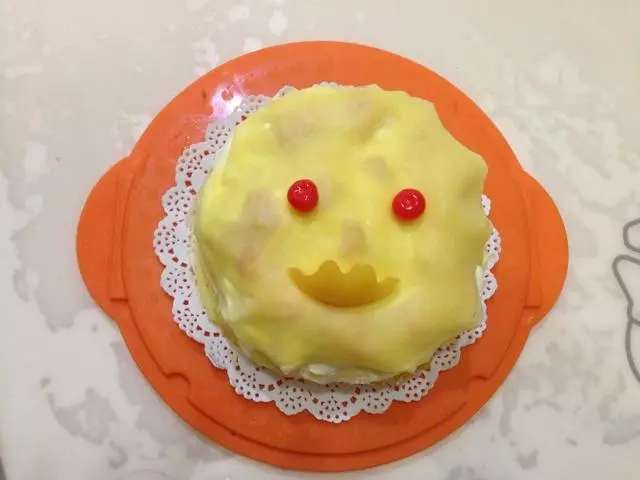
10在顶上那层抹上一层奶油。
11用勺子在涡上抹一点奶油。
12用融化的巧克力在表面画出树年轮。
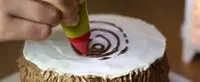
13在侧面的小涡上也画上年轮。
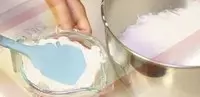
14做蘑菇蛋白霜:将3个鸡蛋蛋白和蛋黄分离。用打蛋器打发蛋清至粗泡状态时,加入1/3细砂糖,然后继续搅打。搅打至糖溶解。添加糖的另外1/3糖。搅打1分钟。加入最后1/3糖,搅打1分钟打发至硬性发泡状态。蛋清应该是有光泽并提起打蛋器,蛋白能保持直立的尖角双峰。

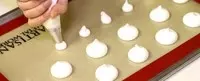
15将蛋白霜装入裱花袋。
16用小号的圆孔裱花嘴在油纸上挤出圆形面糊作为蘑菇顶。

17如图再挤出小的面糊向上拉一点,顶要有小尖尖角,作为蘑菇柄。
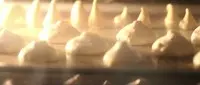
18然后放入烤箱100度烤30分钟。烤好后关闭烤箱门(烤好后不要打开)风干3小时。
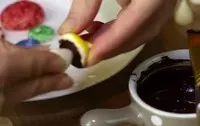
19用食用色素在蘑菇顶上涂上各种自己喜欢的颜色。

20在蘑菇顶的另一面,用叉子戳出一个洞(一个洞就好),注意不要太大力戳破。
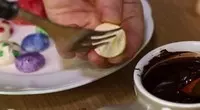
21然后刷上一层融化的巧克力,然后把蘑菇柄插入。
22蘑菇就做好啦~
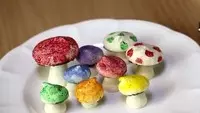
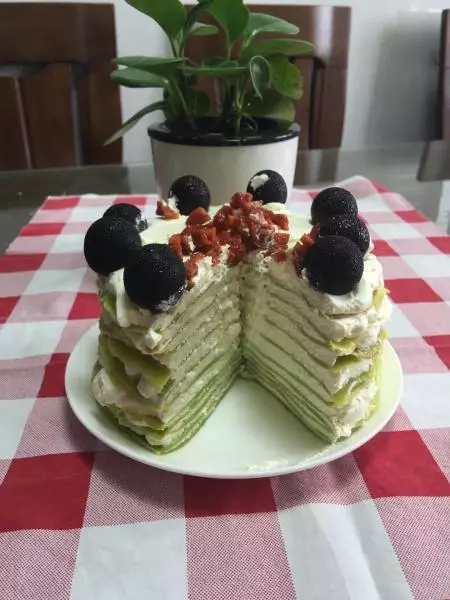
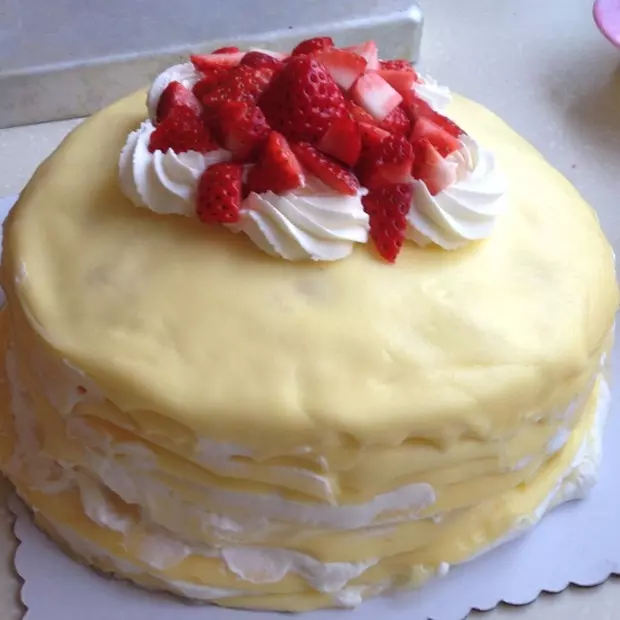
23最后用蘑菇装饰蛋糕。

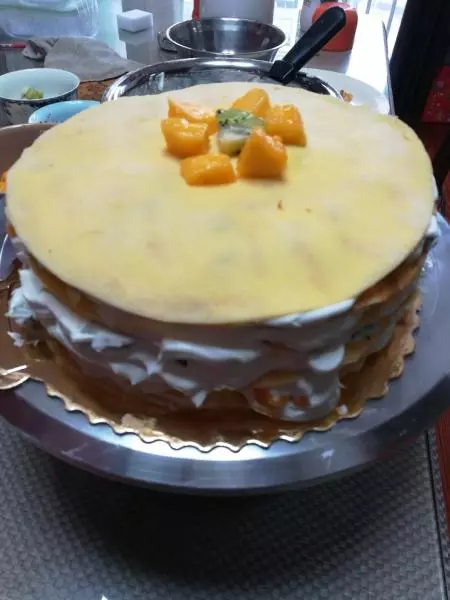
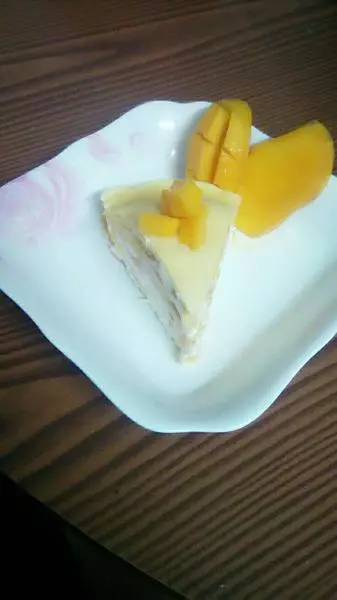
24可以享用啦~内外都并重的软妹就诞生啦~