原料
雞蛋: 4個, 草莓: 250g, 酸奶: 30g, 白砂糖(蛋白): 50g, 白砂糖(蛋黃): 10g, 色拉油: 60g, 檸檬汁: 幾滴, 鮮奶油: 200g, 白砂糖(奶油): 20g
步驟
1草莓洗凈,先取約100g草莓打成泥。

2準備兩個無水無油的盆,將蛋黃蛋白分離。蛋白先放冰箱保鮮。

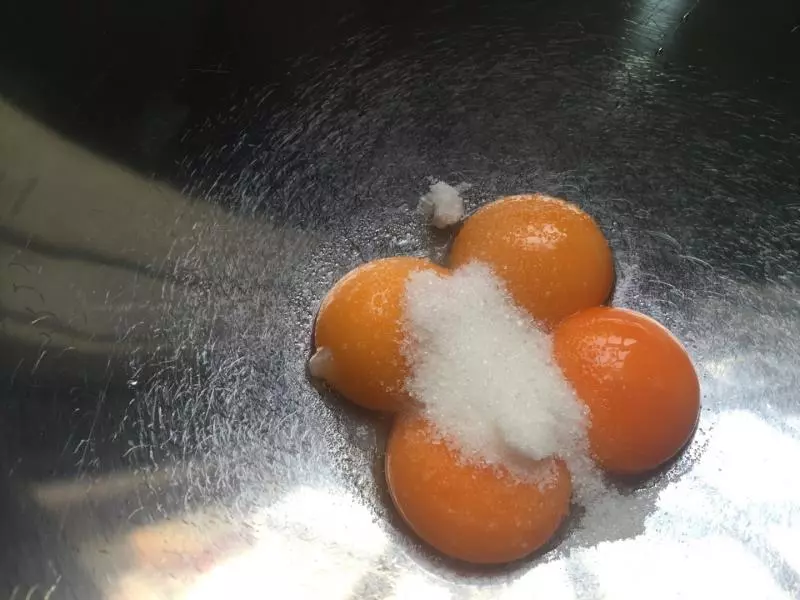
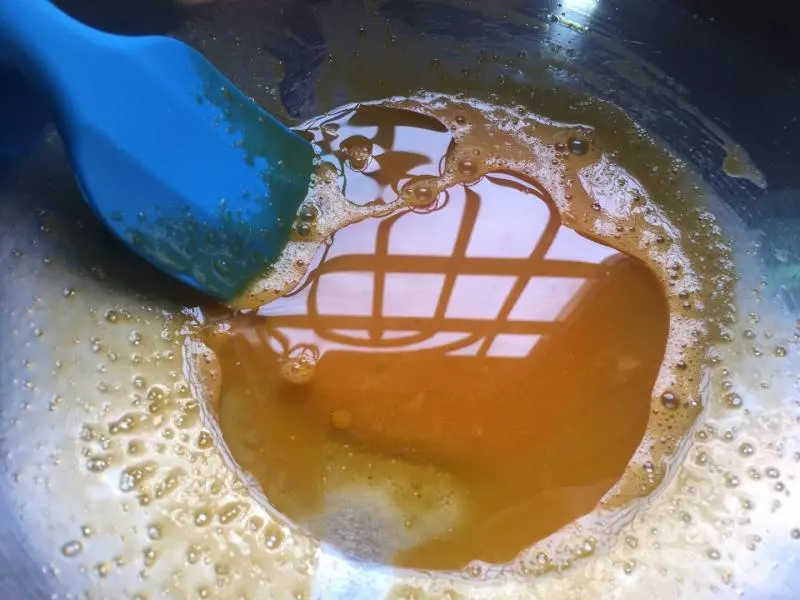
3蛋黃加糖,10g。攪拌至砂糖融化。
4加色拉油,60g。攪拌至融合。
5攪拌成這個樣子差不多啦。加酸奶,30g。
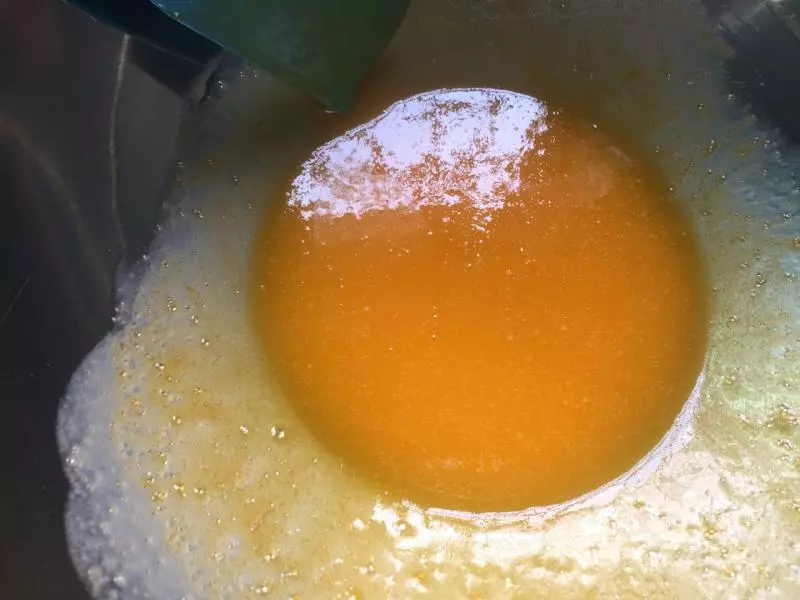
6草莓汁過濾加入,40g。

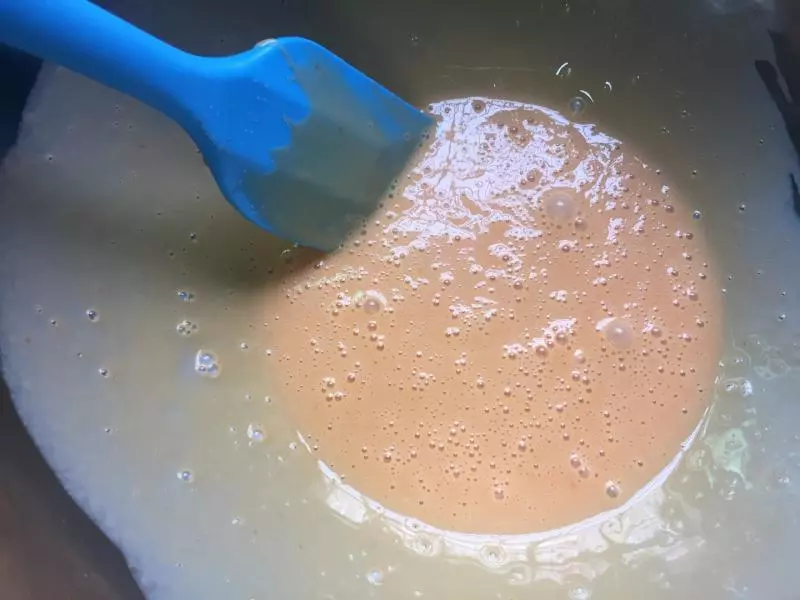
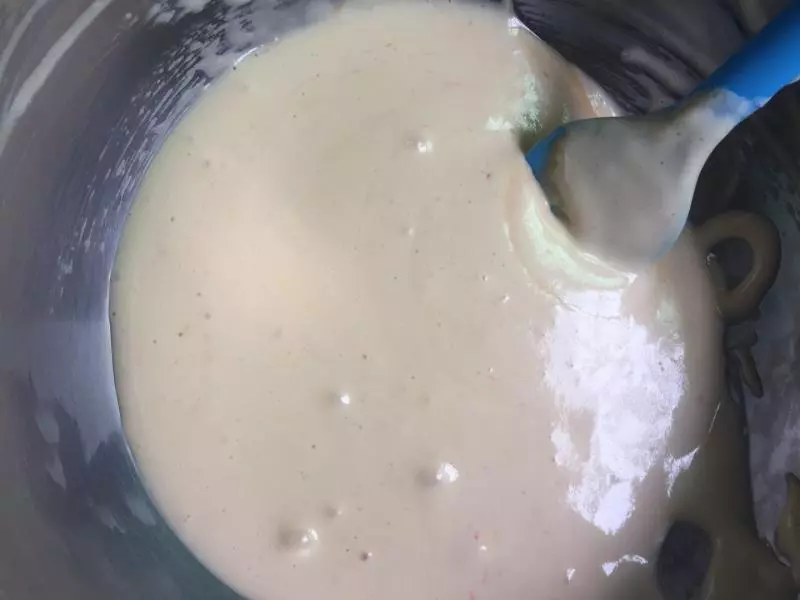
7攪拌攪拌攪拌,乳化完成後,差不多這個狀態。
8篩入低筋麵粉。
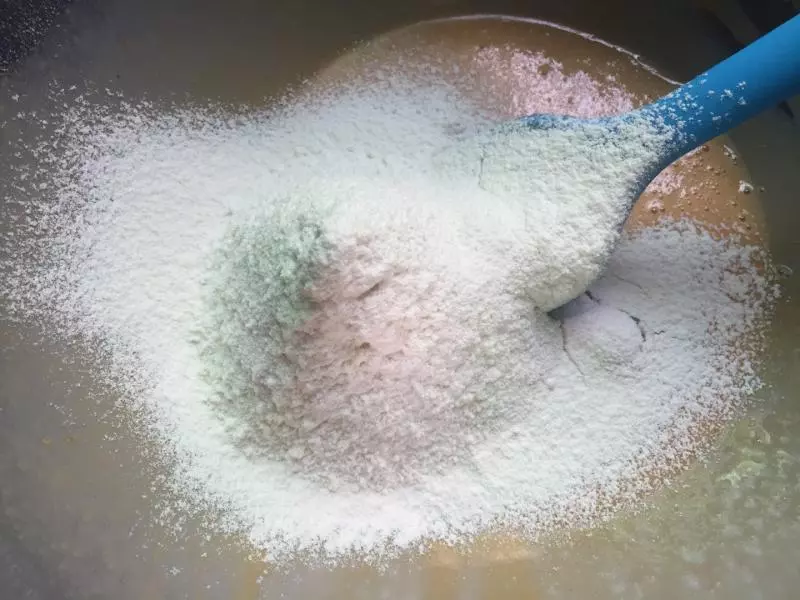
9翻拌。切記不要使勁畫圈攪拌。這裡可以將麵糊過篩,蛋糕會更細膩,懶的同學就不用麻煩了(比如我),注意不要有麵粉坨就好。

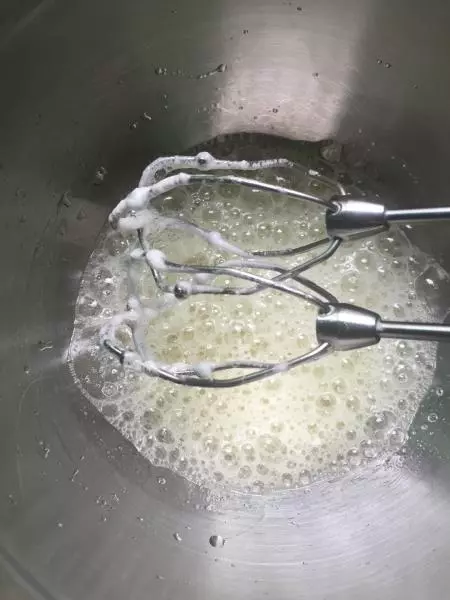
10先190度,預熱烤箱。然後取出放在冰箱的蛋白,白砂糖要分三次加。高速打成這樣,加第一次糖,擠兩滴檸檬汁。
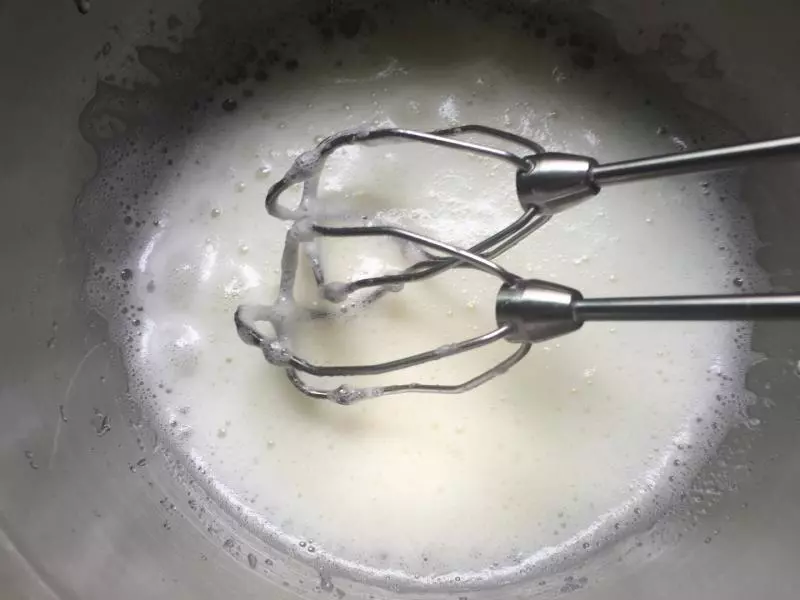
11第二次加糖。
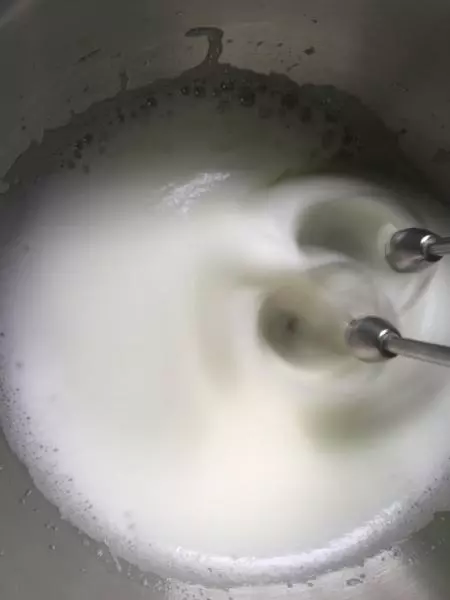
12第三次加糖。
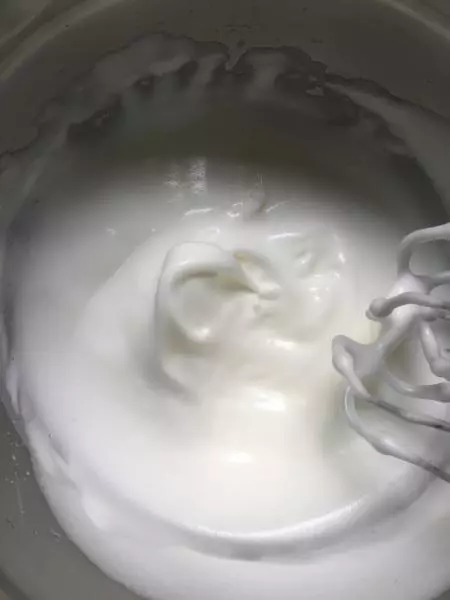
13能拉起直立彎角就行,介於濕性發泡和硬性發泡之間。(我這個打蛋器不容易拉角我好煩)
14先取三分之一打好的蛋白與麵糊混合,後加入全部蛋白,翻拌均勻(像炒菜一樣),切忌畫圈攪拌導致消泡。
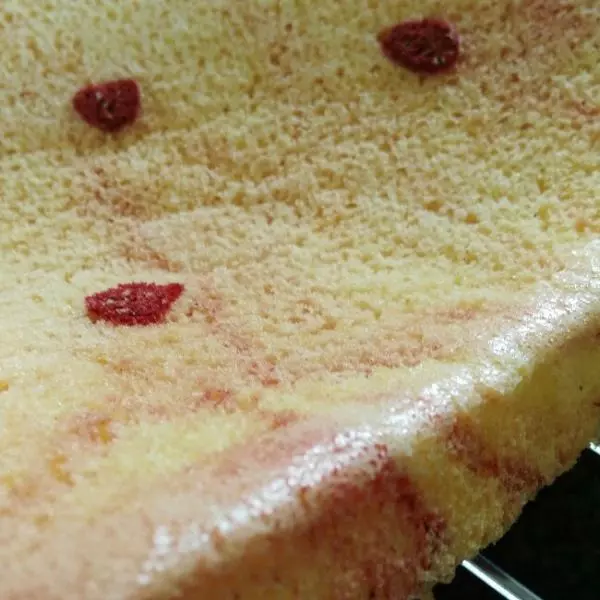
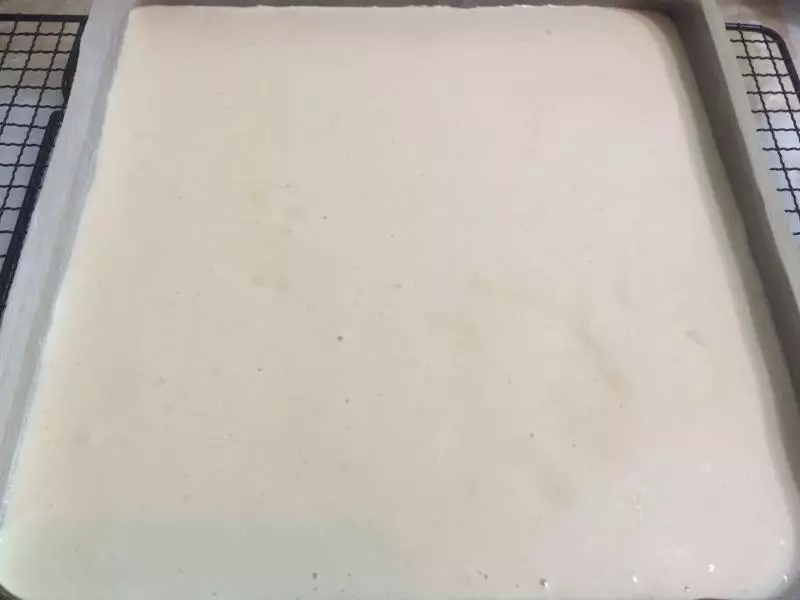
15烤盤墊油紙,倒入,震兩下,入烤箱。
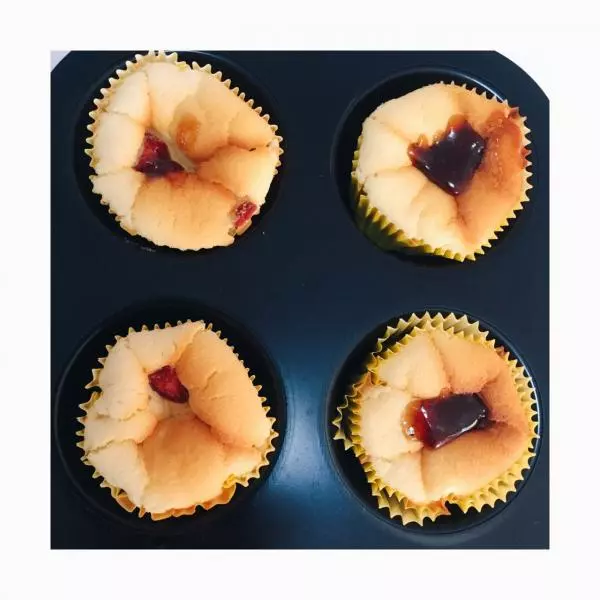
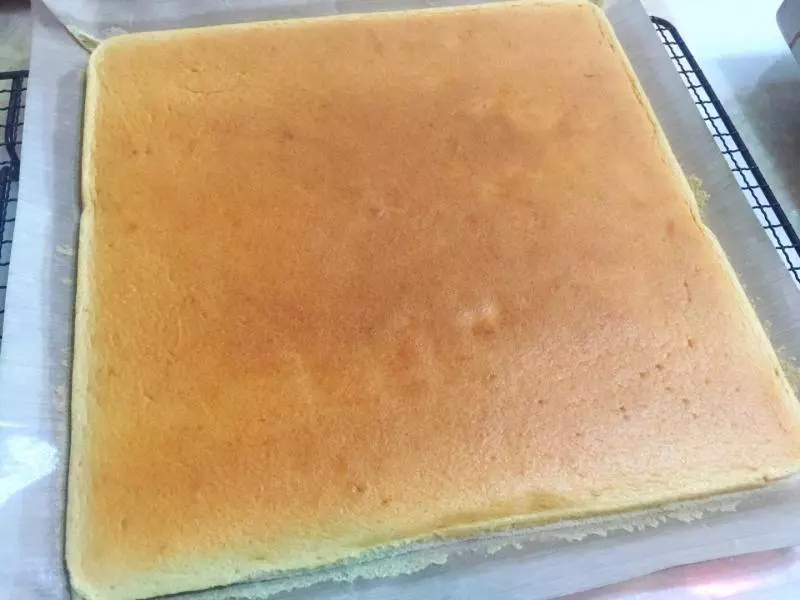
16烤箱中層,170度,18分鐘。取出倒扣,晾涼(倒扣忘記照相了)。上面記得蓋一層油紙,免得蛋糕變干。
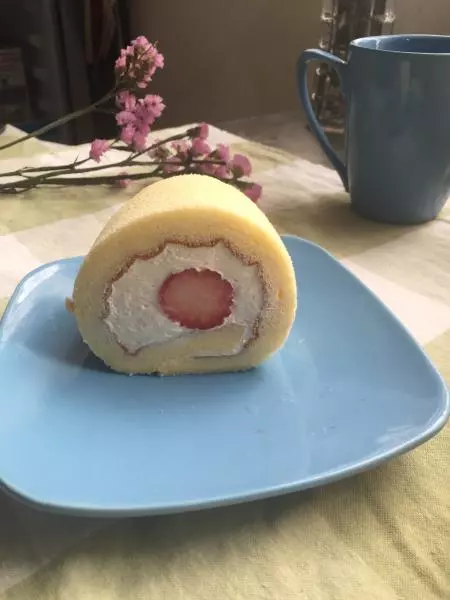
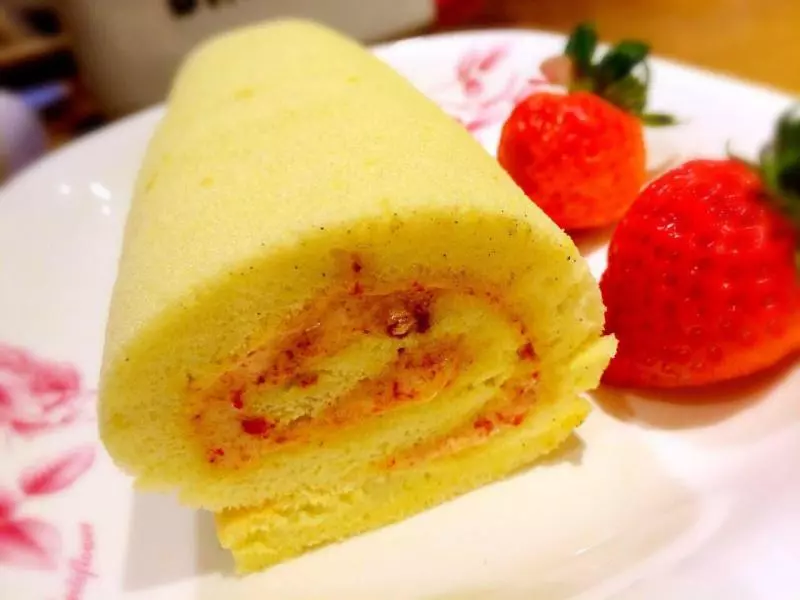
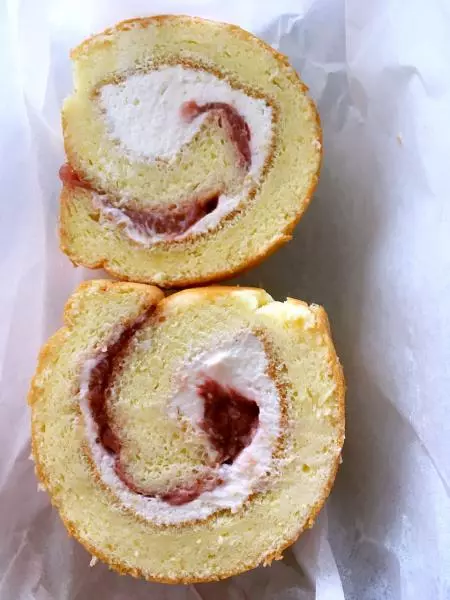
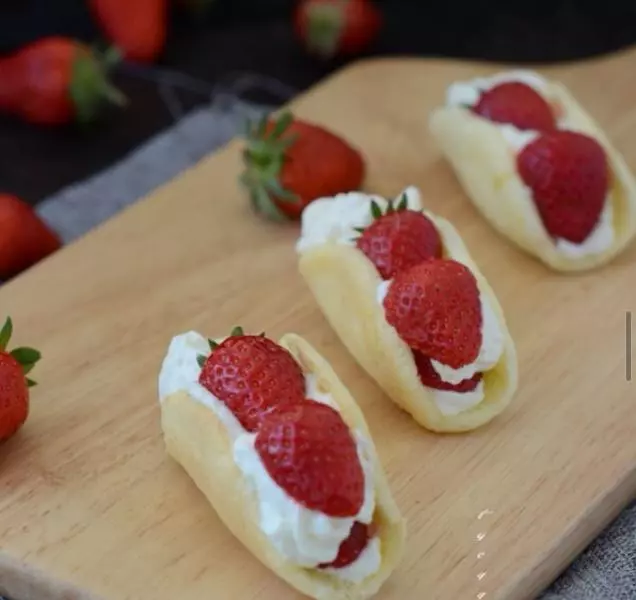
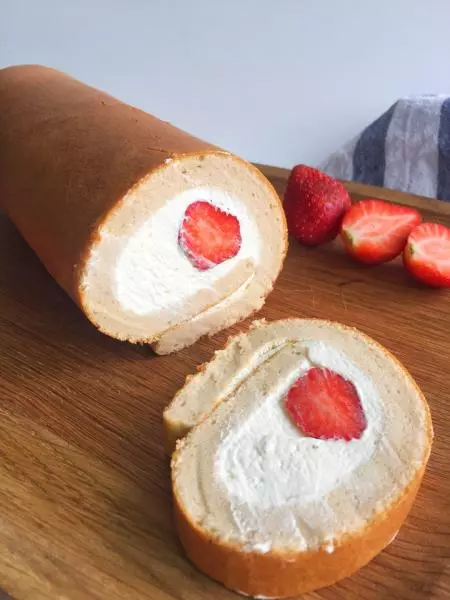
17蛋糕晾涼後,取200g奶油,加20g砂糖。鮮奶油打硬,但是注意不要打過頭。抹在蛋糕上,中間加草莓。注意草莓表面要晾乾,不要有水分。草莓上可以再蓋一層奶油。
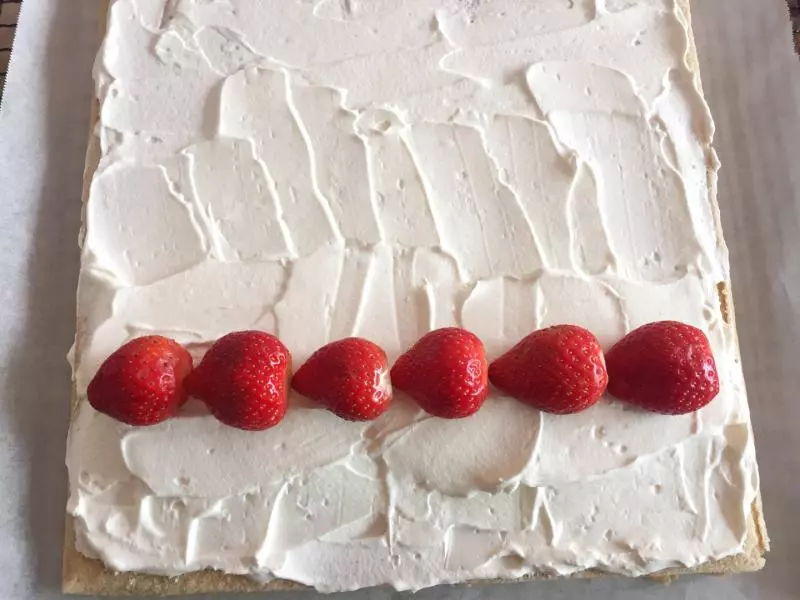
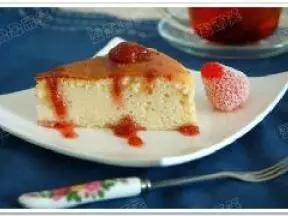
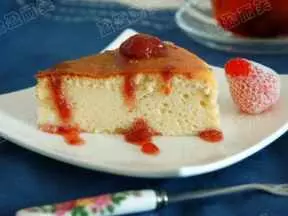
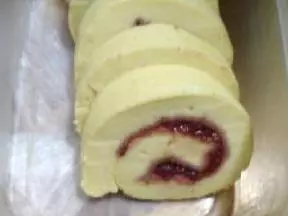
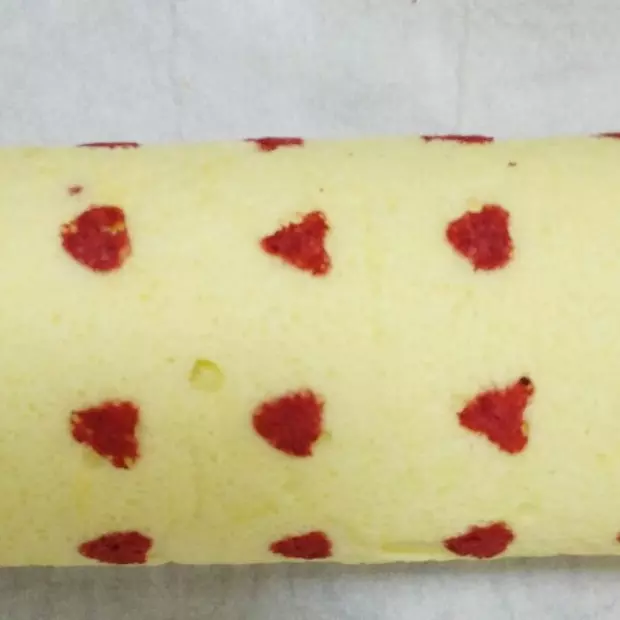
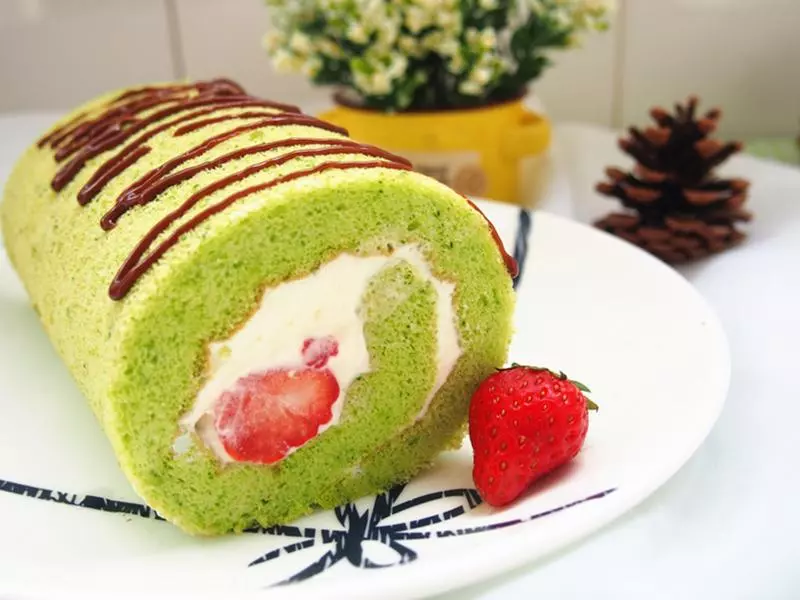
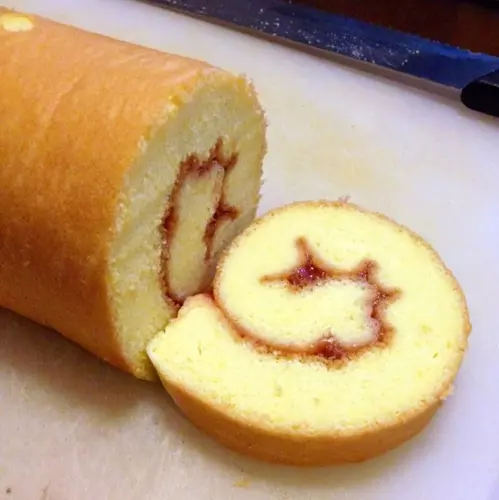
18卷完放入冰箱定型後就可以拿出來切切吃啦~