原料
雞蛋: 7個, 牛奶: 90ml, 油: 50ml, 肉鬆: 適量, 小蔥: 適量, 砂糖: 110克, 麵粉: 130克, 鹽: 5克
步驟
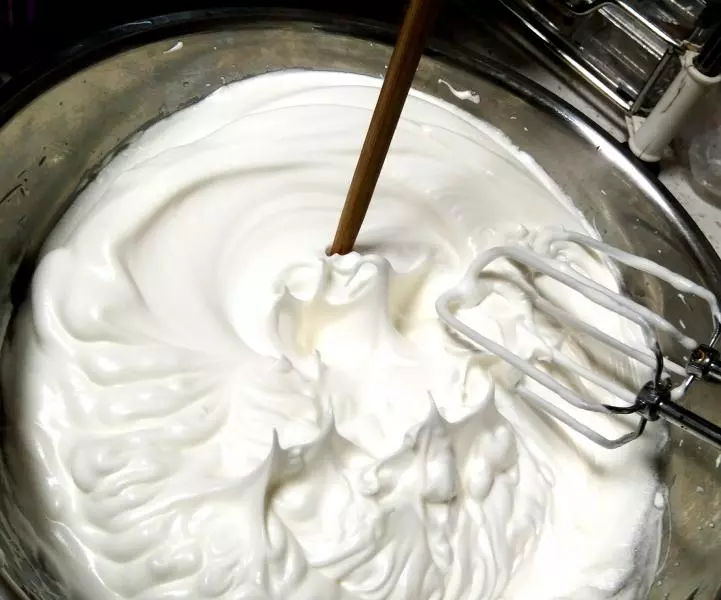
1打發蛋白到硬性發泡,硬性發泡指標,打蛋器拉出直立小尖角,可以直立插筷子,紋路較粗且不消失。如果沒有信心,可以加一小勺泡打粉。但通常打發的蛋白還是比較穩定的。
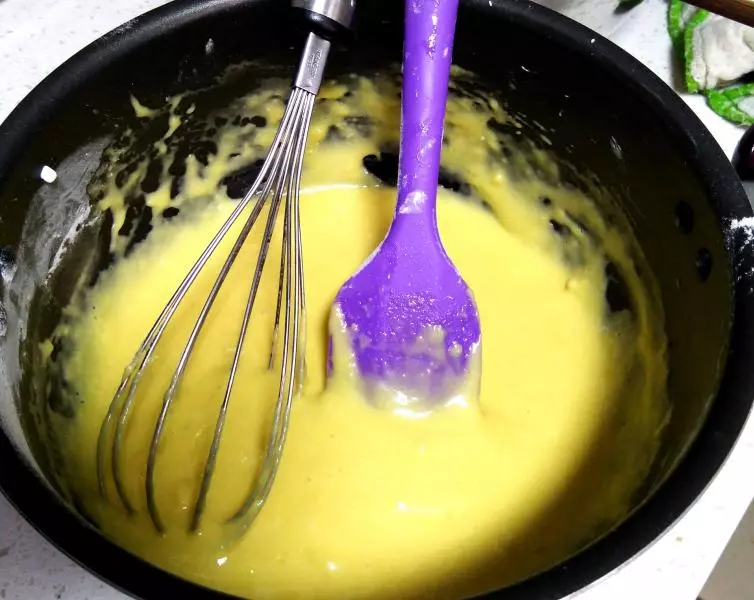
2混合除了肉鬆和小蔥之外的其它材料。並攪拌到細膩。
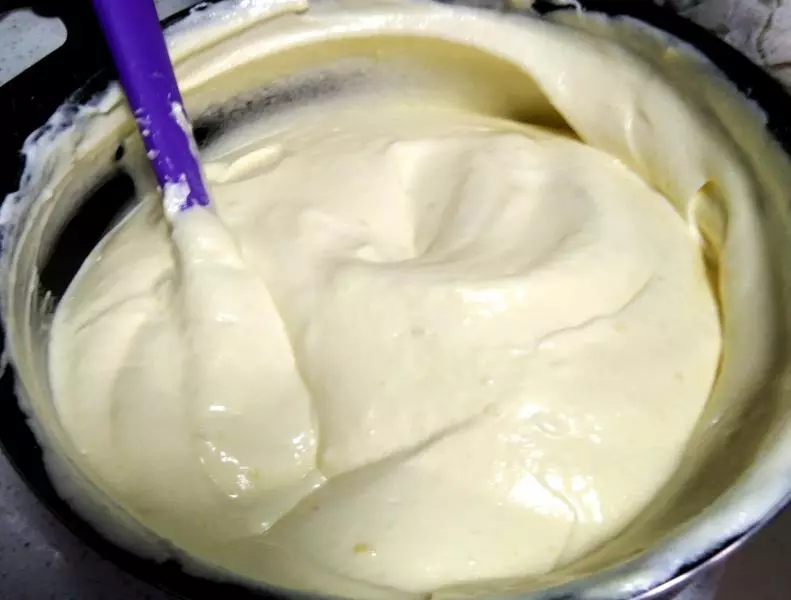
3分三次混入蛋白,每次三分之一。通常我會把第一個三分之一,充分和麵粉混合物攪拌均勻。其它兩次就用鏟子從底部翻鏟,幾乎不攪拌,最後混合均勻。不要攪拌過度。
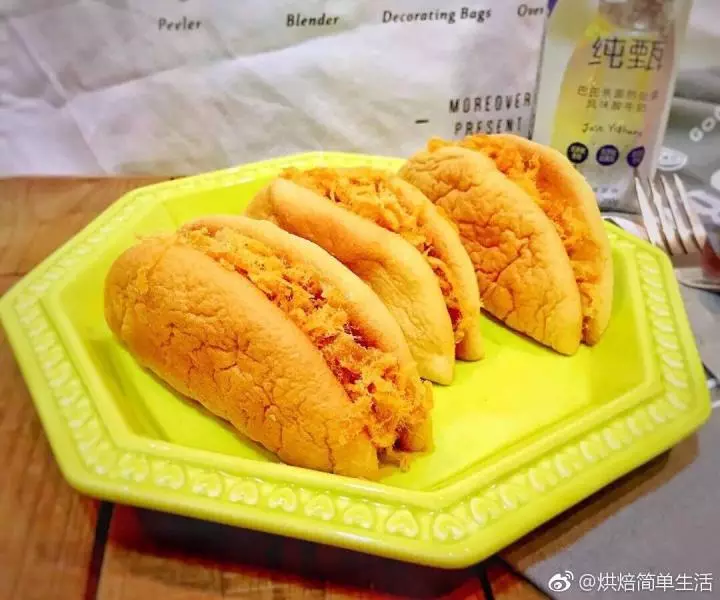
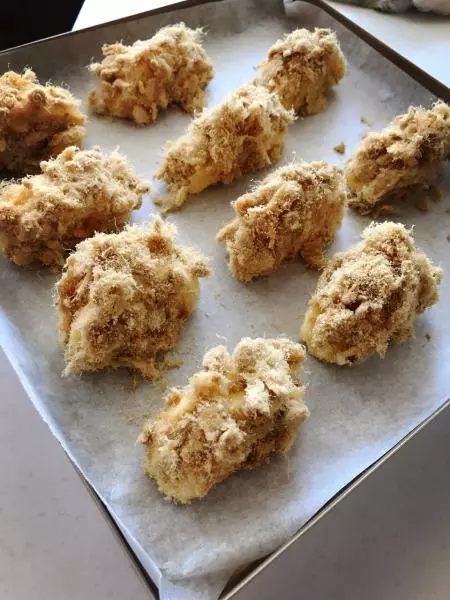
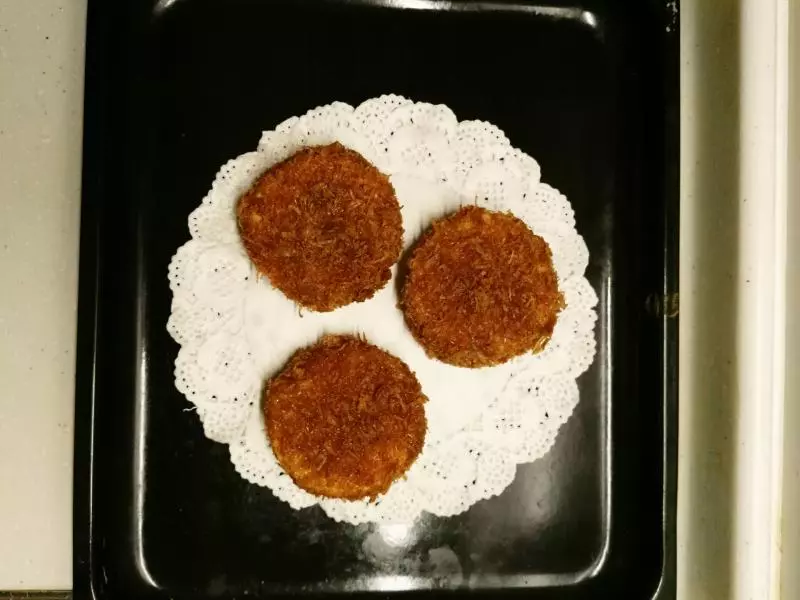
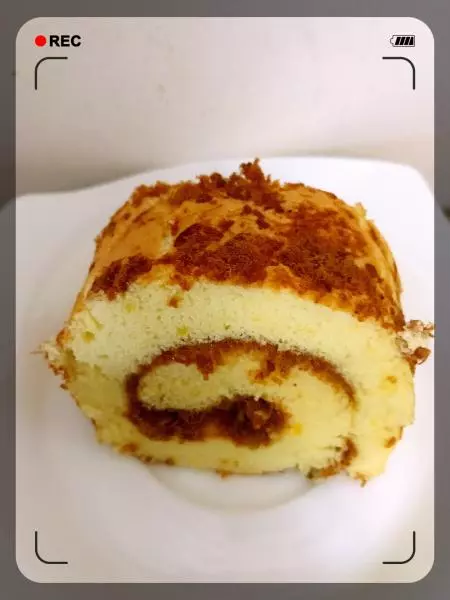
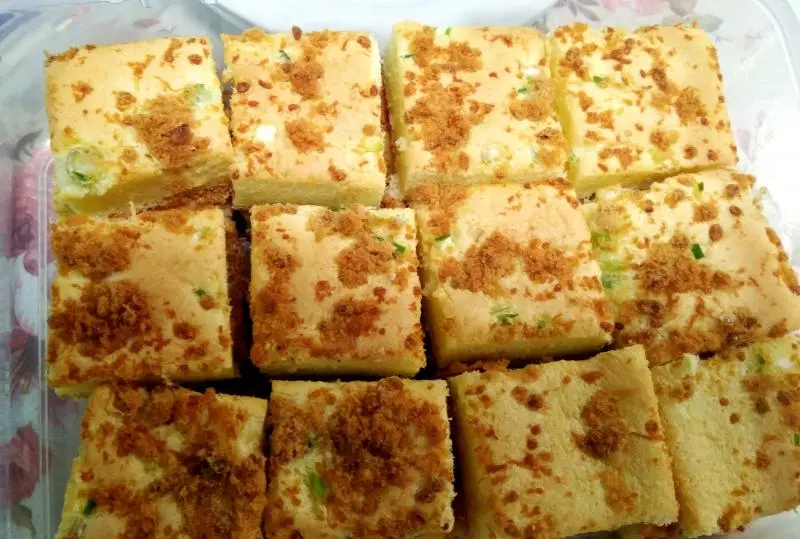
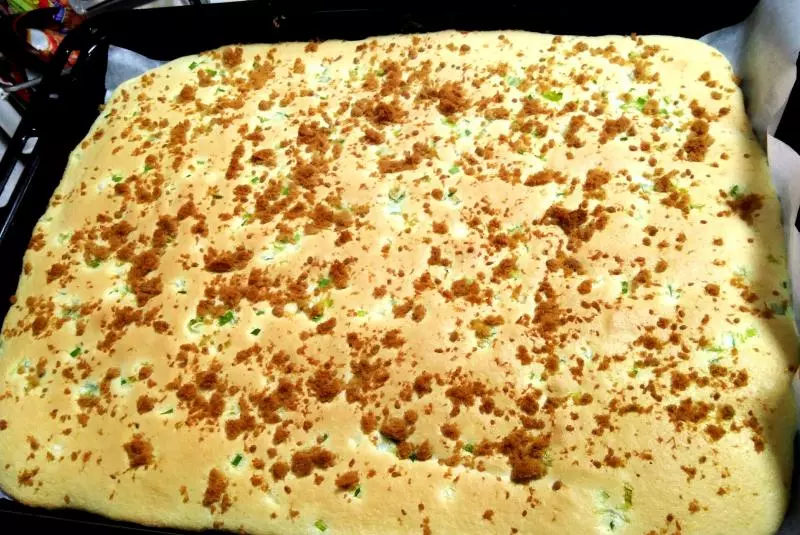
4把混合液倒入平底烤盤,抹平,撒上蔥花和肉鬆。
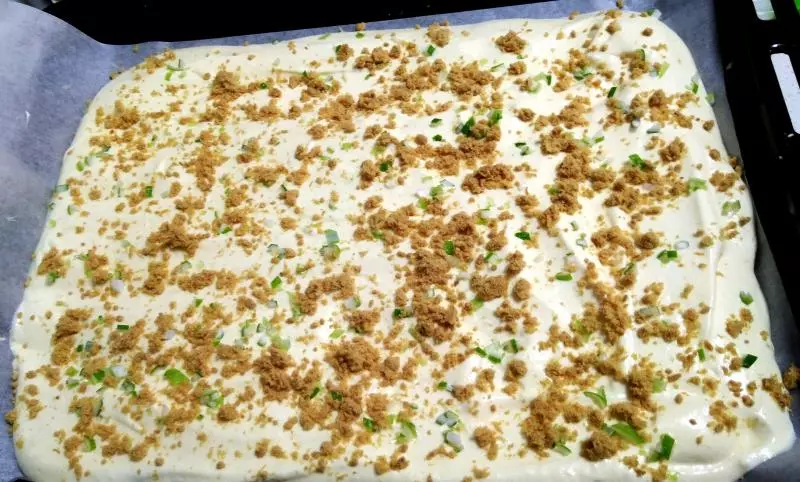
5放入預熱好的烤箱,165度,20分鐘。各家烤箱有差異,肉眼觀察為實。
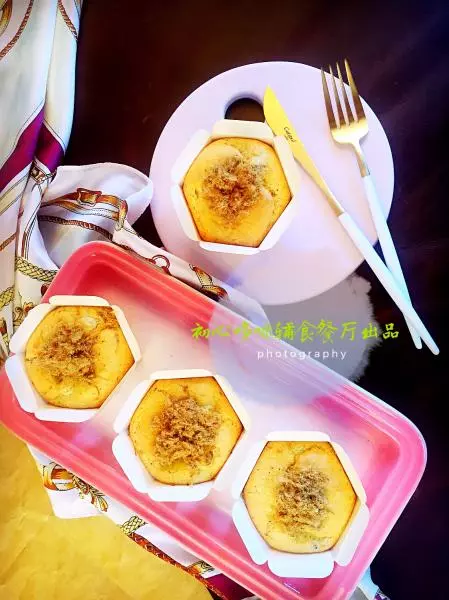
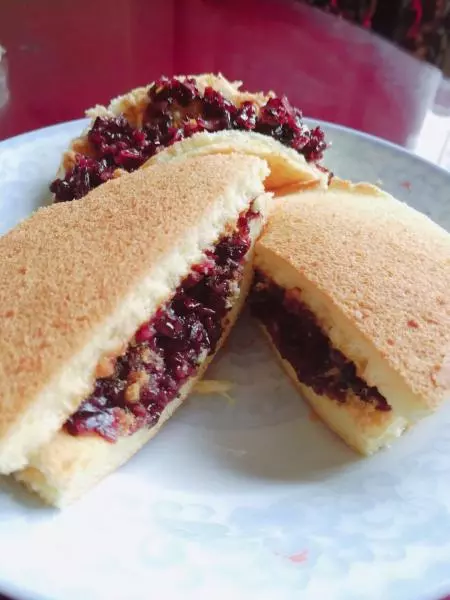
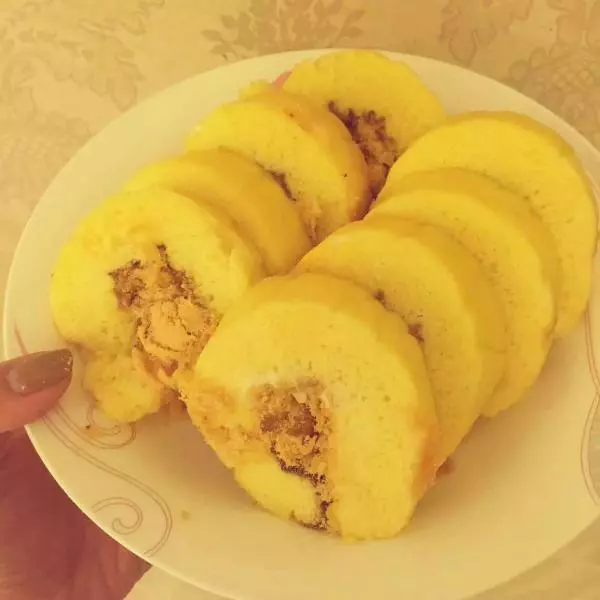
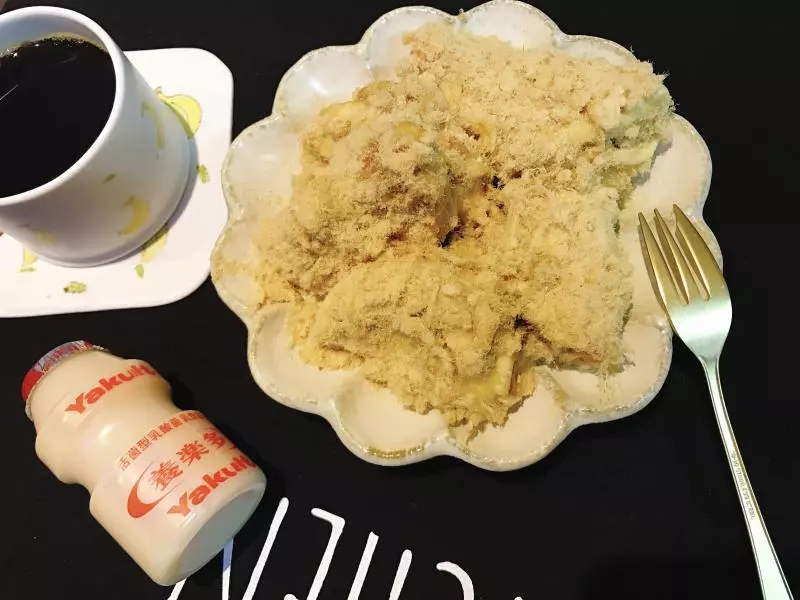
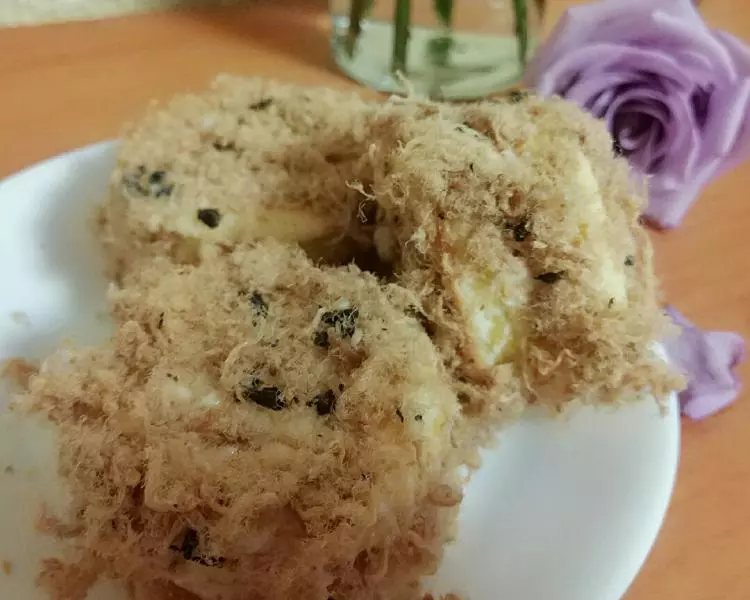
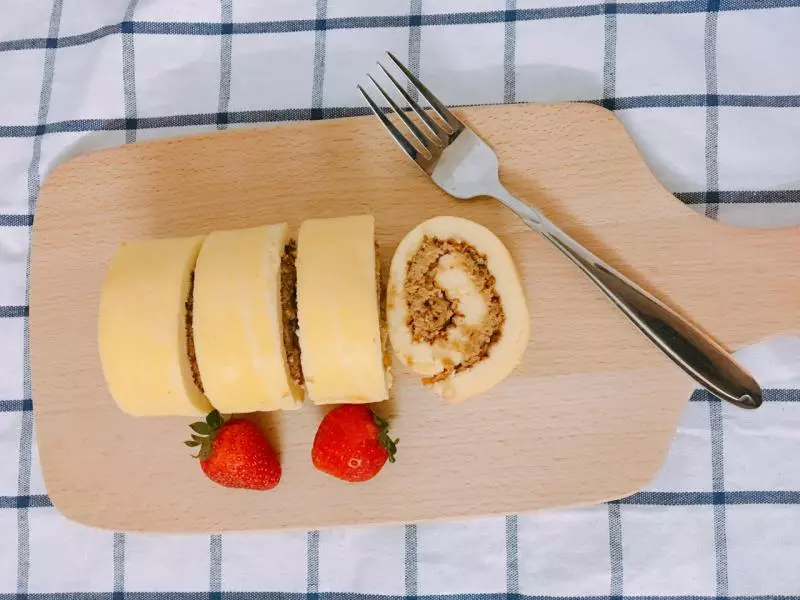
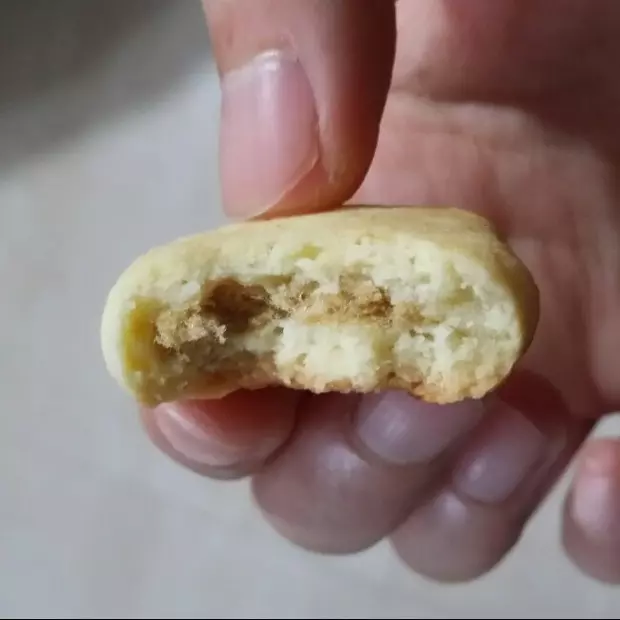
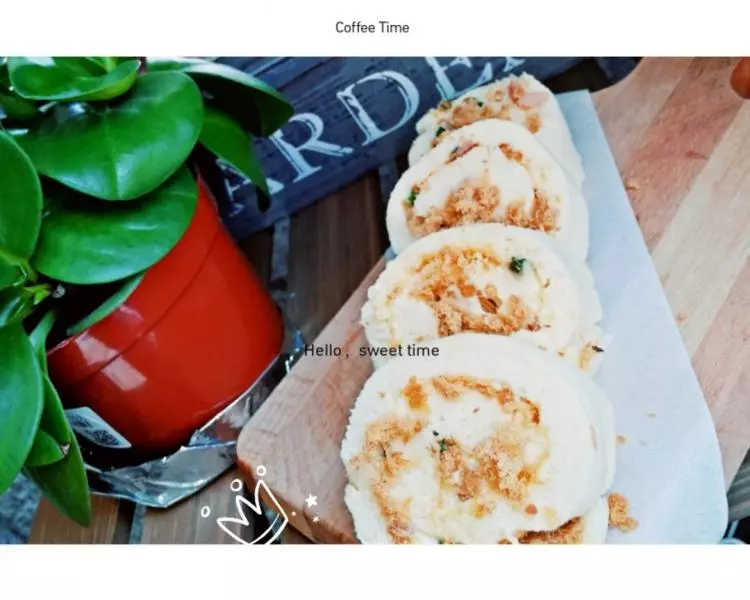
6取出後,稍微放涼,就可以切小塊。
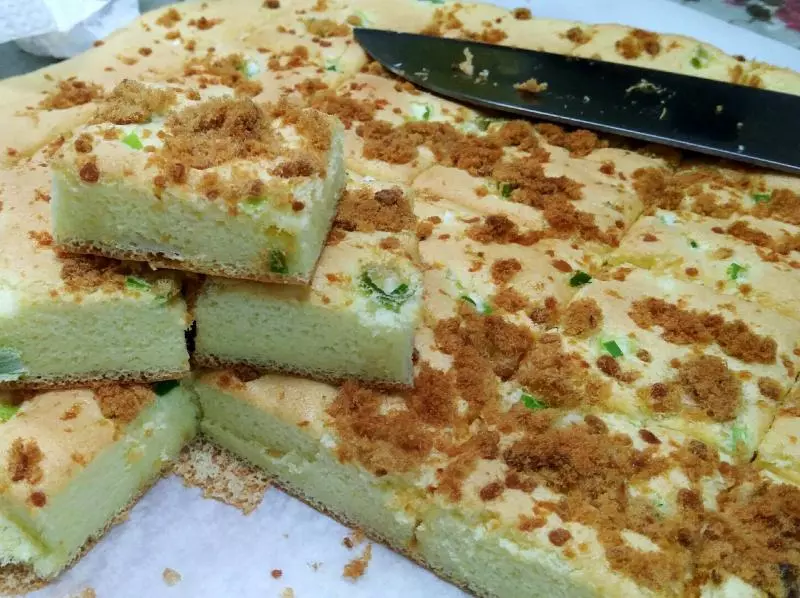
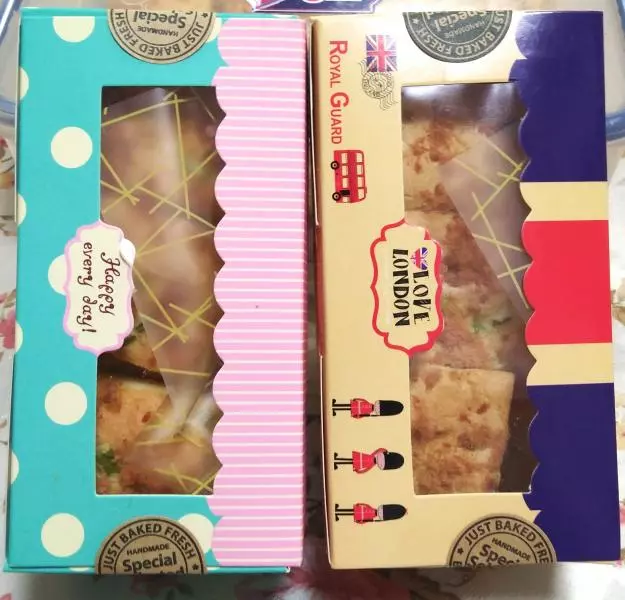
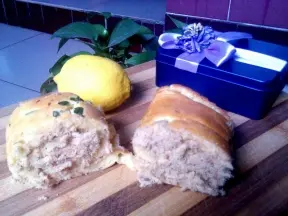
7裝在盒子裡送朋友也是很不錯哦