原料
蛋白: 6個, 糖: 95G, 椰漿: 80G, 玉米油: 70G, 低粉: 120G, 蛋黃: 6個
步驟
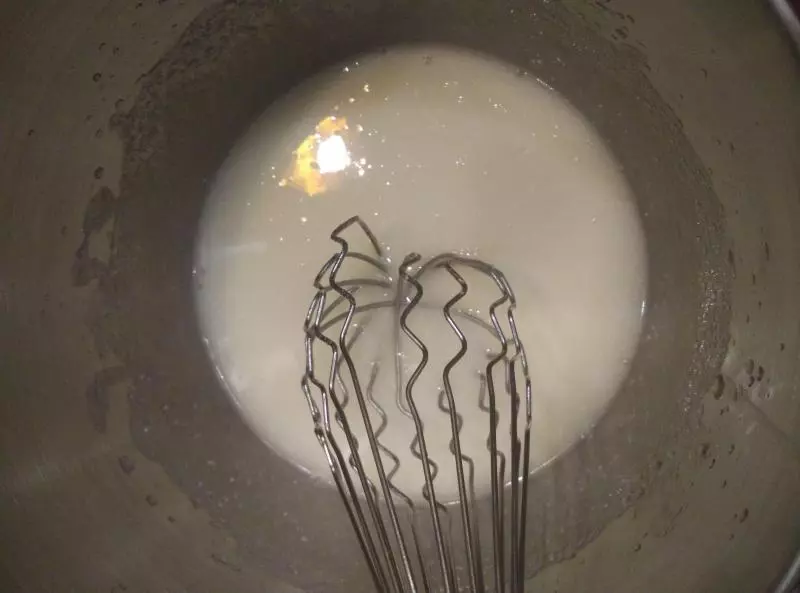
11、椰漿+油,用蛋抽攪打,混合乳化
22、篩入低粉

33、攪拌均勻

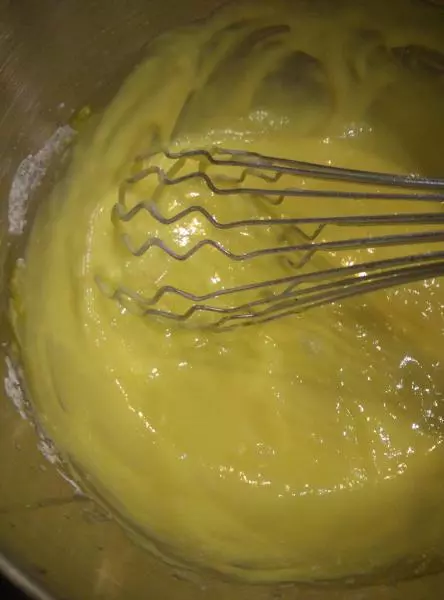
44、加入蛋黃,攪拌均勻(以上順序,可以讓蛋黃糊細膩無顆粒)
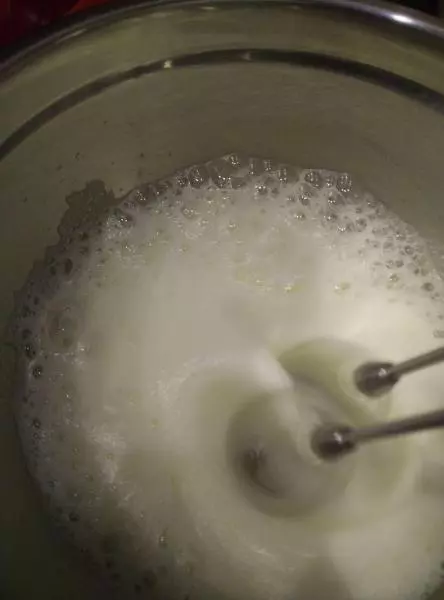
55、蛋白打到細密泡泡,體積增大,無液態蛋白液時,一次性加入所有糖
66、繼續打發到乾性發泡
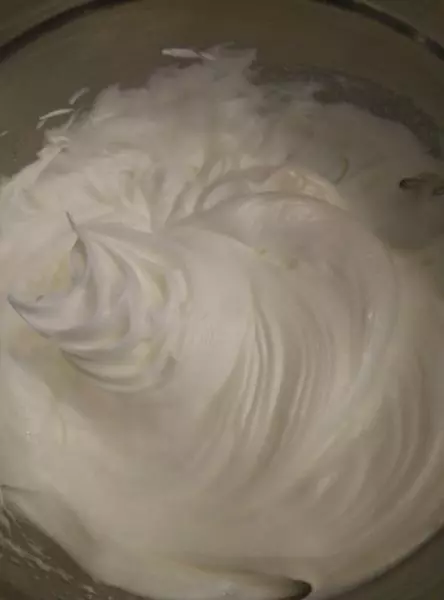
77、用蛋抽攪拌蛋白,使它濃稠細膩

88、三分之一蛋白加入麵糊,拌勻
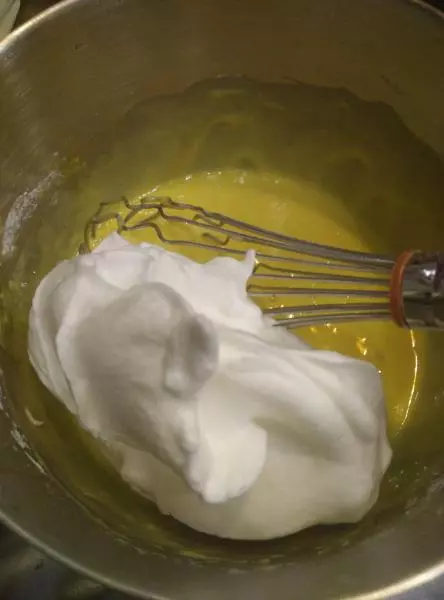
99、麵糊倒回剩下的三分之二蛋白中
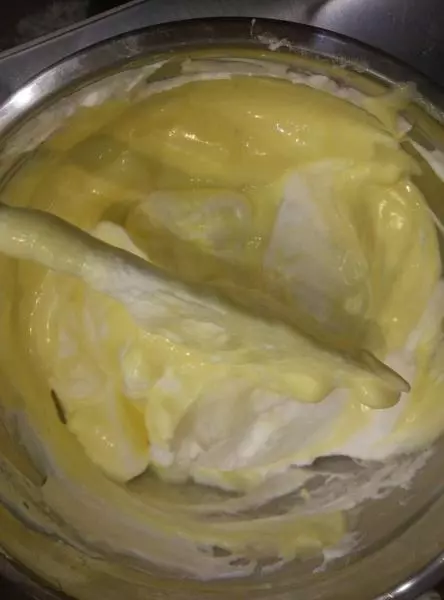
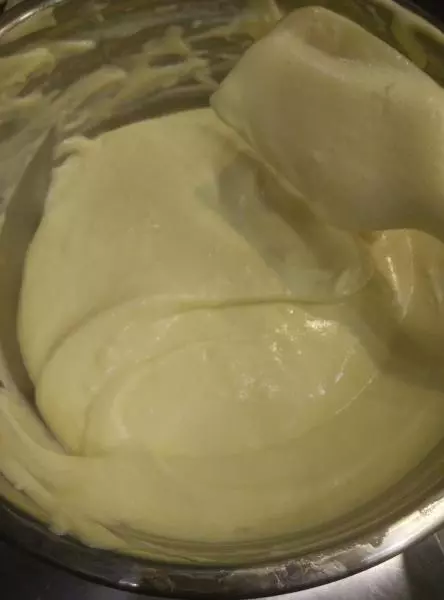
1010、切拌+翻拌均勻
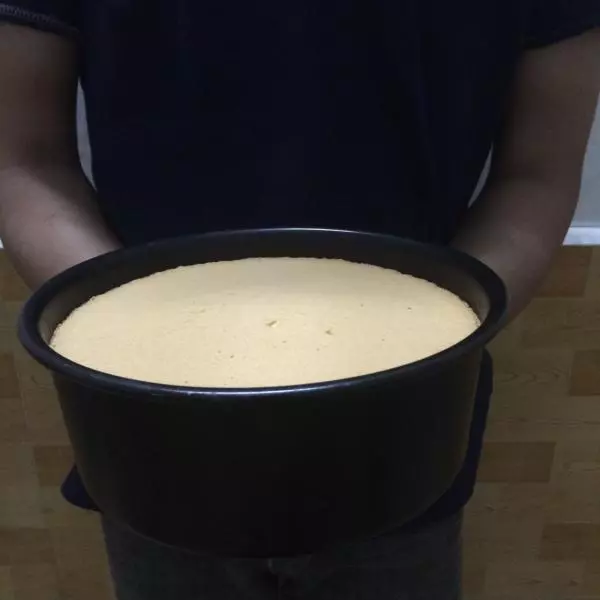
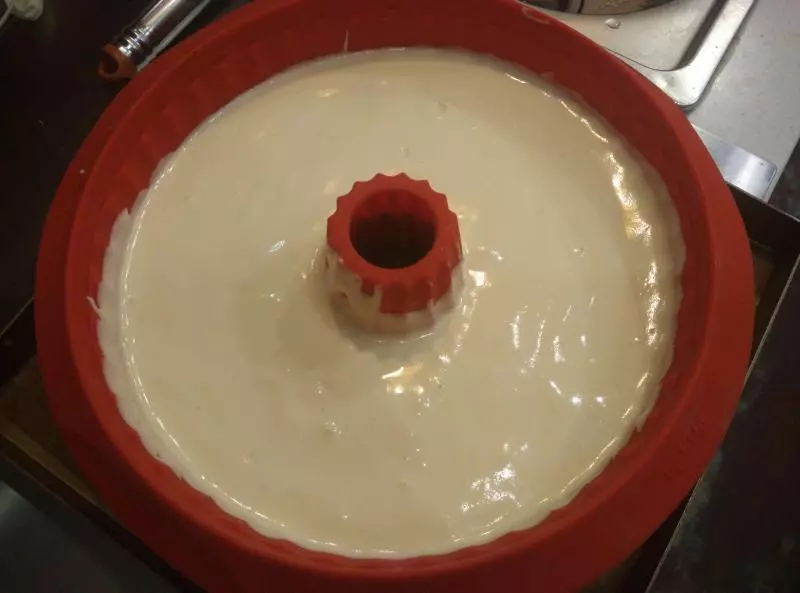
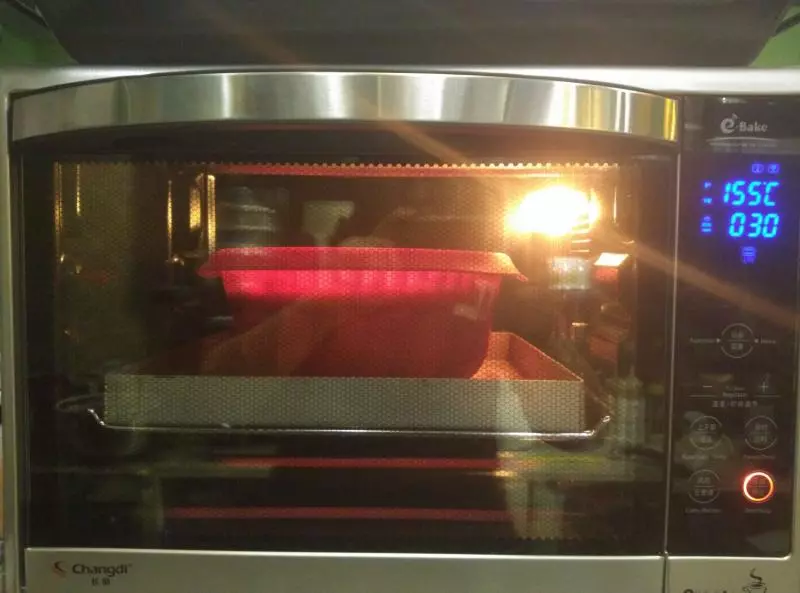
1111、入模,下面墊金盤
1212、烤箱預熱上下火155,中下層40分鐘
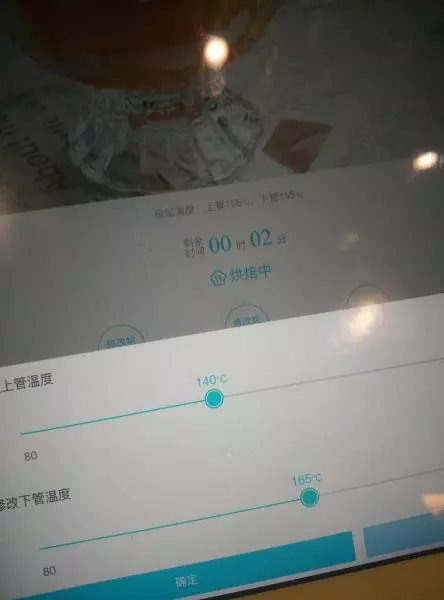
1313、調整溫度上火140,下火165,15分鐘
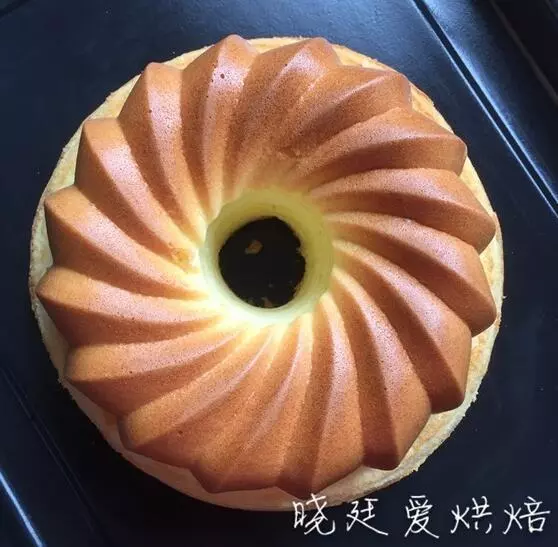
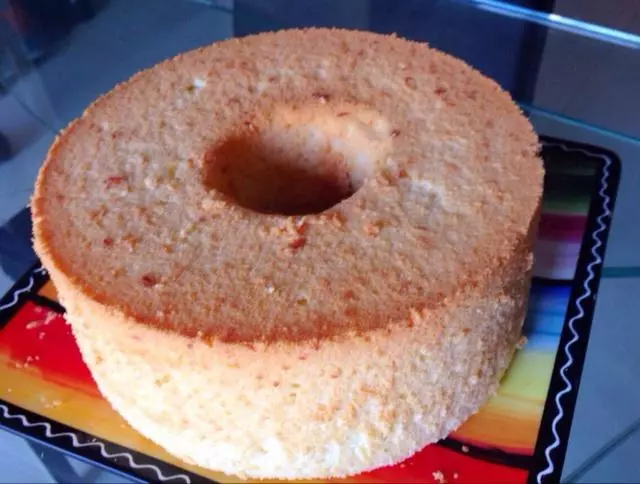
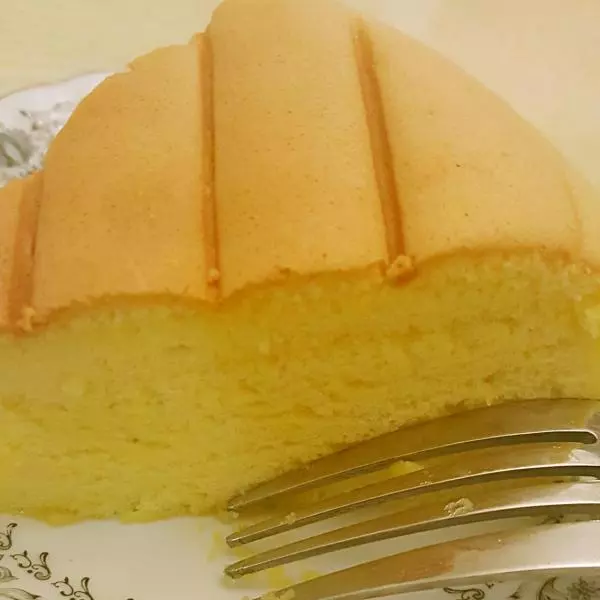
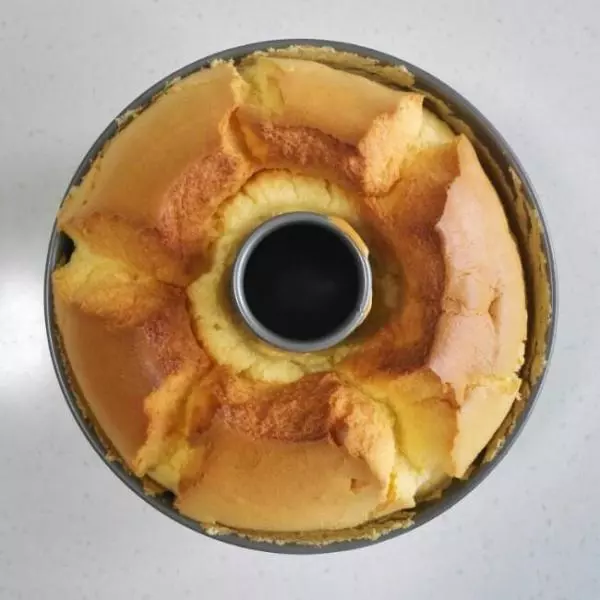
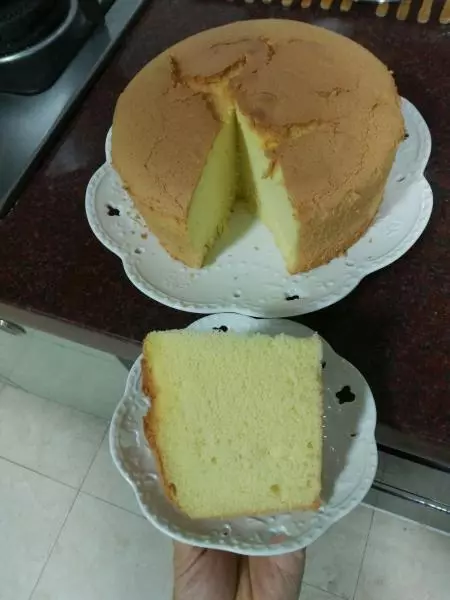
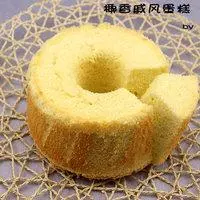
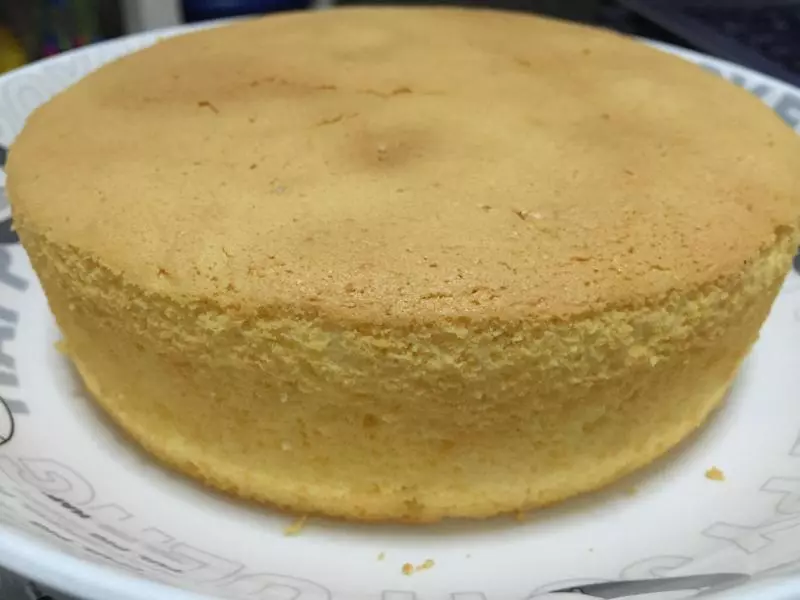
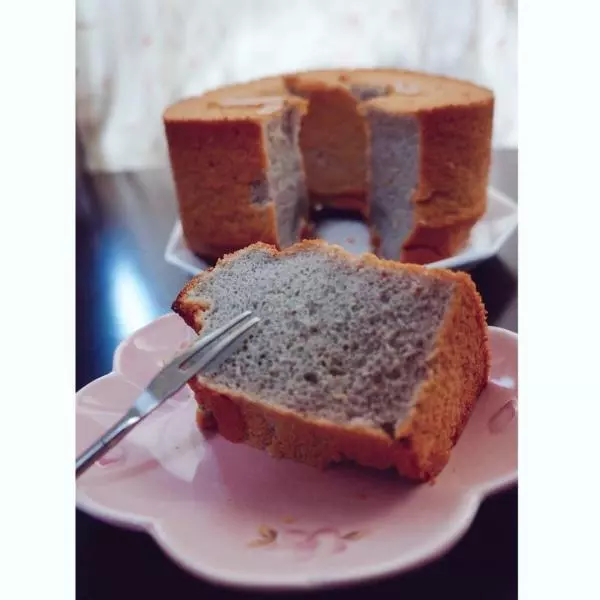
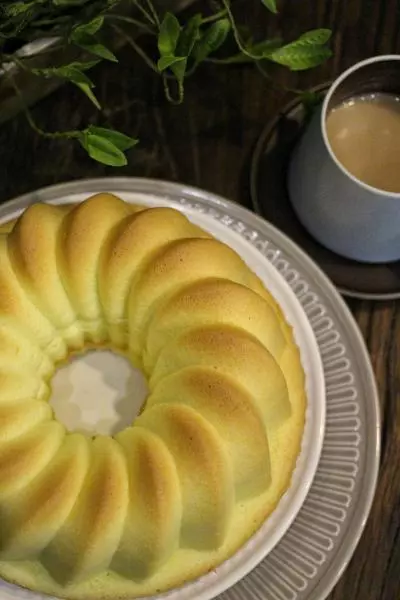
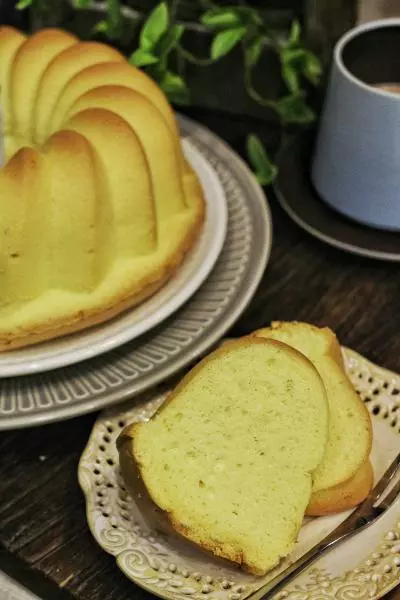
14成品
小技巧
在烘焙過種中,這款CRDF32A的優勢就顯現出來了, 1、中途可以調整溫度,讓烘烤更精準 2、調整溫度時,因為上面上色已經足夠,所以直接降低上火,而不用加蓋錫紙 最後出爐的蛋糕,上色均勻,脫模完整,不塌不縮。這次與烤箱的磨合期非常短喔!!