原料
蛋黃糊部分:: , 水: 47g, 玉米油(無味): 47g, 細砂糖: 11g, 低筋麵粉: 67g, 蛋黃: 5個, 香草精(去腥,可不加): 數滴, 蛋白霜部分:: , 蛋白: 5個, 細砂糖: 54g, 塔塔粉(可不加): 2g, 鹽: 0.5g
步驟
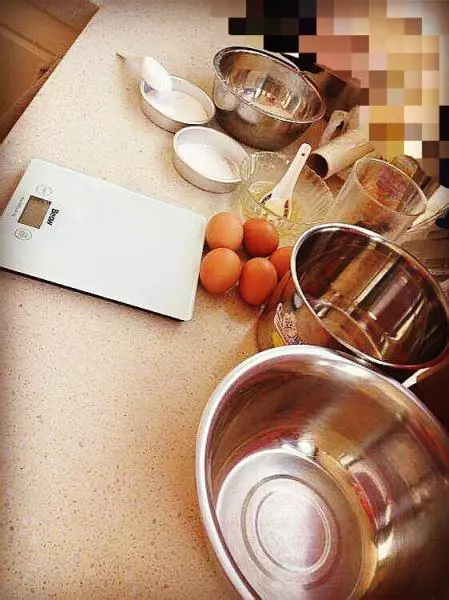
1準備好材料
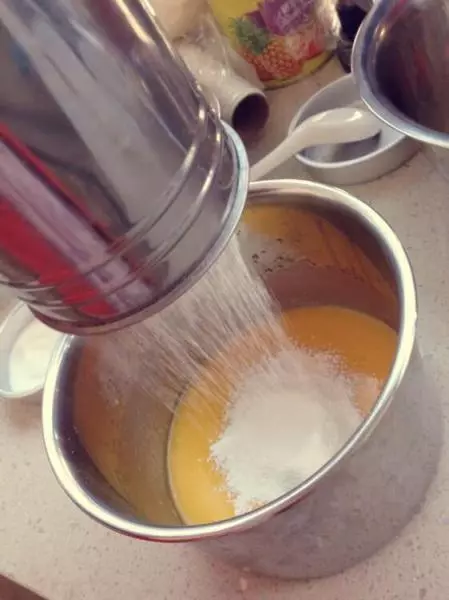
2首先,混合水,油,糖,攪啊攪啊攪啊攪啊攪~~~~~~
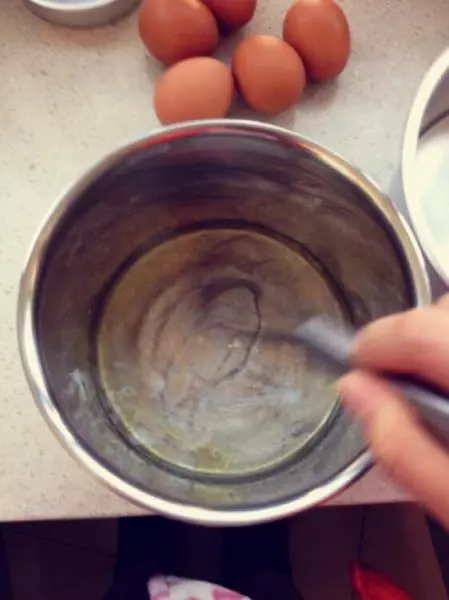
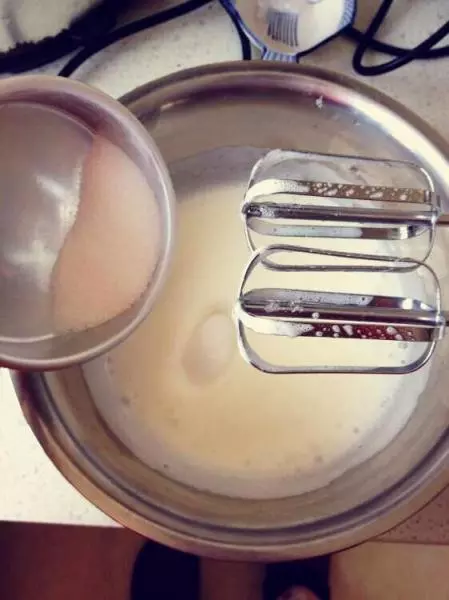
3分離好蛋清和蛋黃(切記蛋白盆中無水無油!一丟丟兒都不能有哈!)
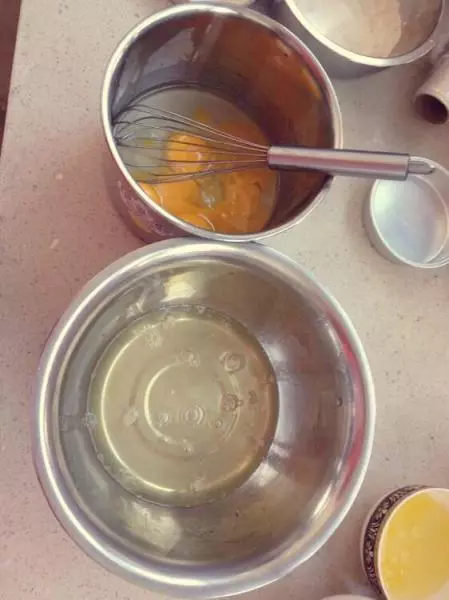
4往步驟一中加入蛋黃順時針攪勻,這時加入香草精
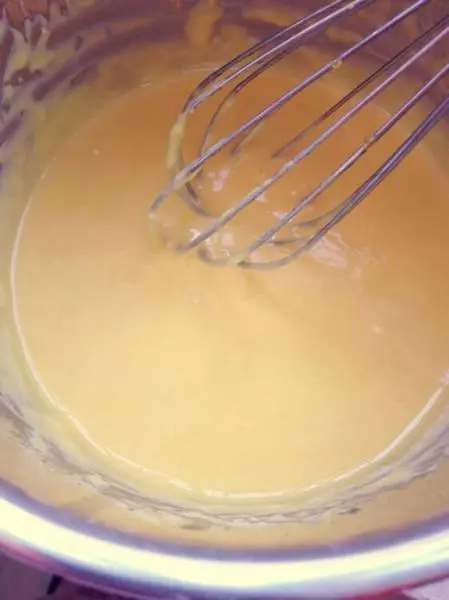
5篩入低筋麵粉
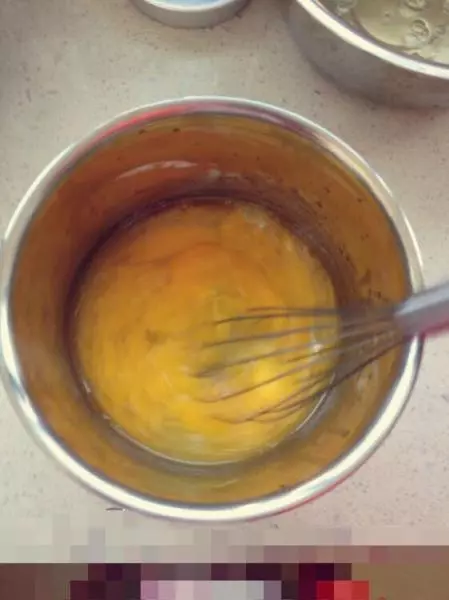
6用手動打蛋器攪成圖中細膩的狀態,蛋黃糊的部分就O啦~ (切記攪拌時間不能太長,過度攪拌會導致麵糊起筋,做出來的戚風蛋糕會縮腰噠組織也不蓬鬆噠)
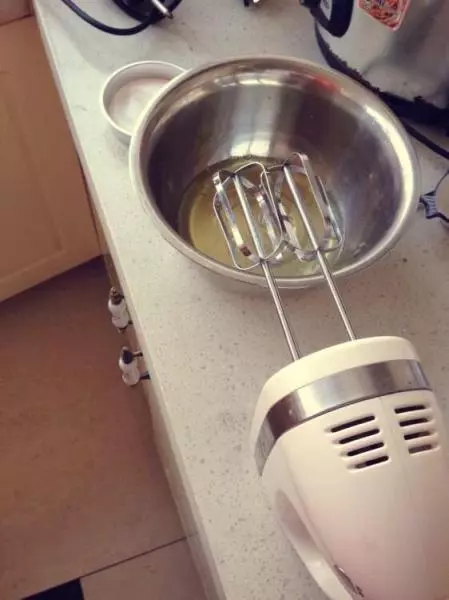
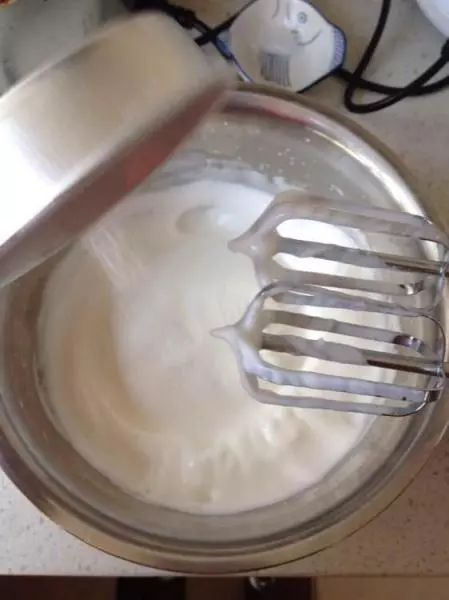
7接下來開始打發蛋白霜(打蛋頭也必須無水無油)並同時預熱烤箱上下火150度15分鐘(溫度要根據自己家烤箱的脾氣而定)
8細砂糖分三次加入:粗泡時加三分之一(塔塔粉也是這一次加入)
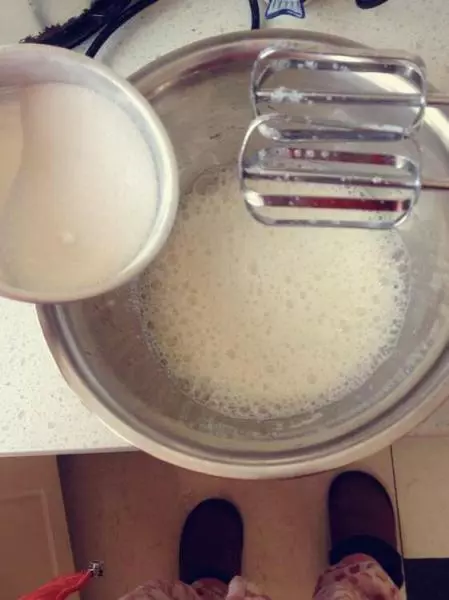
9打到泡沫細膩些的時候再加入剩下的二分之一
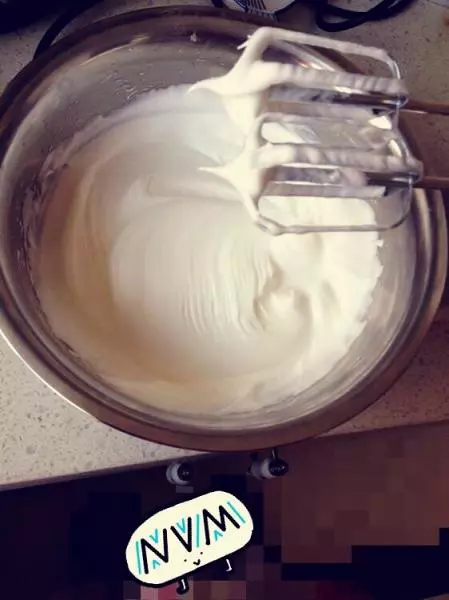
10再打到圖上這種出現不筆挺的迷你尖角時,加去入剩下的細砂糖
11然後打發至這種接近乾性發泡的狀態,蛋白霜的部分完成
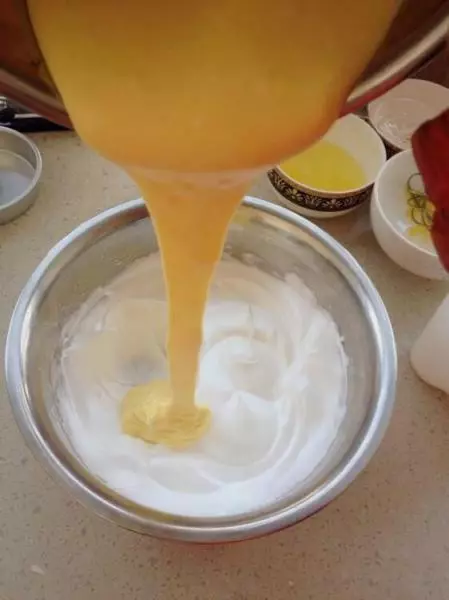
12先把三分之一的蛋白霜放入蛋黃糊中,用翻拌手法拌勻(切記不能畫圈攪拌,簡單的說就是把底部的麵糊翻到頂部,直到翻拌均勻)
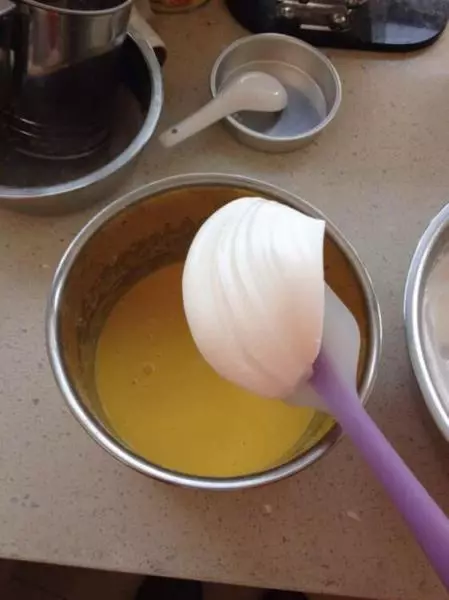
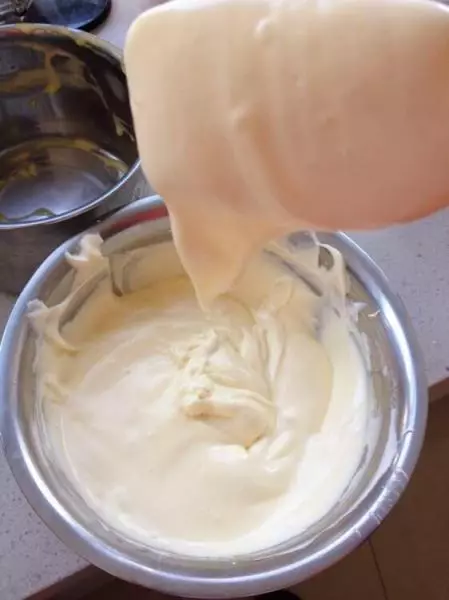
13拌勻後倒回蛋白盆中,繼續用翻拌手法拌勻
14最後呈現圖中光滑的狀態即可,戚風麵糊就完成啦~~~
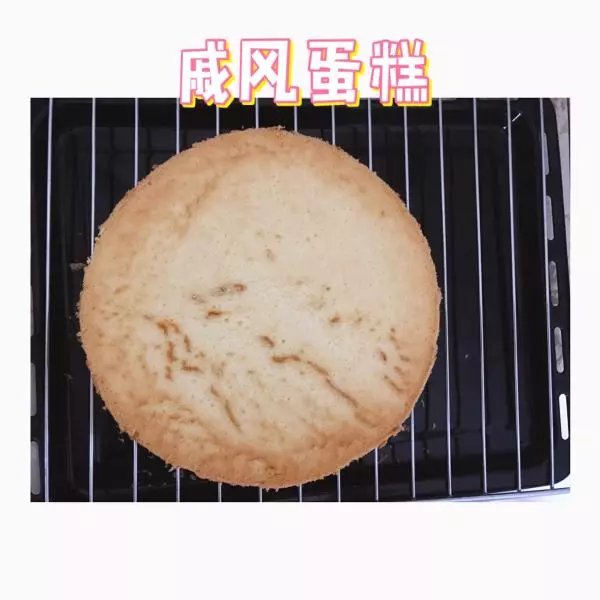
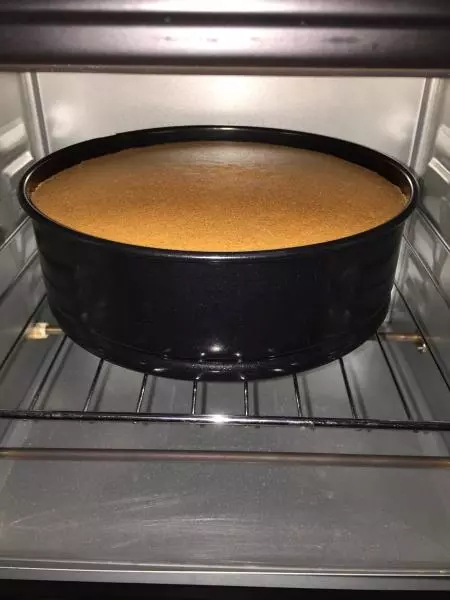
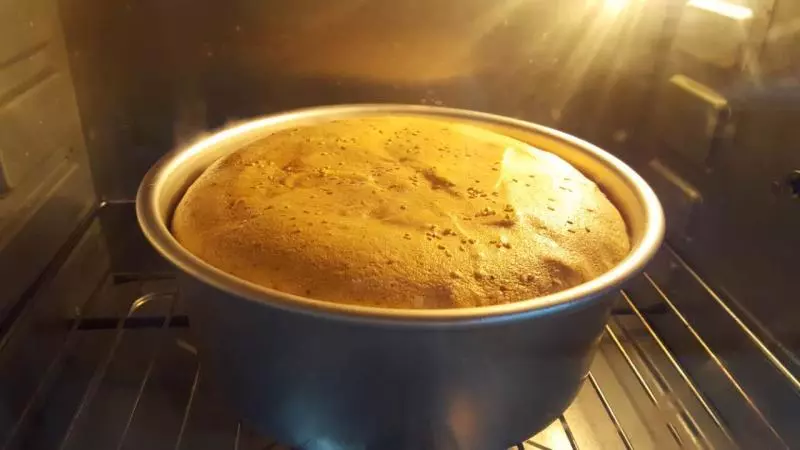
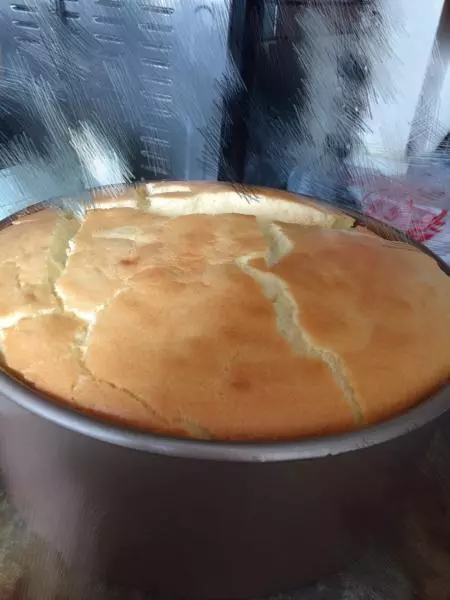
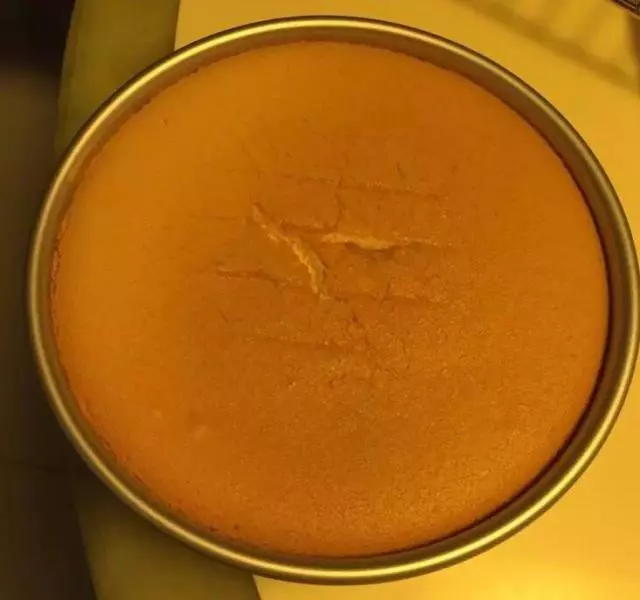
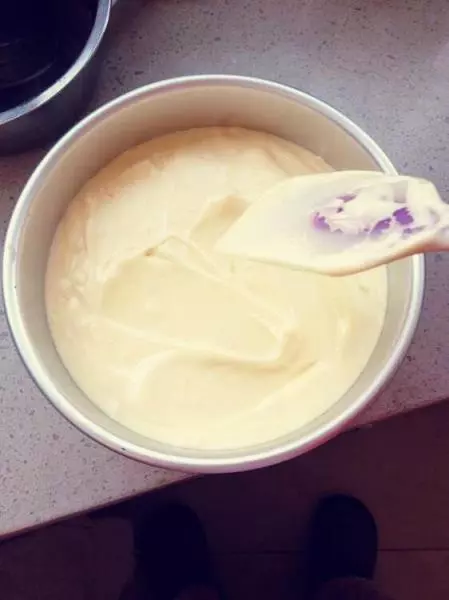
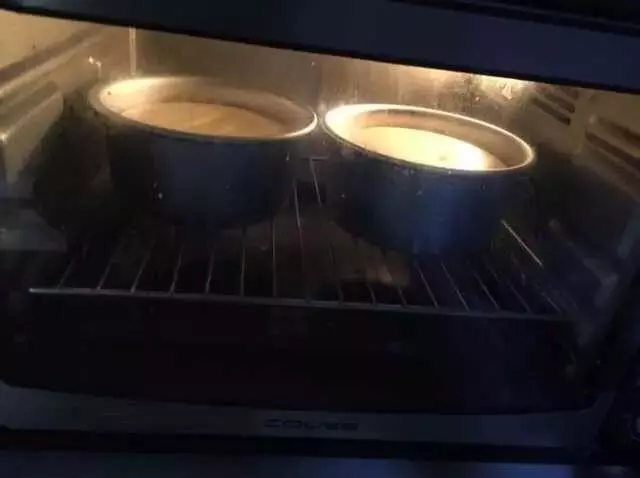
15倒入模具中用刮刀把表面稍稍抹平,震模,入預熱好的烤箱中烘烤
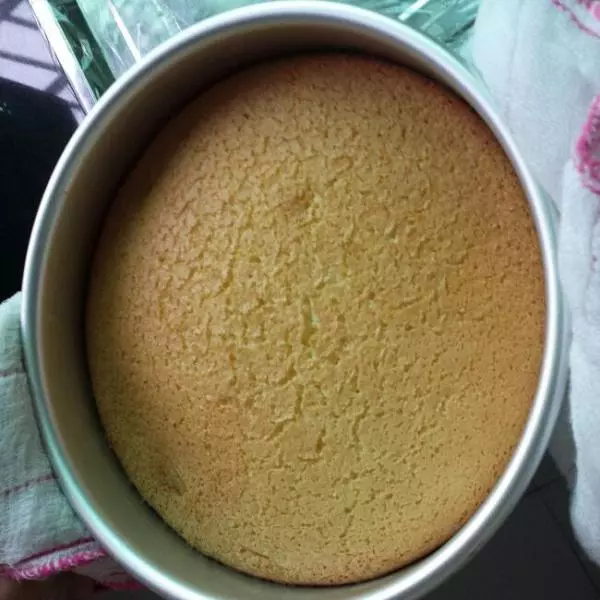
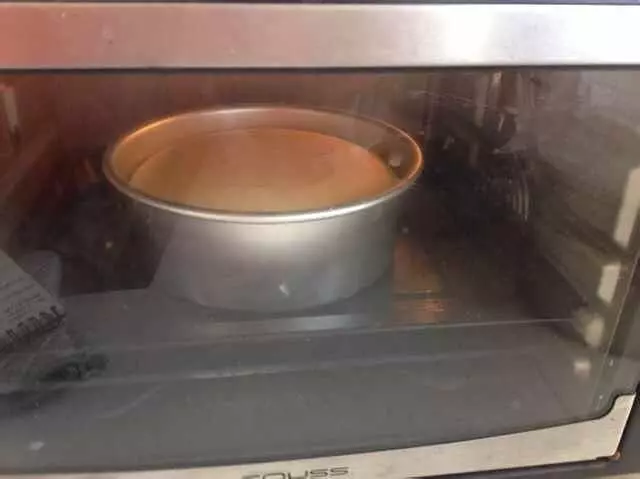
16我是150度預熱15分鐘,待蛋糕入爐後轉140烤50分鐘後轉150烤10分鐘 ,出爐後震模倒扣放涼再脫模
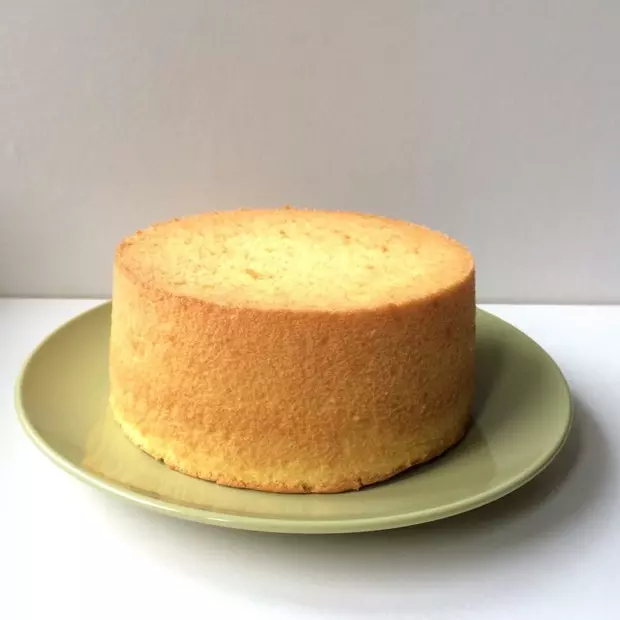
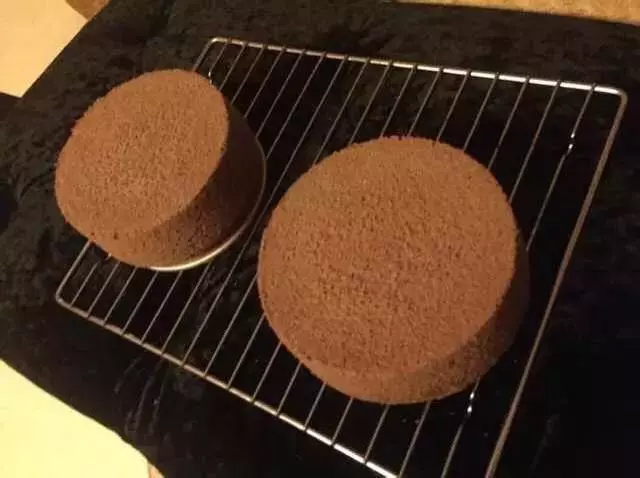
17這個方子我自己修改過,目前都用這個方子多戚風,媽媽再也不用擔心我們被氣瘋啦
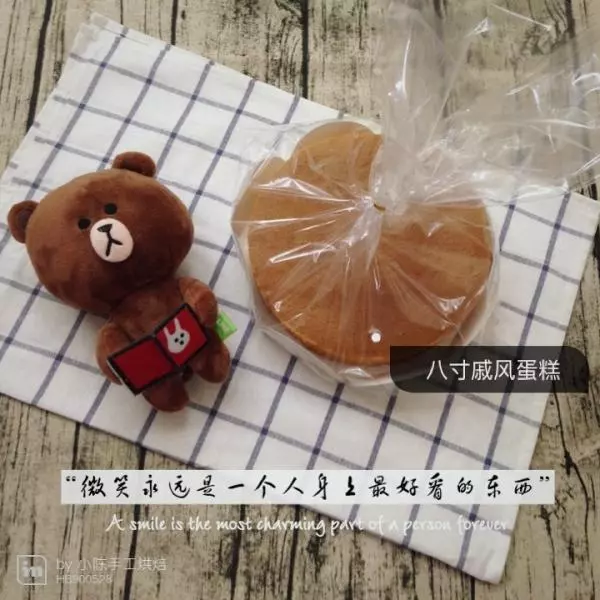
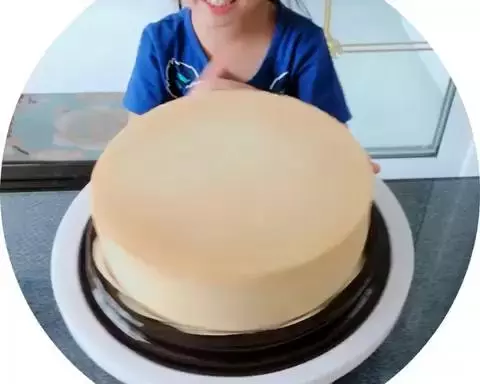
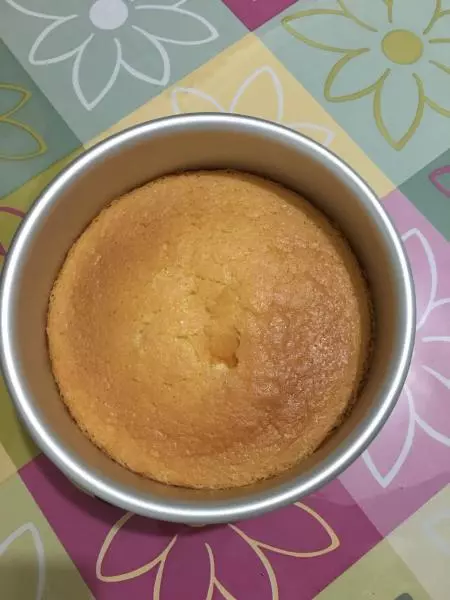
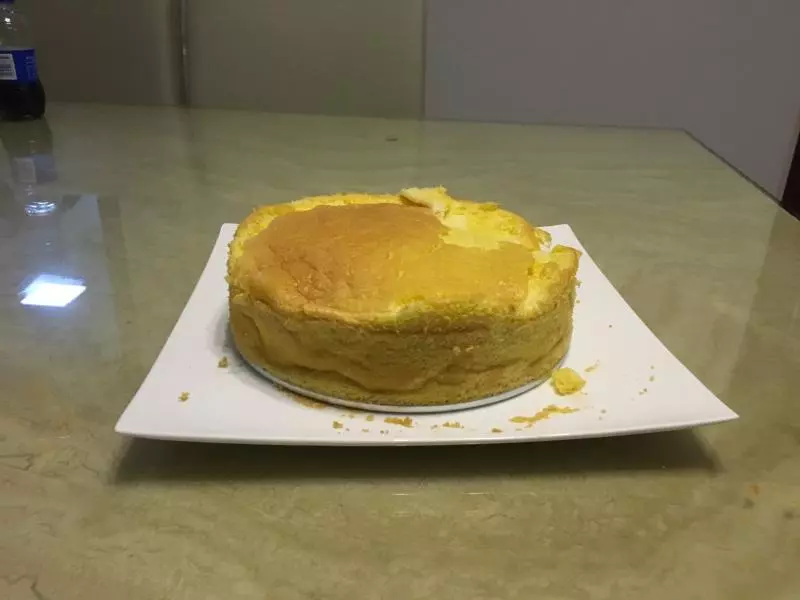
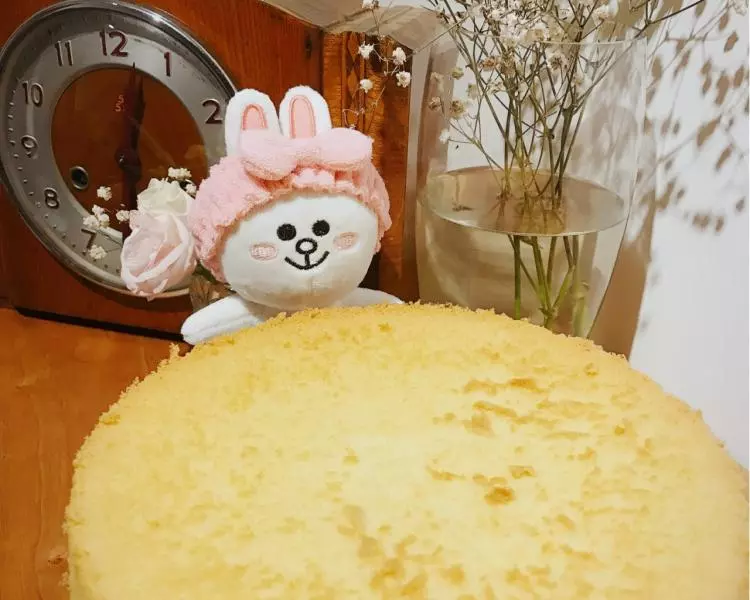
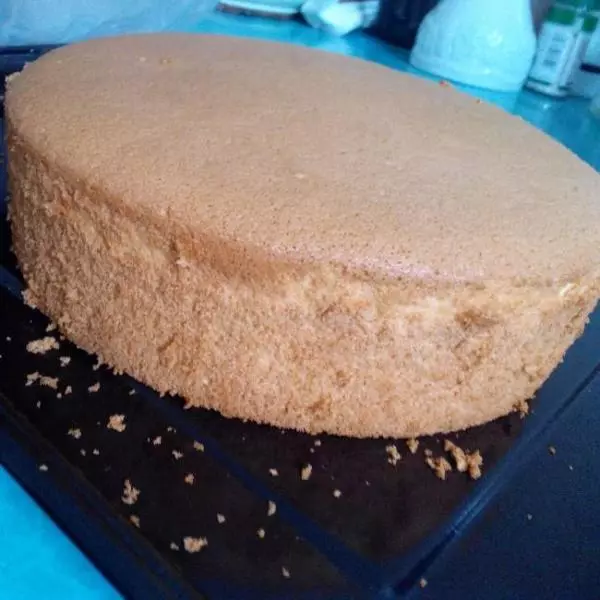
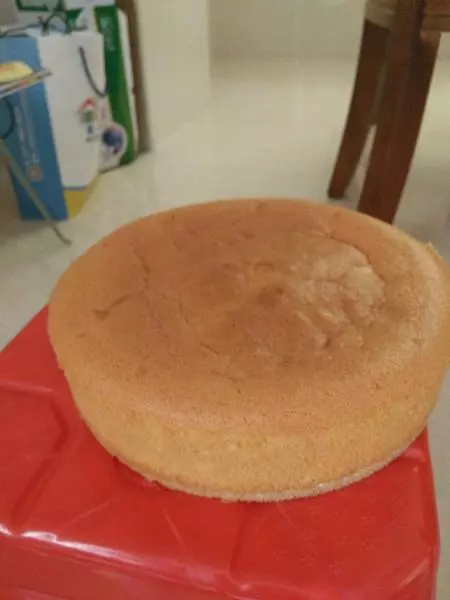
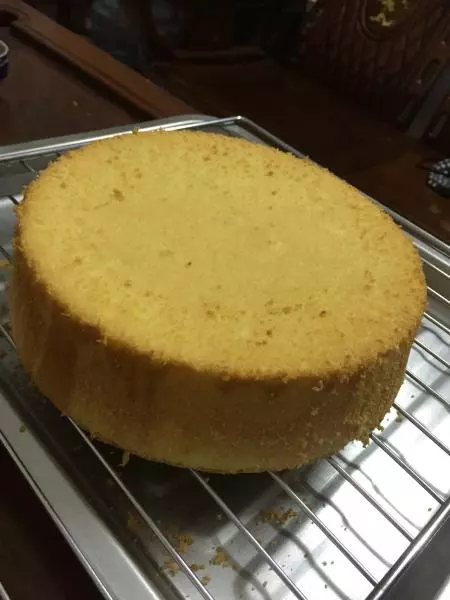
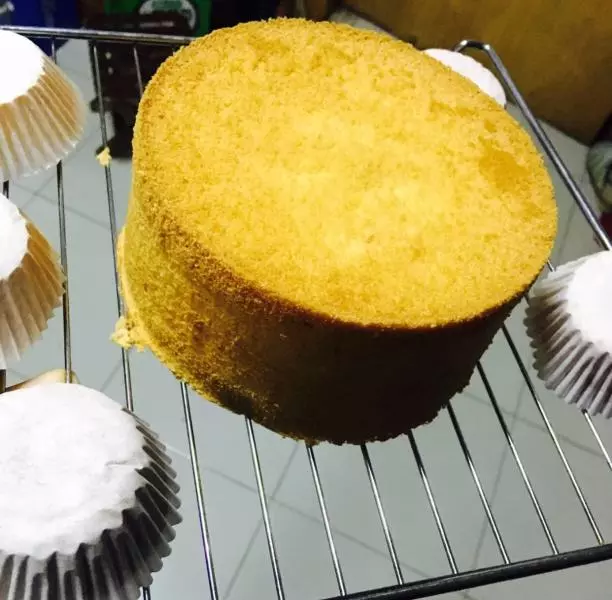
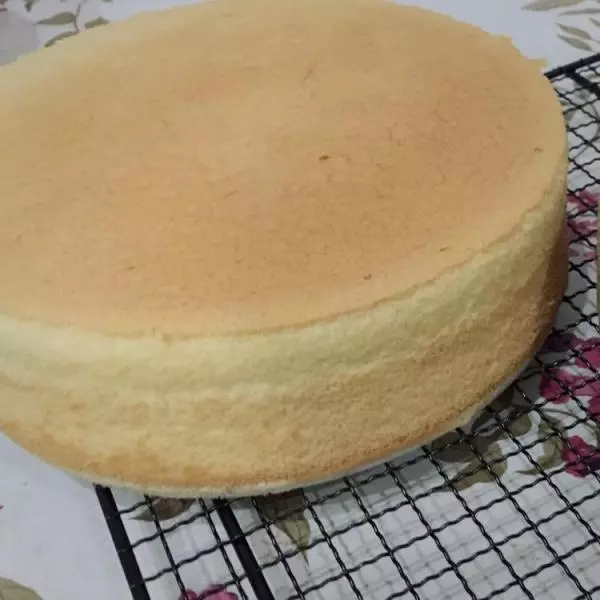
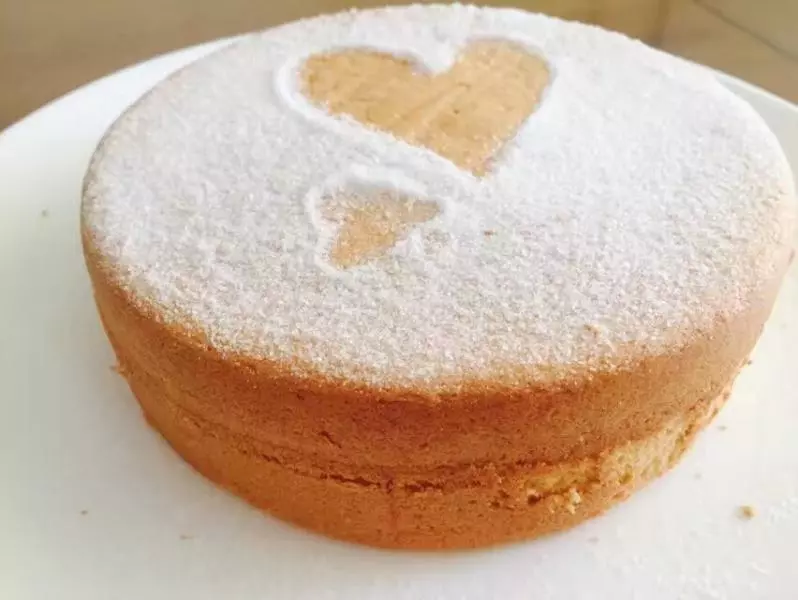
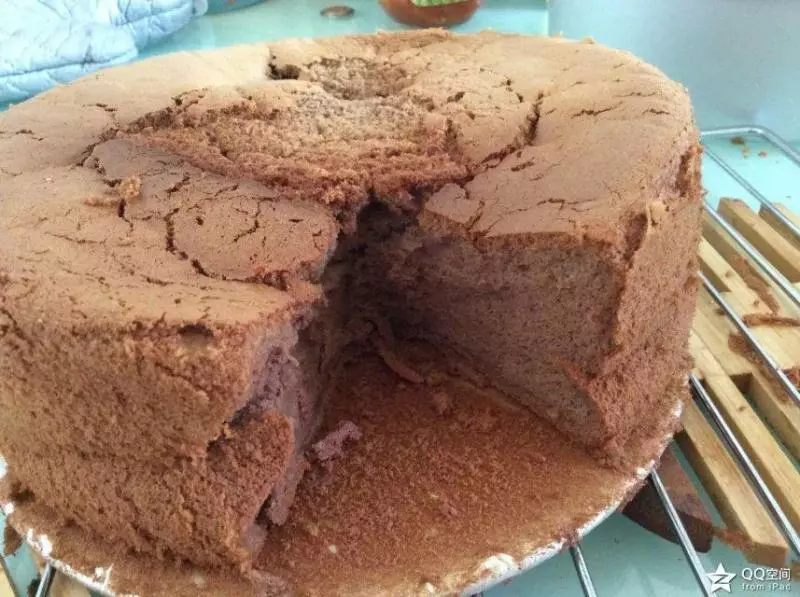
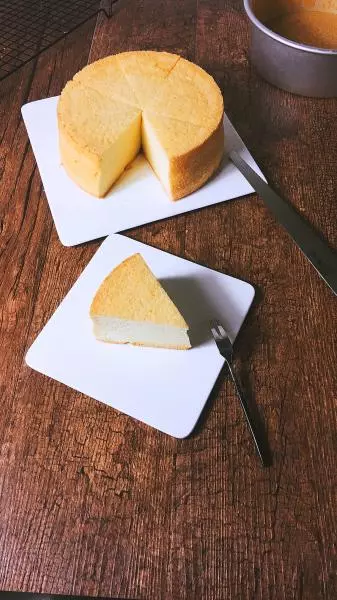
18下面是胖胖的戚風成品圖

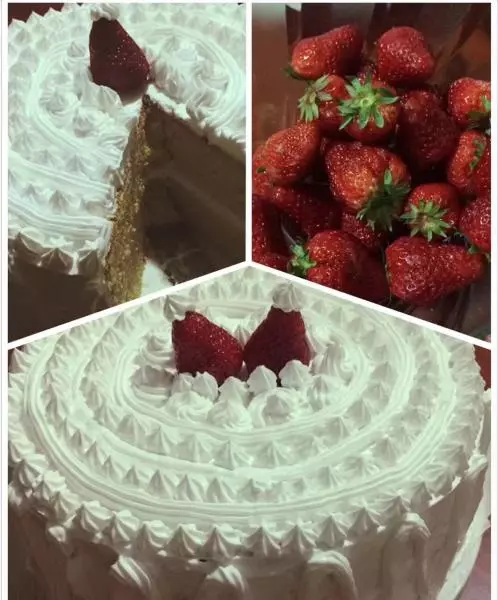
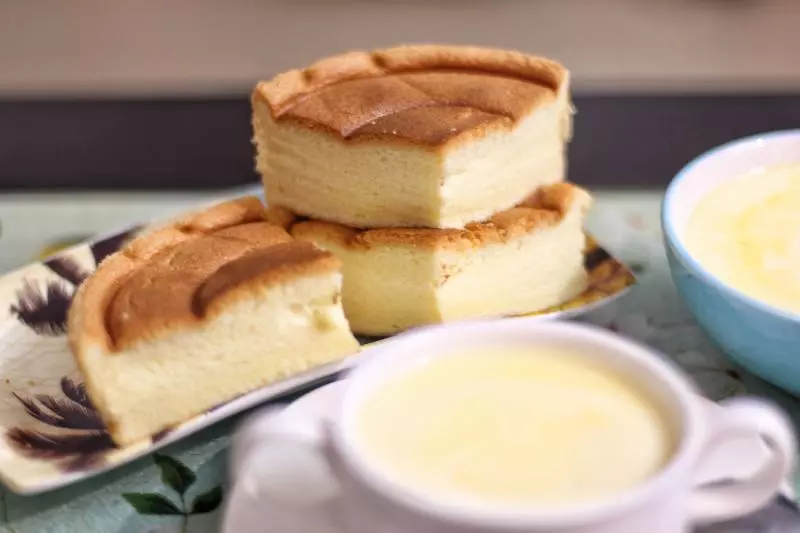
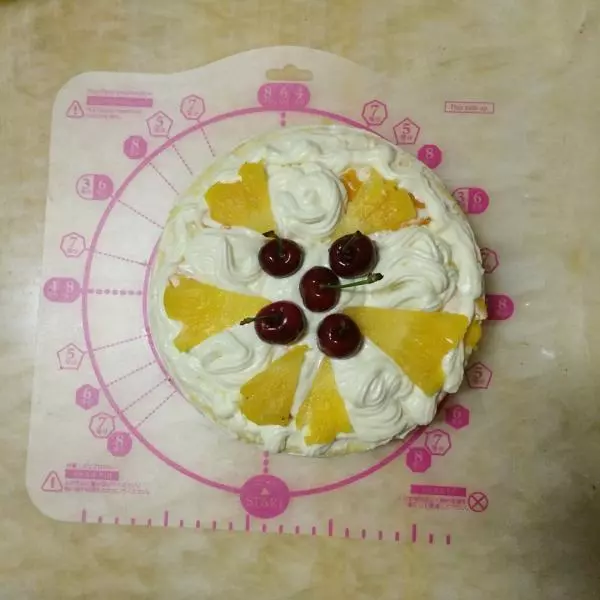
19不裱花,直接吃也是不錯的選擇

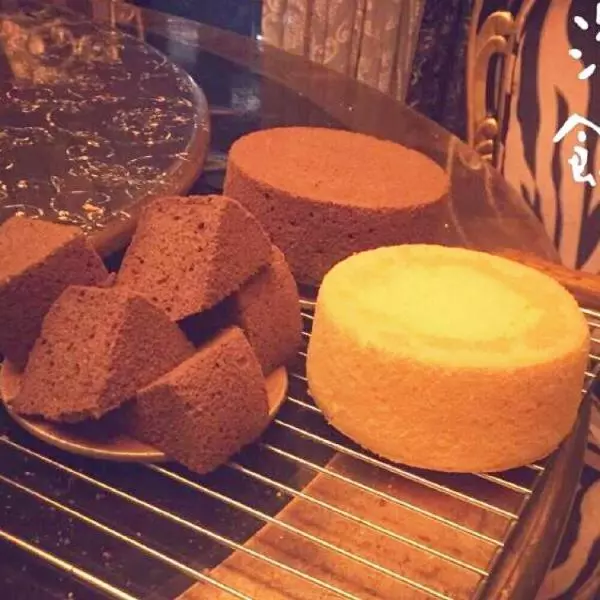
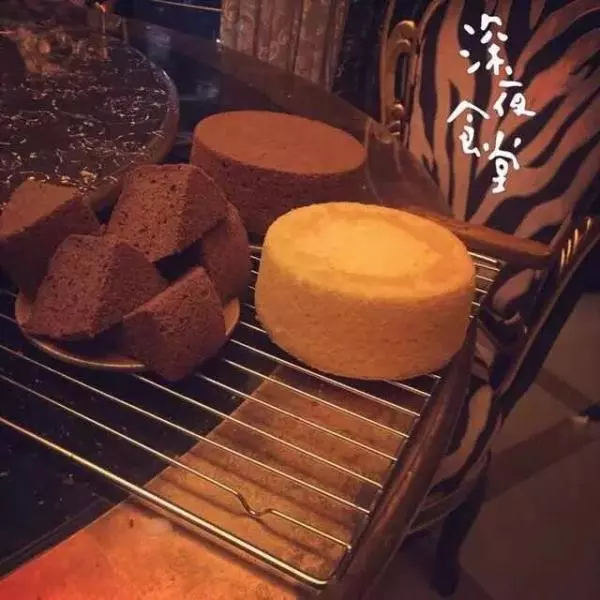
20可可戚風來兩個(用18克可可粉替代等量的低粉就可以)
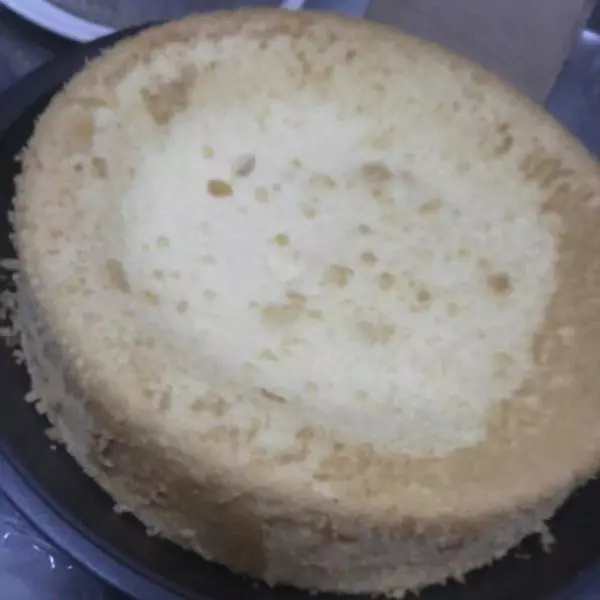
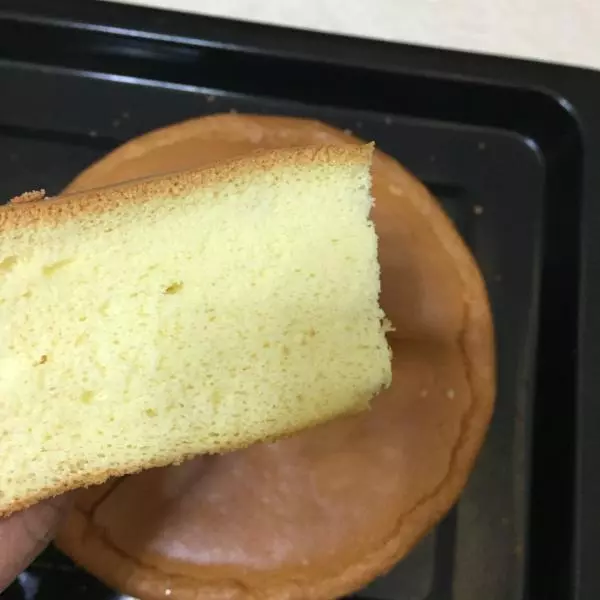
21切片

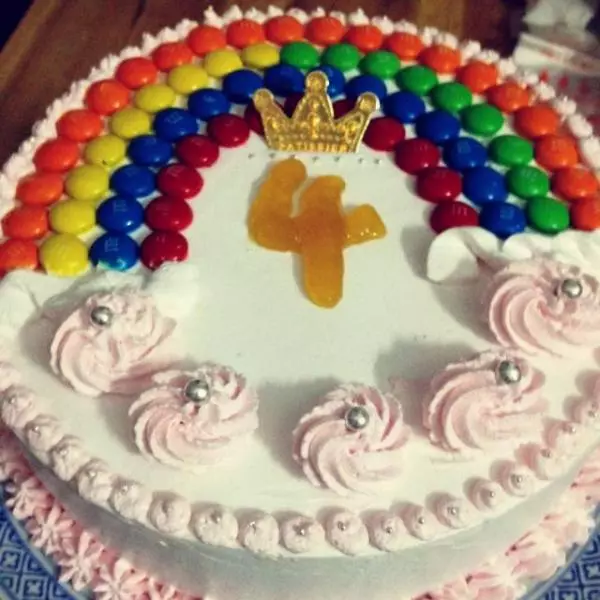
22最後來個戚風家族合照。
小技巧
用心去總結每次的成品,會越做越好的,愛上生活,愛上烘焙