原料
可可粉: 60克, 雞蛋: 5個, 牛奶: 70克, 低筋麵粉: 60克, 細砂糖: 30(蛋黃)克, 細砂糖: 60(蛋白)克, 玉米油: 70克, 泡打粉: 一勺
步驟
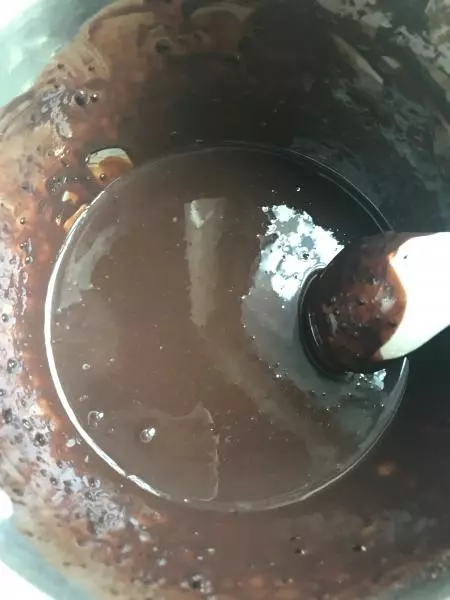
1把牛奶加熱加入可可粉攪拌
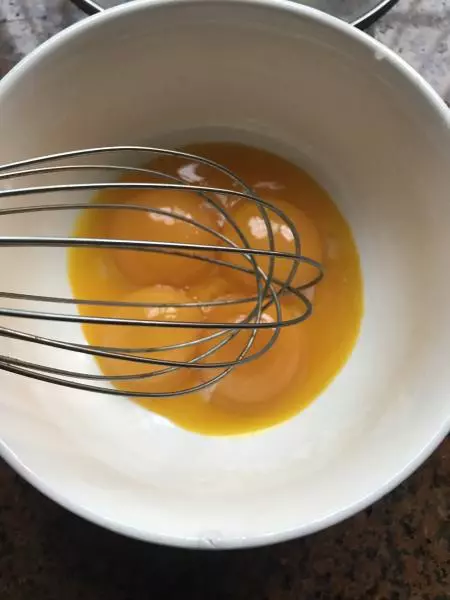
2然後把蛋黃裝一個碗,蛋白裝一個碗(無水無油),把蛋黃手打爛
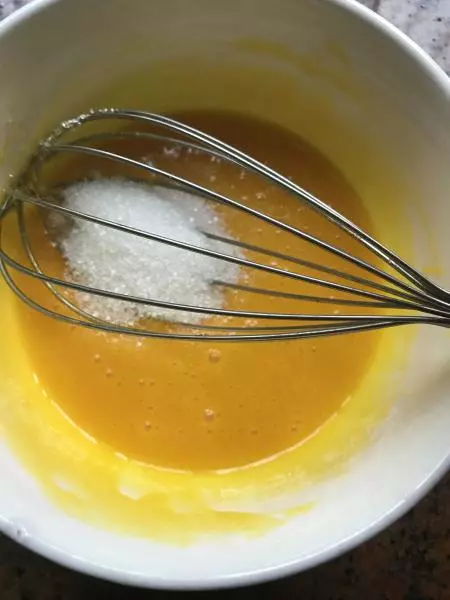
3蛋黃打的差不多放細砂糖攪拌至融化。
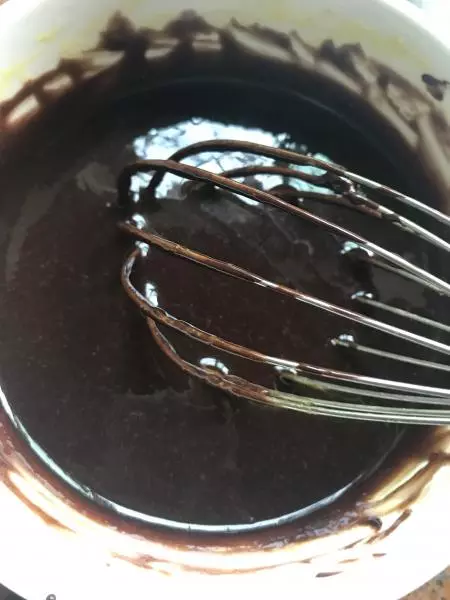
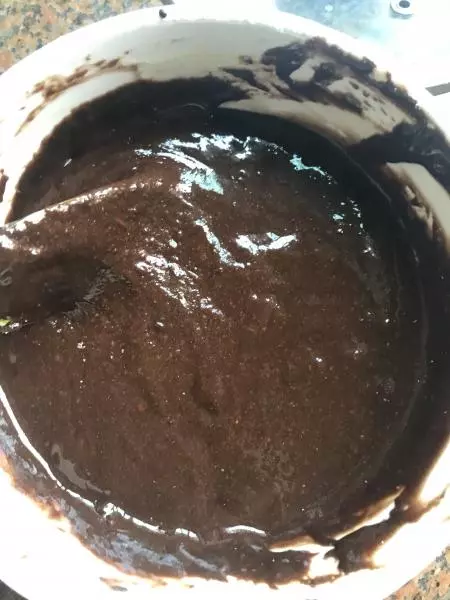
4把已經做好的巧克力牛奶倒進去攪拌均勻

5這是攪拌好的
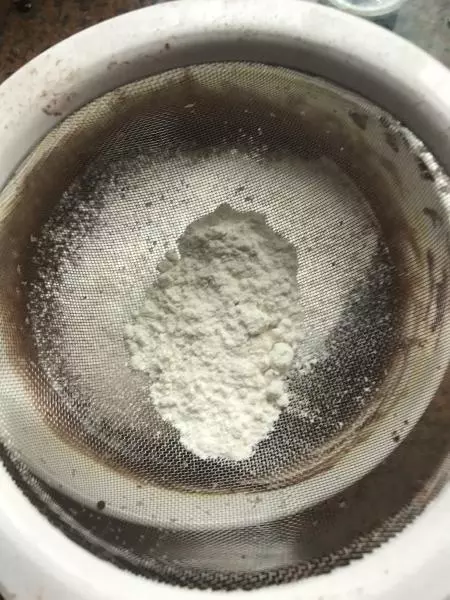
6把麵粉過篩,然後輕輕攪拌
7這是攪拌好的,然後放一旁
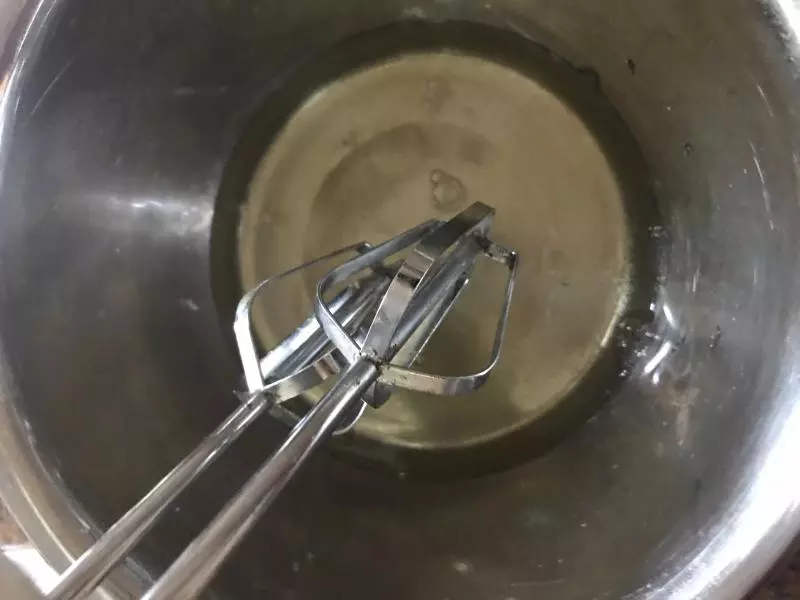
8開始用打蛋器打發蛋白
9打到有小泡泡那樣就可以開始分三次放進白砂糖啦,別看蛋白少等一下會膨脹,選一個大一點的容器哈

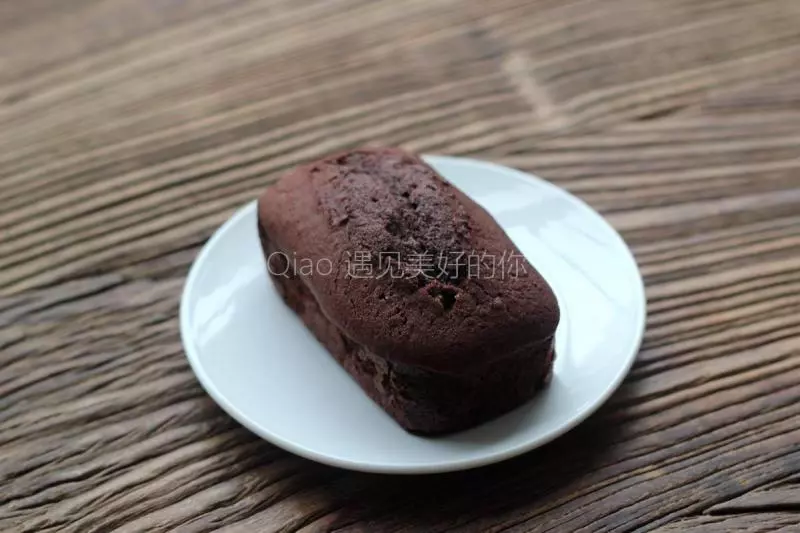
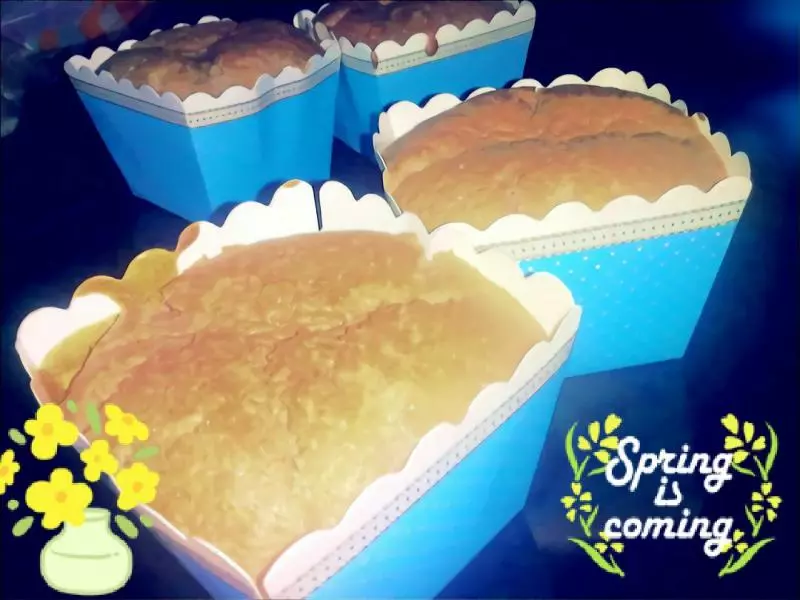
10好累的,如果紙杯蛋糕的話這個程度就可以了,那個頭會彎下去,如果8寸的就還需要再打一下
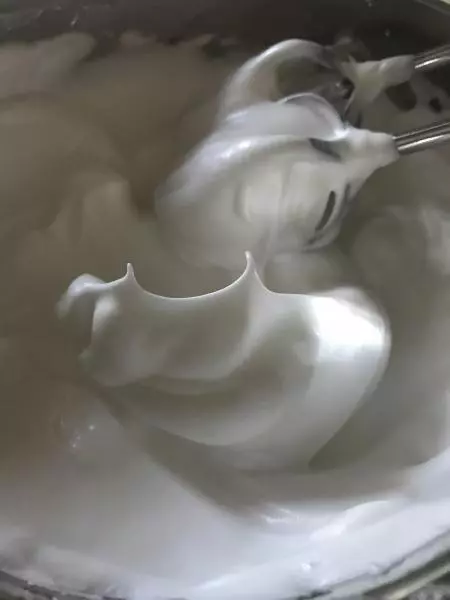
11這樣直角就可以啦,明顯比剛才硬朗了不少了呢

12這張圖就明顯很多了吧

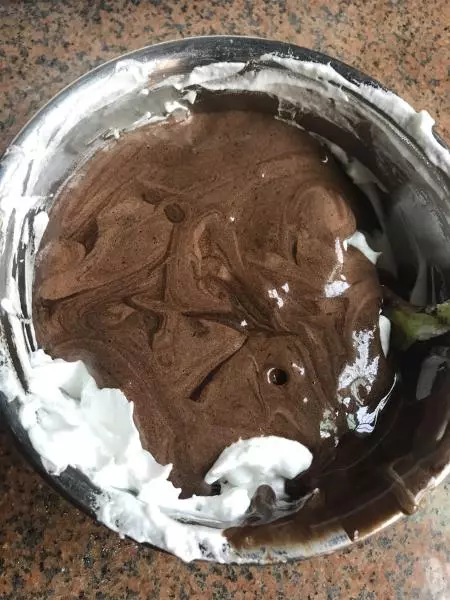
13然後把三分之一的蛋白放進可可蛋黃麵糊中,輕輕攪拌,不要打圈圈攪拌
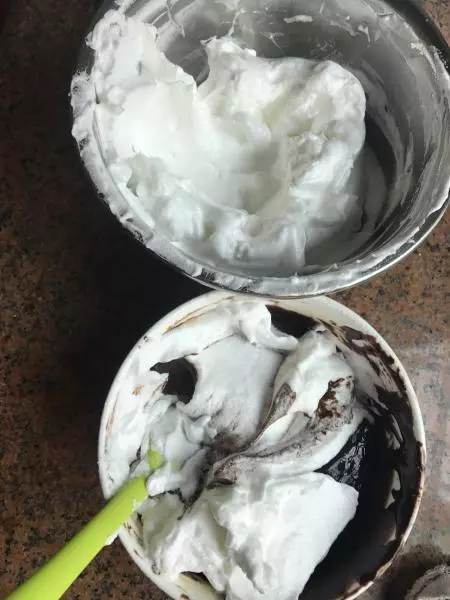
14然後把麵糊再倒進蛋白中輕輕攪拌,也是不要畫圈圈那樣攪拌就可以了,
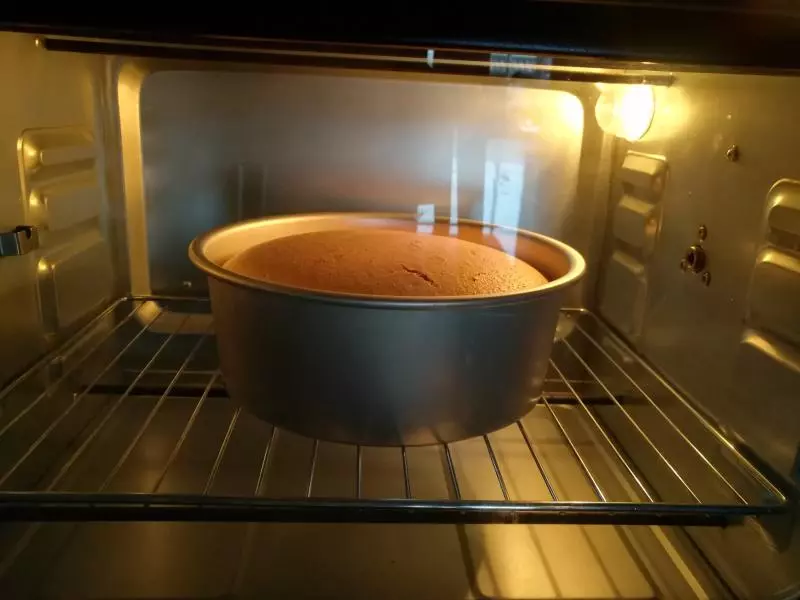
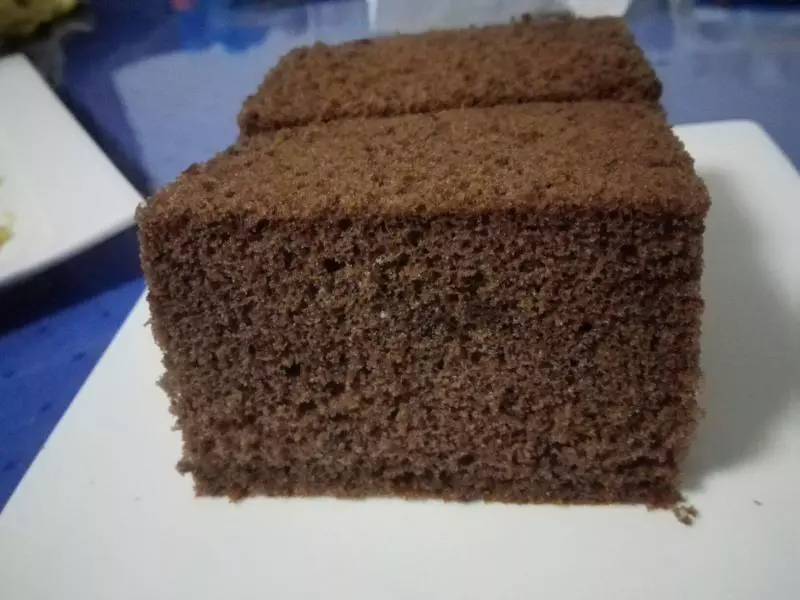
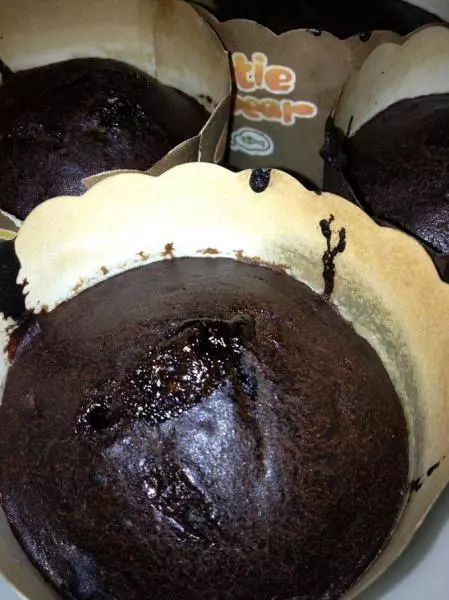
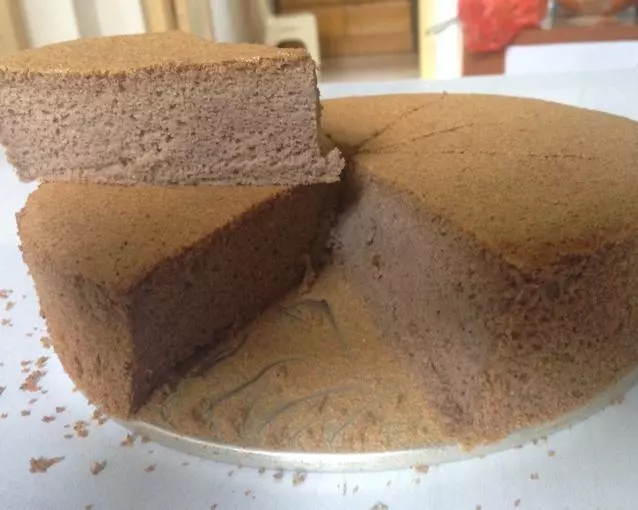
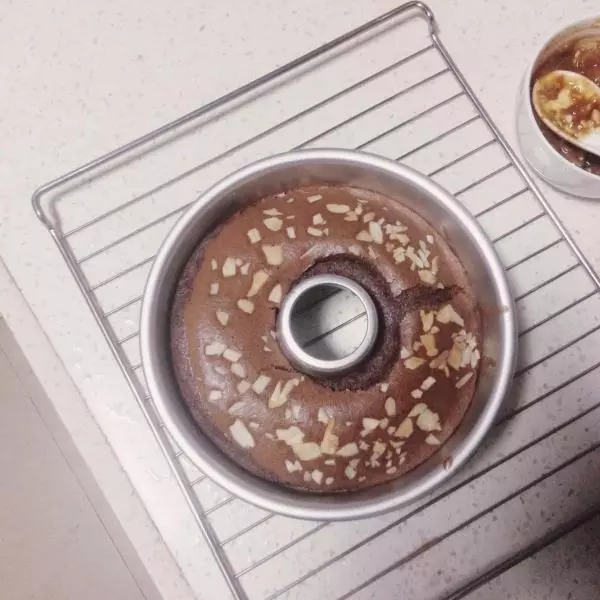
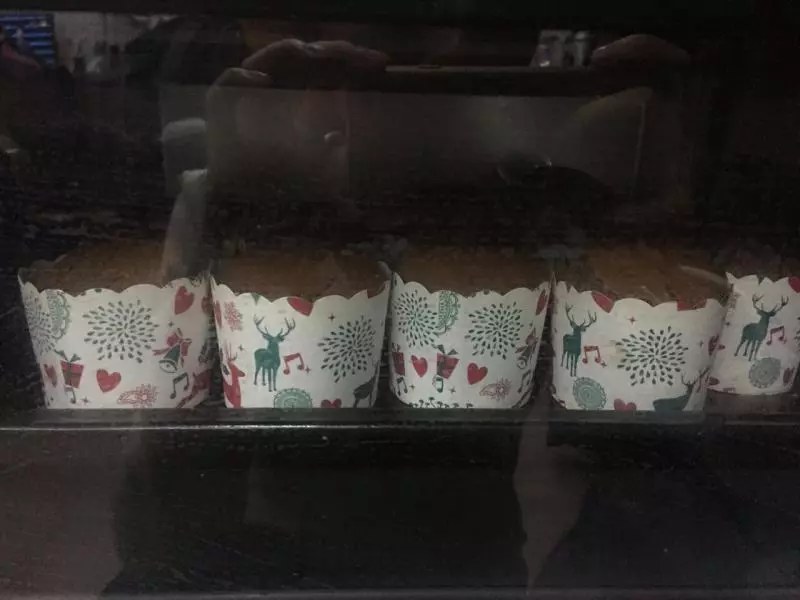
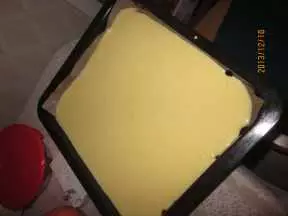
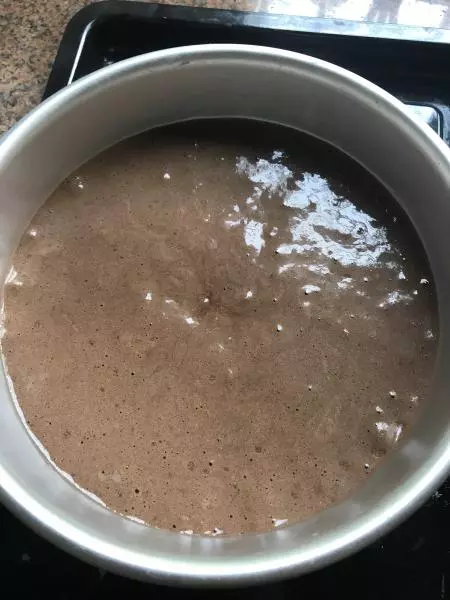
15最後放進8寸模具里,放進130度預熱的烤箱中烤20分鐘,再轉185度烤35分鐘。溫度可根據自己烤箱適當調整
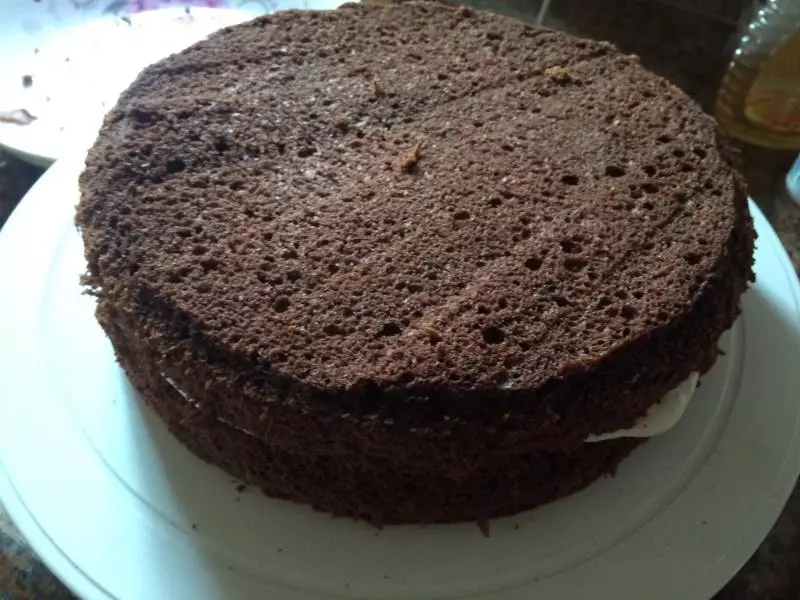
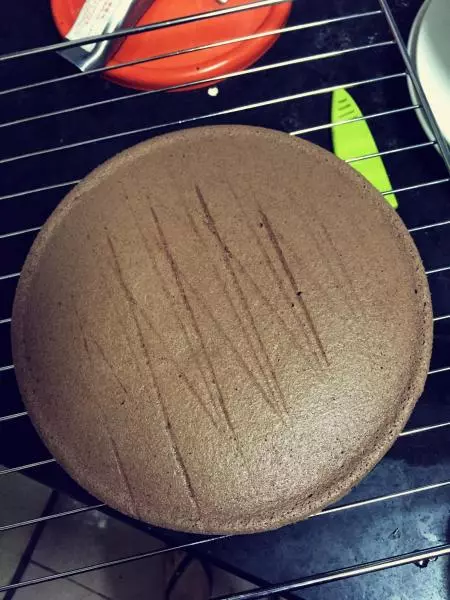
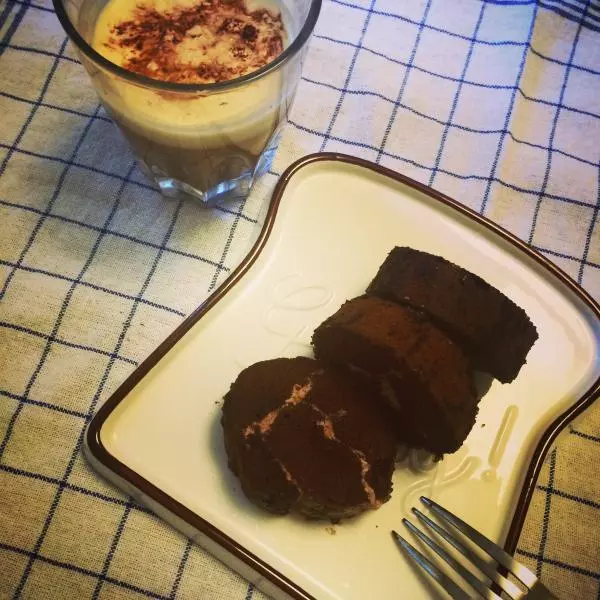
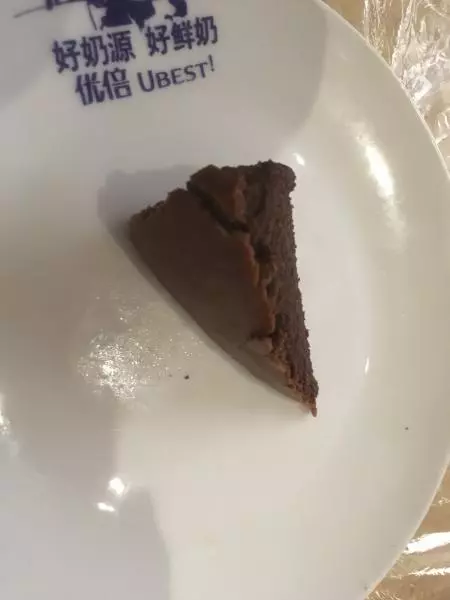
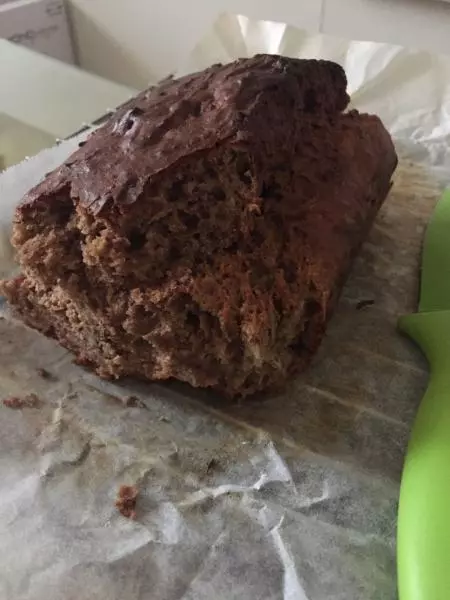
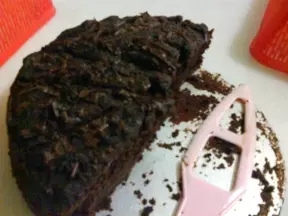
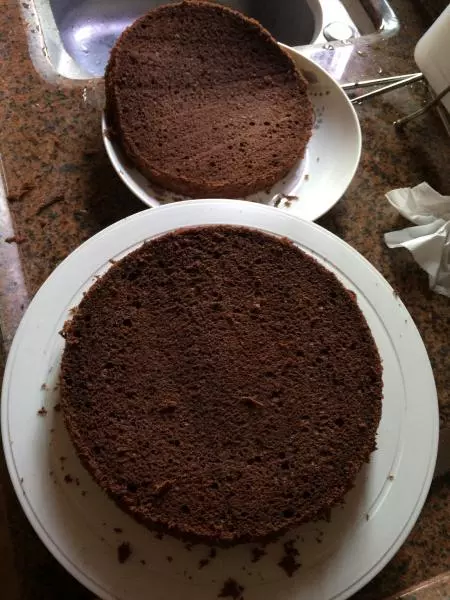
16這是已經好了,

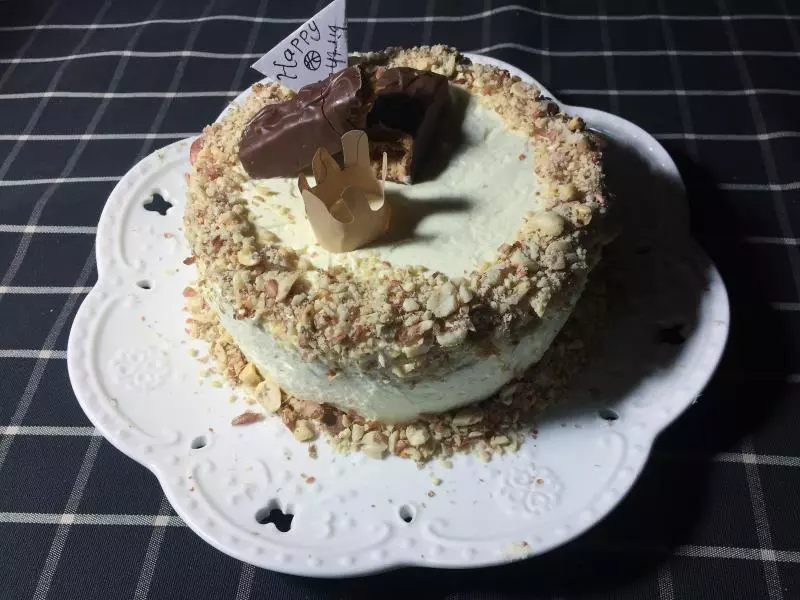
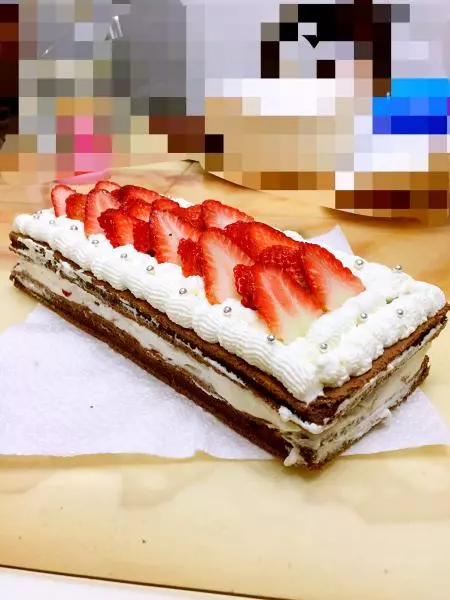
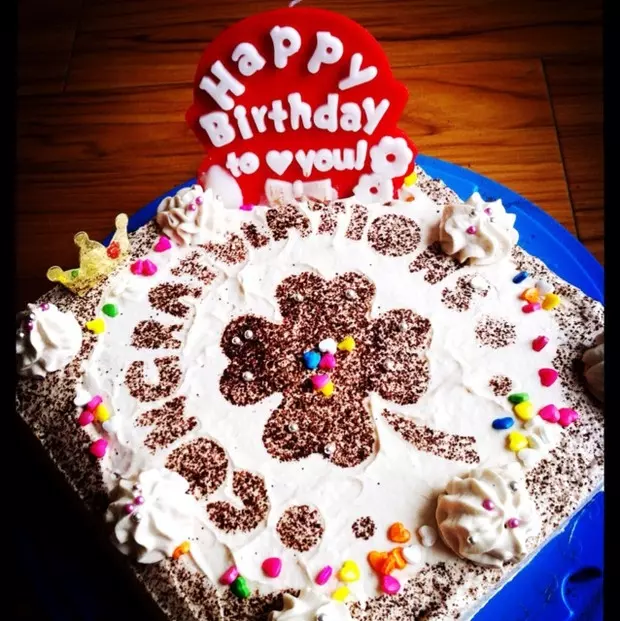
17最後就大功告成了,準備做奶油蛋糕哈