原料
A:酥皮: , 中筋粉: 400克, 黃油: 20克, 雞蛋: 20克, 水: ±210克, 鹽: 4克, 起酥油: 320克, B:餡料: , 洋蔥: 50克, 麻油: 若干, 雞肉: 300克, 糖: 若干, 鹽: 若干, 咖喱粉: 若干, A4字備用: 一張
步驟
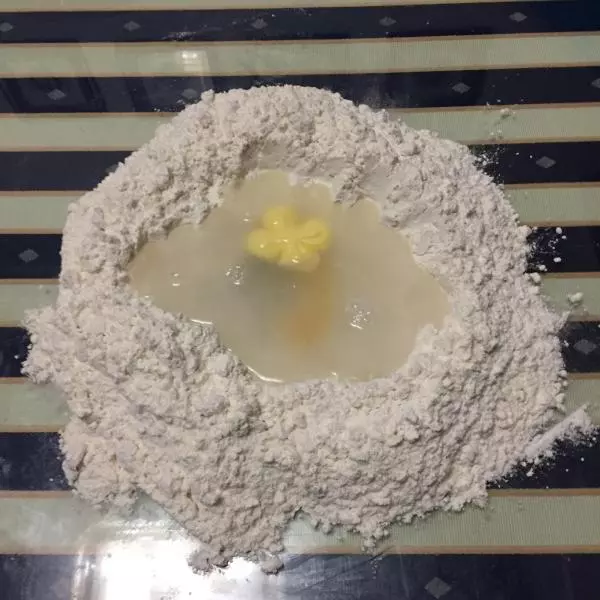
1中粉挖洞,蛋,黃油,鹽,水倒入中間
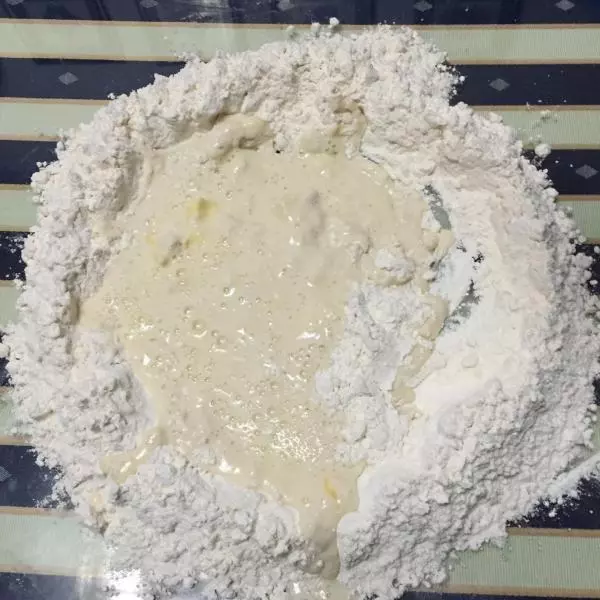
2手慢慢地向外打圈,漸漸地水粉融合,這樣周邊不會水粉一團槽
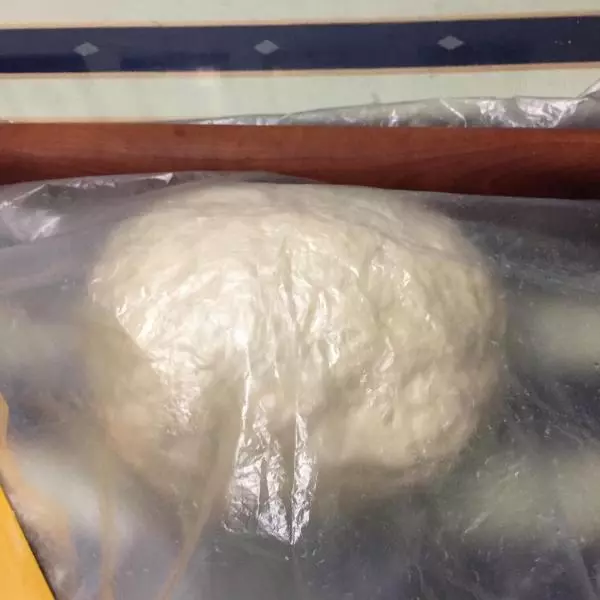
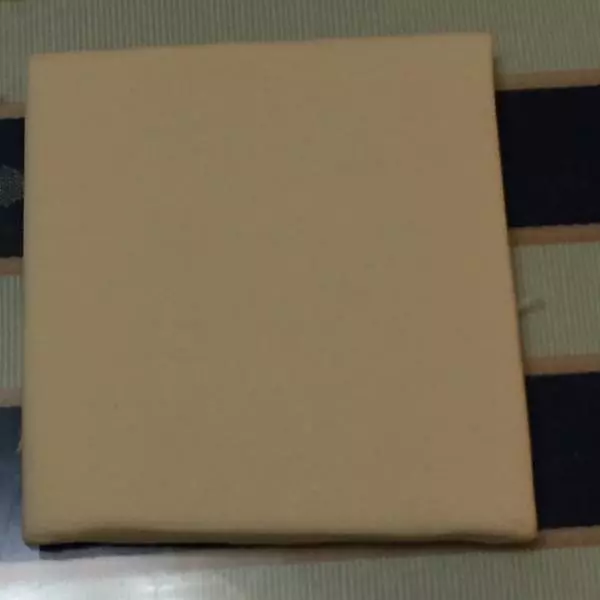
3麵糰,蓋上塑料紙醒上20分鐘
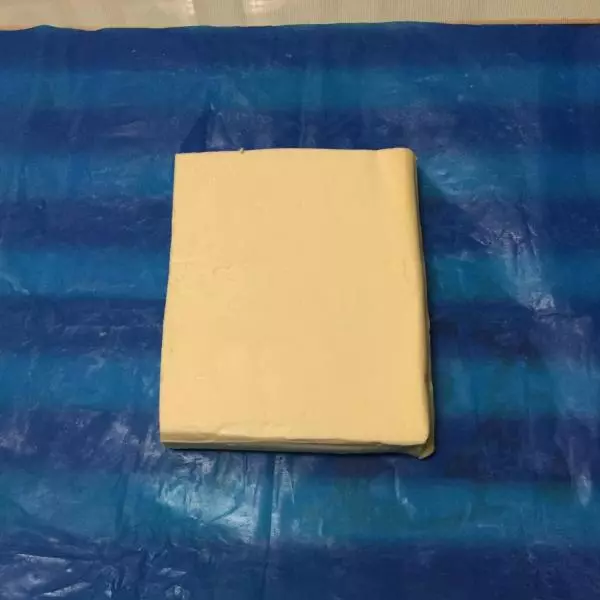
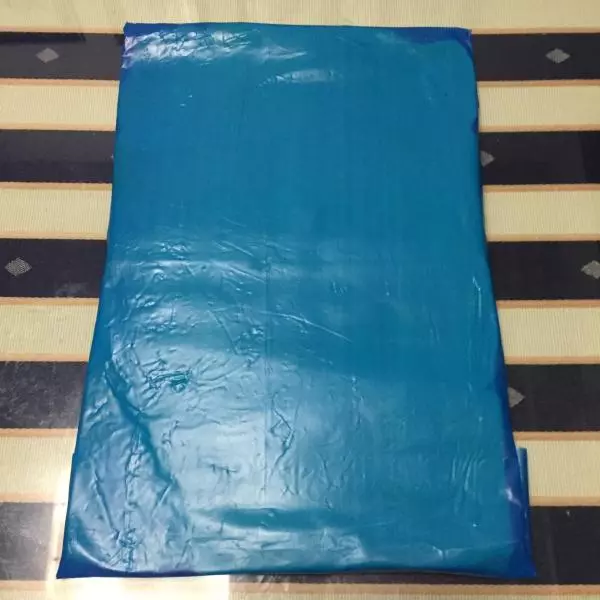
4起酥油藍色外包紙留著,因為比較硬質,容易擀起酥油,油放入
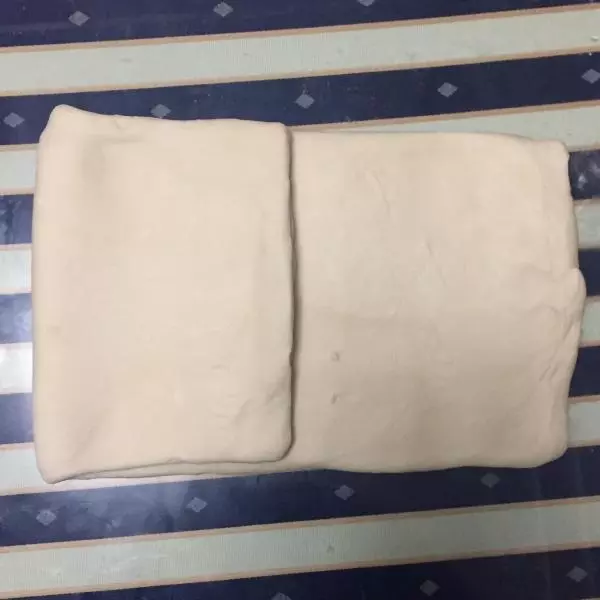
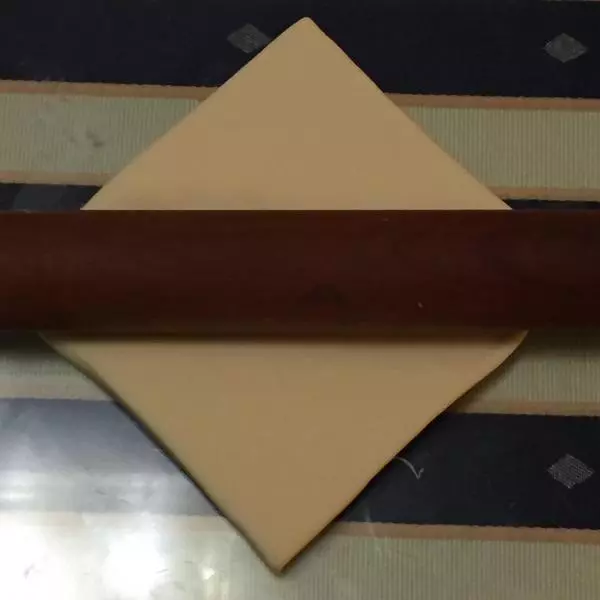
5周邊都折好
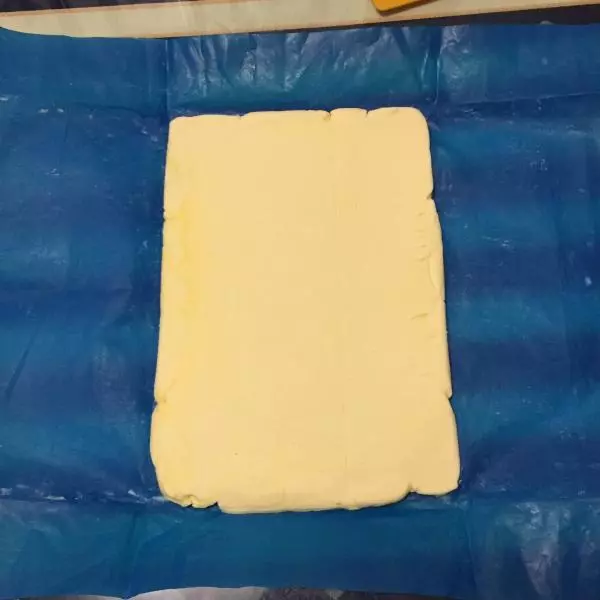
6擀成20×15大小的酥油
7擀麵皮是起酥油的二倍大小
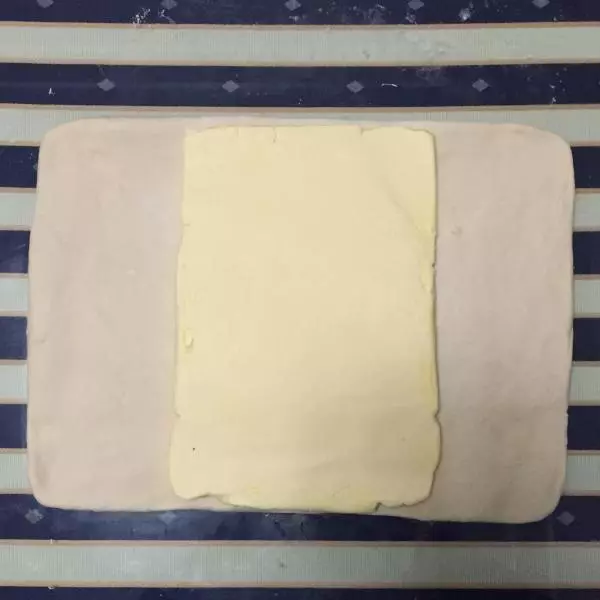
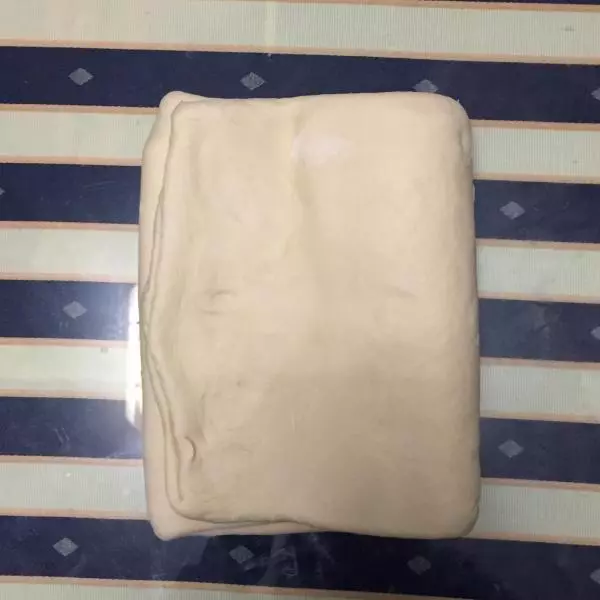
8折起到中間粘合
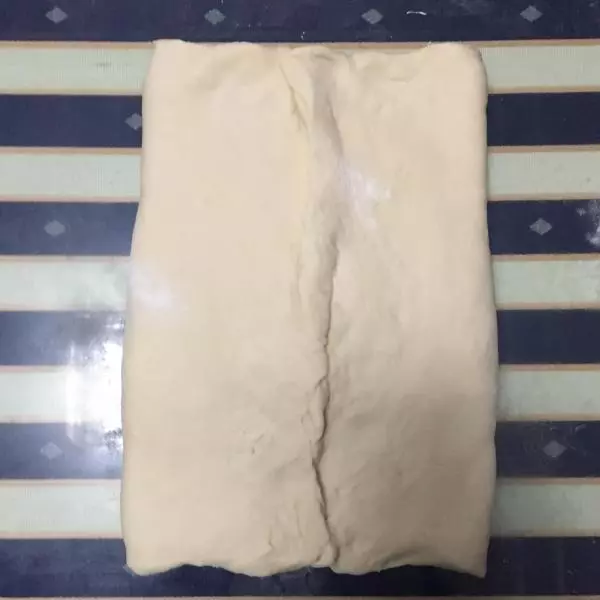
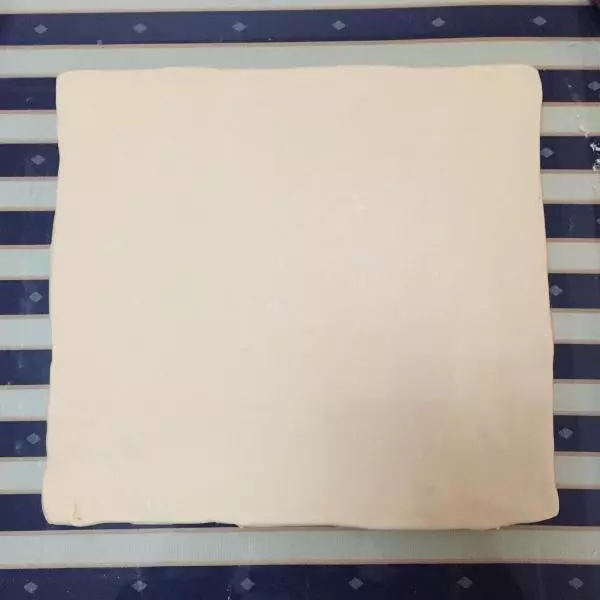
9擀麵皮50×20,注意先擀中間,慢慢壓擀二頭,這樣油就不會跑出來

10擀好的麵皮,折三,繼續擀,再折
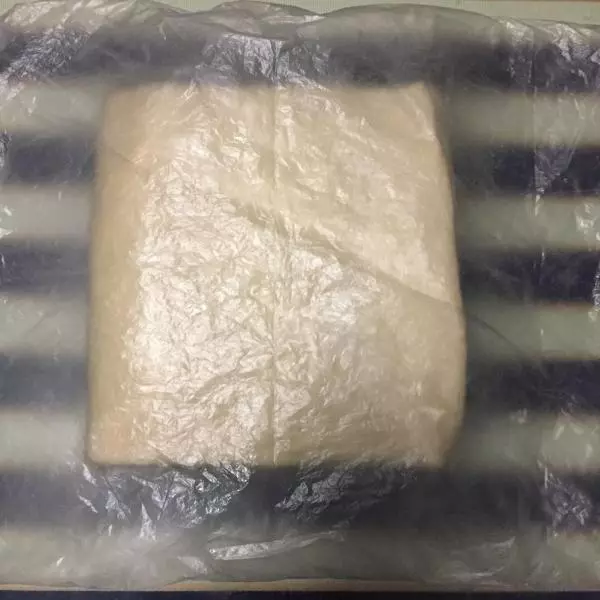
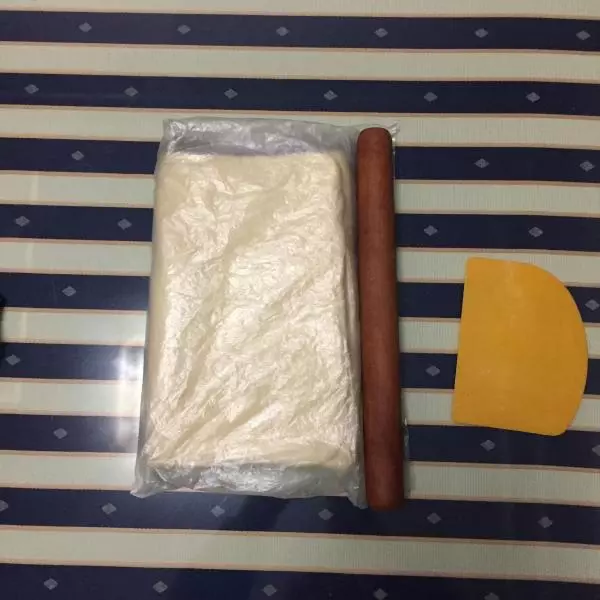
11首次折好,蓋上塑料紙醒上20分鐘,天氣熱入冰箱冷藏
12醒好後,第二次擀,再折三,繼續擀,再折三,蓋上塑料紙醒20分鐘(同上)
13第三擀,重複上述擀,折,擀,折,蓋上醒20分鐘(同上)
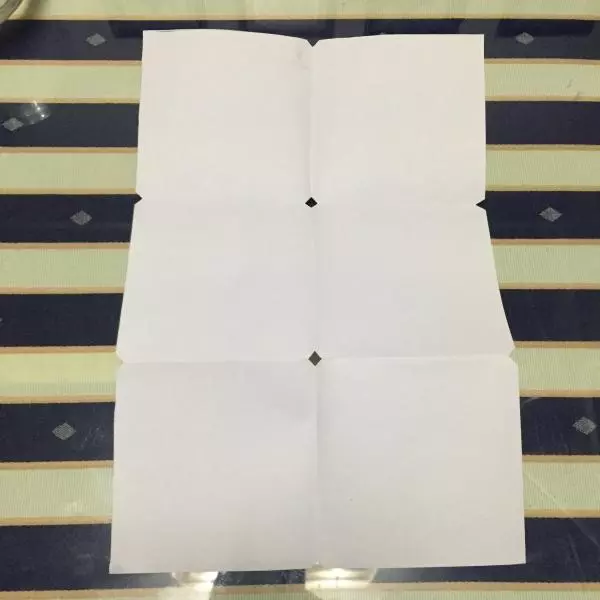
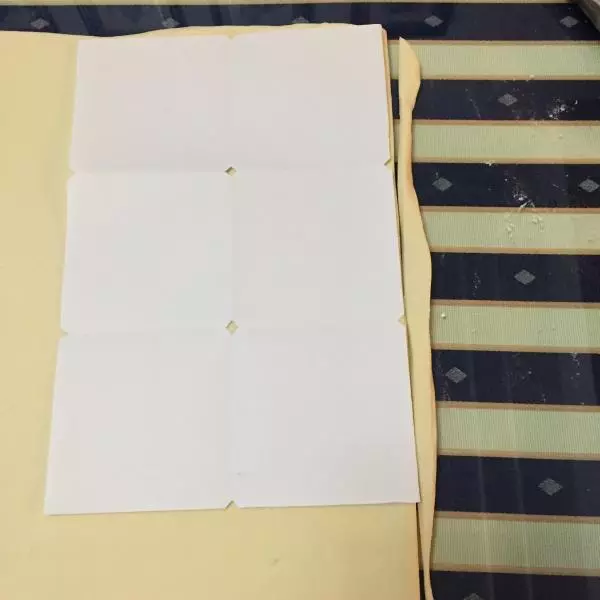
14用A4做好模板,一般是10×10,也可小點,因人而異
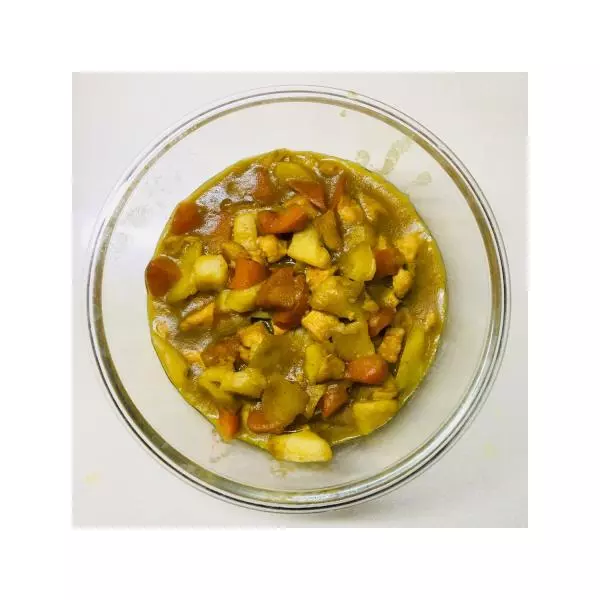
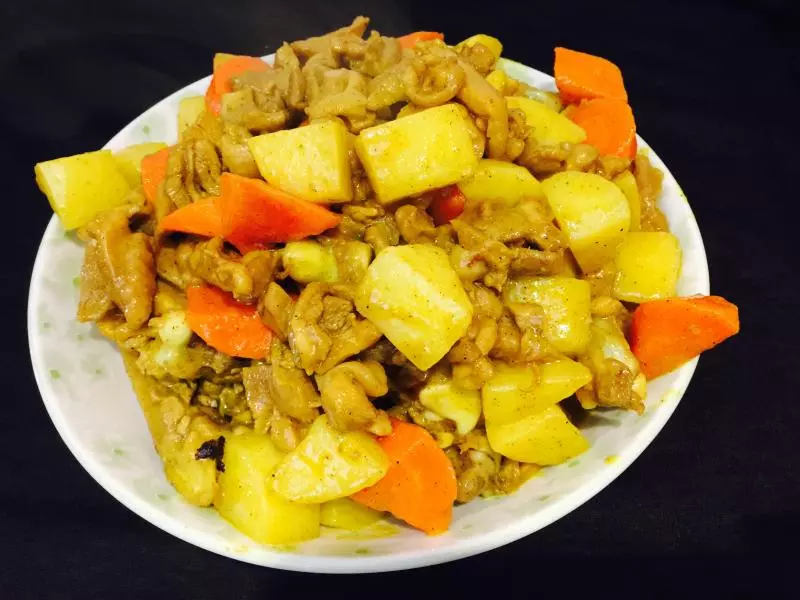
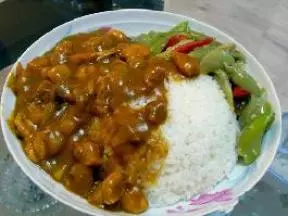
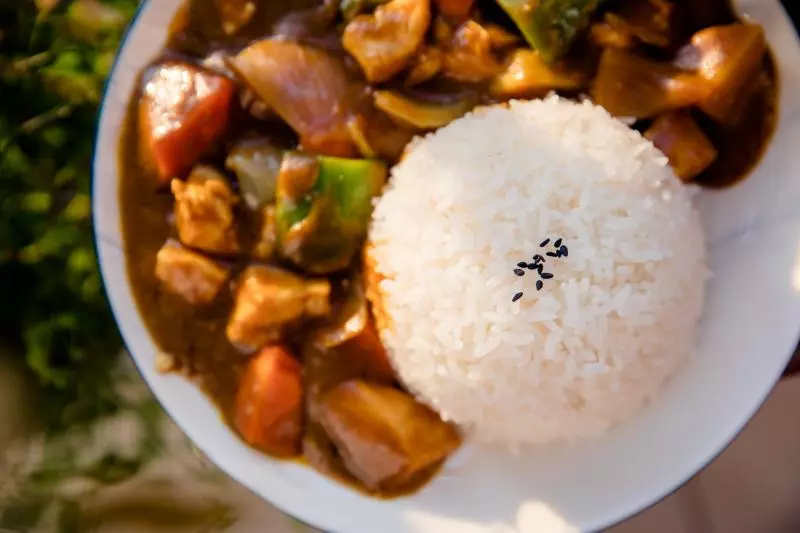
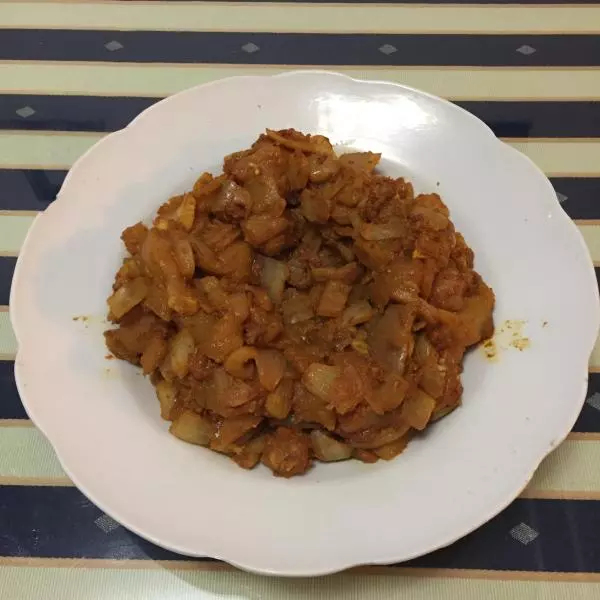
15煸炒洋蔥,出香味等待冷卻,加入生的雞肉,加入咖喱,鹽,糖,麻油拌勻
16擀麵皮約二個模板大小,
17用快刀切除周邊
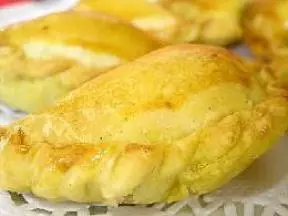
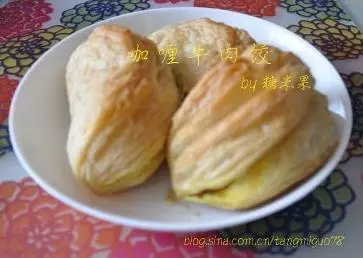
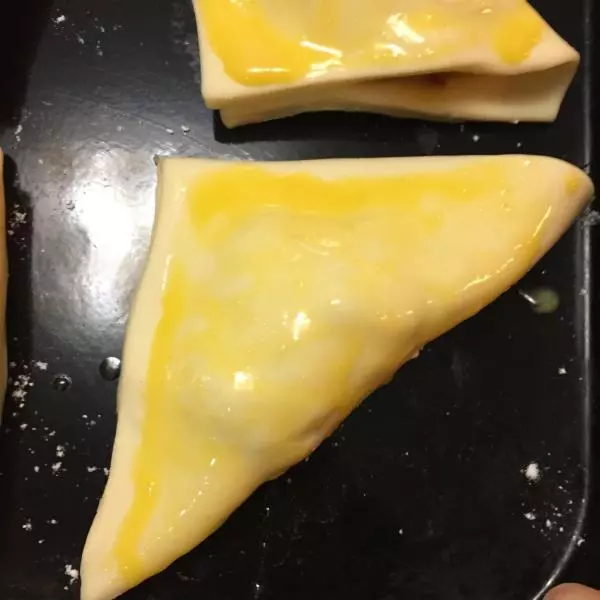
18切成小模塊麵皮
19中間用擀麵杖擀薄,這樣麵皮也大了,也容易摺疊與包合
20餡入中間,周邊塗上蛋液,對摺粘合,儘量不碰到邊,不然會影響酥皮脹發

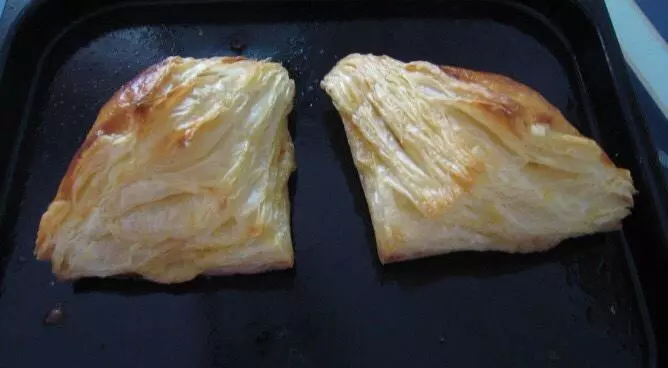
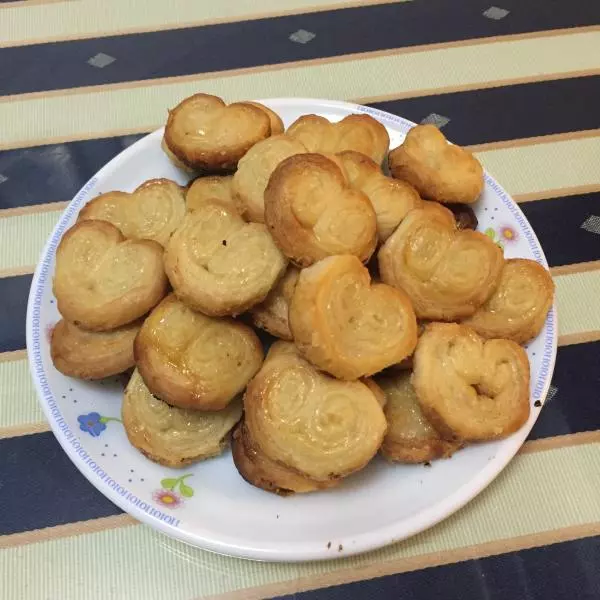
21入烤盤,刷蛋液

22預熱烤箱待烤
23烤箱210℃預熱,上火210℃,下火190℃,20~25分鐘,如果溫度太低容易跑油,但每個烤箱溫度有偏差,自定

24邊角料疊起,擀成薄皮,並鋪上白糖,二邊捲起,切成5mm厚度,190℃,15分鐘,烤到上色
小技巧
①. 料可減半,我一般做好直接冷凍,想吃時拿出來烤上20~25分鐘,方便多了 ② .儘量用動物起酥油,片師來是植物的,氫化而成,會產生大量反式脂肪,為了家人與朋友的健康我均自己動手,用好料 ③.每次同學聚會我都帶上小品,並不是做得好,只是分享快樂