原料
雞蛋: 5個, 純牛奶: 50克, 玉米油: 50克, 低筋麵粉: 60克, 糖粉: 50克, 醋: 幾滴, 蛋黃: 1個, 白砂糖: 15克, 純牛奶: 50克, 白醋: 15克或更少, 葵花籽油或玉米油: 25克, 玉米澱粉: 1茶匙, 愛吃肉就多放點啦:
步驟
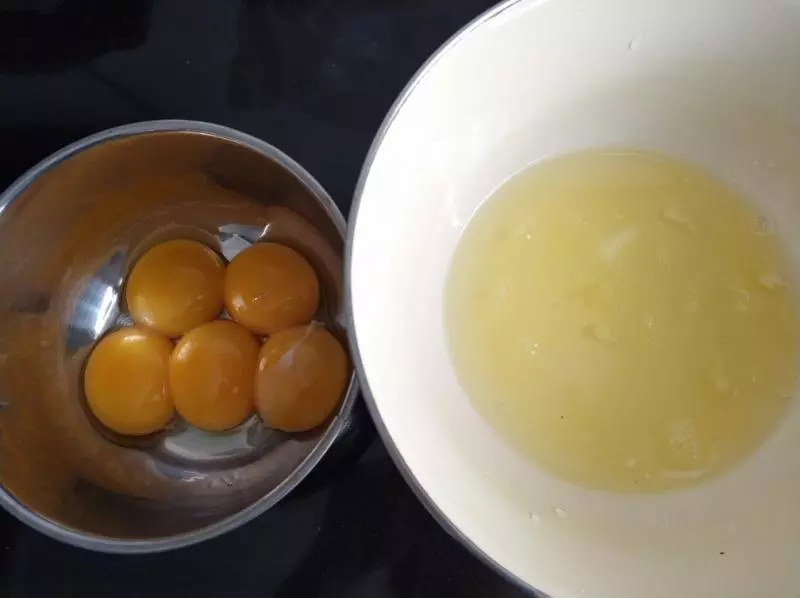
1蛋黃蛋清分離,用乾淨乾燥的碗分開盛放
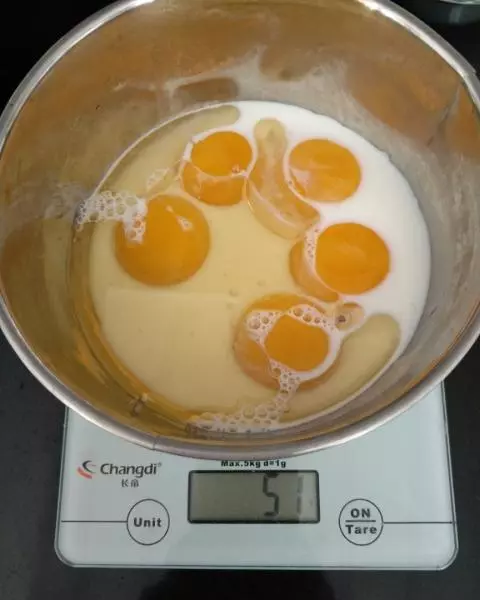
2蛋黃、玉米油、牛奶攪拌均勻
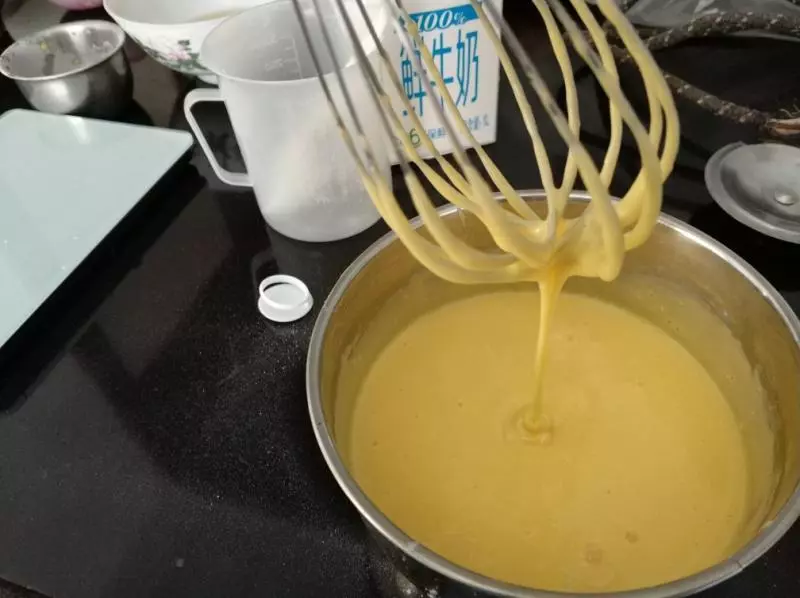
3低筋麵粉過篩,加入蛋黃液,用手動打蛋器快速攪拌均勻,形成蛋黃糊
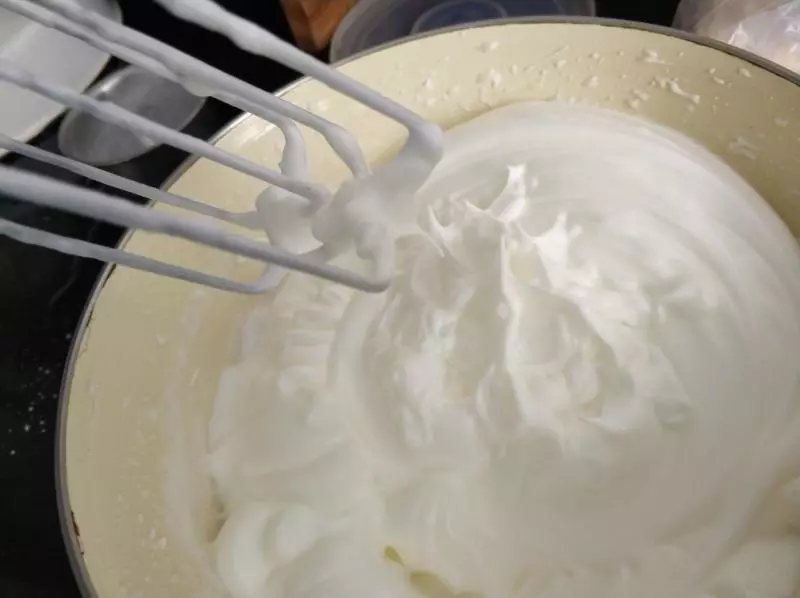
4蛋清加幾滴醋(不加也是可以噠)打發出大氣泡,加入20克糖,繼續打發至大氣泡消失後再加入15克糖,繼續打發至出現紋路再加入15克糖
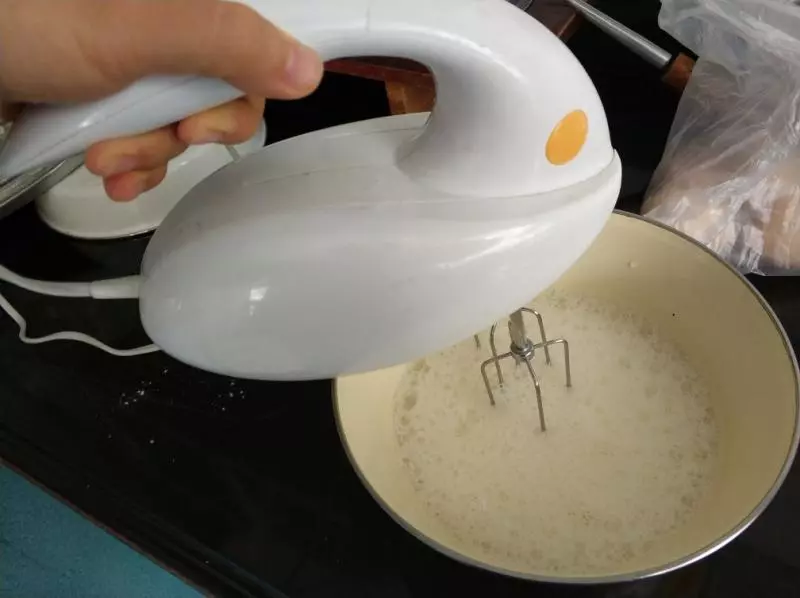
5糖粉分三次加入後繼續打發至打蛋器提起後出現小彎勾(就是所謂的濕性發泡啦)就可以啦
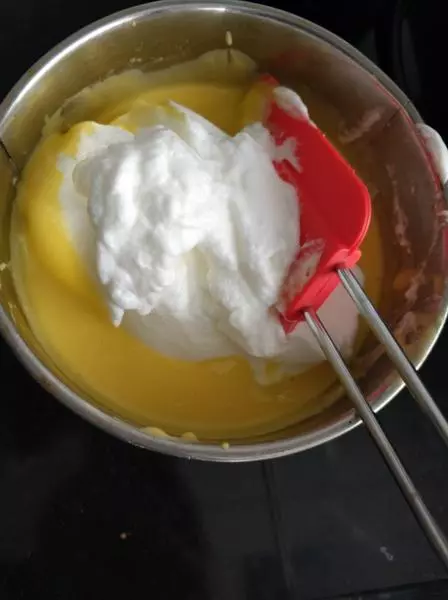
6用刮刀取出三分之一的蛋白糊加入蛋黃液中,用翻拌手法混合均勻
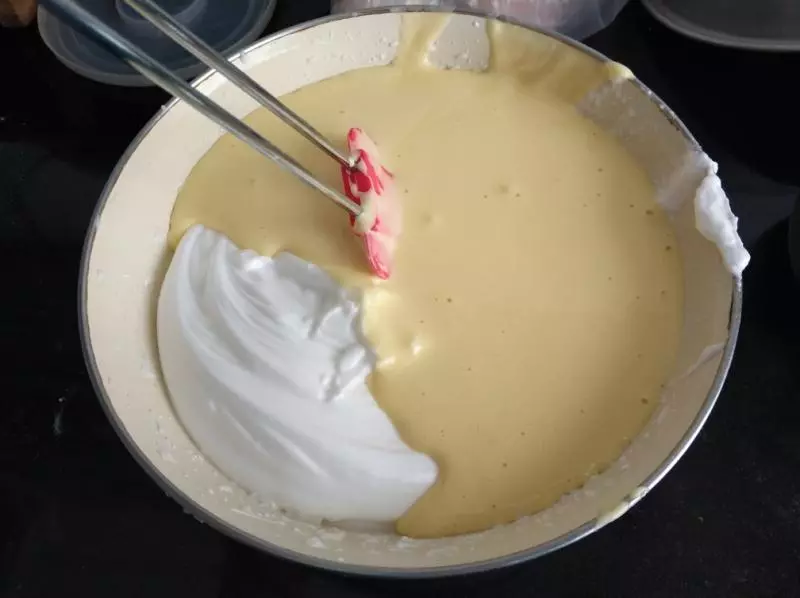
7混合均勻後再與剩下的三分之二蛋白糊混合,依舊要用翻拌手法攪拌均勻哦~
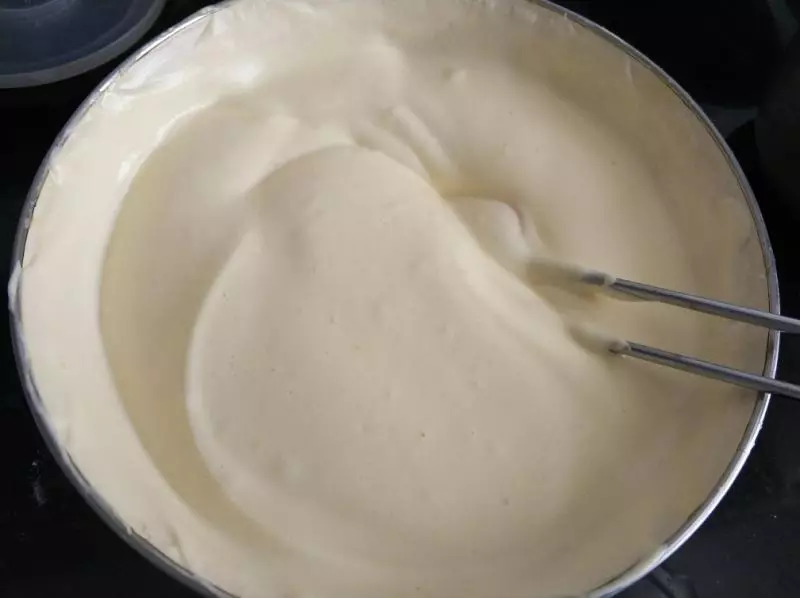
8直到形成細膩的蛋糕糊
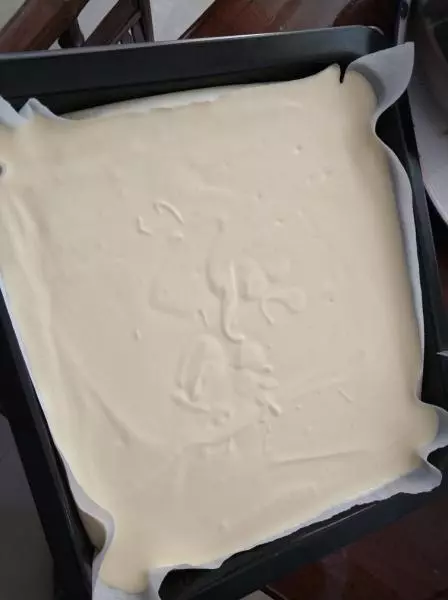
9烤箱預熱,烤盤鋪上油紙並倒入蛋糕糊,輕拍烤盤底部消泡,可以拍出蛋糕糊中的大氣泡哦~
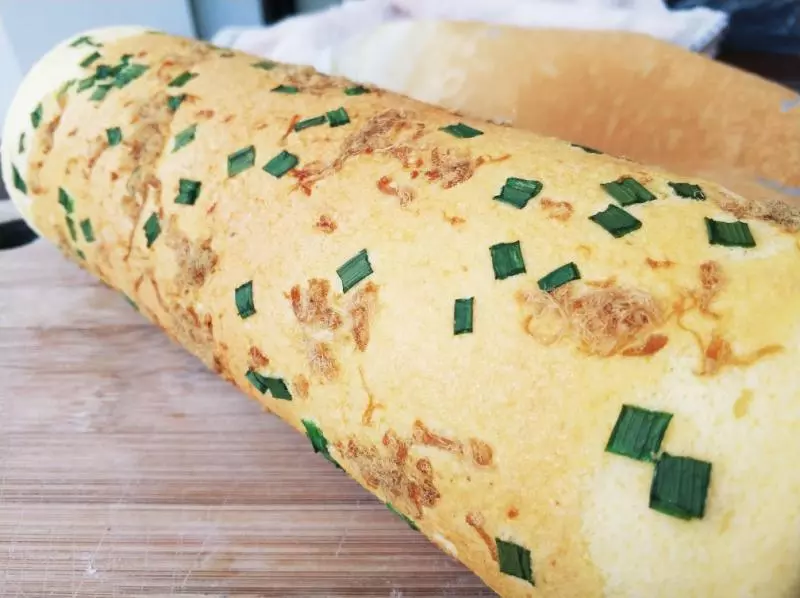
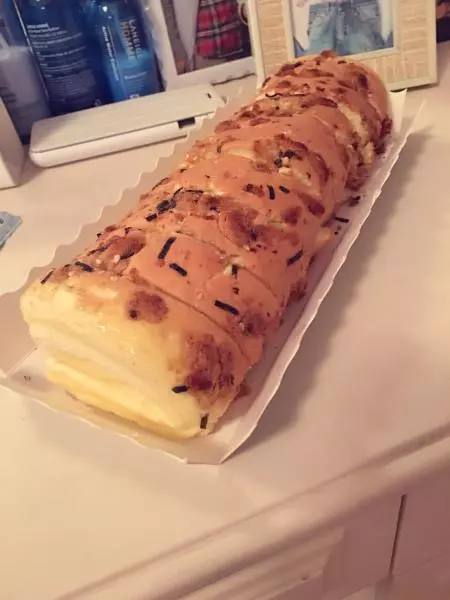
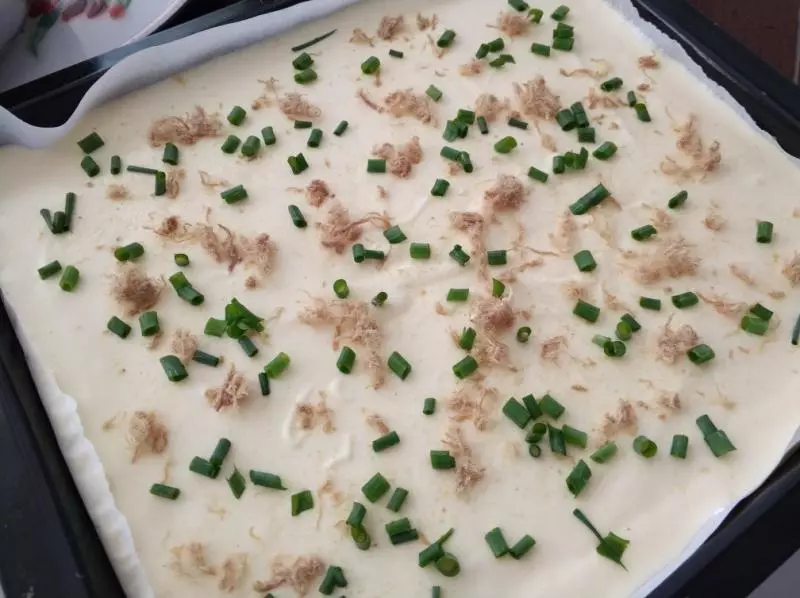
10蛋糕糊表面均勻撒上肉鬆和蔥~送入預熱好的烤箱,中層120度25分鐘
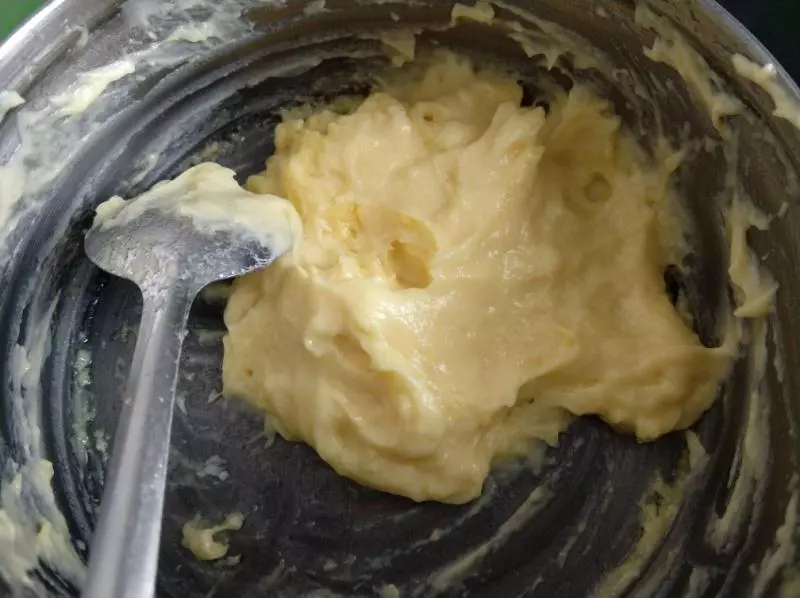
11現在就可以做沙拉醬啦。所有的材料混合攪拌均勻後,小小火邊攪拌邊熬,大概6-7分鐘就可以了

12熬煮的時間不要太久,久了會油水分離奧~如果油水分離了,可以用電動打蛋器挽救~
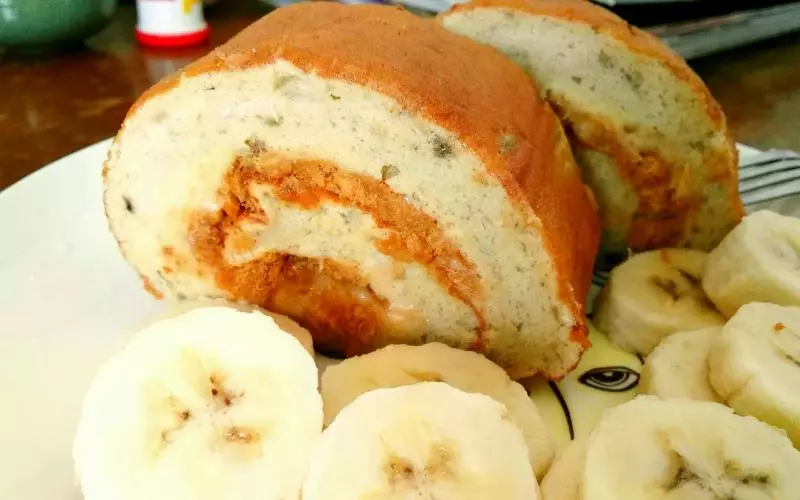
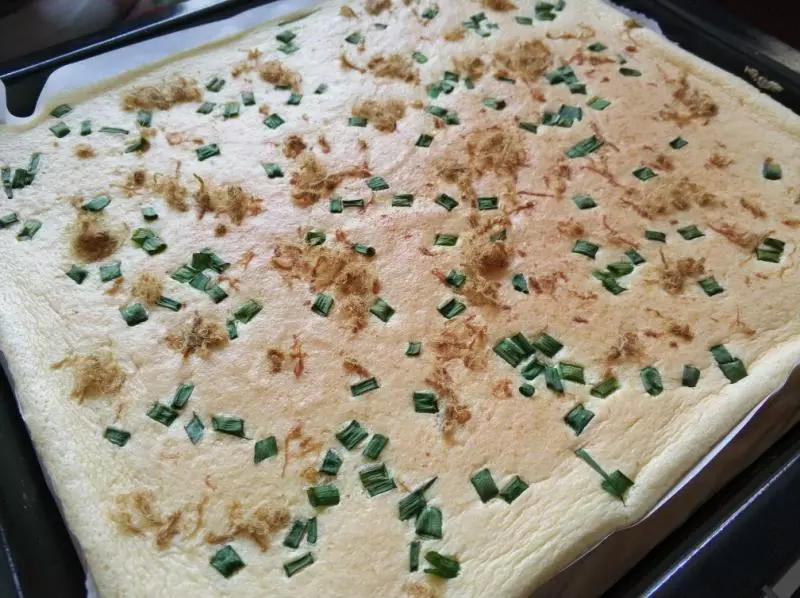
13香噴噴的蛋糕出鍋啦
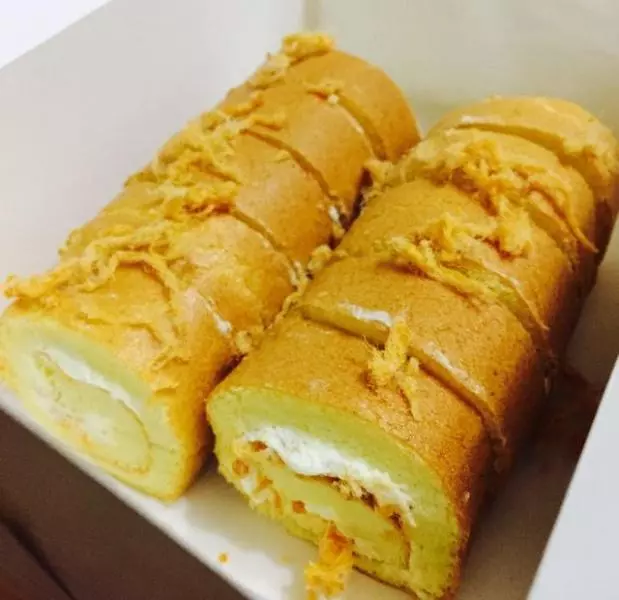
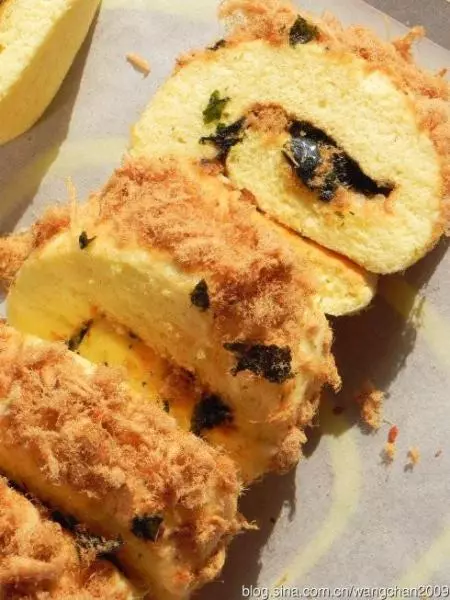
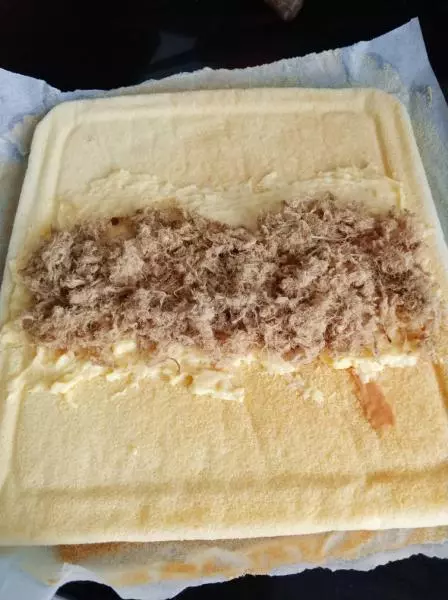
14出爐的蛋糕放涼後翻個面,塗上做好的沙拉醬,加上肉鬆
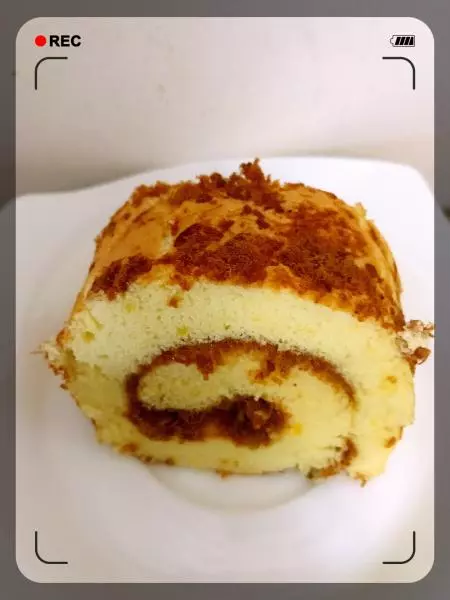
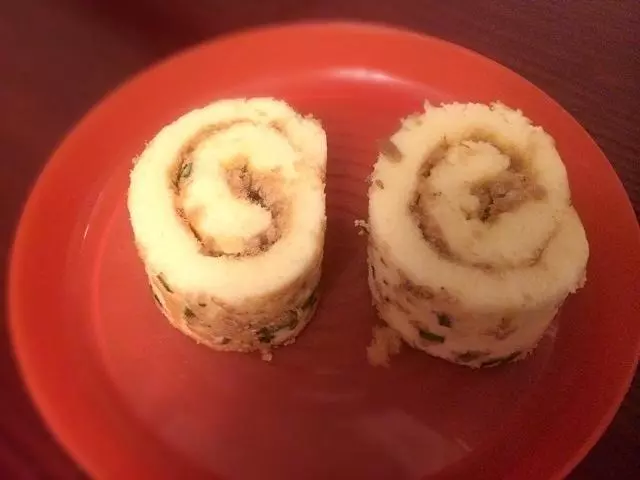
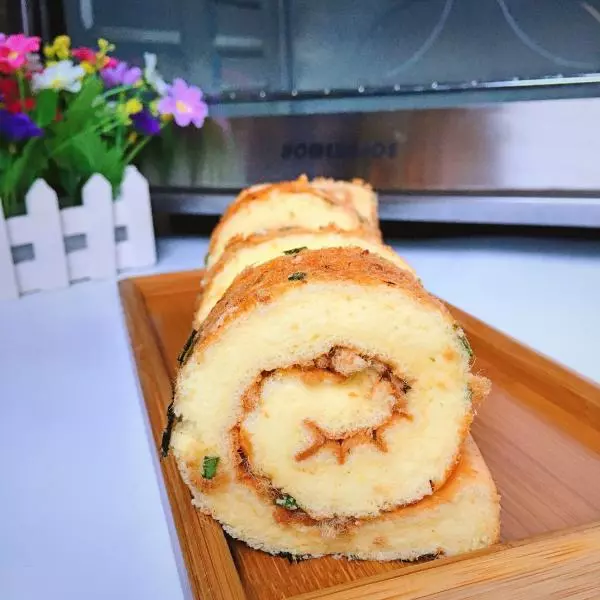
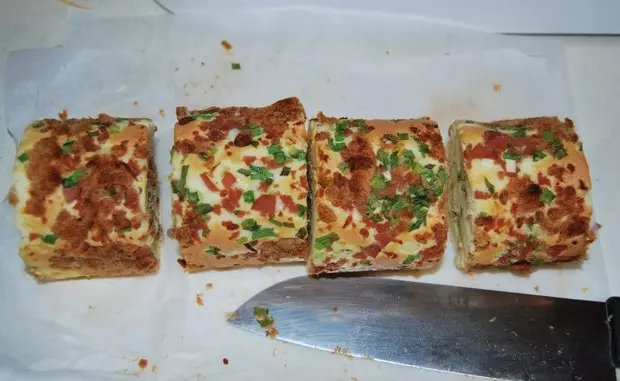
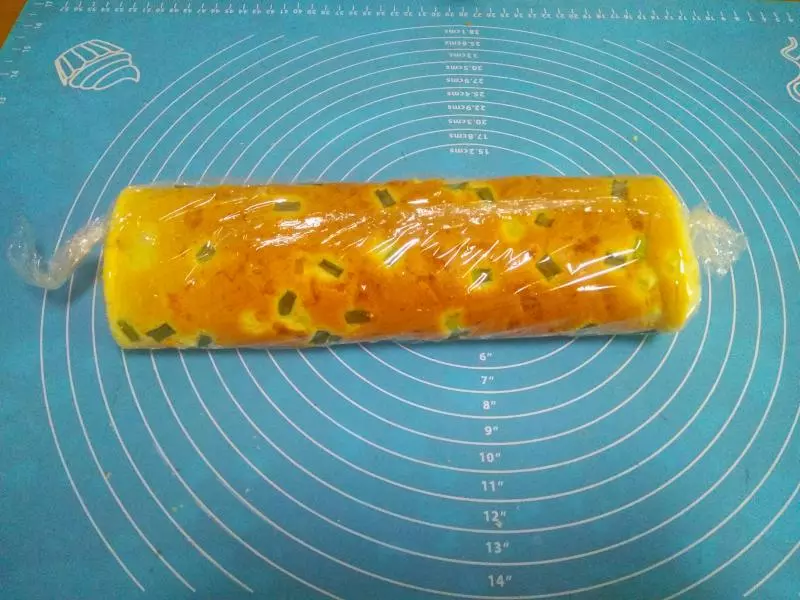
15用擀麵杖捲起油紙的方式把蛋糕捲起來,稍微壓緊
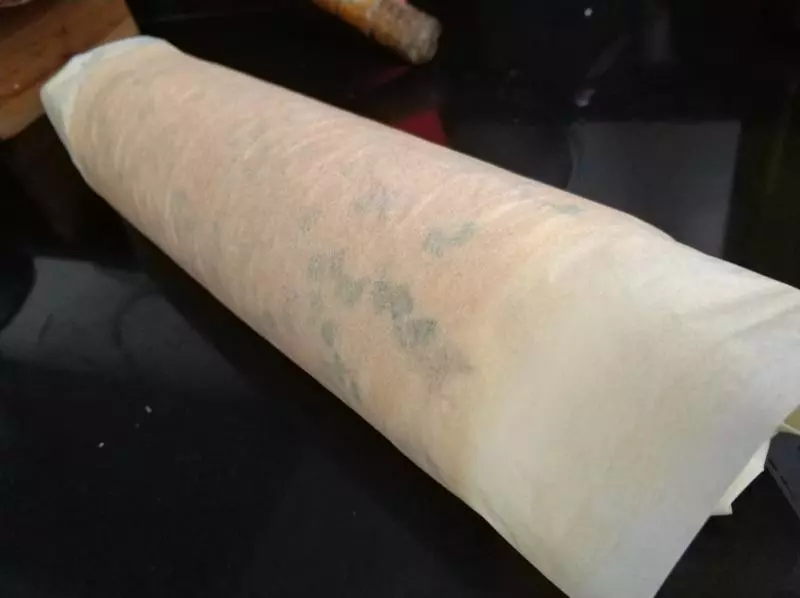
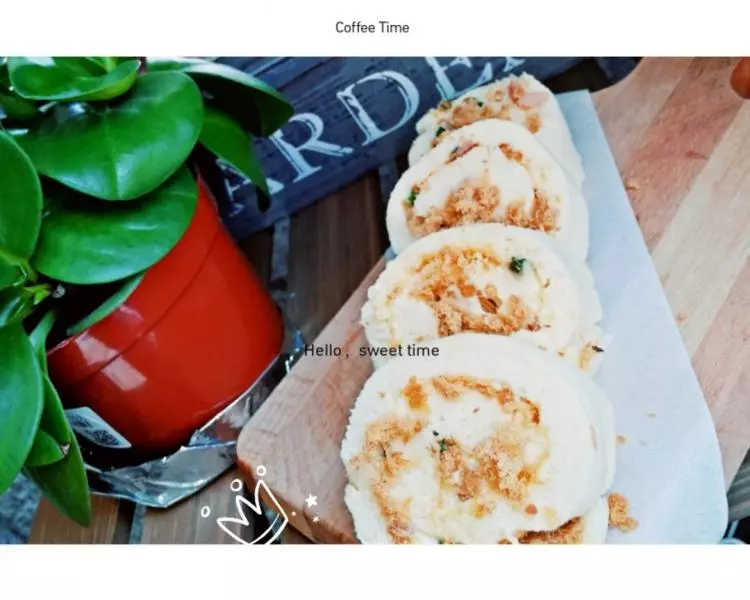
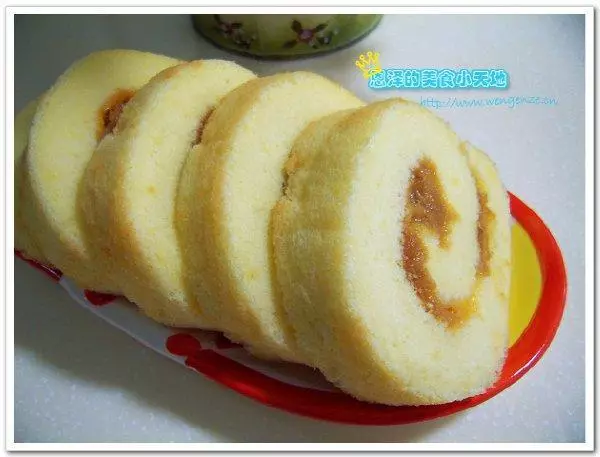
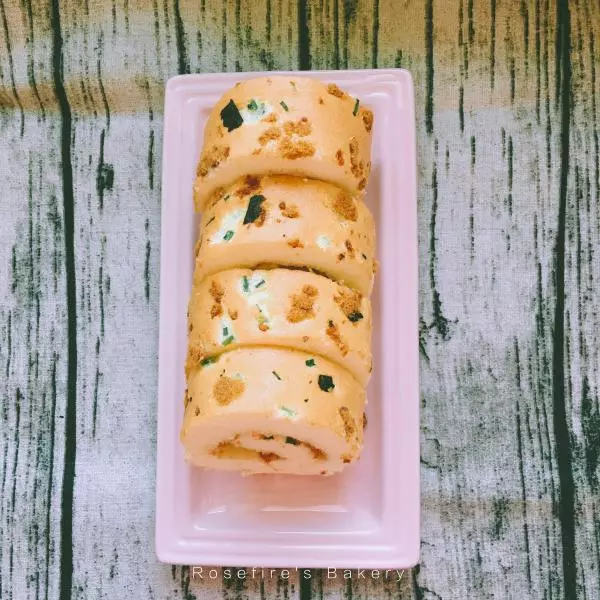
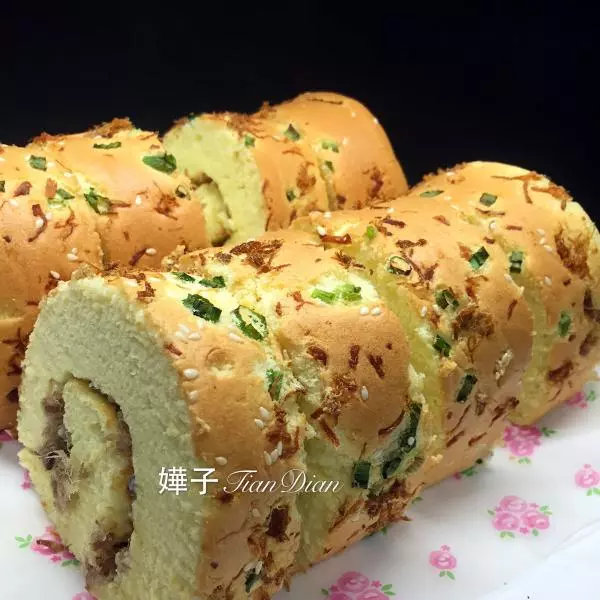
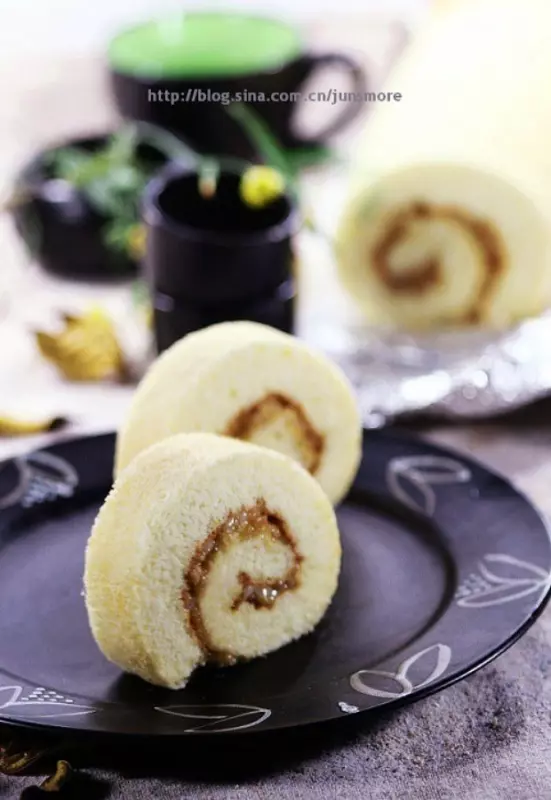
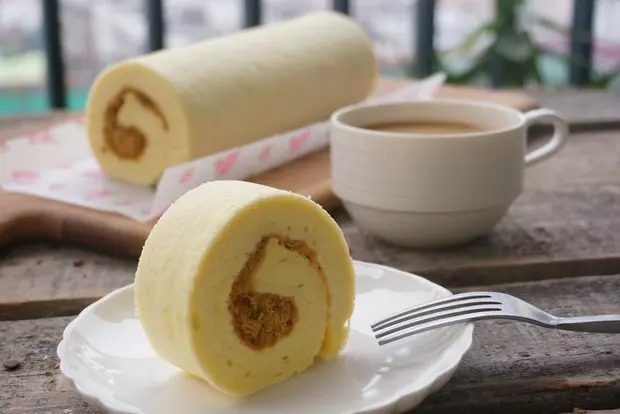
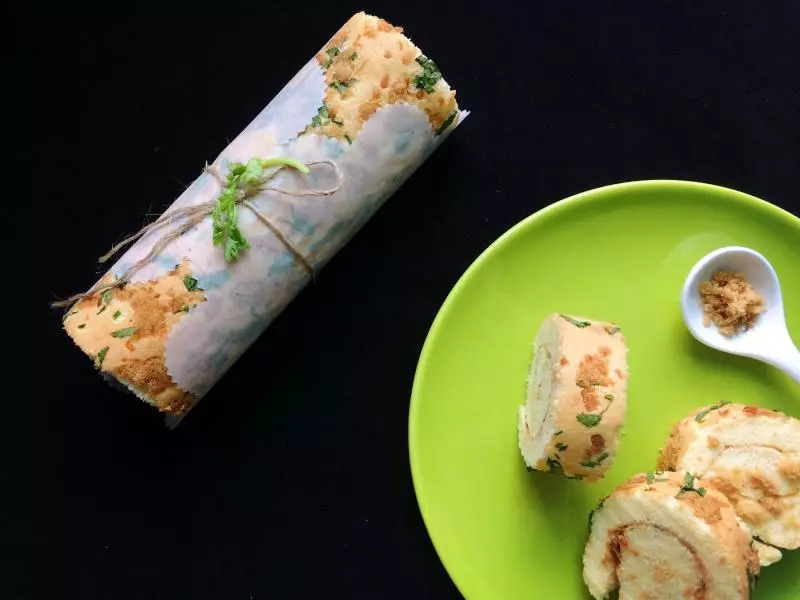
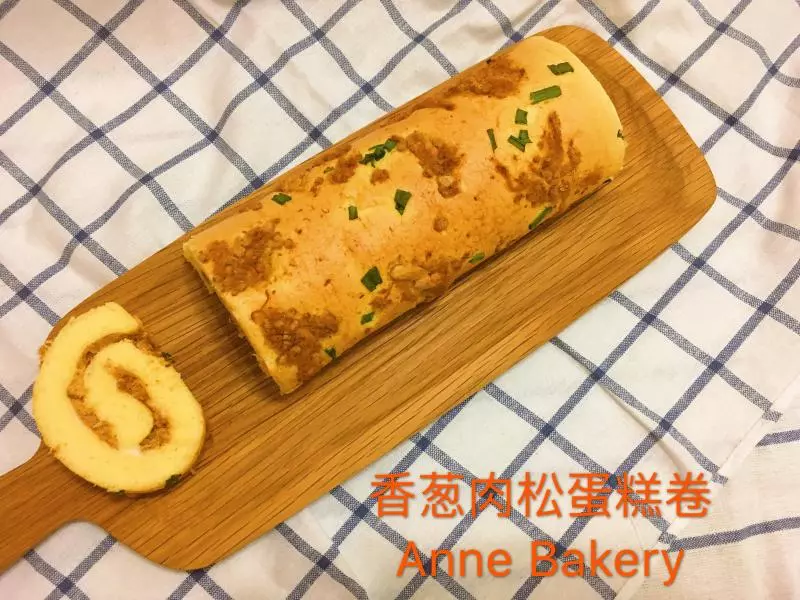
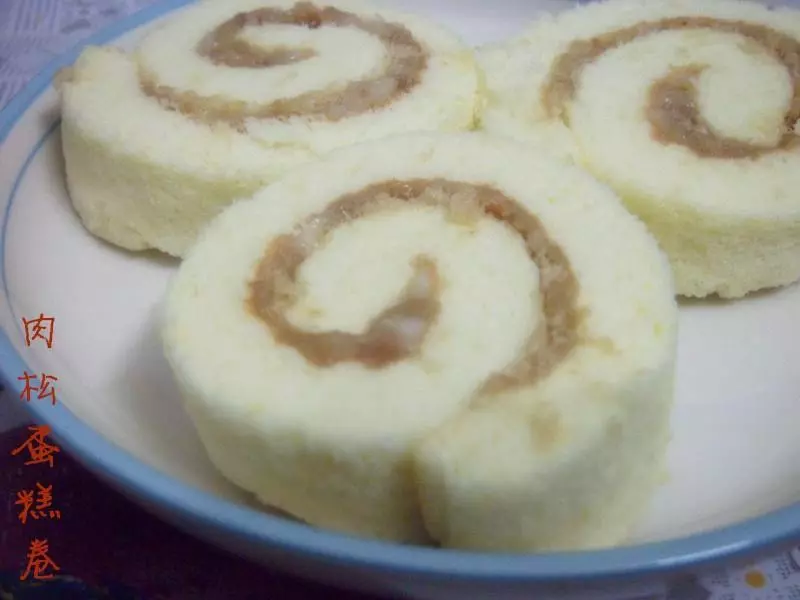
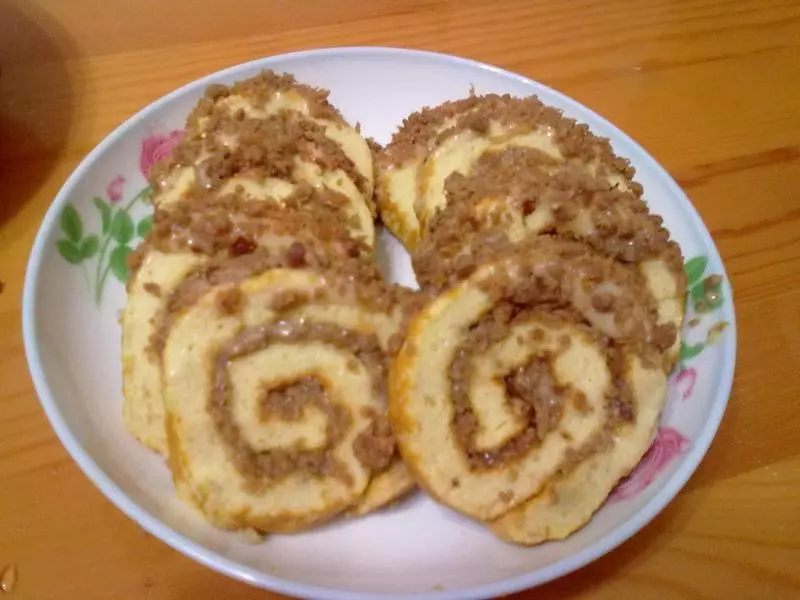
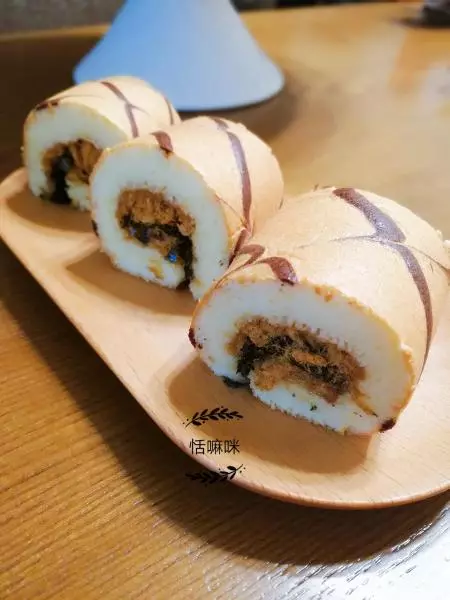
16美味的肉鬆蛋糕卷~開吃啦~