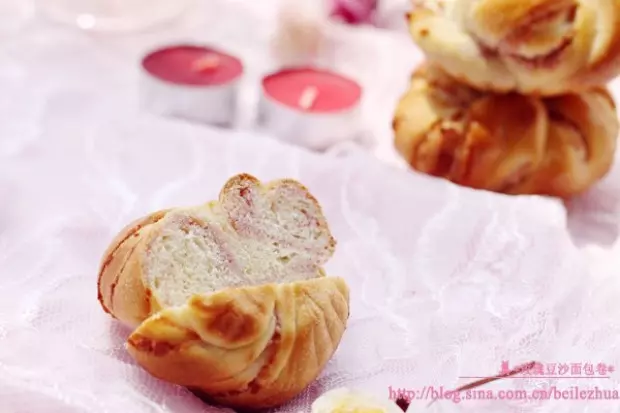
簡介
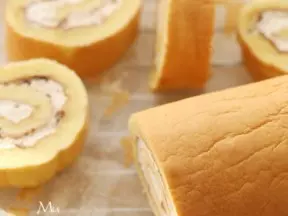
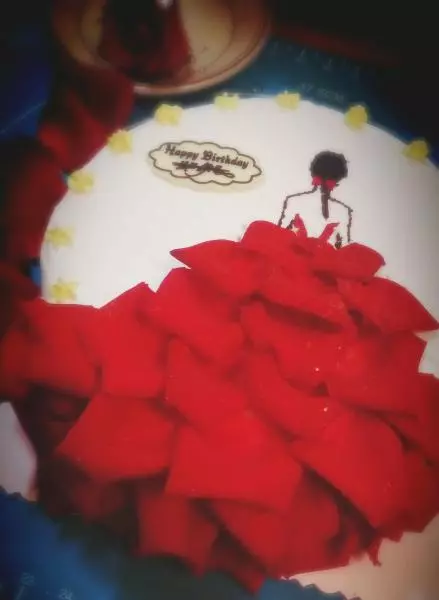
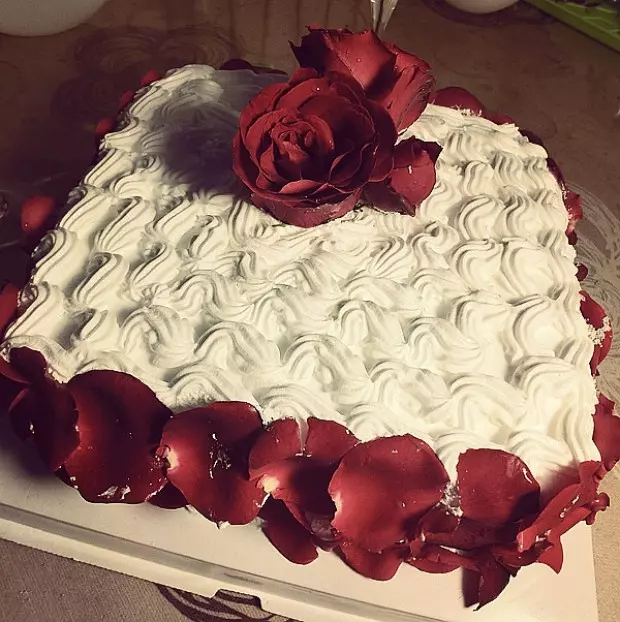
美美的毛巾卷,柔軟,玫瑰香~很喜歡。。。。。
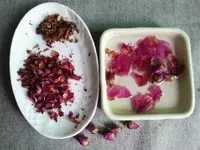
表面玫瑰花瓣可以用牡丹或者新鮮花瓣,就不用泡很久了
也可以不用畫,直接放點花瓣和葉子在上面,也非常漂亮~
組織請看下面作品圖
原料
低筋麵粉 55克, 雞蛋(冷藏) 3個, 白砂糖(粗、細) 25克, 蜂蜜 10克, 食用油 30克, 水(牛奶) 30克, 抹茶粉 0.5克, 干玫瑰花(小的 20朵, 薄荷葉 隨意, 鹽 一點點
步驟
15朵玫瑰花放在一點點溫的水裡(不能太熱)泡軟一點點,然後中間輕輕剝開,把芯去掉; 剩下玫瑰花沖洗一下,晾乾,捏碎花瓣,不要芯和花萼; 薄荷葉泡水; 準備做蛋糕卷時,把花和薄荷葉放在紙巾上面沾去水分
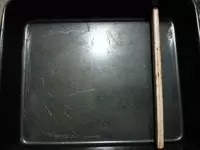
2烤盤墊油紙(烤盤大的可以用紙盒或者木條隔成喜歡的大小,再墊油紙)我的尺寸:內徑22X22
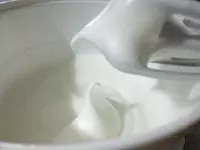
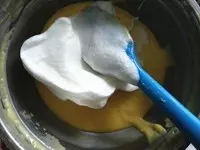
3蛋白,蛋黃分開放入盆中; 先蛋白墊冰袋高速打至粗泡、無液體,然後一次加入砂糖,高速20秒,轉低速打到長長彎鉤;

4加入10克蜂蜜、拇指食指捏一點點鹽放進去,低速半分鐘打至濃稠,關閉打蛋器,用打蛋器用力攪拌幾圈,豎直提起打蛋器,蛋白打光滑細膩有光澤,盆中蛋白和打蛋器蛋白有小的彎鉤;(如果沒有達到,就重複)
5蛋白放在冰袋上面;(夏天蓋保鮮膜放冰箱冷藏) 不用洗打蛋器,直接低速打蛋黃幾秒,打均勻;
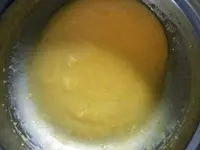
6放入30克油,低速打幾秒,打均勻
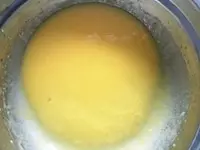
7放入30克水低速幾秒,打均勻
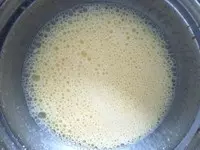
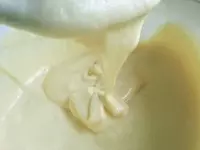
8篩入55克低筋粉,用矽膠鏟,把蛋糊往盆子邊壓一壓,然後抄底翻過來同時逆時針轉動盆子;
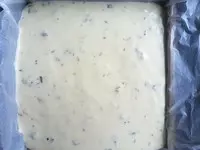
9直到沒有顆粒,像綢緞的蛋黃糊
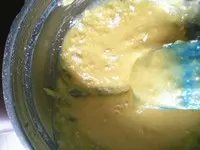
10舀一大勺蛋白放入蛋黃糊,對角鏟入,然後把蛋糊翻過來(時鐘2點位置鏟到8點位置)同時逆時針轉動盆子;混合均勻,
11把均勻的蛋黃糊全部倒入(墊著冰袋的)蛋白糊,重複剛剛動作,混合均勻,像綢緞;
12烤箱175度預熱10分鐘,同時放一個烤箱自帶的烤盤在烤箱最下層;放一個烤網在上層一起預熱;
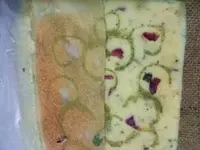
13取0.5克抹茶粉和15克麵糊拌勻,裝入裱花袋,擠緊,上面紮起來,然後下面剪一點點口

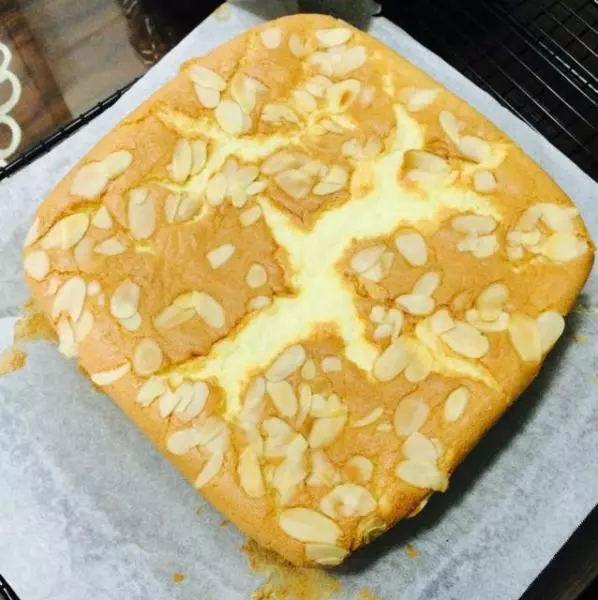
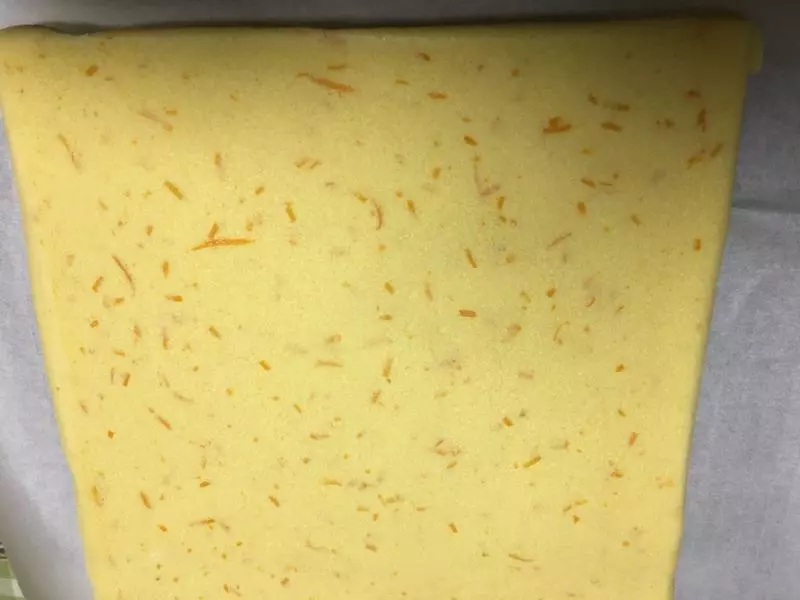
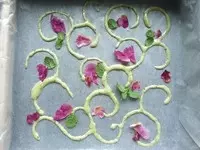
14抹茶麵糊在烤盤上面隨意擠半圓,把吸干水的玫瑰花和薄荷葉隨意擺放,喜歡的那一面朝油紙
15放進去預熱的烤盤上面。底層175烤40秒,拿出來;烤箱繼續加熱;
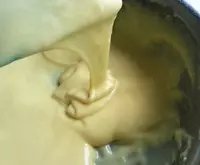
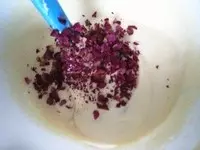
16碎玫瑰花瓣放進去蛋糊拌均勻;
17蛋糊高處連續倒入烤盤,輕輕晃動烤盤,麵糊平整,放入預熱的那個烤盤上面,底層烤8分鐘(我用手機計時),然後拿去下面的烤盤,把蛋糕烤盤換方向,放入烤網上面,上層烤4分鐘;(手機計時)
18(砧板墊乾淨毛巾)時間到烤盤拿出來,把蛋糕卷連油紙扯到毛巾上面,撕開蛋糕卷四邊油紙;
19拿著油紙,把蛋糕卷翻過來,撕去上面的油紙,然後蓋回去蛋糕卷上面,慢慢冷卻
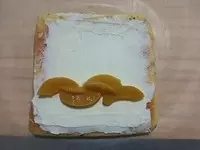
20冷卻的蛋糕卷,拿走上面蓋的油紙,把蛋糕卷將要連接的2邊切一點,用另外乾淨油紙蓋上去,和毛巾一起翻過來,拿走毛巾;然後裹玫瑰醬或者奶油水果
21慢慢捲起來,(很軟,我直接拿油紙卷的,也可以用擀麵棍輔助) 油紙兩頭紮緊放入冰箱冷藏定型半小時(我放0度)

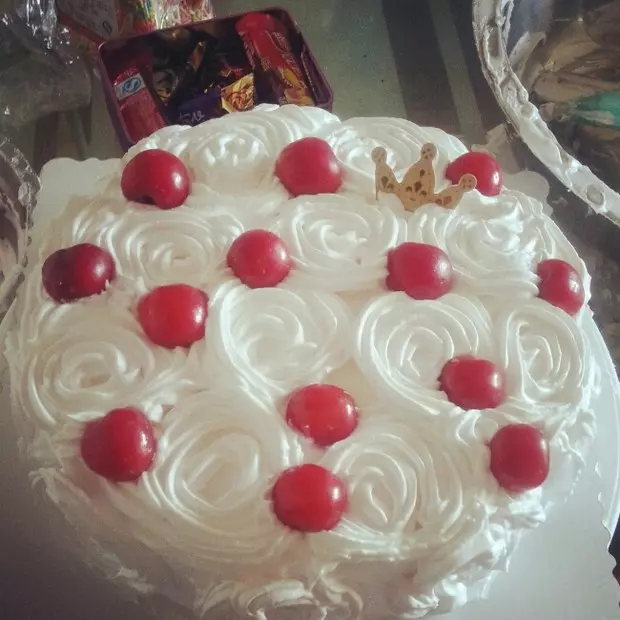
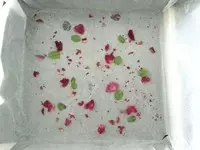
22不用畫也可以做個漂亮的蛋糕卷:花瓣和葉子隨意擺放,再倒入蛋糊
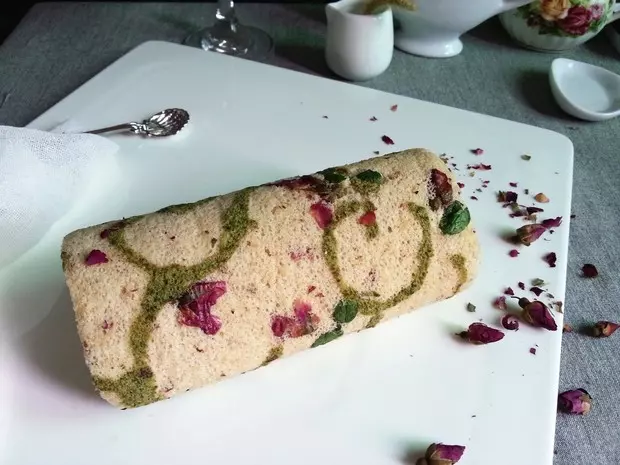
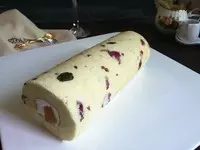
23成品:
小技巧
1;蛋白糊是一直墊冰袋的,我用便宜油紙,可以撕去皮
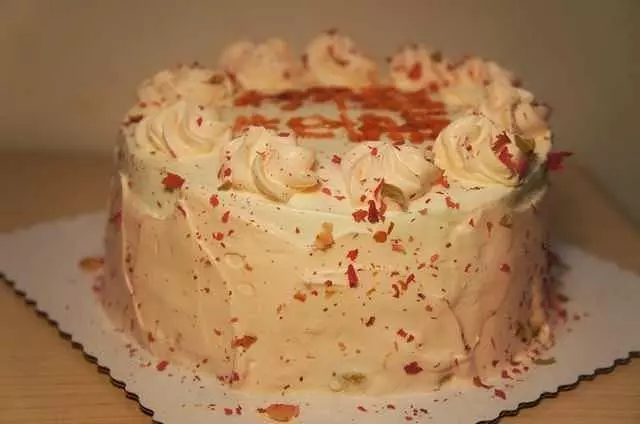
2;冷藏奶油用80-100克,加10克糖粉(喜歡甜的可以加20克,因為蛋糕卷不會很甜)和一克檸檬汁,或者幾滴香草精,放在小的深盆,墊冰袋打發,塗抹奶油,蛋糕卷最遠處留一點不要塗,水果放在三分之一處,
3:烤箱溫度不一樣,溫度只供參考,可以用平時自己烤蛋糕卷的·溫度和層次,可以試試用中層,160度,烤13--15分鐘。