原料
雞蛋: 4個, 糖: 60克, 低筋麵粉: 40克, 玉米油: 40克, 水: 40克, 奶油: 100克, 檸檬汁: 6片
步驟
1打4個雞蛋,蛋黃蛋白分開

2蛋殼可以蛋殼貼畫

3蛋黃加入10克糖,打發均勻,容易膨脹,要找一個大號的碗

4蛋黃加入40克油,40克水,40克麵粉,攪拌均勻成麵糊,再打發幾下

5再取30克糖,分三次倒入蛋白

6倒入10克白糖,蛋白打出粗泡,倒入10克糖,再打出白細泡,再倒入10克糖,打成粘稠狀

7滴入檸檬汁,擠一下6片

8淡奶油一瓶打出來太多,用一半就夠了

9加入10克糖(奶油少一半糖也少一半)

10打奶油容易濺出,要大碗垂直豎著打,先用2檔高速打發,打出波紋後(2分鐘左右),用1檔微調,儘量稠一些,放冰箱冷藏,容易定型

11將三分之一蛋白倒入蛋黃,攪拌均勻,再將所有蛋白緩慢倒入,直至攪拌均勻,從油紙托盤中央緩慢倒入

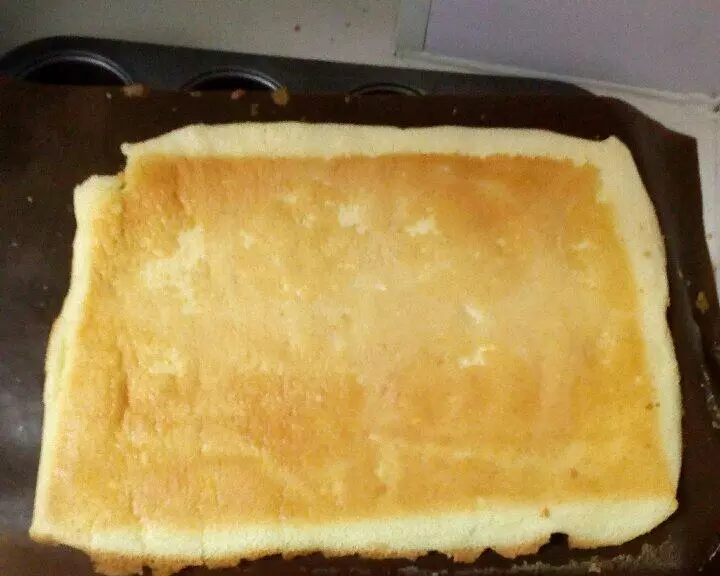
12180℃預熱烤箱,放入托盤180℃18分鐘

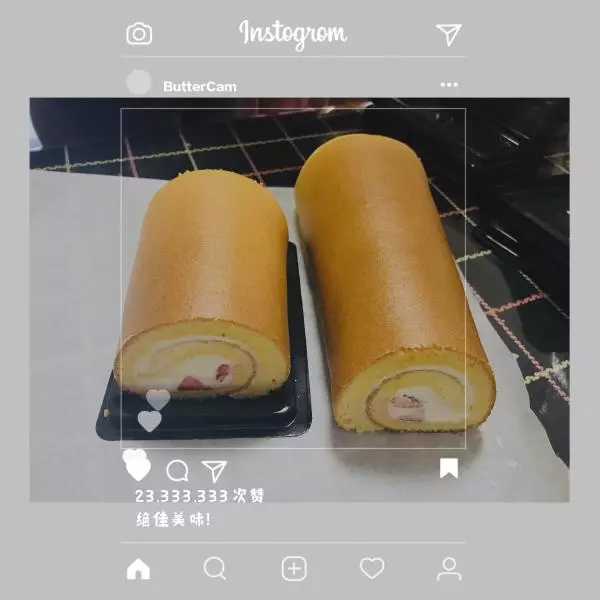
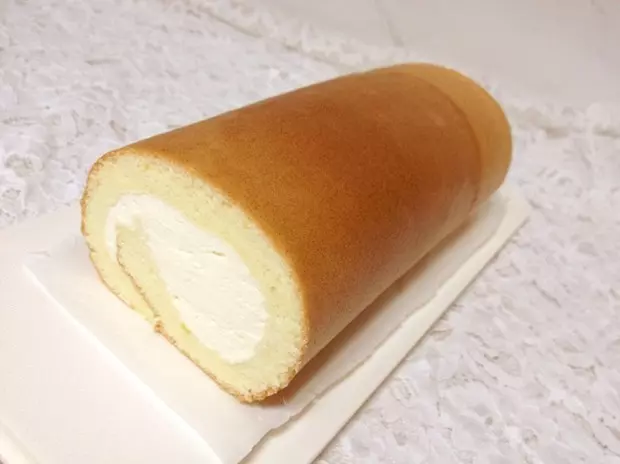
1318分鐘後把焦的一面翻到油紙上,曬晾的時候捲起來定型,以防乾裂,一定要涼透,否則奶油會化

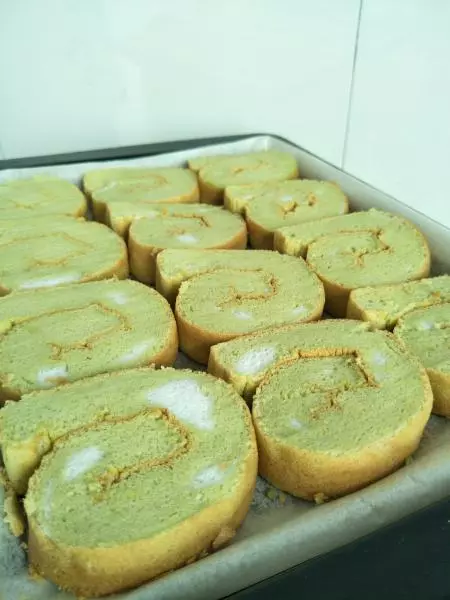
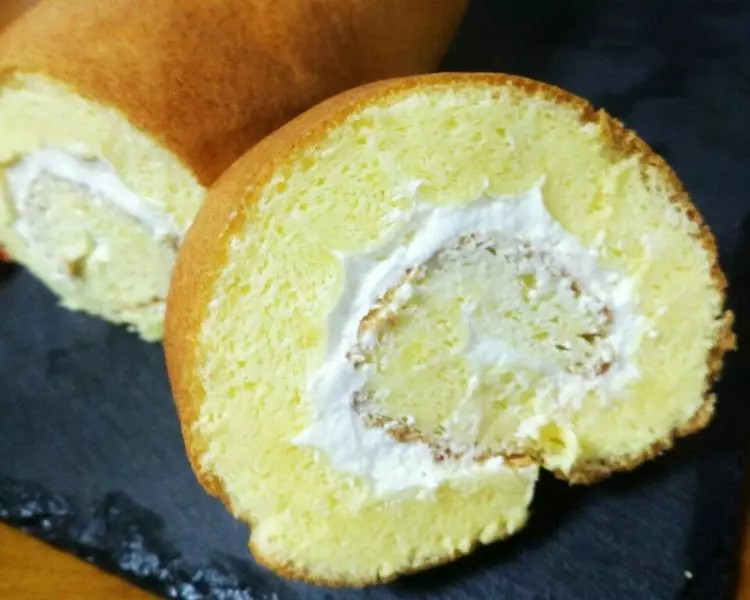
14涼透以後鋪上奶油,裡層厚,外層薄,最後3厘米不塗奶油

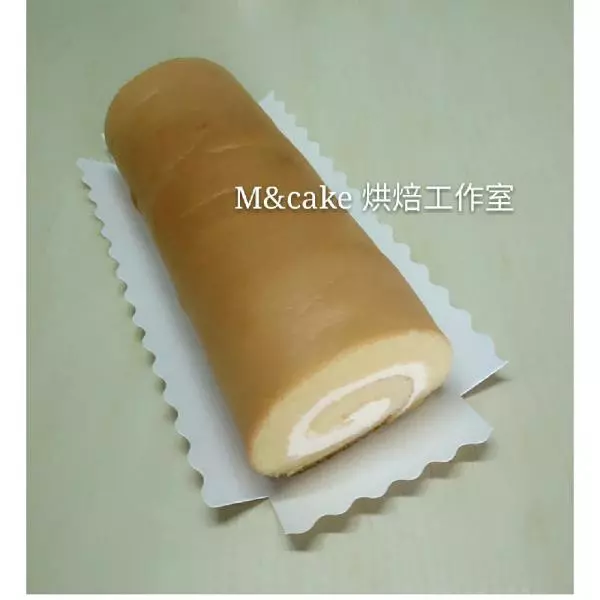
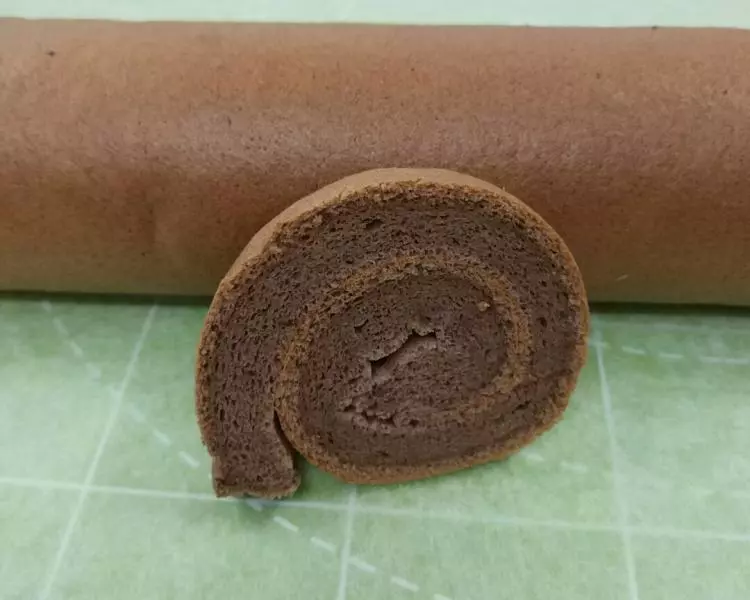
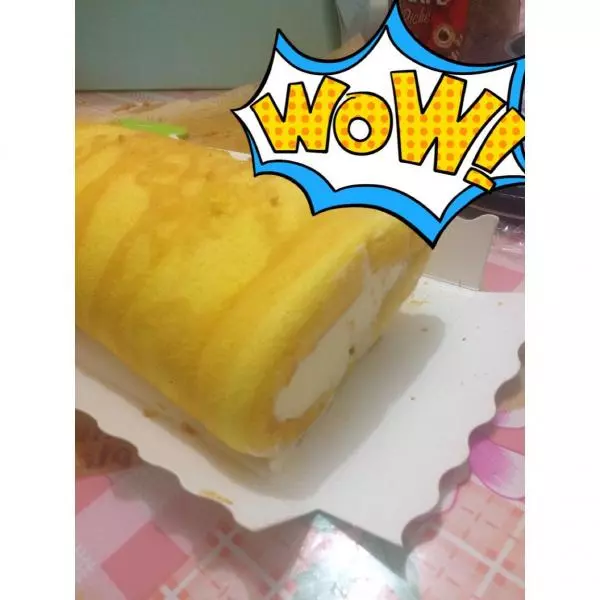
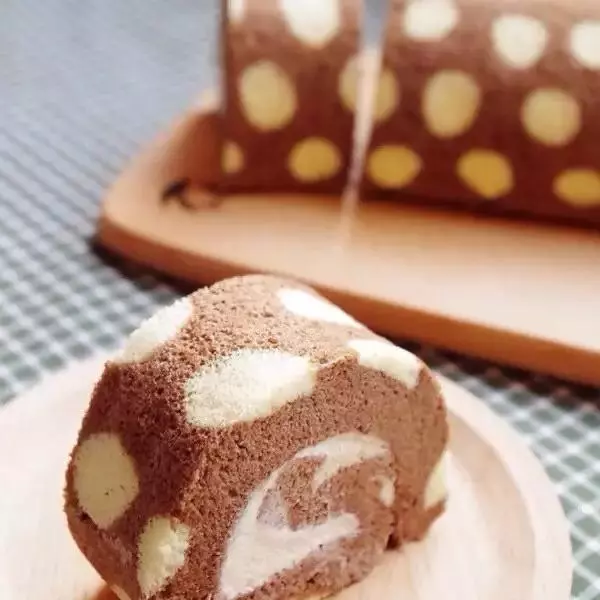
15反卷,把到放火上熱一下再切,乾脆

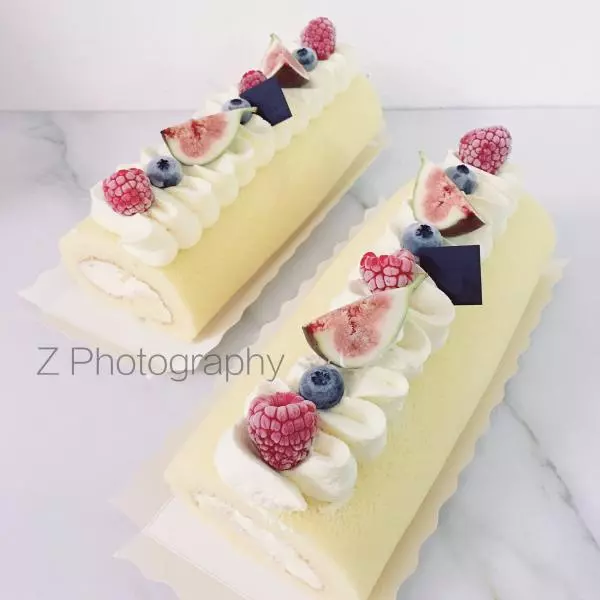
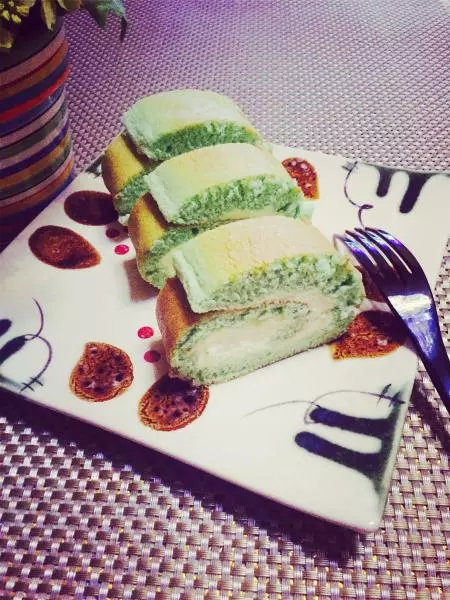
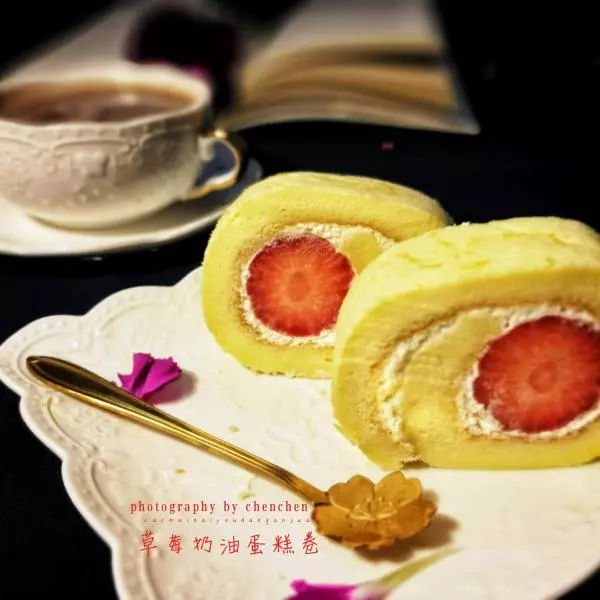
16加上時令水果紅柚

17正卷有些失敗,需再打磨,反卷容易