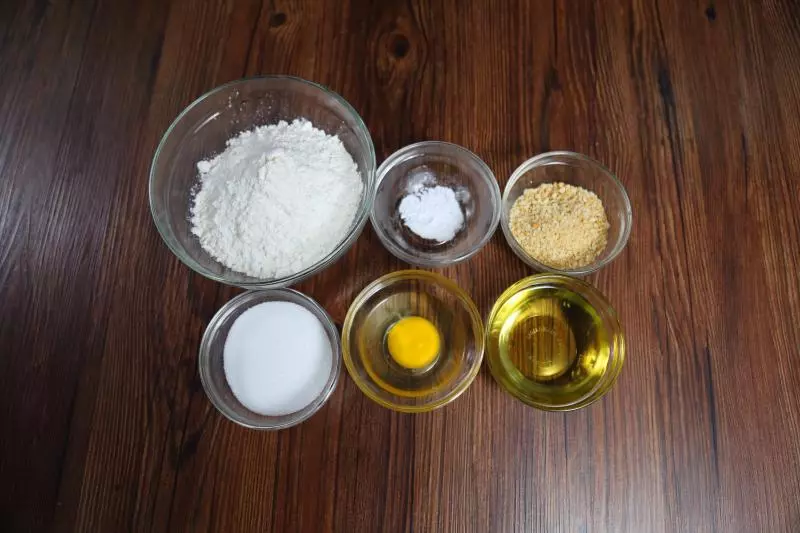
原料
食用油: 100g, 細砂糖: 80g, 雞蛋: 一個, 低筋粉: 225g, 小蘇打: 2g, 花生碎: 30g
步驟
1準備好所有材料。
2將準備好的食用油、細砂糖、蛋液全部倒在一個大碗里。
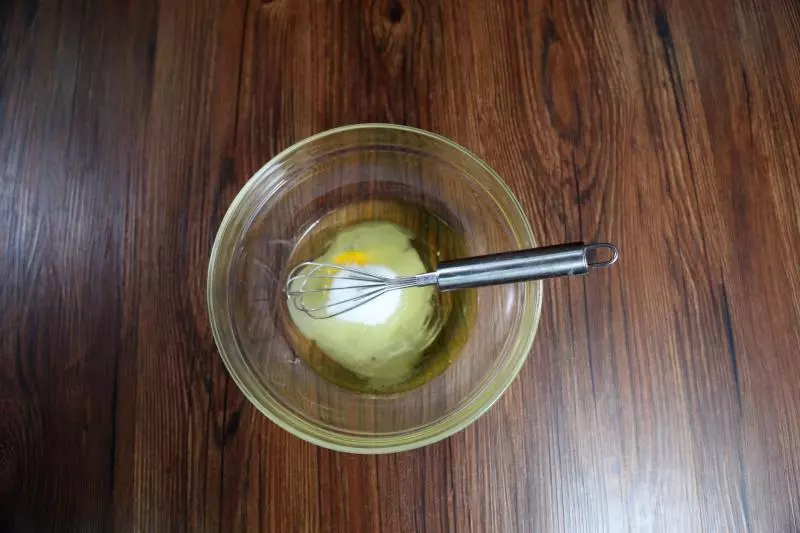
3將它們攪拌均勻。

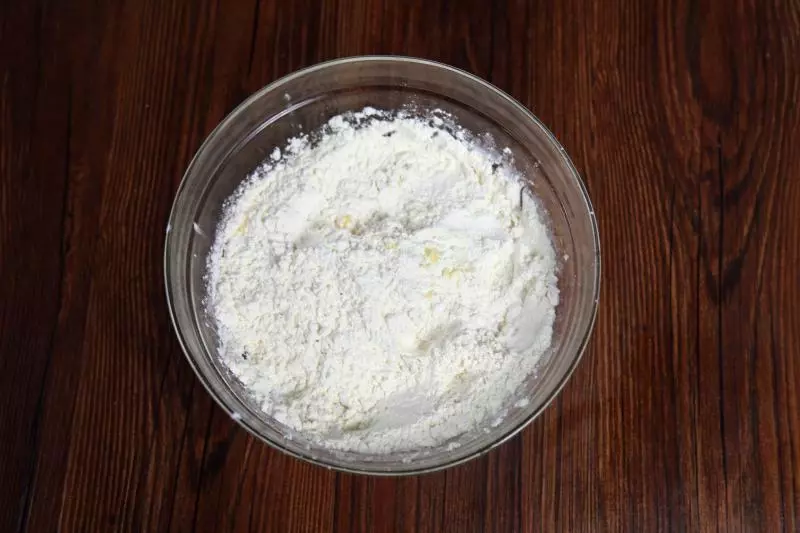
4將低筋粉、小蘇打、花生碎全部混合之後,倒入步驟2的大碗中。
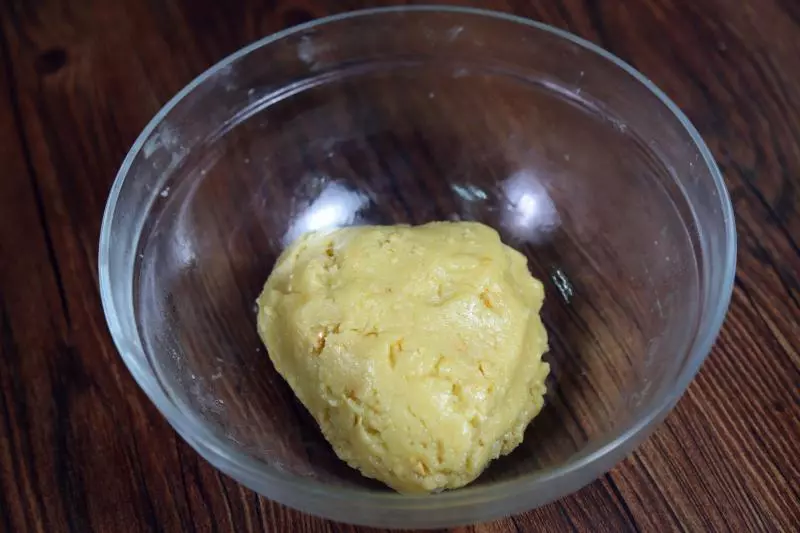
5戴著一次性手套將混合好的全部材料揉成團。
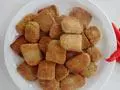
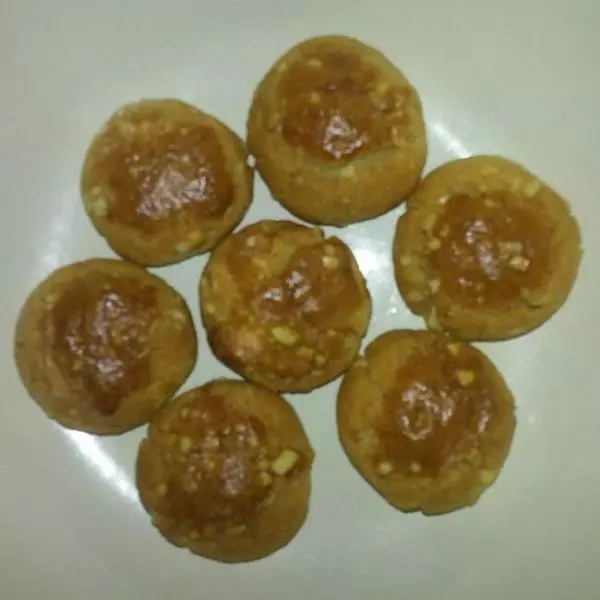
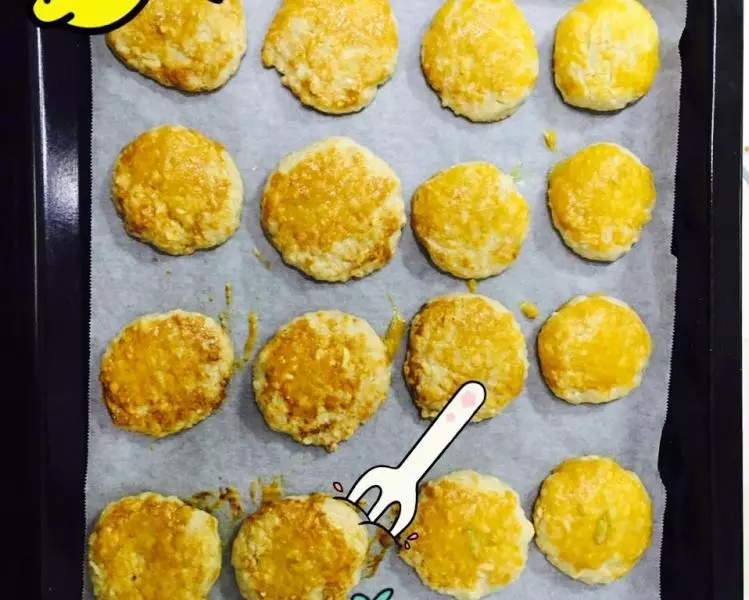
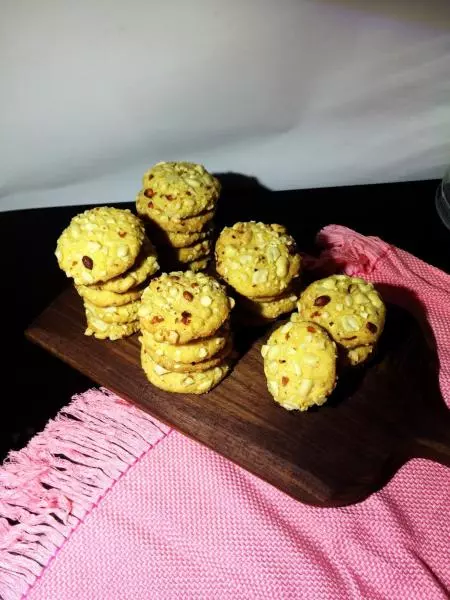
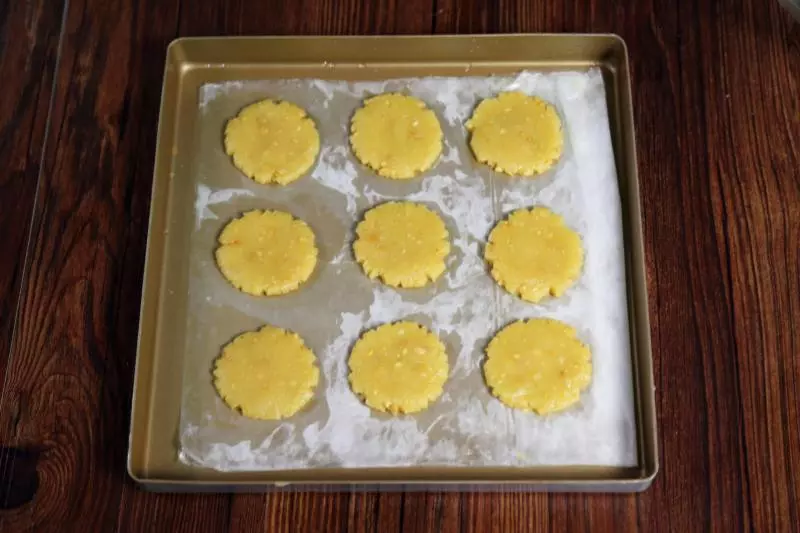
6每20g捏成一個花生酥,整齊放在烤盤上,壓扁。
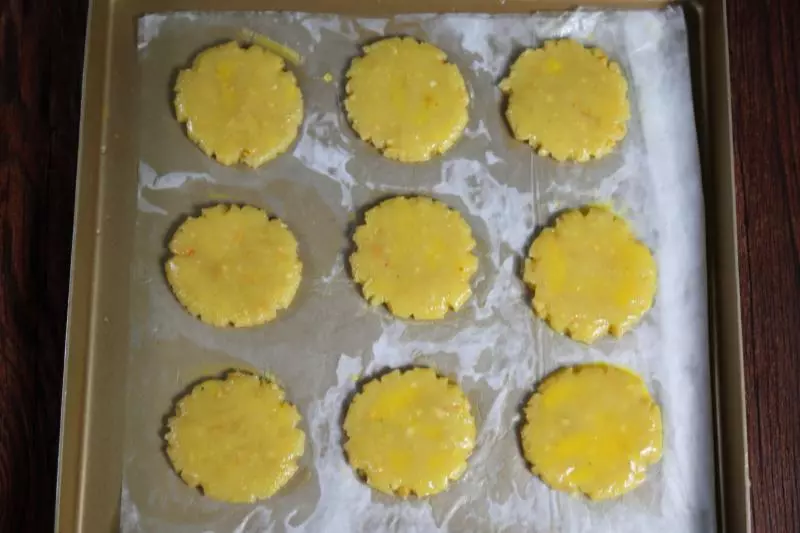
7在每個花生酥的表面刷上蛋液。
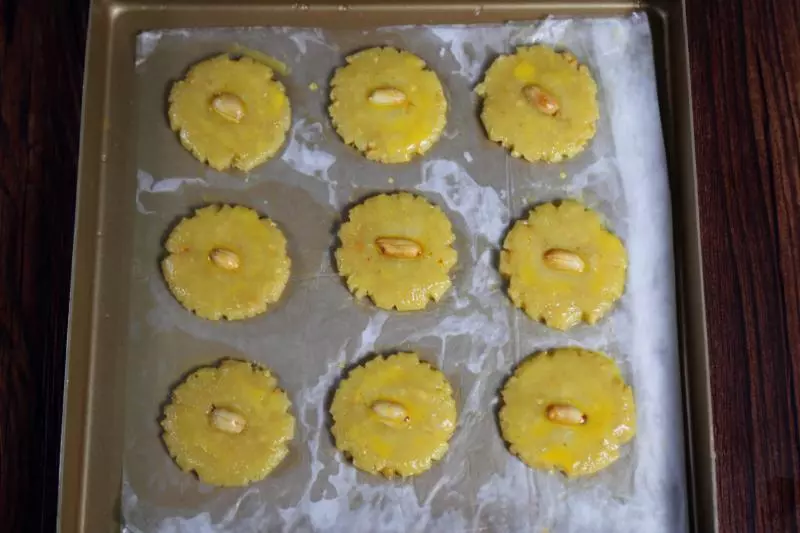
8在每個花生酥的表面正中間的位置,可以壓入一顆花生做裝飾,沒有花生的話可以忽略這個步驟。
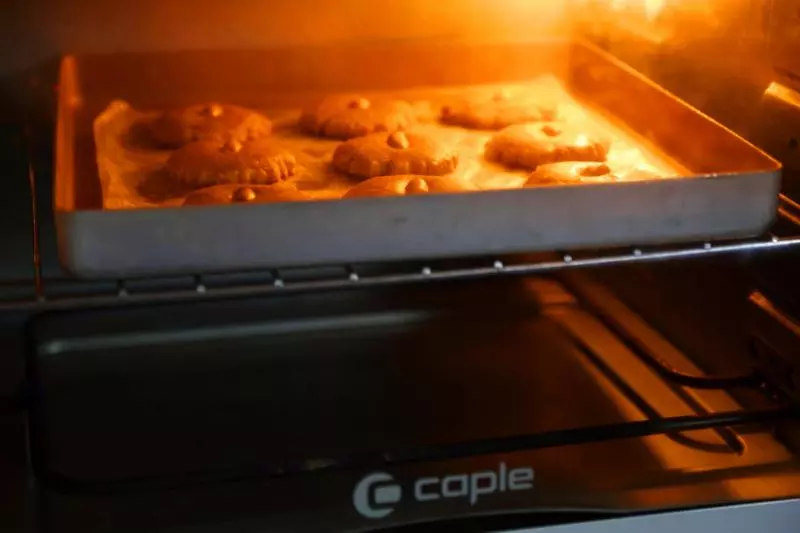
9放入烤箱中層,180°上下火,20分鐘。
小技巧
1、我的烤箱是TO5332,烤箱都有一定的溫差,大家根據實際烘烤情況適當的調整。 2、小蘇打可以少放,但是不可以不放哦! 3、沒有細砂糖的話,也可以用糖粉。 4、花生最好是原味花生,沒有的話五香也是可以的。