原料
馬斯卡朋芝士: 200克, 雞蛋: 2個, 白糖: 35克, 煮好的咖啡: 125ml, 朗姆酒: 50ml, 香草精: 2.5ml, 可可粉: 15克, 手指餅乾: 5個, 鹽: 少許
步驟
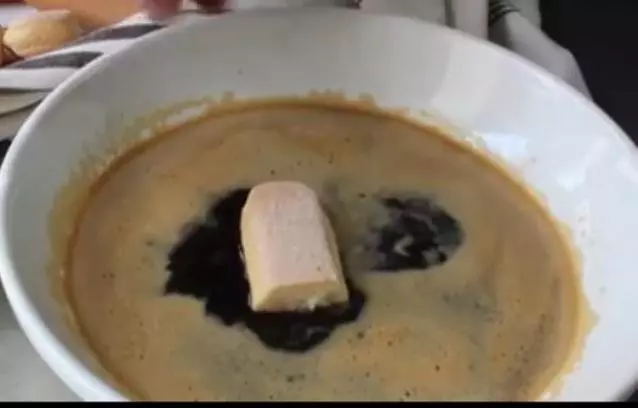
1將煮好的咖啡與30ml朗姆酒混合。
2蛋清蛋黃分離,分別放進兩個空盆。

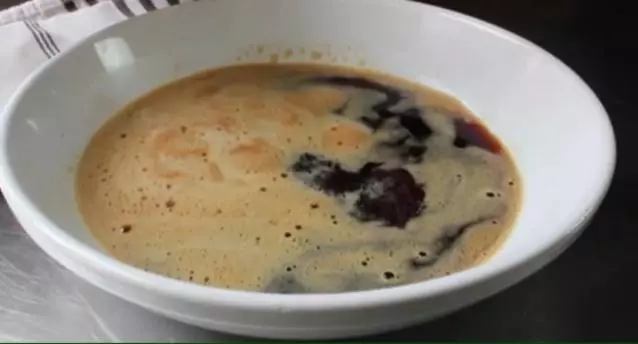
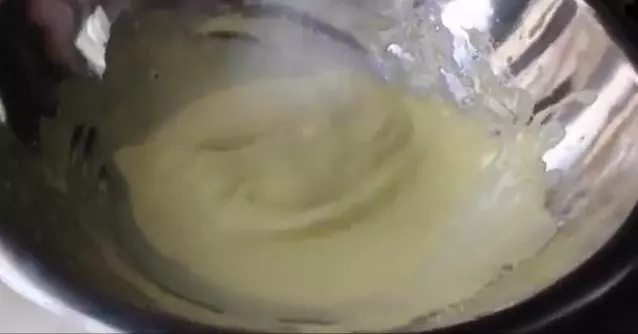
3將蛋黃、糖和剩下的15ml朗姆酒混合,水小火煮開(約80度),隔水打發,打至蛋液變淺,濃稠。
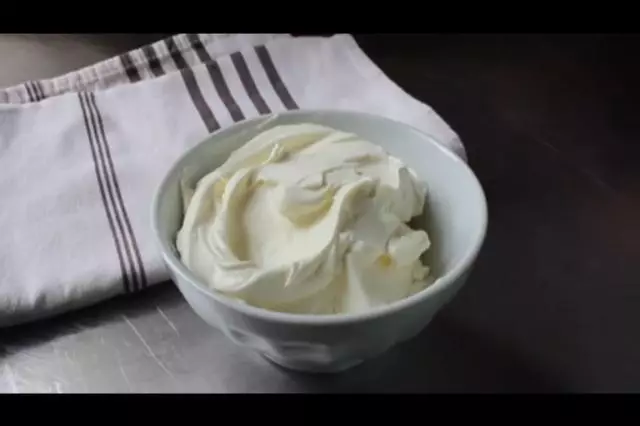
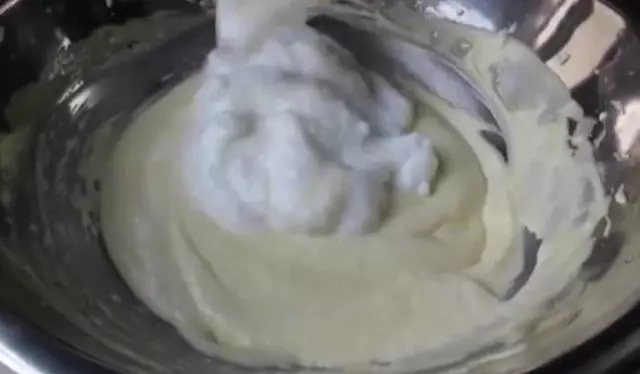
4取出馬斯卡朋芝士,用橡皮刀稍微打發。
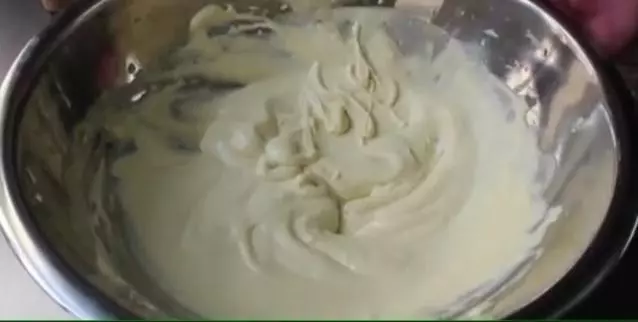
5將蛋黃糊與馬斯卡朋芝士混合,加入香草精和少許鹽拌勻。
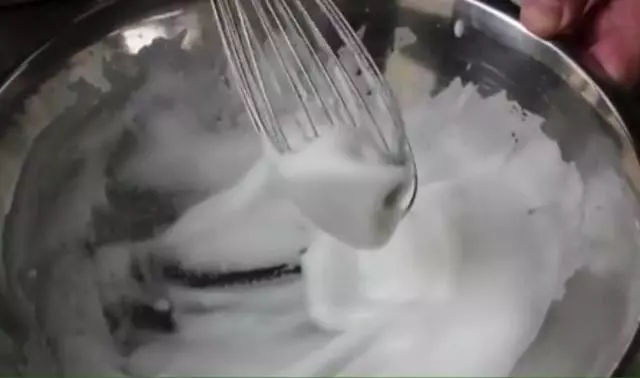
6將蛋白打發至濕性發泡(即出現穩定紋路)。
7取一半蛋白霜與芝士糊混合,拌勻後,將剩下的蛋白霜與芝士糊拌勻。
8手指餅乾切塊快速在咖啡液中蘸一下。
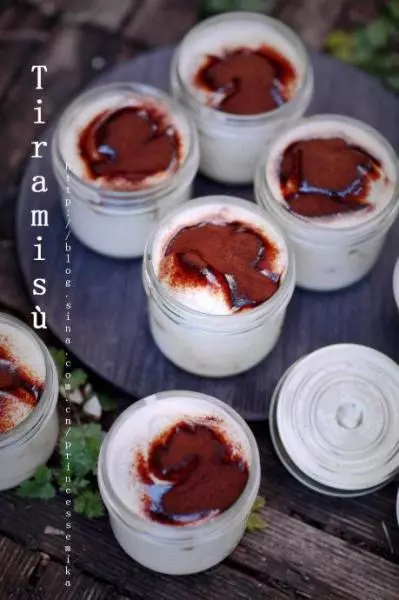
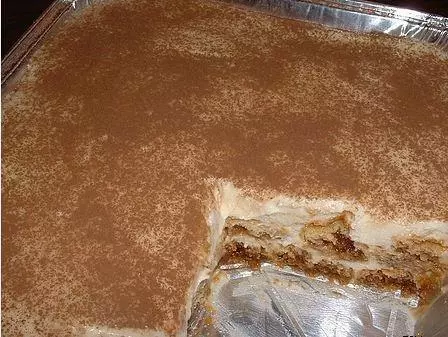
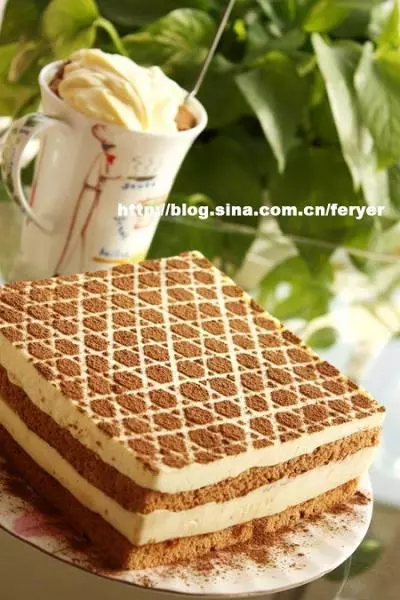
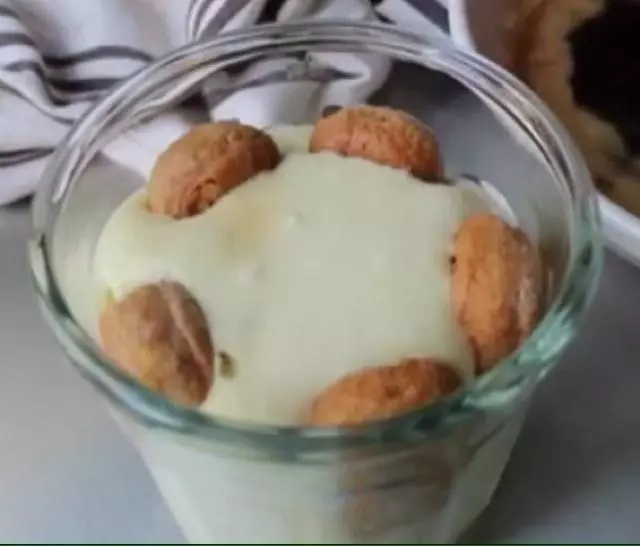
9在杯子底部倒一層芝士糊,鋪一層手指餅乾後,再倒一層芝士糊,再鋪一層手指餅乾,最後在頂部鋪一層芝士糊。
10蓋上保鮮膜放入冰箱冷藏8小時。

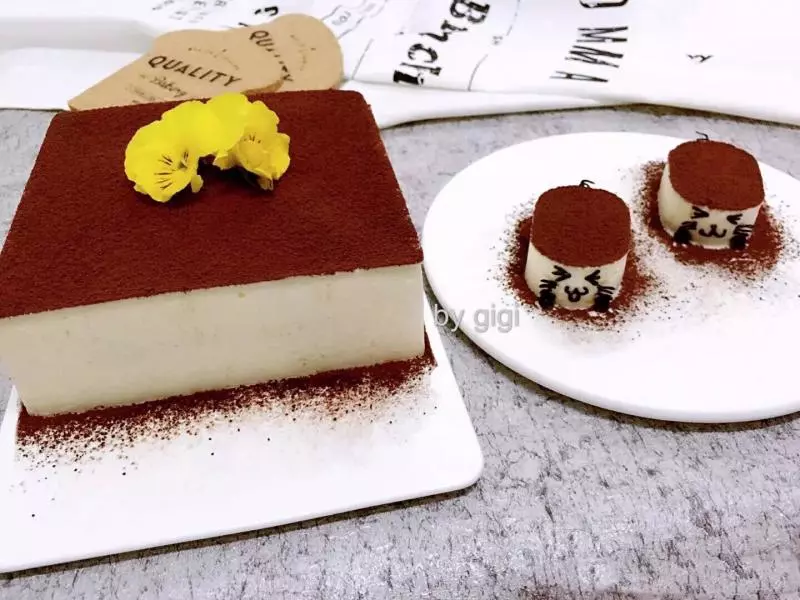
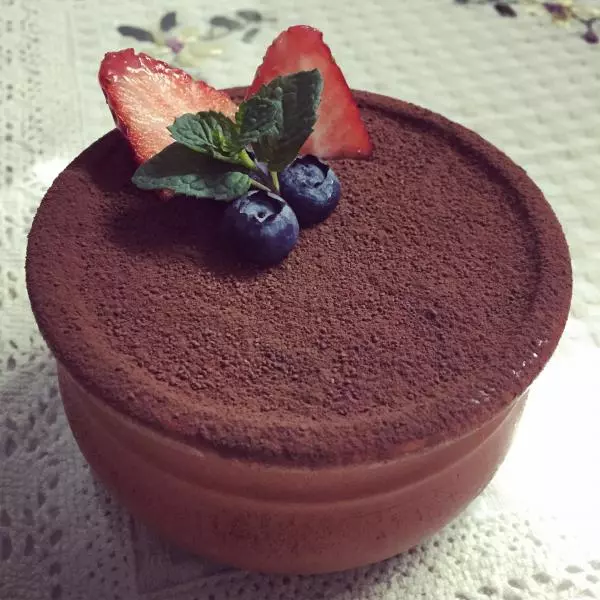
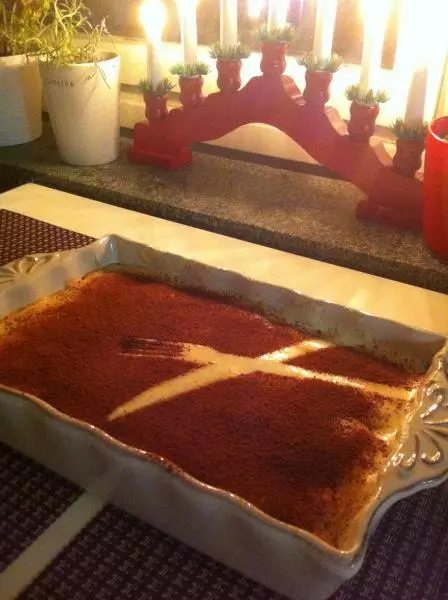
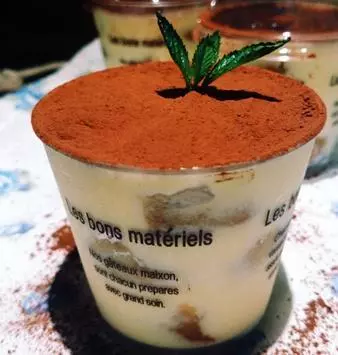
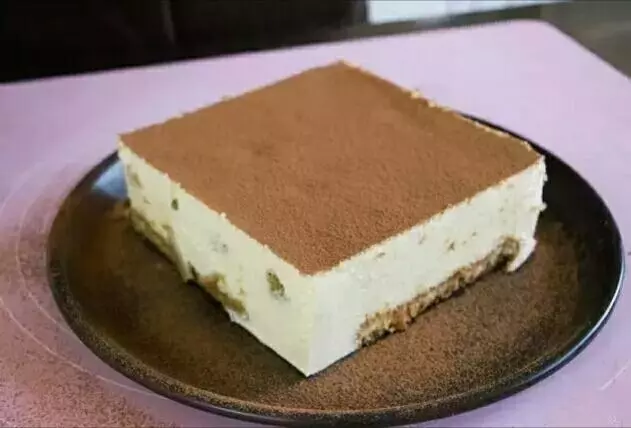
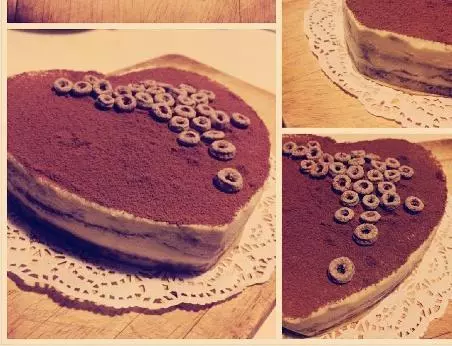
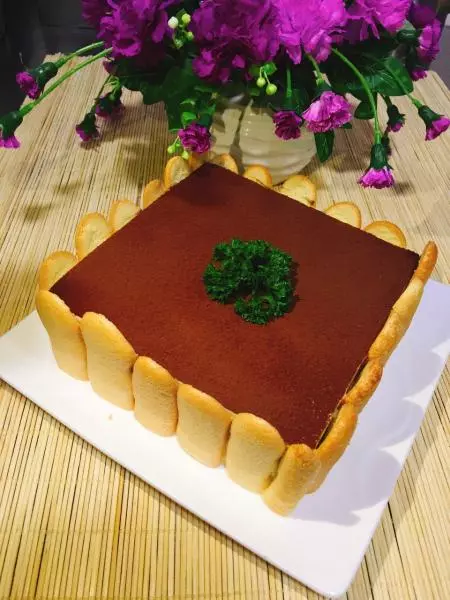
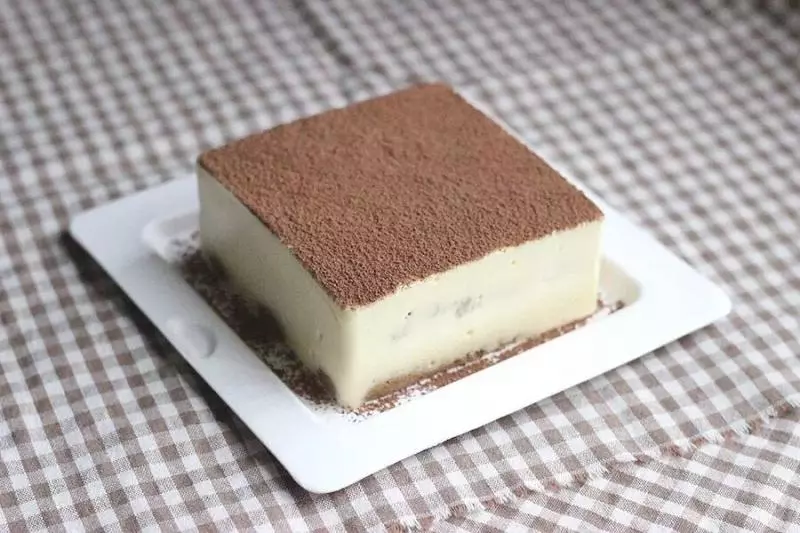
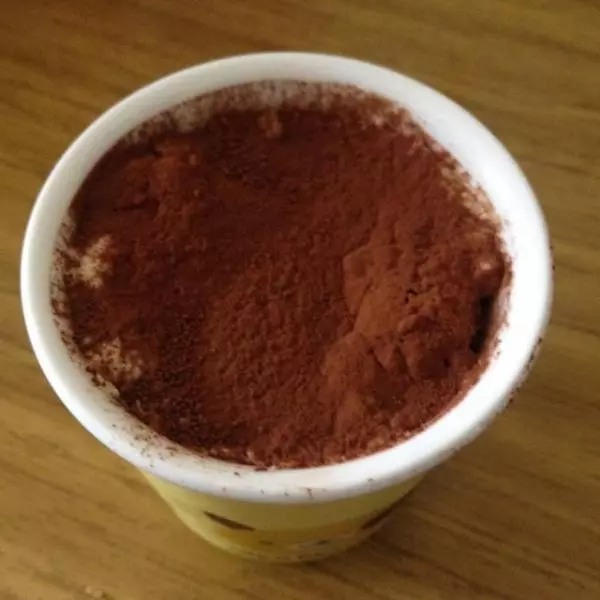
11吃之前撒上一層可可粉。
小技巧
1、由於沒有馬薩拉酒,用了白朗姆酒替代。馬薩拉酒做出來更正宗。 2、打發蛋黃時,溫度一定要控制好,溫度高了容易將蛋黃煮熟。 3、馬斯卡朋芝士如果出水記得將水處理掉,馬斯卡朋不能放冷凍,容易造成油水分離。 4、打蛋白的碗一定要無油無水,打蛋器要先清理後再打蛋白。(第一次PO主因偷懶打完蛋黃沒及時清洗直接打蛋白,導致失敗) 5、手指餅乾浸酒不能太多太透,手指餅乾浸太透之後過於綿軟可能會引起蛋糕塌陷,且多餘酒水滲出聚積在盆底,影響硬身效果。有些配方建議直接將手指餅乾蘸咖啡酒,PO主覺得咖啡酒蘸手指餅乾略甜,看個人喜好吧。