原料
雞蛋: 500克, 糖: 100克, 低筋麵粉: 350克, 高筋麵粉: 150克, 無鹽黃油: 100克, 牛奶: 550克, 維益愛真38%稀奶油: 500克, 糖粉: 50克, 吉利丁片: 1片
步驟
1準備20層薄餅的材料: 雞蛋500克、糖100克、低筋麵粉350克、高筋麵粉150克、無鹽黃油100克 牛奶550克

2事前準備好:明火爐,平底鍋

3把所有糖、低筋麵粉、高筋麵粉放在攪拌機中。

4然後,加熱牛奶到50度。

5把牛奶,慢慢加進混合物中。

6再緩慢地加入所有雞蛋。

7最後加入溶化無鹽黃油。

8薄餅麵糊完成。

9每一層用需的麵糊:45克 。

10麵糊倒入平底鍋,煎至底跟面至微金黃色。

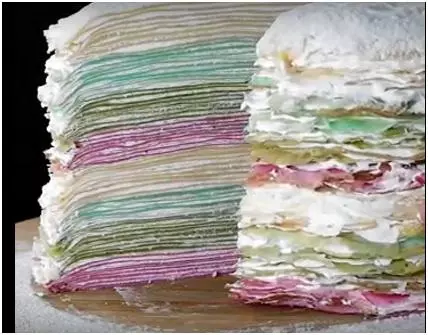
11同樣的步驟,準備好20塊薄餅皮。

12接下來,準備內餡: 把吉利丁片用冰水泡軟,隔水溶化至50度。 把維益愛真稀奶油跟糖粉混合,打發後,取少許奶油加入吉利丁液中攪拌均勻,再拌入剩餘奶油里攪拌均勻。待用。 加吉利丁是為了切塊時層次分明,不喜歡的可以不用添加。

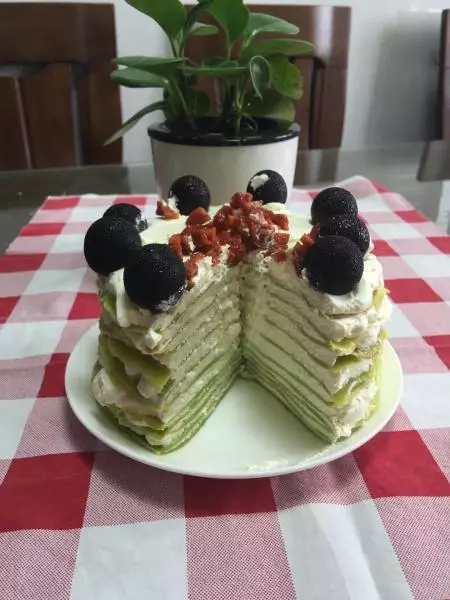
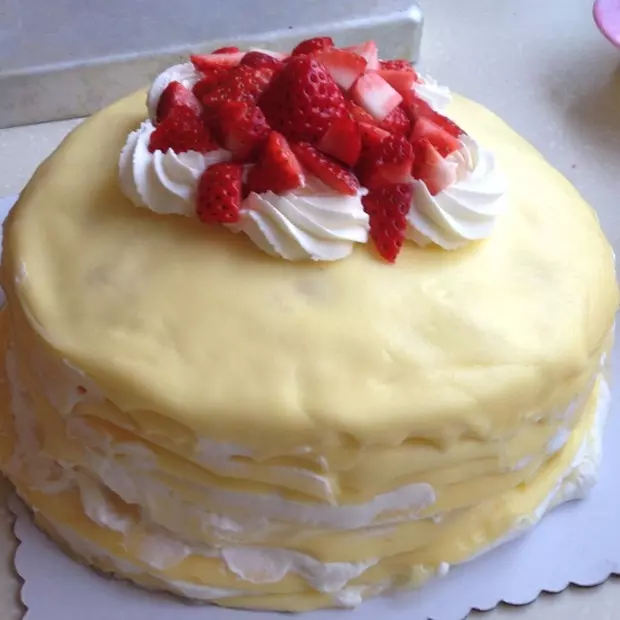
13在薄餅皮中,抹一層薄薄打發奶油,重複20次。

14最後一層,為了顏色好看一點,放一層薄薄砂糖,再用火槍燒至焦糖色。

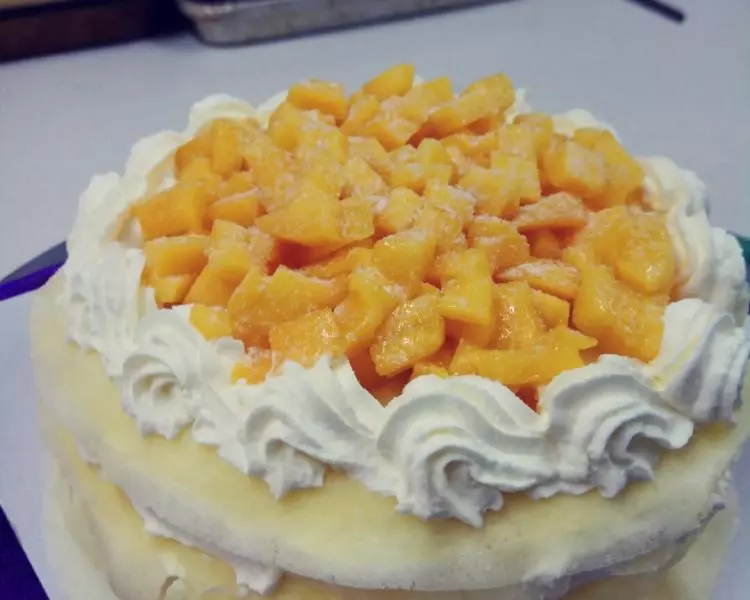
15千層奶油蛋糕就完成啦!