原料
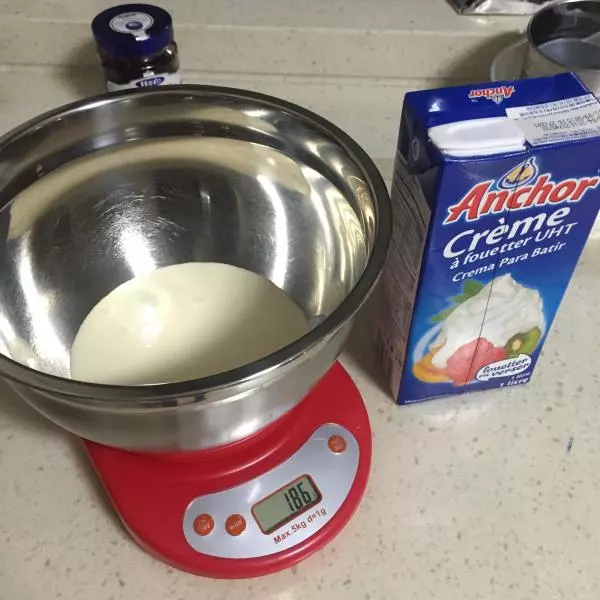
雞蛋: 4隻, 低粉: 60克, 糖霜: 60克(15克加入蛋黃,45克加入蛋白), 色拉油: 45克, 牛奶: 45克, 可可粉: 做裝飾圖案用, 藍莓果醬(或水果): 根據口味添加, 淡奶油: 200克, 細砂糖: 20克(加入淡奶油)
步驟
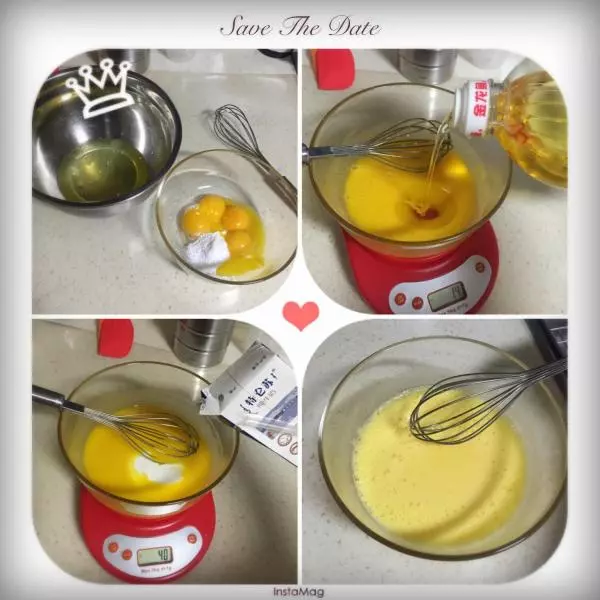
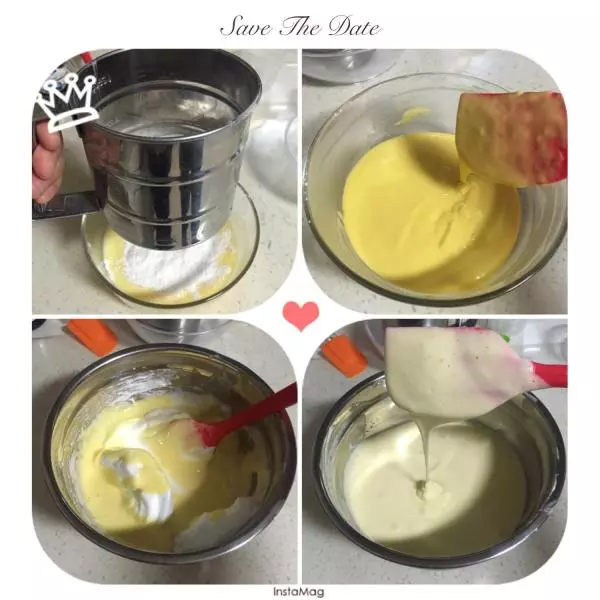
1蛋清蛋黃分離。蛋黃內加入15克糖霜手動打勻,然後加45克色拉油繼續攪打,再加入45克牛奶打勻。
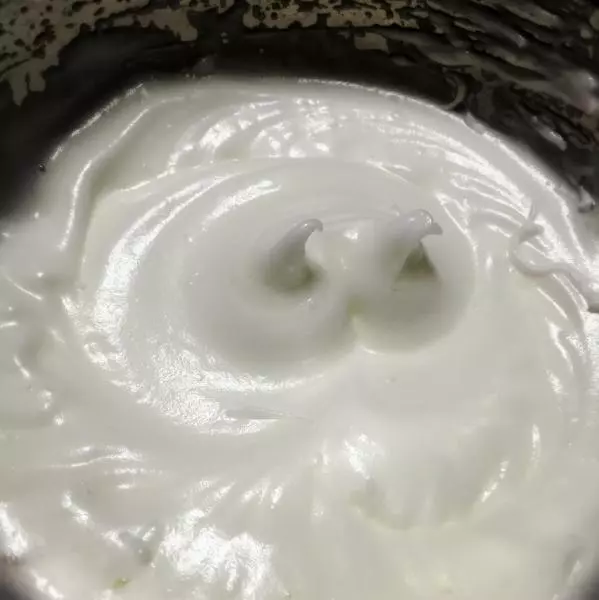
2蛋清中分三次加入45克糖霜,打發到7、8分,出現小彎尖,蛋白能流動即可。
3蛋黃中篩入60克低粉,從下往上翻拌到細膩、有紋路,滴下後會消失即可。之後將1/3蛋白加入蛋黃,翻拌勻後倒回到蛋白盆中翻拌均勻,注意不能化圈。拌好的蛋黃糊會流動,滴下後會消失。(和戚風蛋糕的翻拌手法相同)
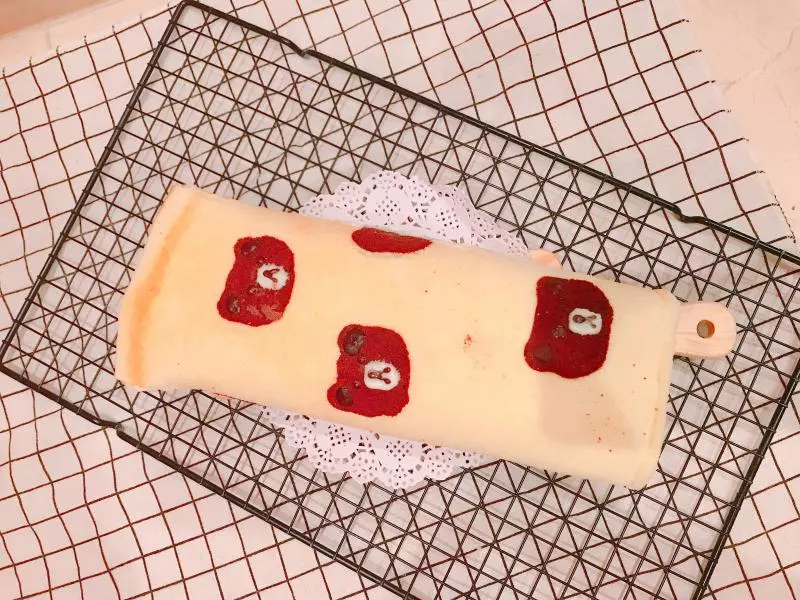
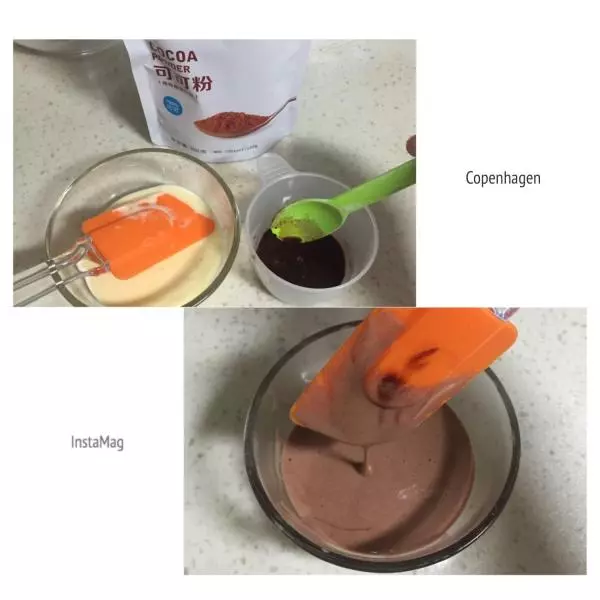
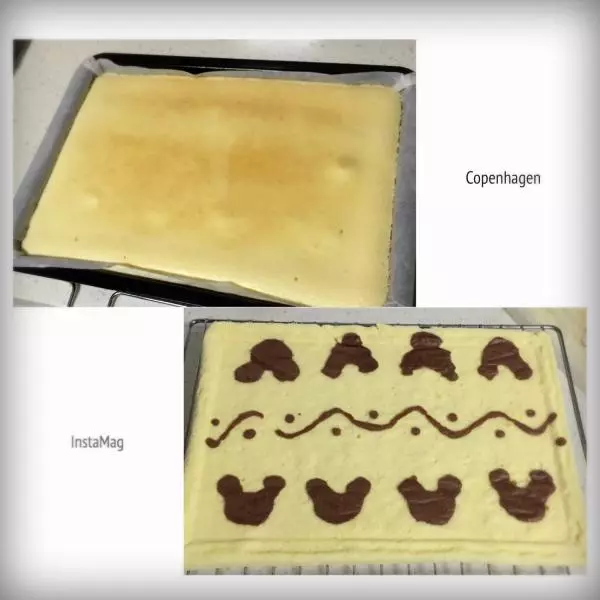
4烤盤內鋪好油紙。取2到3勺蛋黃糊倒入小碗,其餘蛋黃糊冰箱冷藏。取適量可可粉,用開水融化,加入小碗,調出顏色拌勻。烤箱預熱150度。(根據自家烤箱掌握溫度)
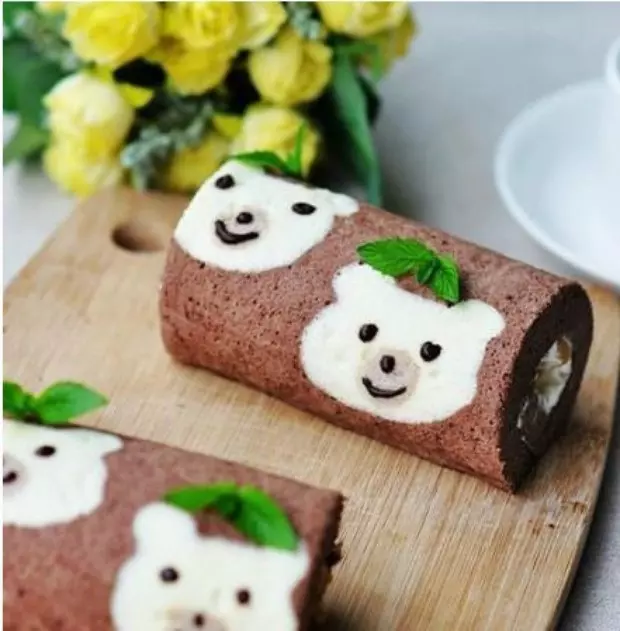
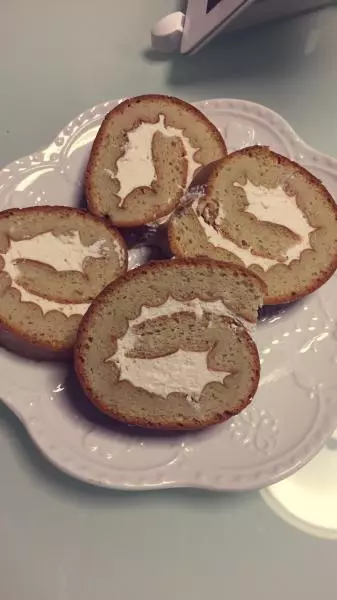
5將調好顏色的蛋黃糊裝入裱花袋,在頂端剪一個小口,在鋪好油紙的烤盤上畫出小熊圖案。(我是用熊的餅乾模具比著畫的)。畫好後放入烤箱2到3分鐘,使圖案凝固。
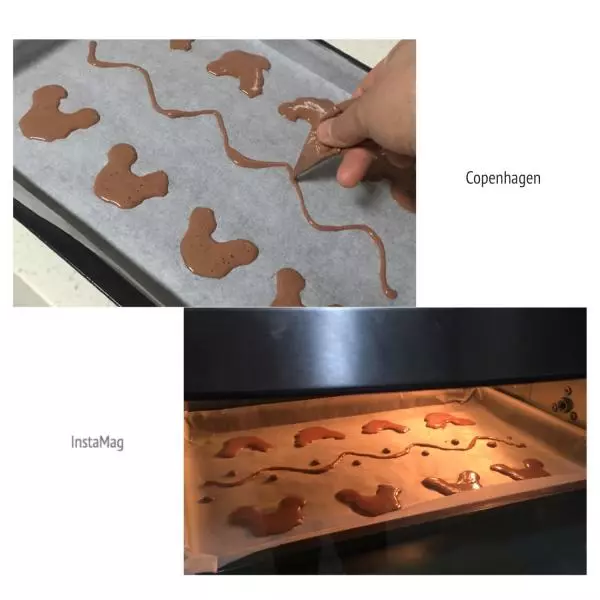
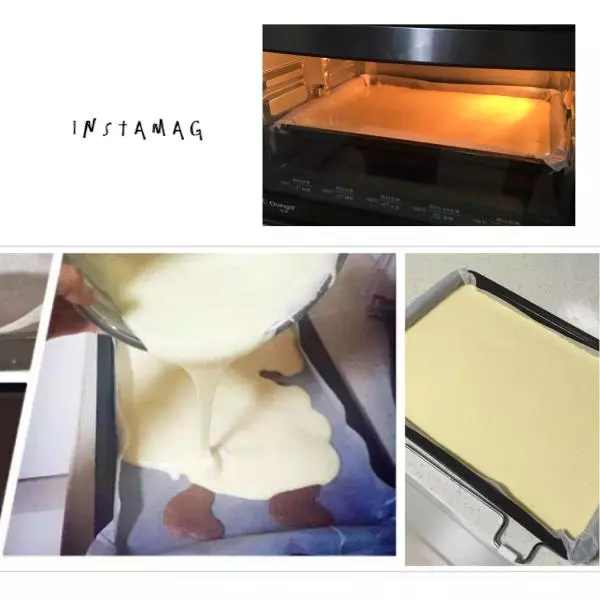
6將凝固好的小熊圖案烤盤取出,倒入冷藏的其餘蛋黃糊,鋪勻,輕輕震一下。放入烤箱中層,150度,上下火15分鐘。(我的烤箱溫度偏高,所以開始調150度,稍稍上色後上火調到120度)
7200克淡奶油中加入20克細砂糖打發。將打發好的淡奶油放入冰箱冷藏備用
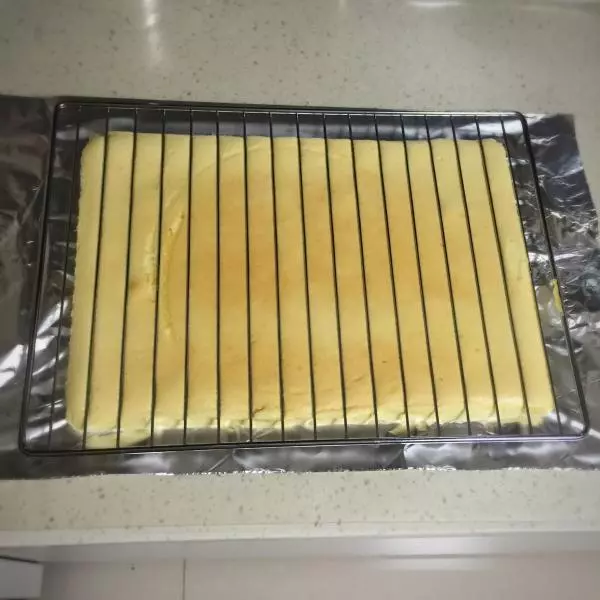
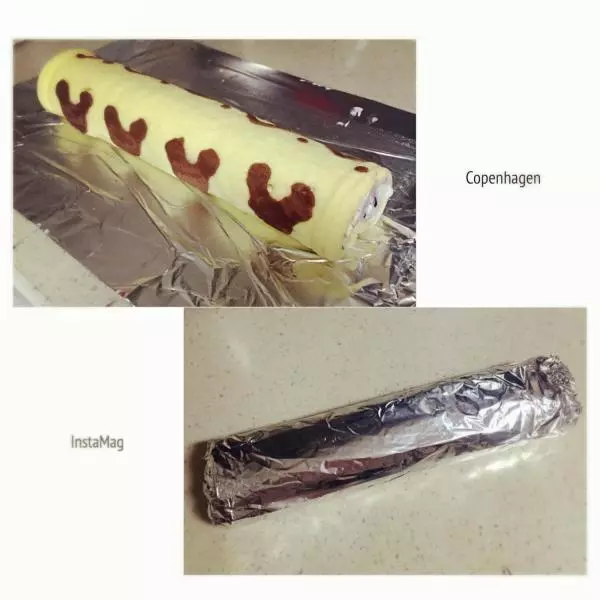
8將烤好的蛋糕烤盤取出,倒扣在烤網上稍微晾晾,揭開油紙。
9在晾好的蛋糕胚上鋪錫紙再倒扣過來,輕輕拿開烤網。(錫紙烏的那面接觸食物;蛋糕稍微晾一下即可,有溫度時好卷)
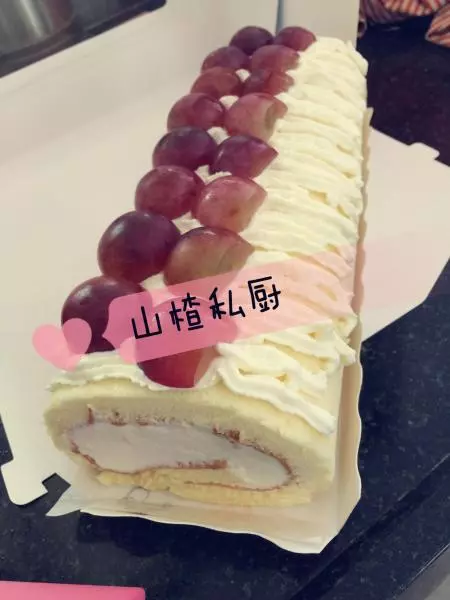
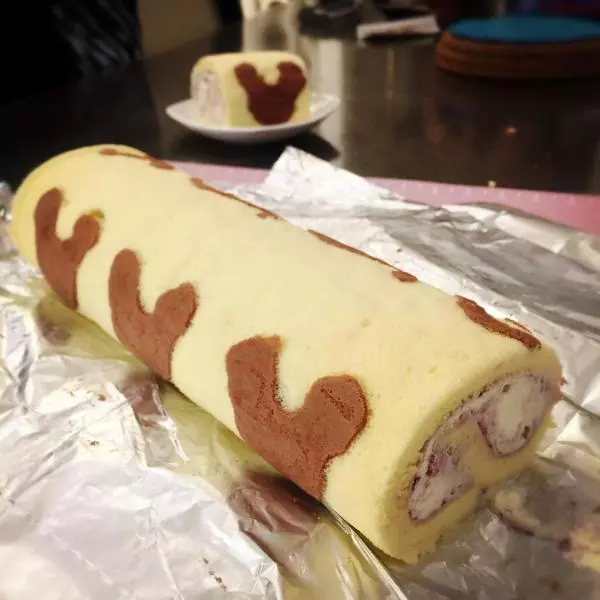
10在蛋糕上鋪奶油、藍莓果醬(也可以鋪水果等)。邊上少鋪一點奶油,中間的位置奶油略高,再點綴一些藍莓醬。
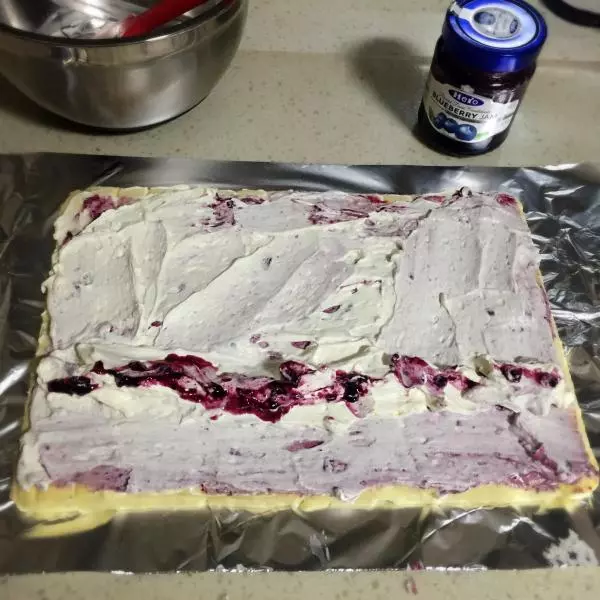
11慢慢捲起蛋糕,邊壓在下邊。將卷好的蛋糕卷用錫紙定型,放入冰箱冷藏至少半小時。
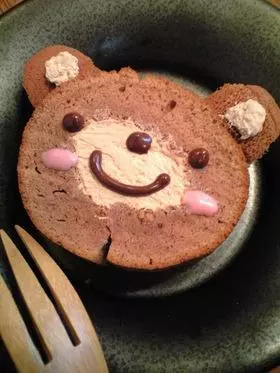
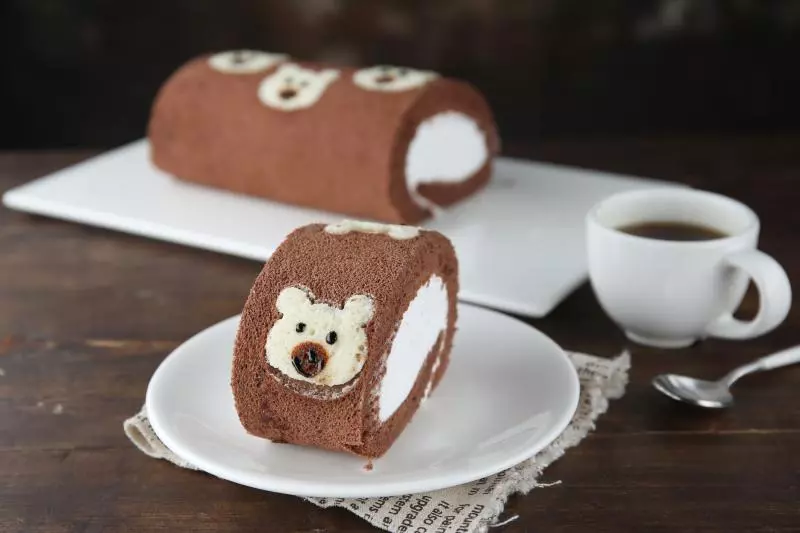
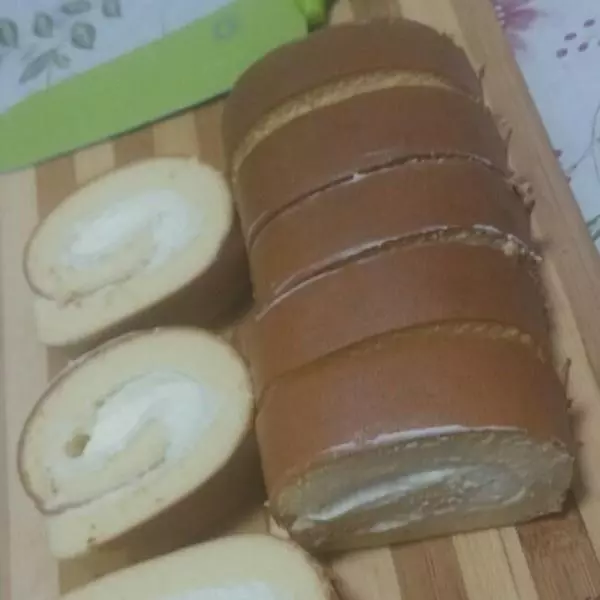
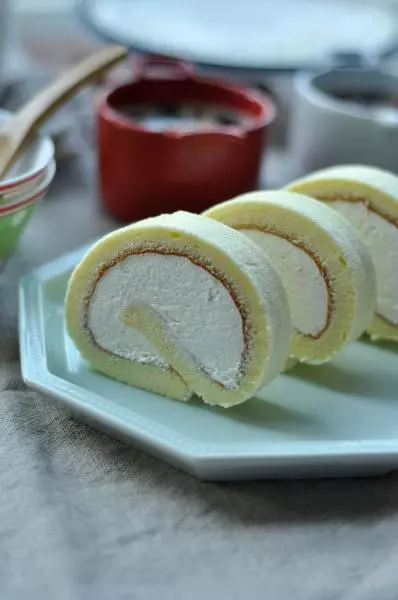
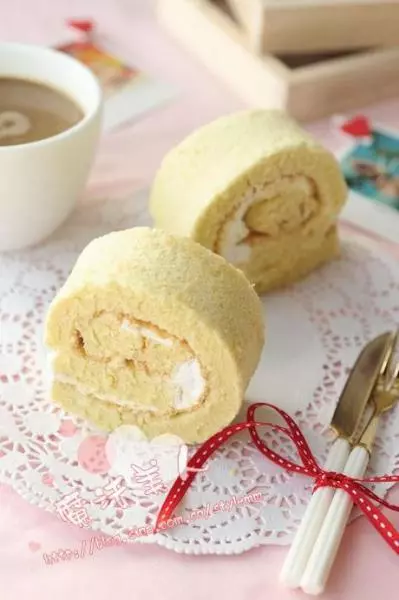
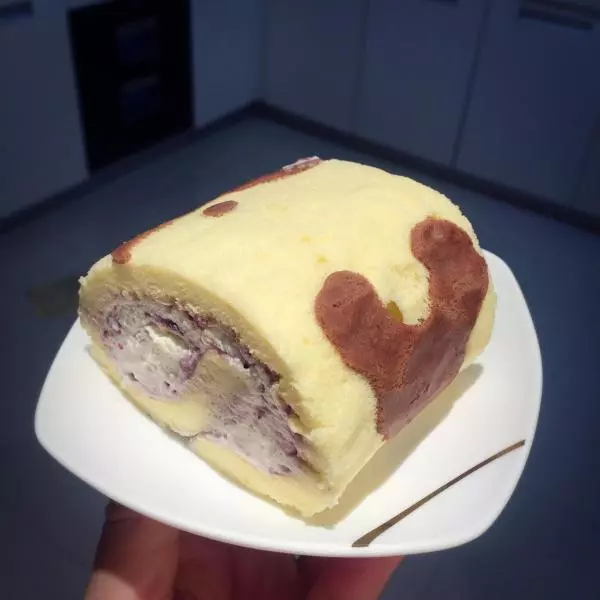
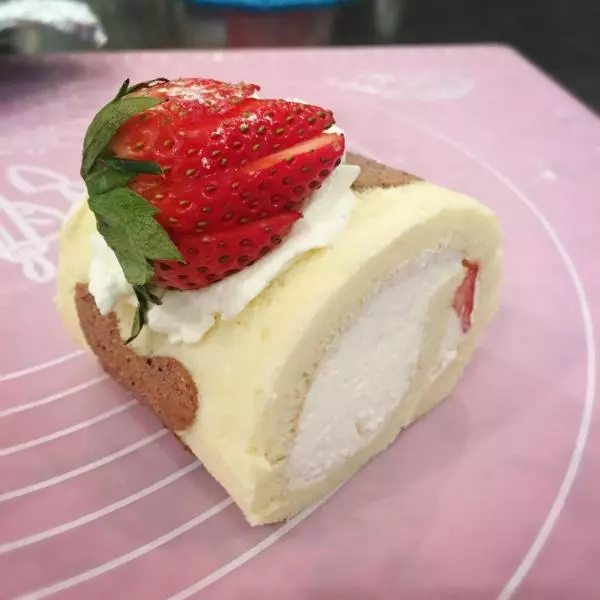
12將冷藏好的蛋糕卷取出,揭開錫紙,切去兩邊不平整的部分,然後切塊。一款香甜可口的藍莓奶油蛋糕卷就做成功了~
13愛上蛋糕卷~

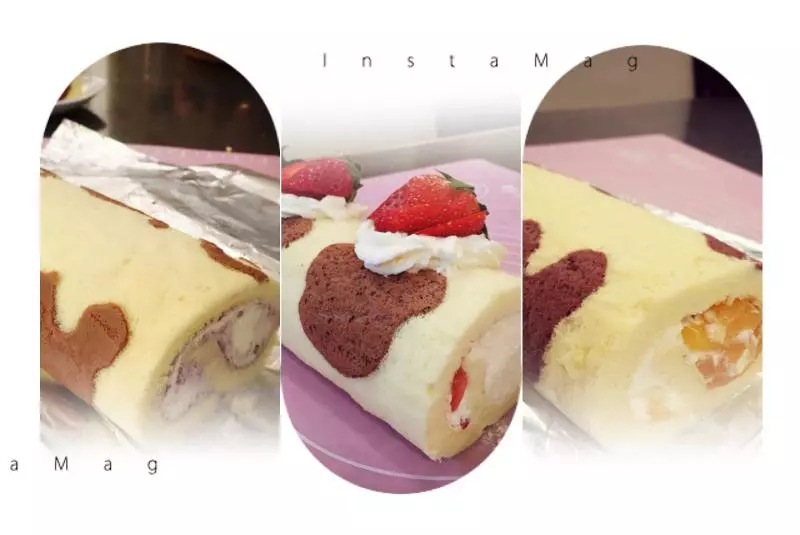
14小熊藍莓奶油蛋糕卷~
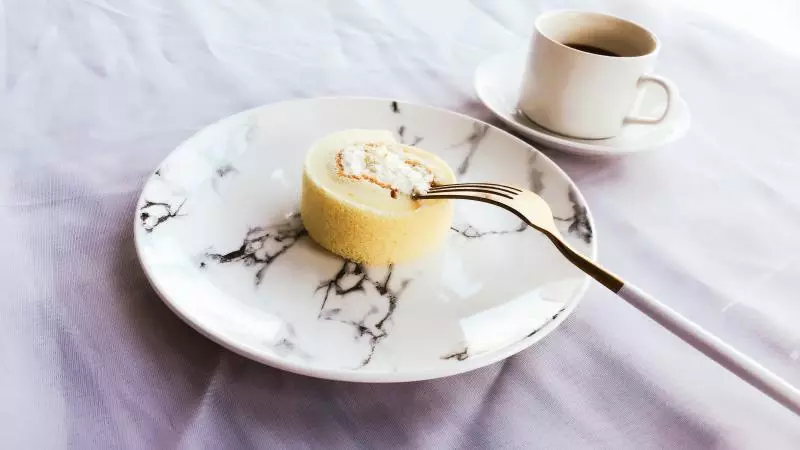
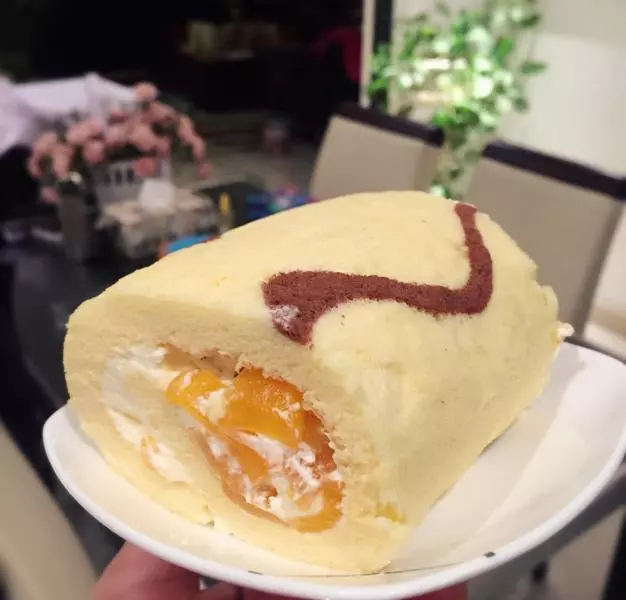
15黃桃奶油蛋糕卷~
16草莓蛋糕卷~
小技巧
1、蛋糕卷里可以根據自己口味以及現有的配料,加入水果、果醬、豆沙餡、奶油等。我習慣用水果罐頭,比如黃桃、菠蘿,先把水分瀝干切碎便可。 2、烤好的蛋糕卷不要晾過度,有一些溫度好卷不容易斷裂 3、淡奶油的用量根據自己口味,怕膩的盆友可以少放一些,砂糖按奶油總量的8%到10%便可。 第一次上傳菜譜,一邊做蛋糕,一邊拍照,原來上傳菜譜好辛苦的說~希望大家喜歡~