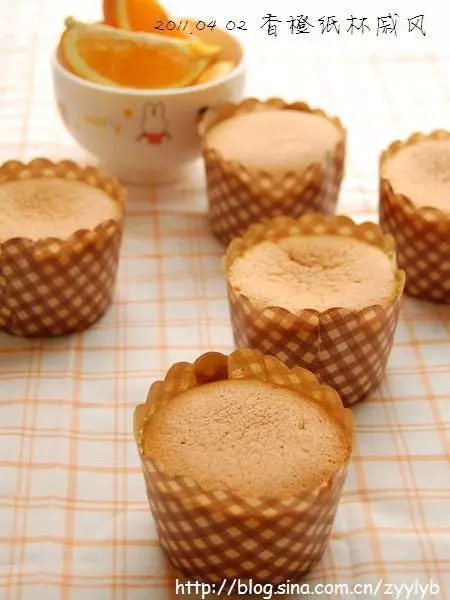
簡介
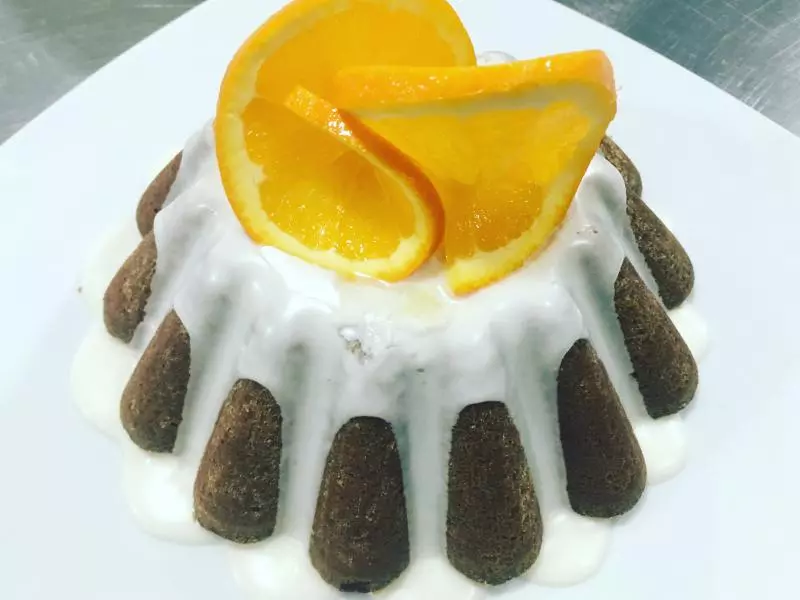
橙子的季節到了, 將橙子的皮用作烘焙的材料, 滿滿的橙子香氣, 好吃又不膩, 削橙子皮有點麻煩, 要有耐心, 不過做成成品後, 那點小辛苦就不算什麼了啦~~~
參考分量:10個 烘焙條件:中層,170度,上下火,烤25分鐘。
原料
新鮮橙汁 35克, 橙子皮 2/3個, 雞蛋 3個, 細砂糖 60克, 低筋麵粉 90克, 鹽 1克, 色拉油 25克
步驟
1將橙子的汁和皮分別裝在小碗里,橙子皮要小心不要削到白色的部分,橙皮切成屑。

2將色拉油倒入橙汁中,攪拌均勻。

3全蛋+鹽+細砂糖,隔熱水打發,直至全蛋變成淺白色,蛋液提起能寫8字並在短短几秒內消失。

4分次篩入低粉,小心地翻拌均勻。

5加入橙皮屑,拌勻。

6沿刮刀倒入橙汁和沙拉油的混合液,翻拌均勻。

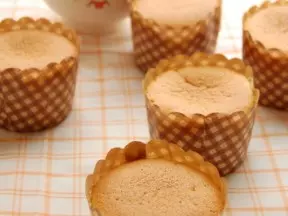
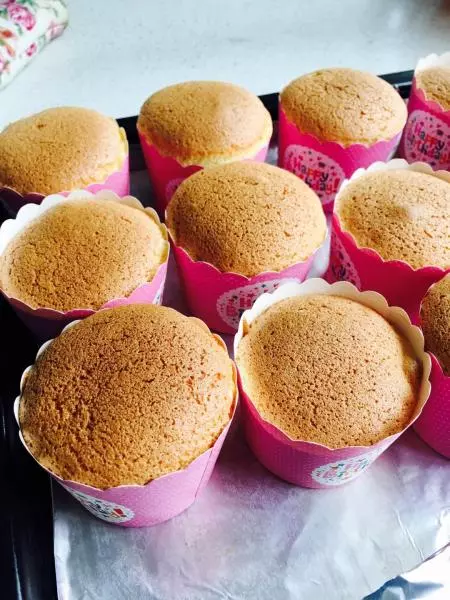
7倒入紙杯中,8、9分滿。

8烤箱170度預熱,中層170度上下火烤25分鐘。

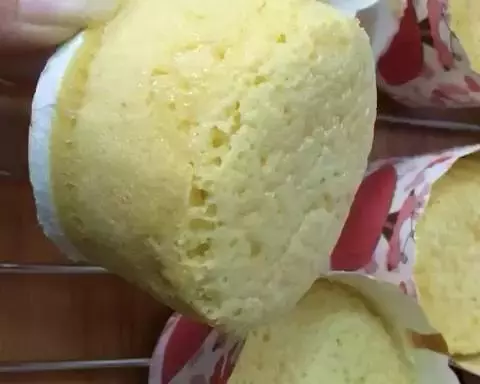
9可以吃到新鮮的橙皮粒哦。