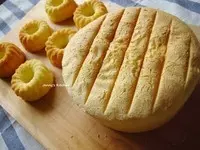
簡介
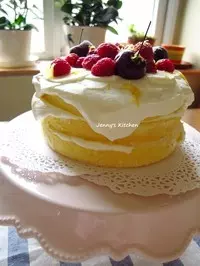
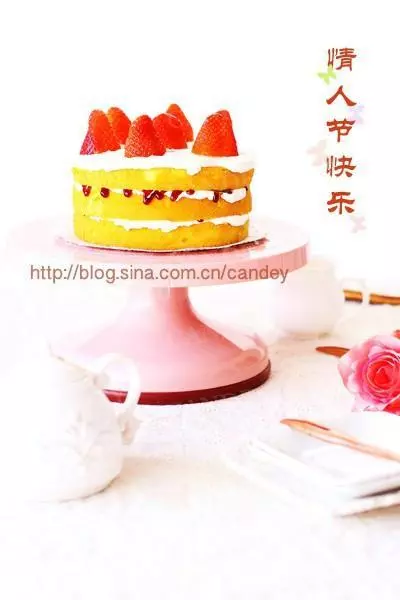
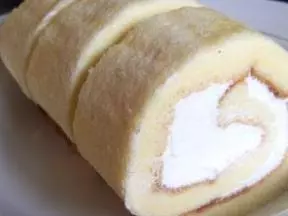
最近國外開始流行裸蛋糕,甚至用作婚禮慶典蛋糕。相比於傳統的奶油裱花,裸蛋糕將真實的自己展示給大家。看似並不完美的呈現,或許會令「強迫症」們抓狂。但生活畢竟不能時時流光溢彩,回歸自然和本真有時恰恰深入人心。可能這也是裸蛋糕近來飽受歡迎的原因。
原料
6寸戚風蛋糕, 低筋麵粉 50克, 蛋清 55克, 蛋黃 30克, 細砂糖 30克(加入蛋清中), 細砂糖 12克(加入蛋黃中), 牛奶 32克, 植物油 25克, 泡打粉 2.5ml, 裝飾, 鮮奶油 200克, 細砂糖 20克, 水果 若干, 檸檬皮屑 半個
步驟
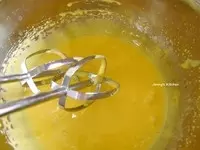
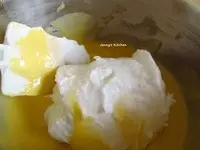
1把蛋黃和細砂糖混合後用打蛋器打發到體積膨大,狀態濃稠,顏色變淺。
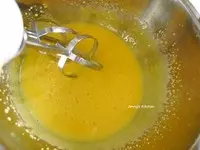
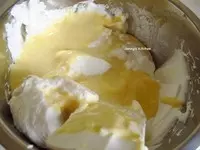
2分三次加入植物油。每加入一次都用打蛋器攪打到混合均勻再加下一次。
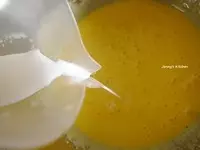
3加入牛奶,輕輕攪拌均勻。
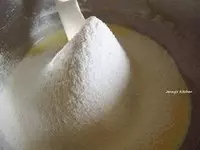
4低筋麵粉和泡打粉混合後篩入蛋黃里。
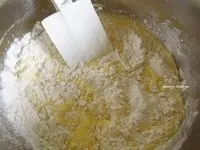
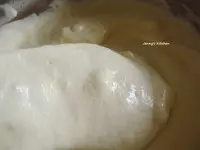
5用橡皮刮刀翻拌均勻,成為蛋黃麵糊。將拌好的蛋黃麵糊放在一旁靜置備用。
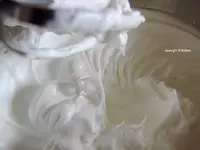
6將打蛋器洗乾淨並擦乾以後,開始打發蛋白。將蛋白打發到魚眼泡狀態時,加入1/3的細砂糖。繼續攪打,並分兩次加入剩下的糖。

7將蛋白打發到乾性發泡的狀態(提起打蛋器後,蛋白拉出直立的尖角)。
8盛1/3蛋白到蛋黃碗里。翻拌均勻(從底部往上翻拌,不要畫圈攪拌)。
9將拌勻的麵糊倒入剩餘的蛋白里。再次翻拌均勻即成戚風蛋糕麵糊。
10把麵糊倒入模具中,約為模具的4分滿。將模具在檯面上震幾下,震出大氣泡。
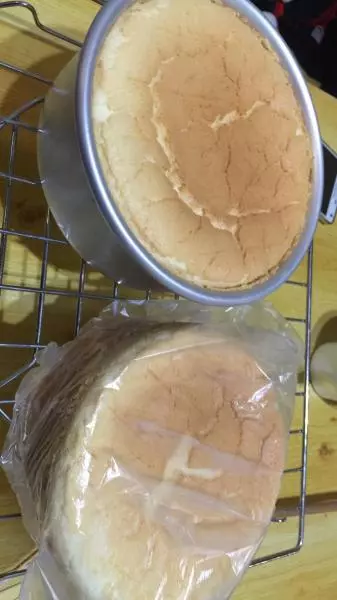
11將蛋糕模放入預熱好上下火160℃的烤箱,倒數第二層,烤45-50分鐘。
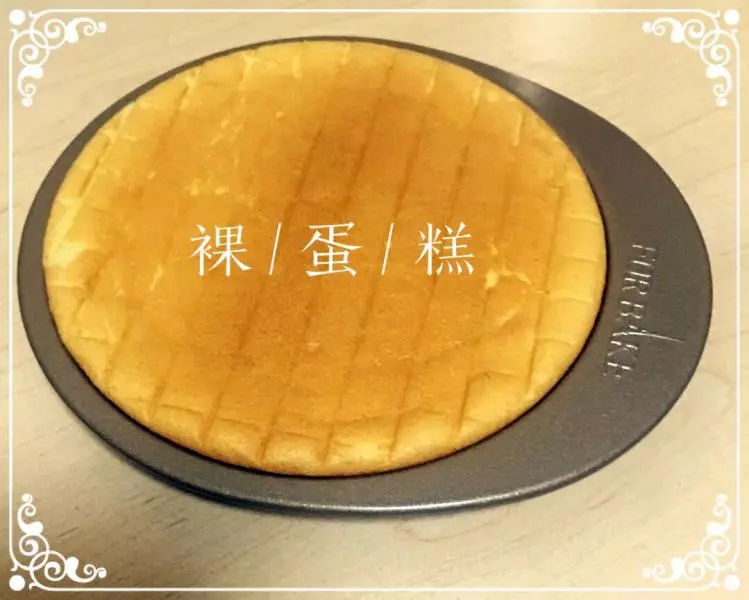
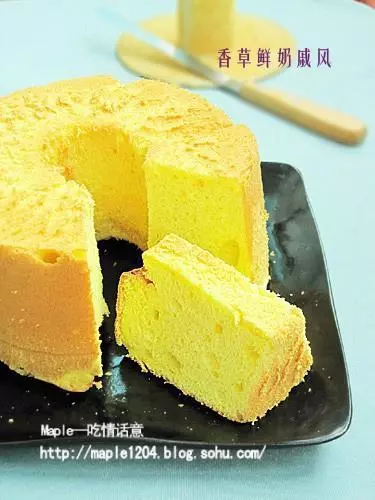
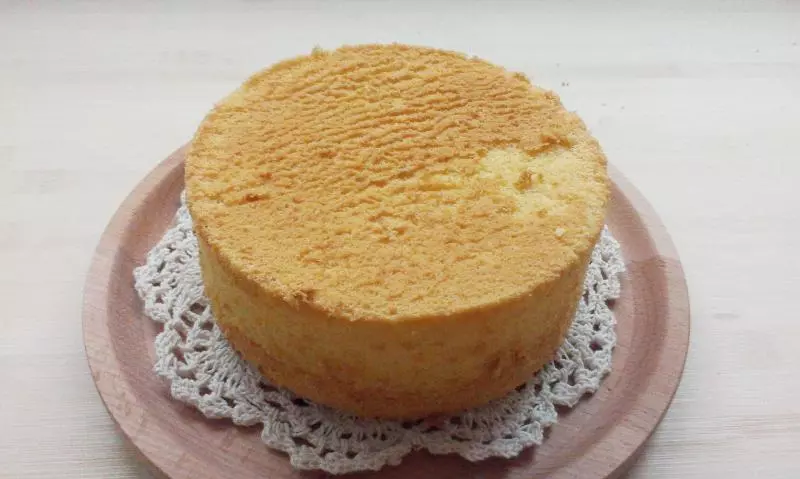
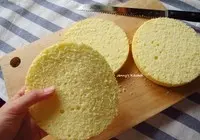
12蛋糕烤好後出爐。蛋糕烤好後能膨脹到模具的8、9分滿,頂部可能稍稍高出模具。將出爐的蛋糕立即倒扣在烤網上,直到完全冷卻。
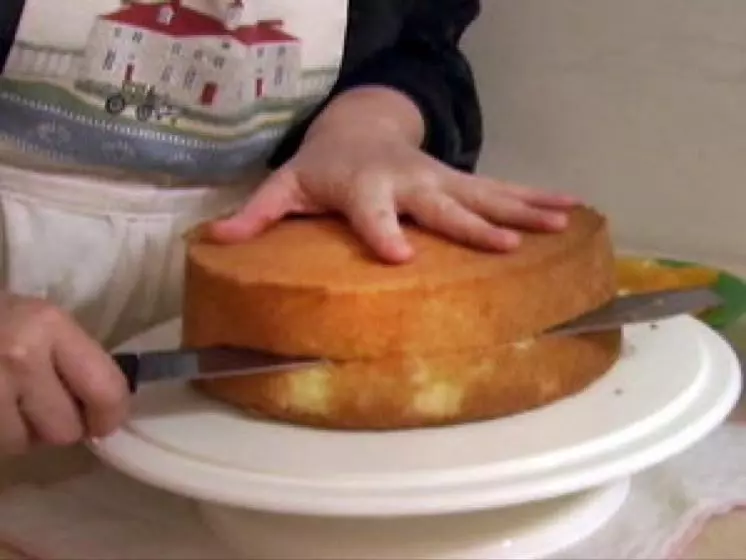
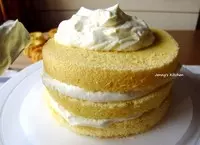
13待戚風蛋糕完全冷卻後,將其分成厚度相當的三片。
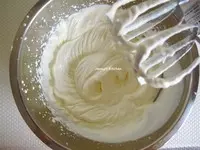
14將20克細砂糖倒入淡奶油中進行打發
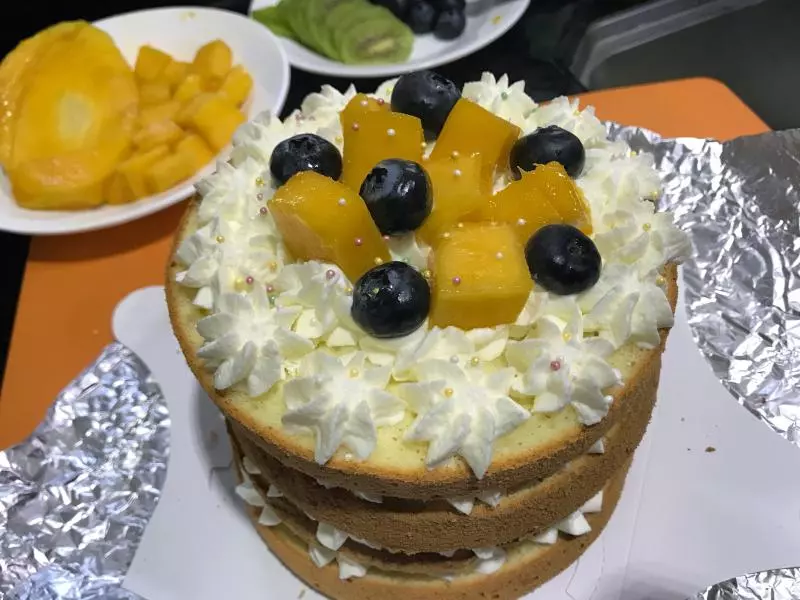
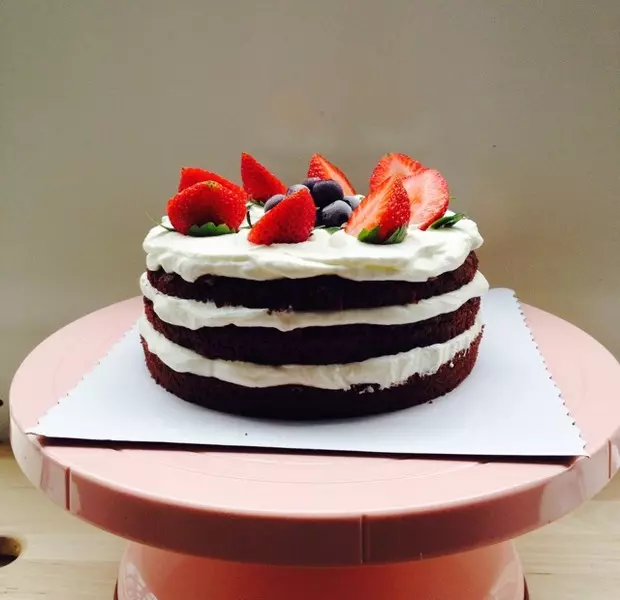
15打發好的奶油逐片抹在切好的蛋糕片上。
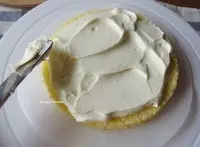
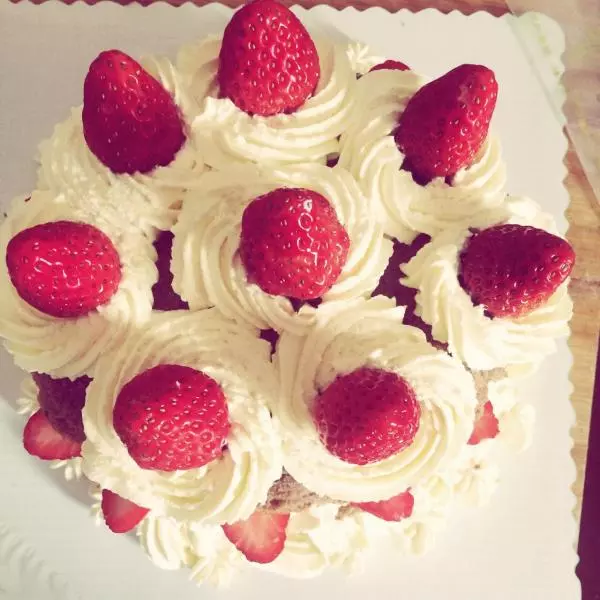
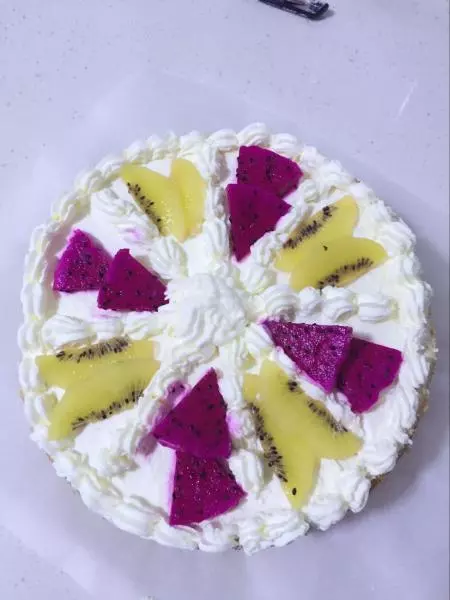
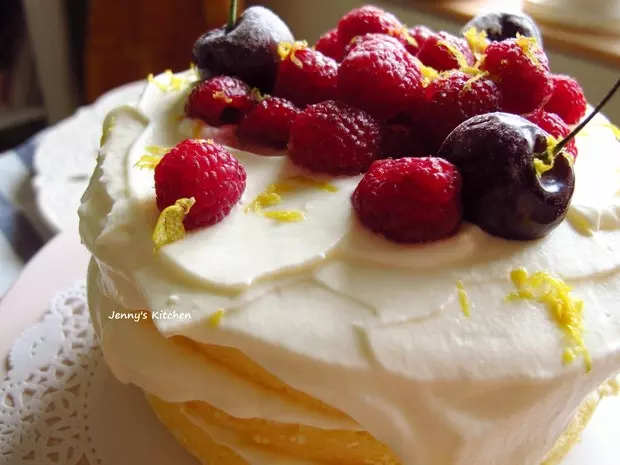
16最後一層將奶油完全覆蓋,不必糾結抹平,四周也不用抹奶油,自然隨意就好。
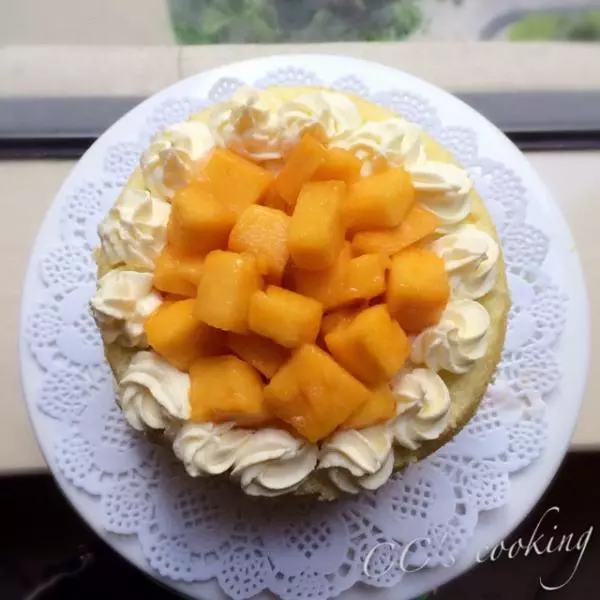
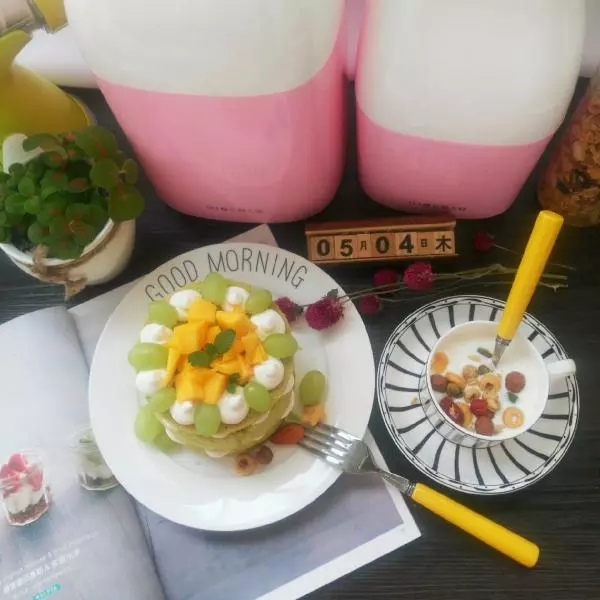
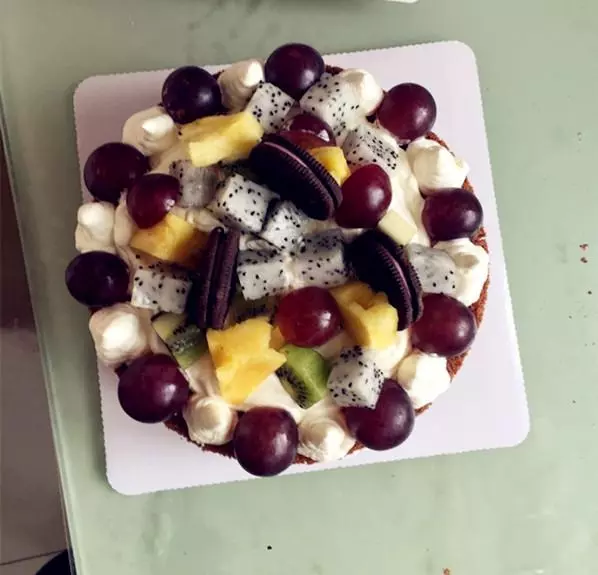
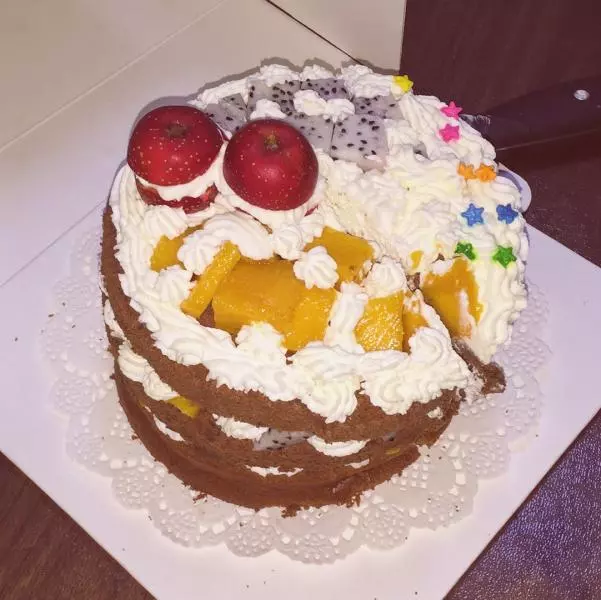
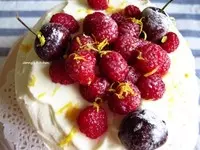
17最後裝點一些水果,撒上檸檬皮屑即可。
18看看四周的樣子。