原料
咸蛋黄: 5个, 中筋面粉: 300克, 花生油: 50克, 枧水: 5克, 蜂蜜水: 120克, 黑芝麻馅: 200克, 鸡蛋: 1只
步骤
1制作饼皮。混合糖浆、花生油、枧水,搅匀,用刮刀或者刮板从下往上的样子混合均匀。如上图。

2保鲜膜包好室温环境至少2小时。

3分割馅料。分割好的馅料加盖保鲜膜放置一旁备用。

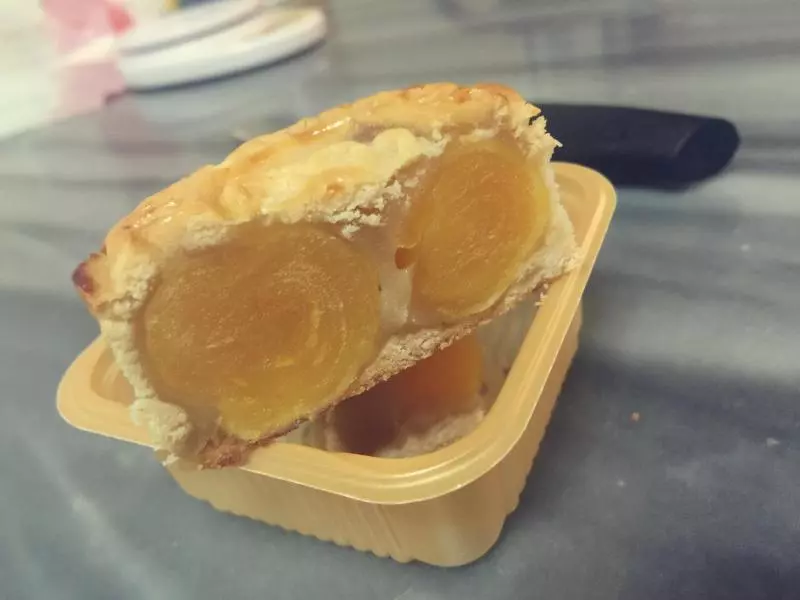
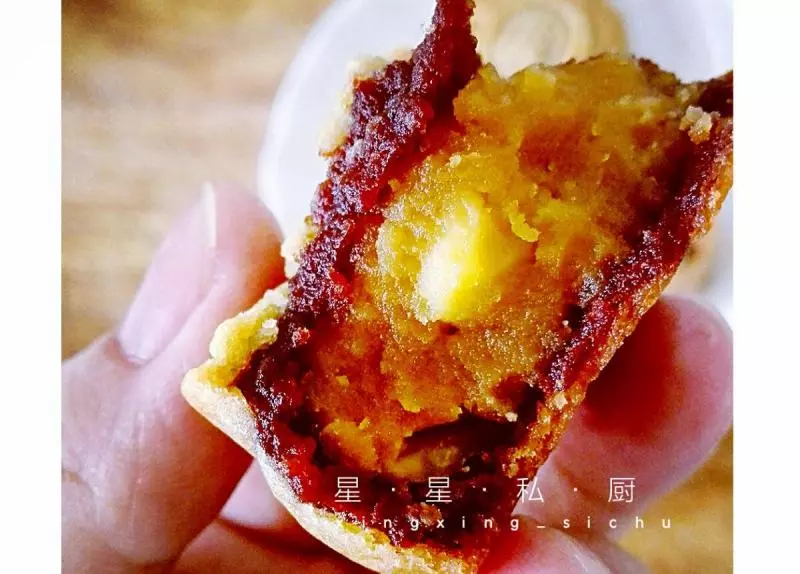
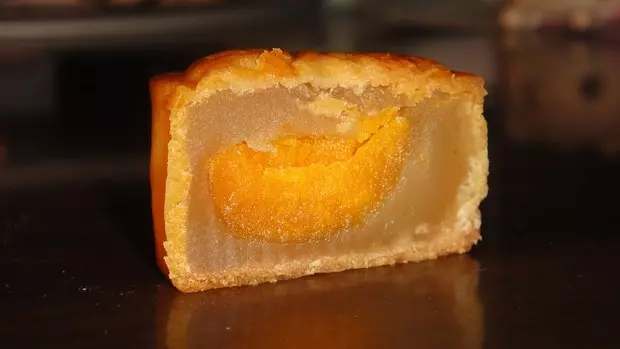
4根据皮馅3:7的比例,馅料35g,蛋黄+黑芝麻=35g,把蛋黄包住。取饼皮,用大拇指把中间部分压扁。然后加入一份馅料,

5用虎口一点点把饼皮慢慢的推上去。然后收口。

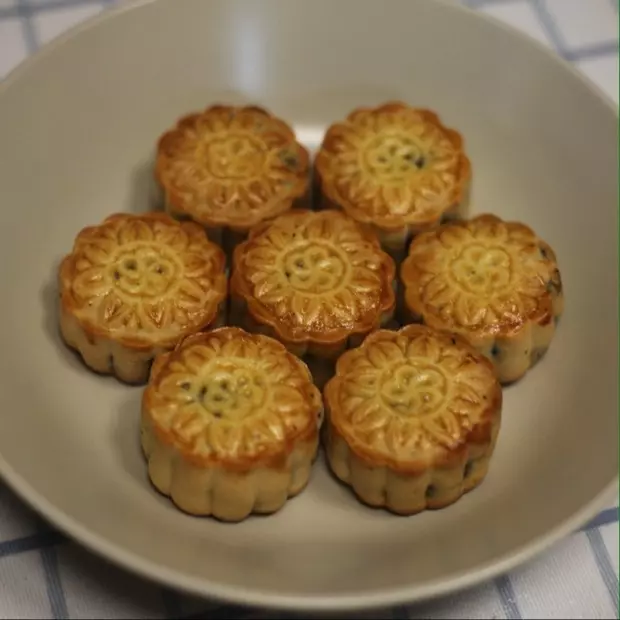
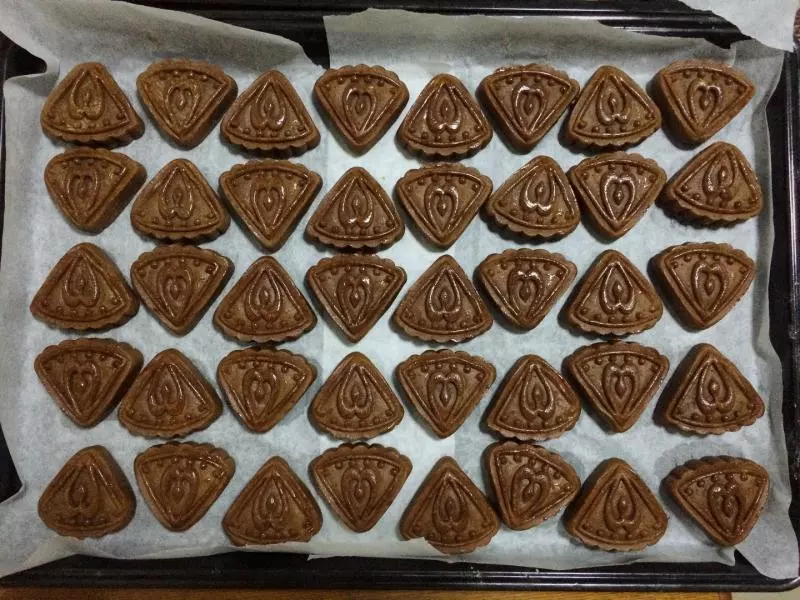
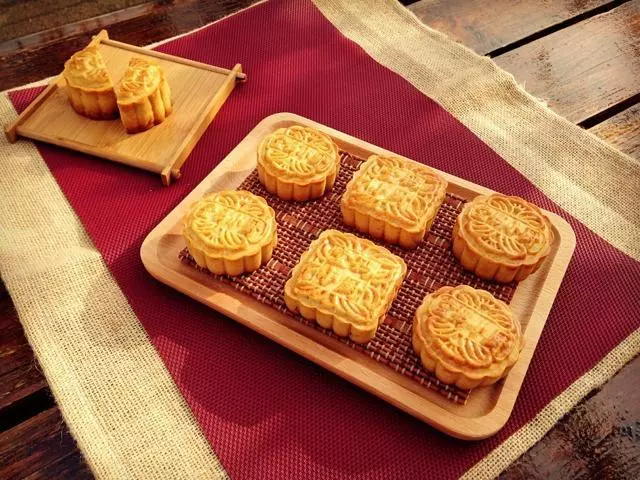
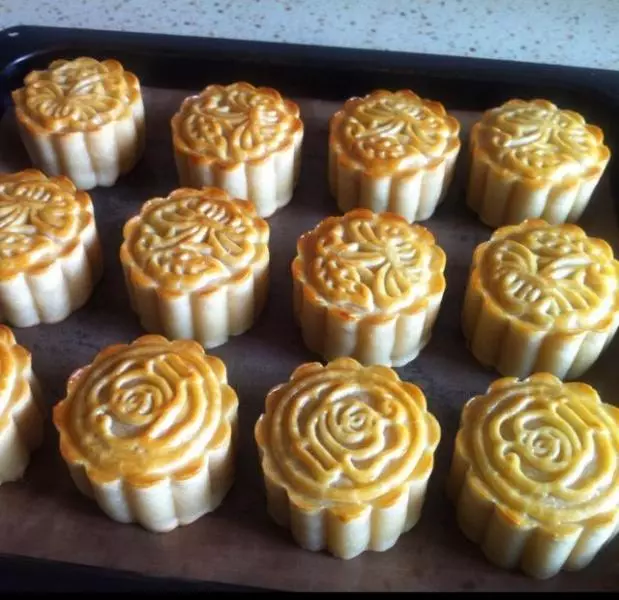
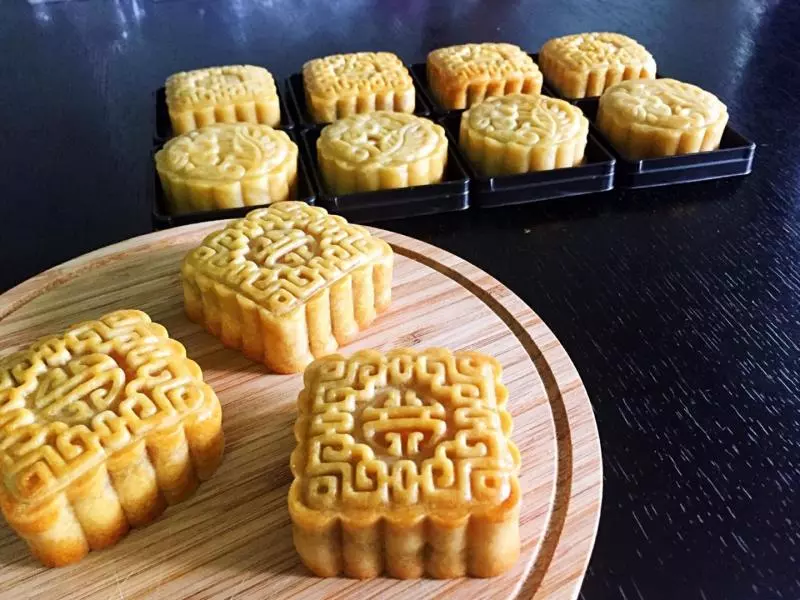
6用模具压出月饼花型。可以事先在花片和模具周围刷一层薄薄的油。

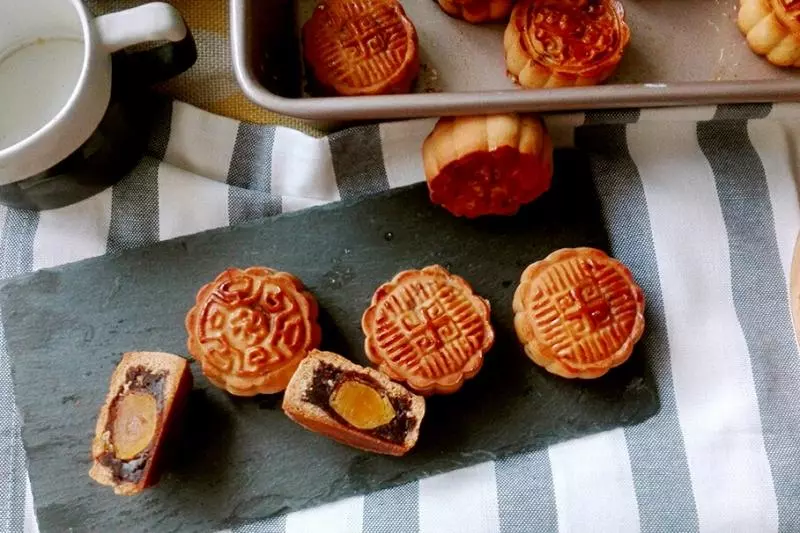
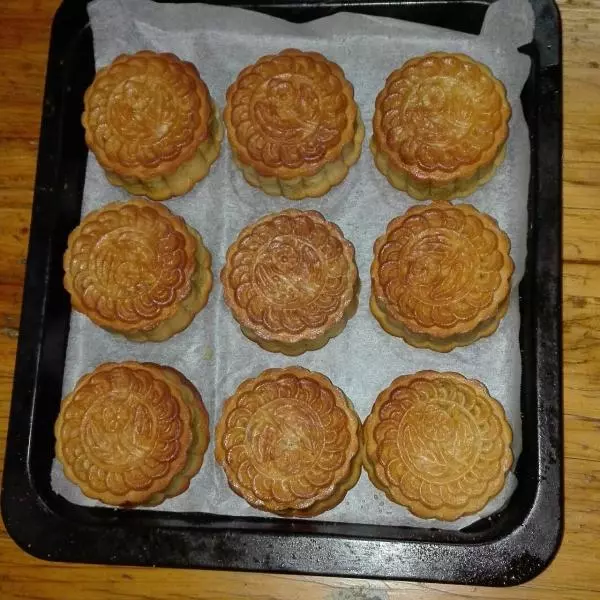
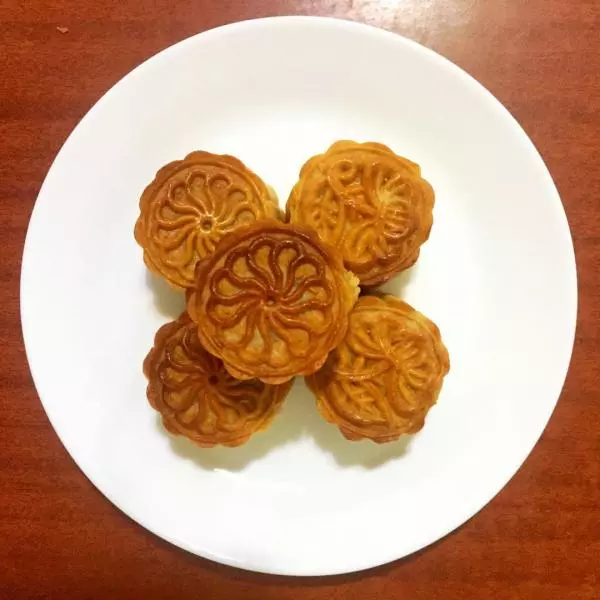
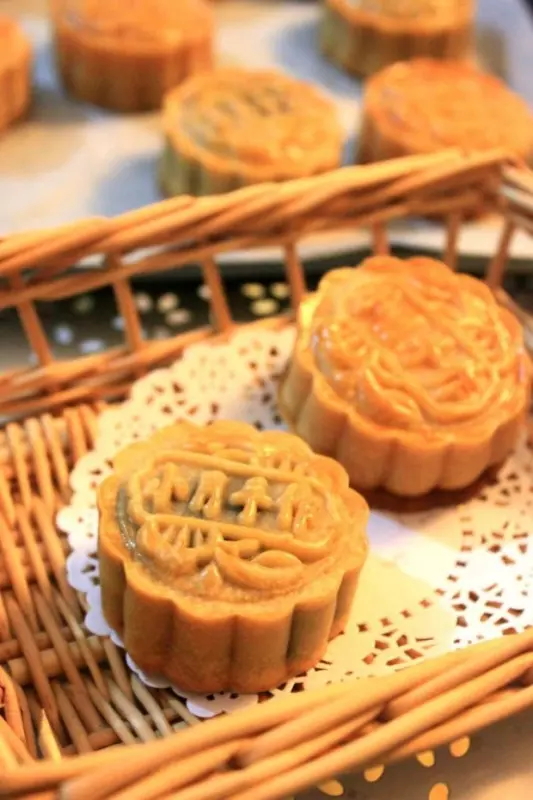
7压好花纹的月饼摆放入烤盘之后,使用200℃温度烤5分钟定型。

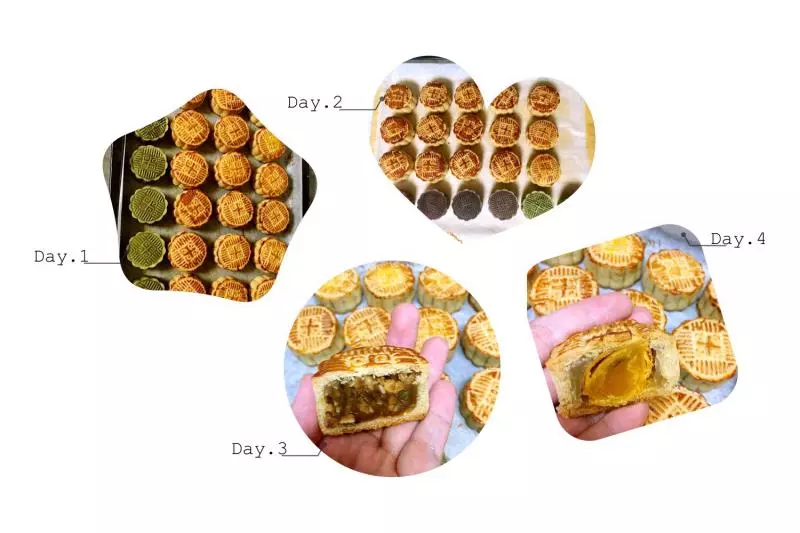
8从烤箱取出后,表面刷蛋黄液。

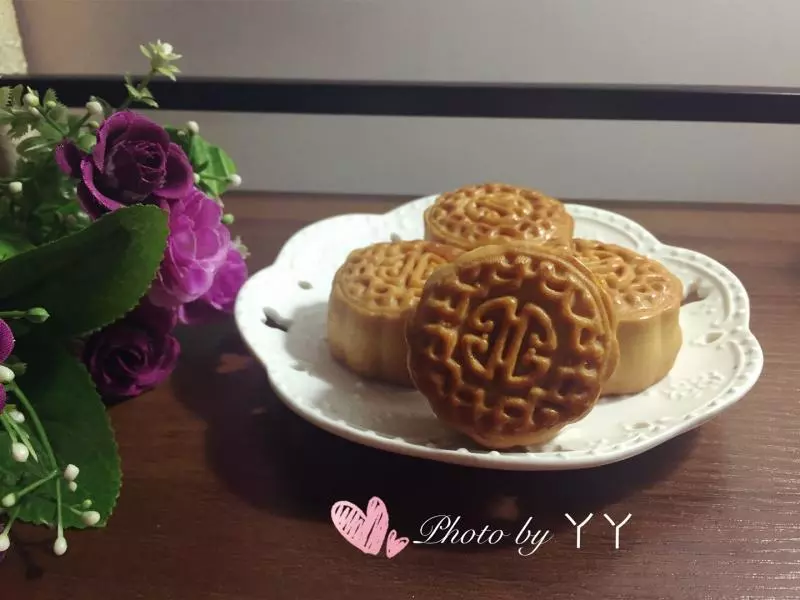
9继续用180℃烤15分钟,看到月饼的周围有点鼓出来的感觉,同时表面已经上色就表示烤好了。

小技巧
- 饼皮的量: 饼皮不要冷藏醒发,冷藏之后容易变硬,即使回温之后也容易粘手的。 2.粘手的问题: 请确定所有的材料称量精确。一定要先把花生油、蜂蜜水和枧水彻底乳化之后再加入粉类翻拌均匀。醒发的时候要包保鲜膜,最起码2小时以上。分好的小剂子也需要表面盖保鲜膜。 3. 咸蛋黄的量: 馅料里的咸蛋黄用三分之一只的量。 4.花生油: 做饼皮的花生油不可以用其他油替代。 5.月饼的保存: 做好的月饼千万不要放冰箱,会使得饼皮变硬,这样严重影响口感的。 回油不仅为了让饼皮看上去油亮更有食欲,更是为了等饼皮回软了,这样口感才能够达到最好的状态。 月饼放室温,阴凉干燥处密封保存就可以,可放2-3周左右。 6.关于回油: 刚烤好的月饼,皮很硬,而且不是很有光泽。过1天之后会发现饼皮开始慢慢的呈现油光,月饼烤好3-4天,饼皮是最软最好吃的时候。