原料
绿豆: 200克, 黄油: 70克, 细砂糖: 45克, 蜂蜜: 35克, 抹茶: 少量, 糯米粉: 少量
步骤
1绿豆泡24小时左右 期间勤换水 搓去皮 然后上锅中火蒸40多分钟

2将煮熟的脱皮绿豆捣成泥

3趁热过筛(这一步我用了40分钟?)虽然很痛苦 但是过筛后的更细腻 入口即化

4热锅 黄油融化(炒制全程小火)

5放入过筛后的脱皮绿豆

6使绿豆泥和黄油充分融合 翻拌 直至比较抱团(一定要等到等到抱团再进行下一步)

7而后再加入蜂蜜和白砂糖 时刻翻拌 不要糊掉 切记!

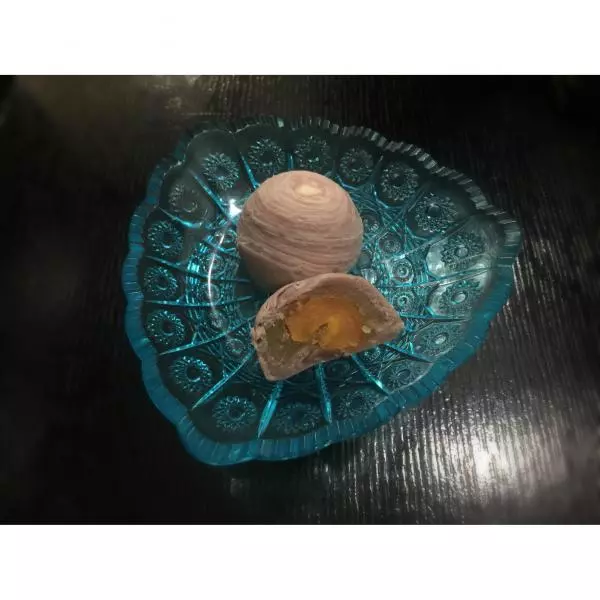
8取几颗咸蛋黄 放入烤箱 180℃ 5分钟左右 流油即可

9烤咸蛋黄的同时 炒些糯米粉 作为手粉(防粘 一会也好脱模子)

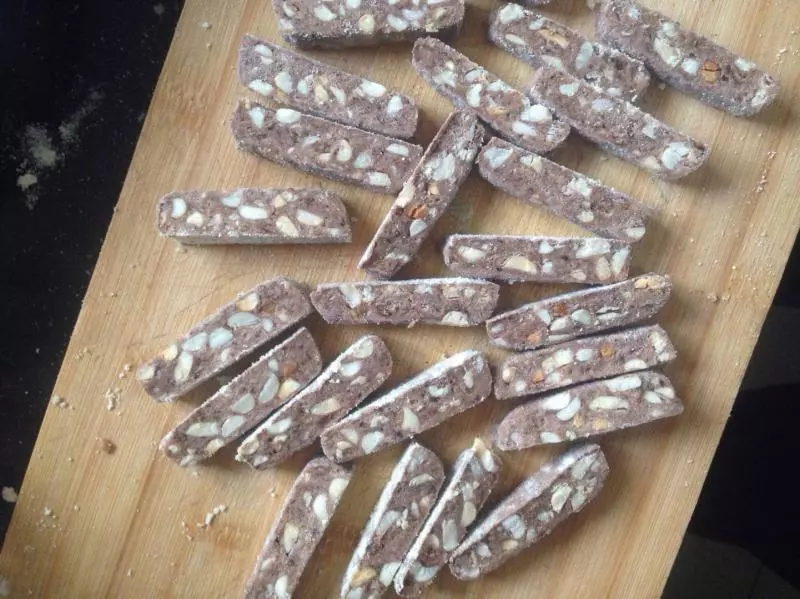
10讲烤完的咸蛋黄切成小丁 作为内馅(豆沙啊 奶黄馅啊 栗子啊自己喜欢的都可以放入)

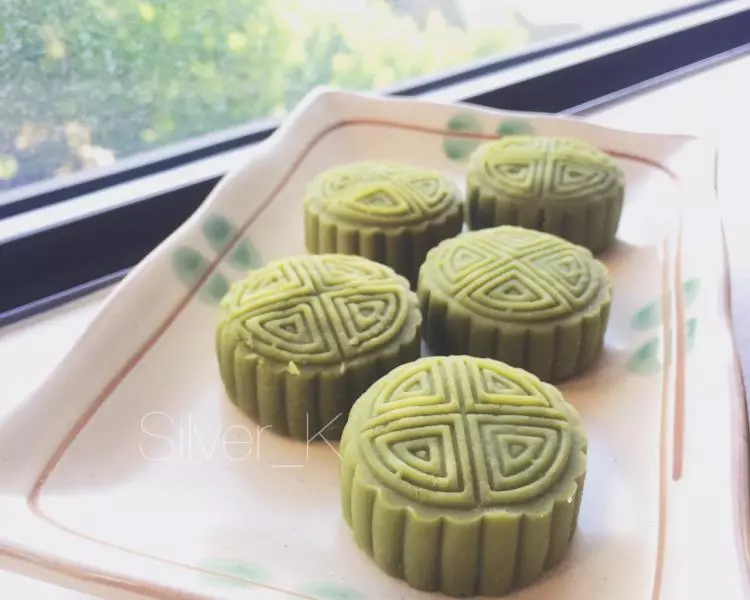
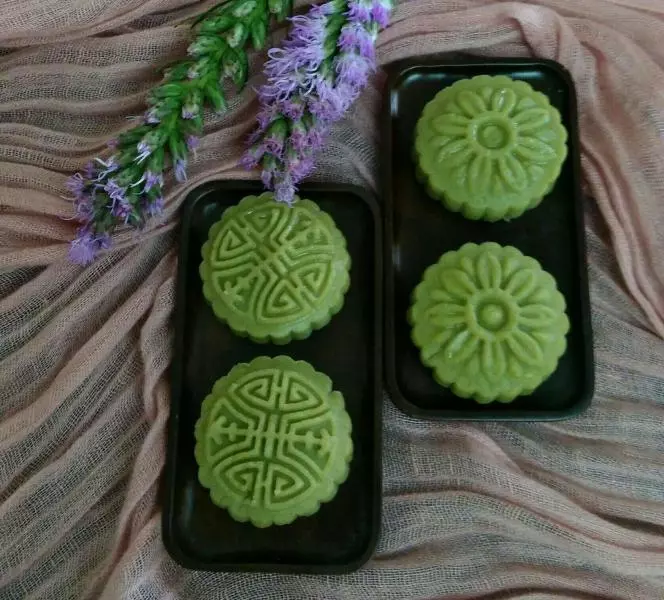
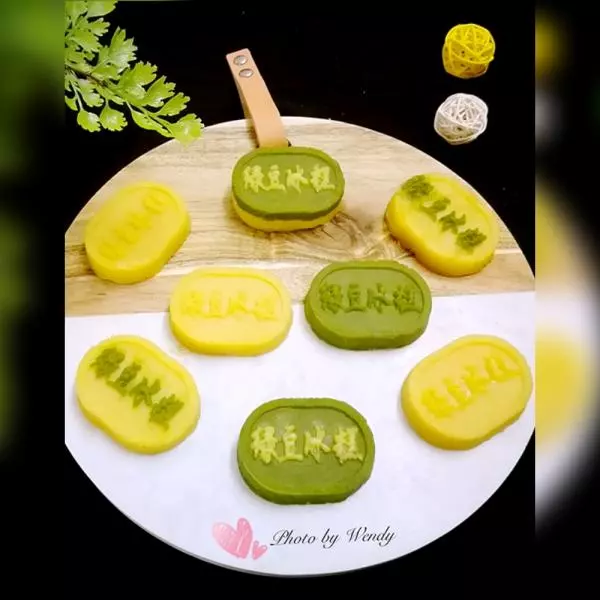
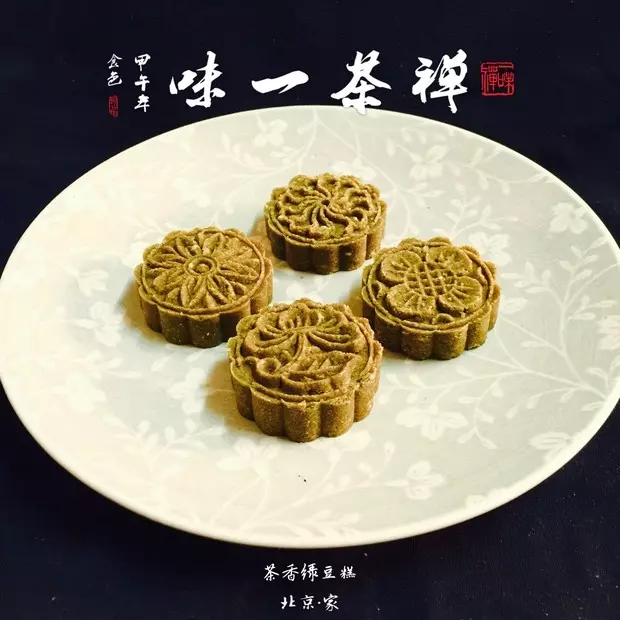
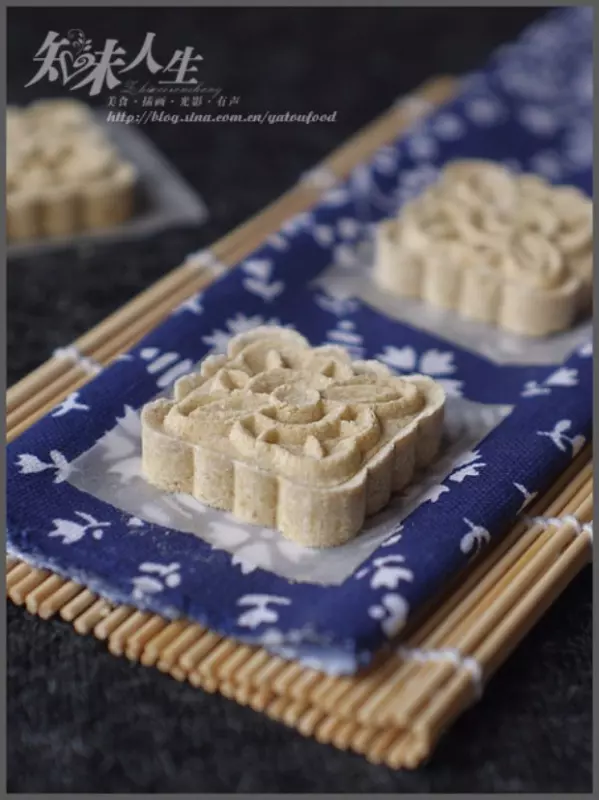
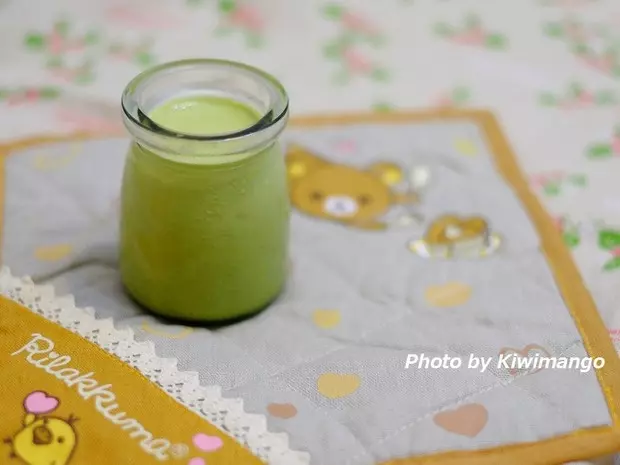
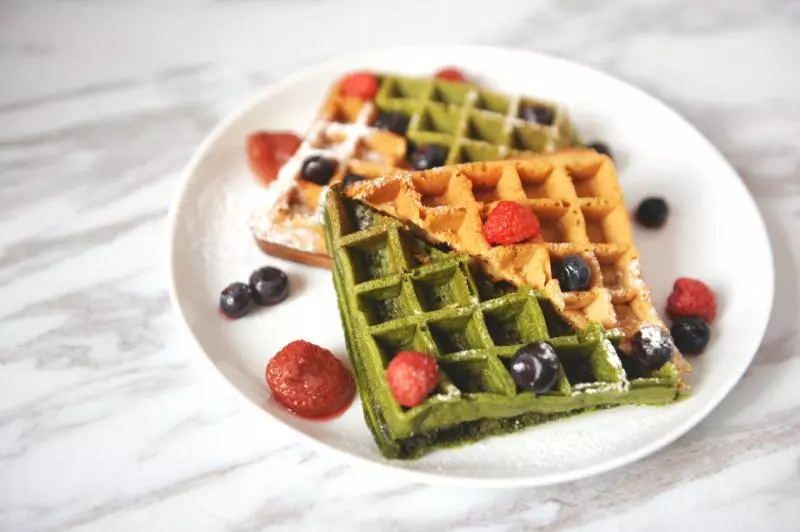
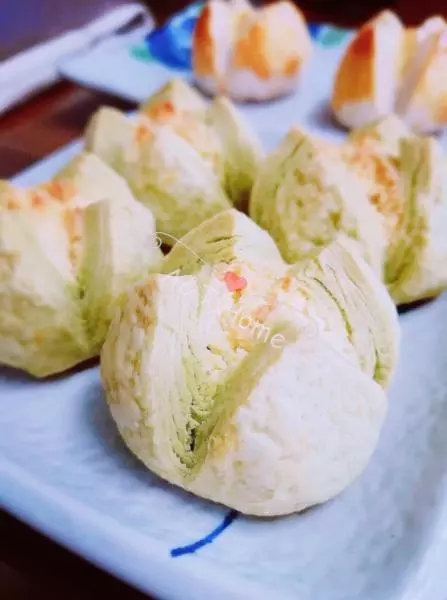
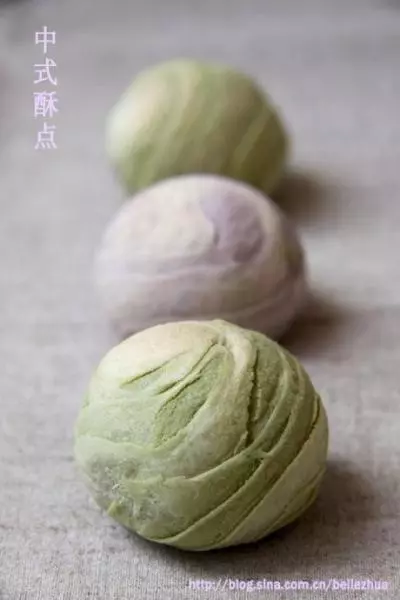
11然后就开始用绿豆泥包裹馅料 再裹上少许炒熟的糯米粉 放入模具里面压成型啦(做抹茶或是其他口味的 就在绿豆泥里加上抹茶或其他粉)

12远处的那些就是模具 压的时候注意稍微用点力气 因为比较容易松散 压紧点还好些 现在就可以吃啦!

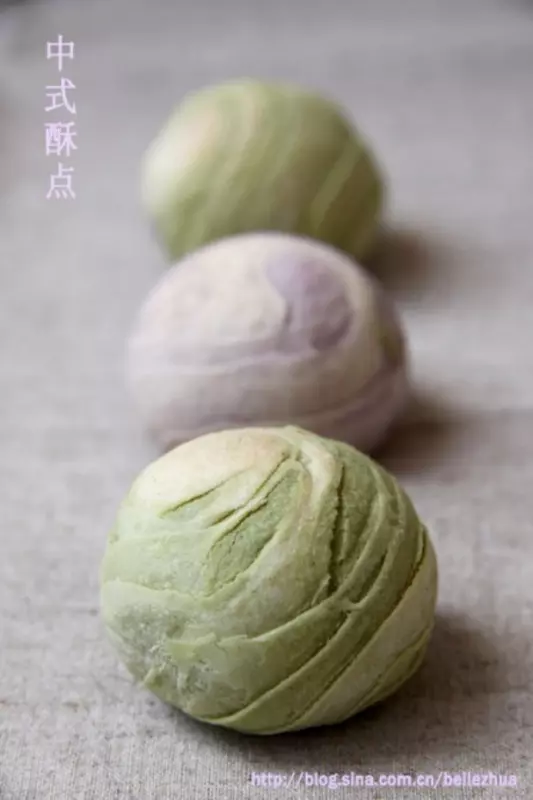
13这是我选的几种模具的样式

14吃不了的可以裹上保鲜膜/塑料袋放入冰箱 冷藏大概3-5天内吃完 冷冻大概能保持半个月

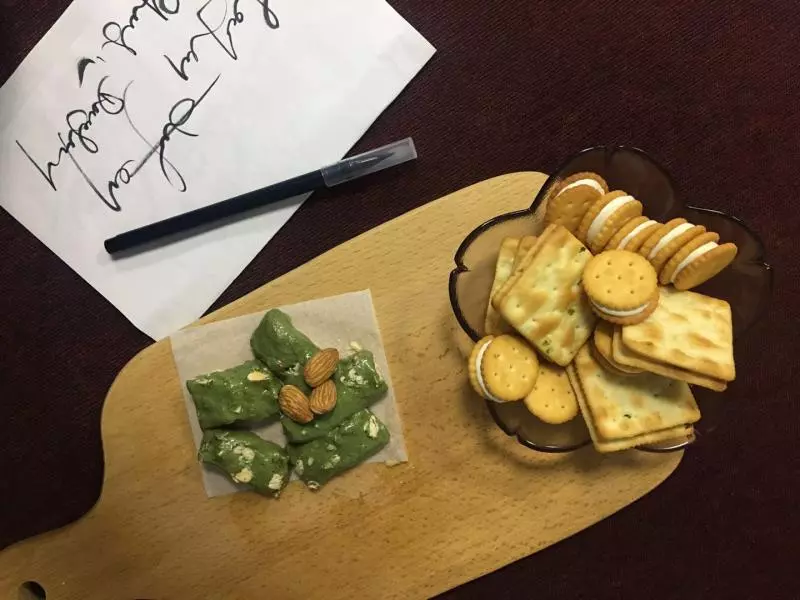
15还可以放入好看的包装送给亲朋好友?

16少女粉的包装

小技巧
我做的量比较少 大概40g每个吧(算上馅)做出了12个 因为怕在炒制的过程中翻不动 不容易控制 能做成这道甜品的人 都是有毅力 有耐心的?加油咯 期待你的作品