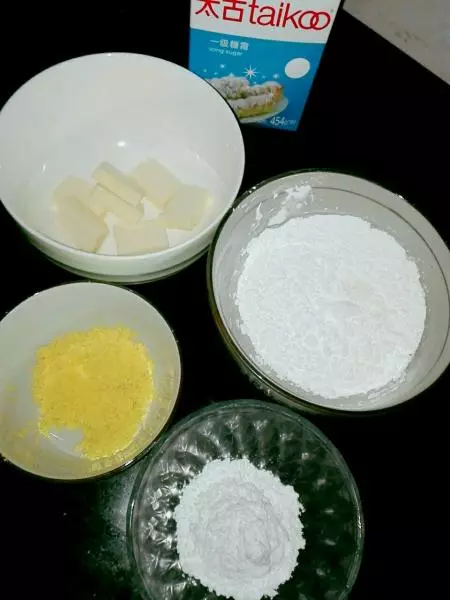
原料
低筋面粉: 55克, 玉米淀粉: 55克, 黄油: 60克, 糖粉: 30克, 熟蛋黄: 1个
步骤
1首先准备好需要的容器

2黄油切片,过筛的玉米粉和面粉,糖粉,过筛的蛋黄(左上顺时针)
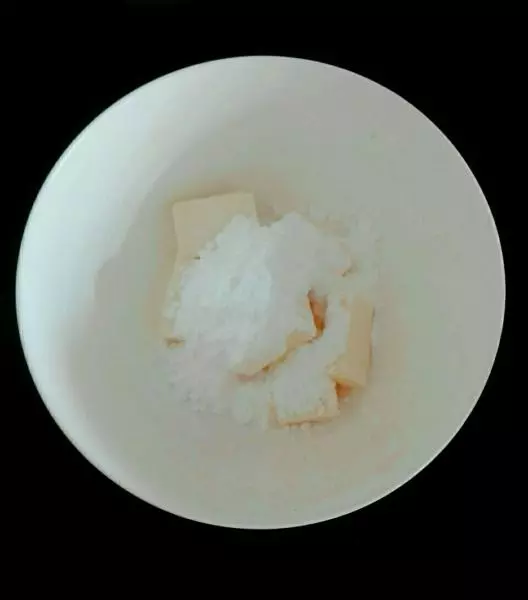
3软化后的黄油加入糖粉先用手动打蛋器搅拌,以免飞粉,在用电动打蛋器一档搅拌
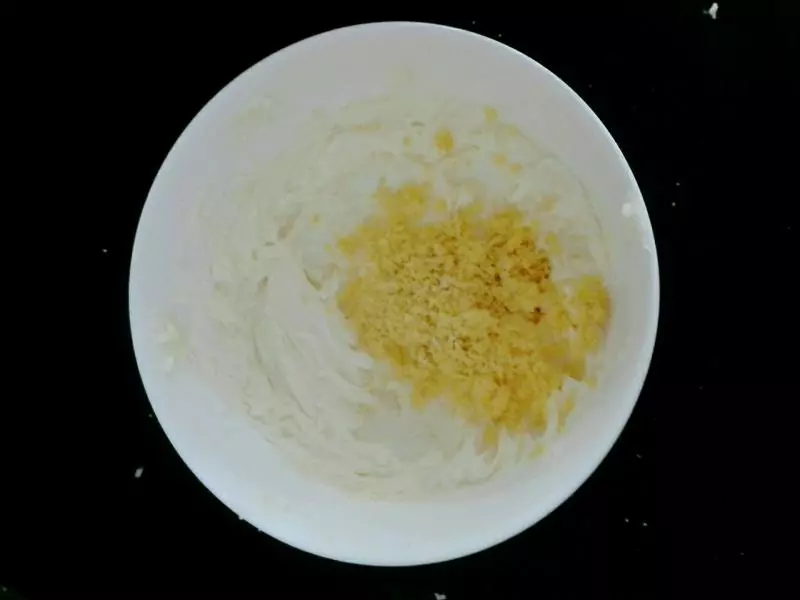
4搅拌好的黄油体积变大,颜色变浅

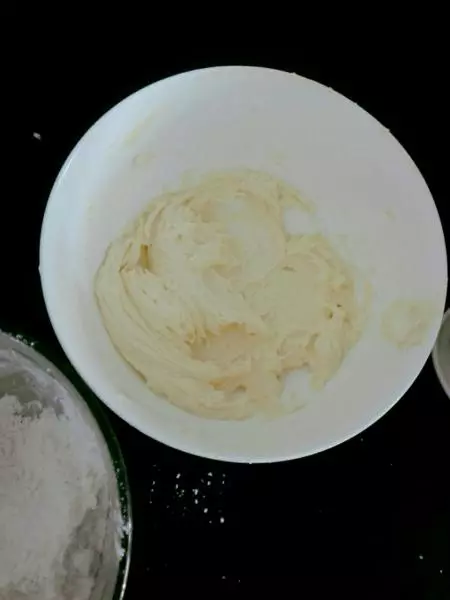
5再筛入蛋黄,继续搅拌无颗粒状
6颜色是淡淡的金黄色 最后加入混合的粉类 可以用刮刀拌匀再手揉
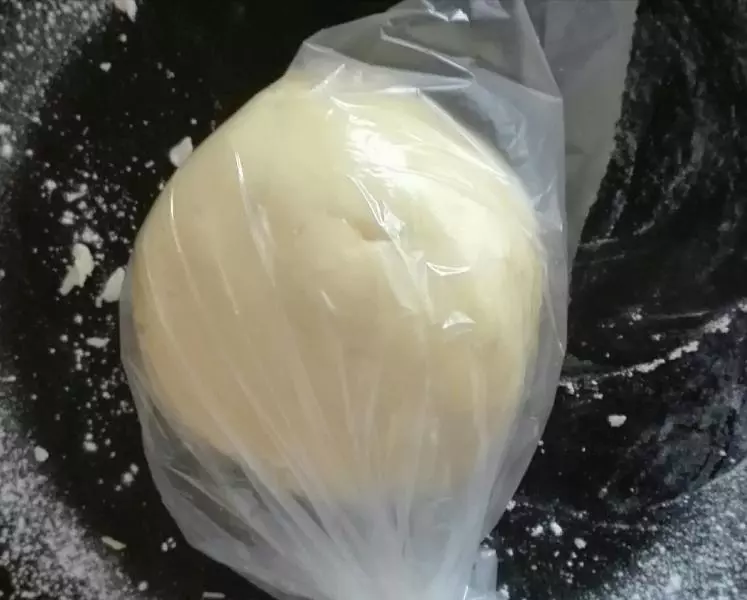
7装入保鲜膜冰箱冷藏1小时
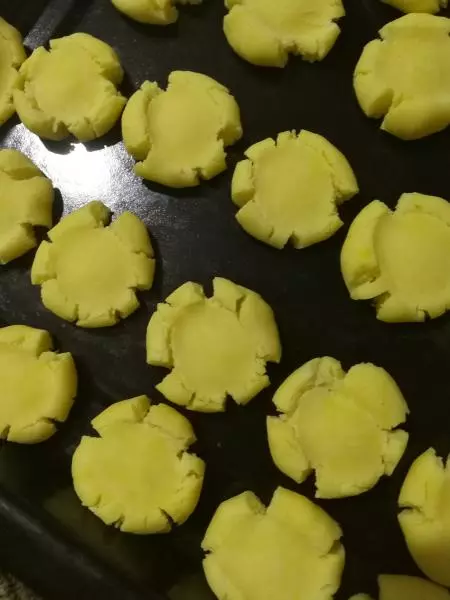
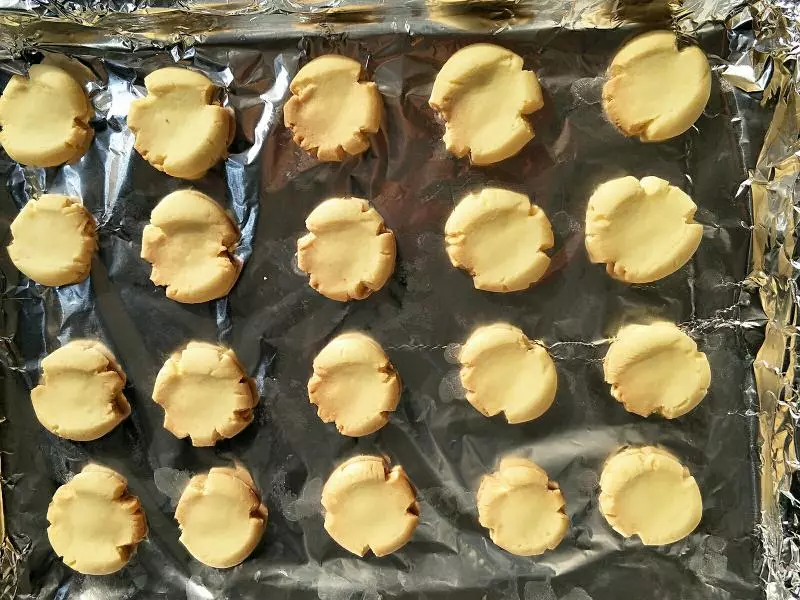
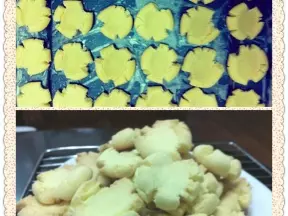
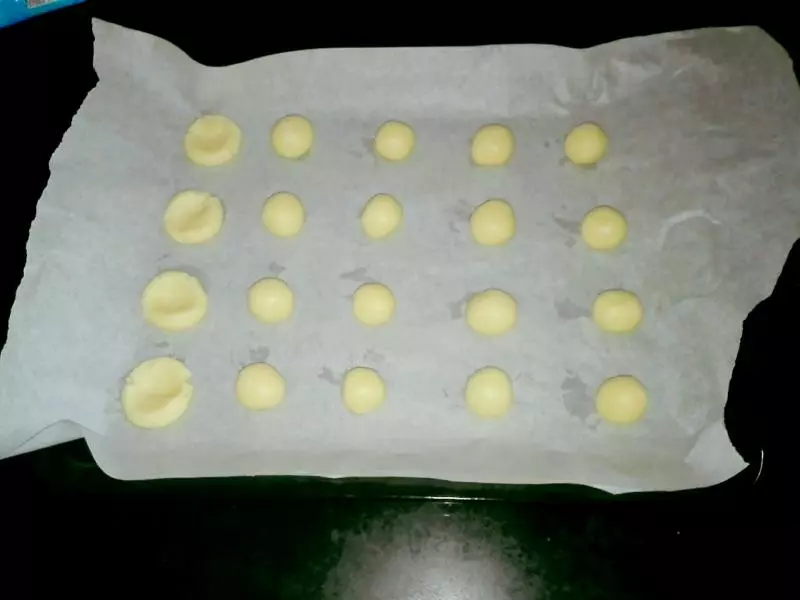
8拿出面团(前五分钟开始预热烤箱),在烤盘铺一层油纸,将面团揪出一个个小剂子,码入烤盘
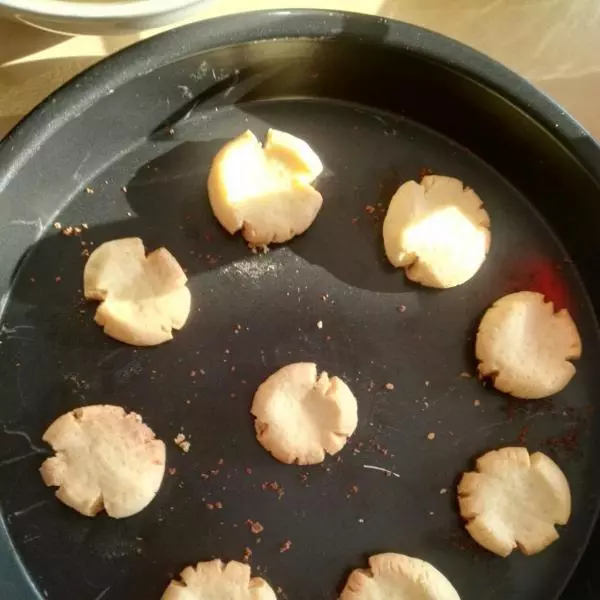
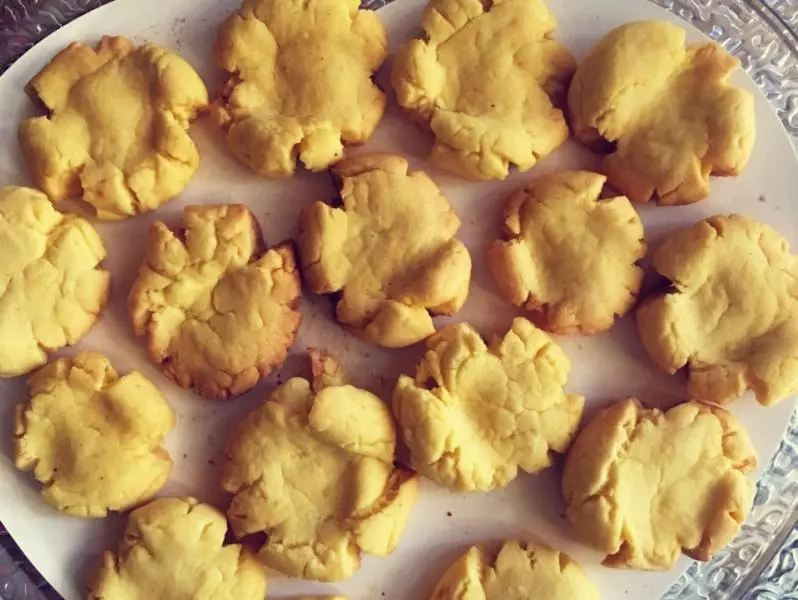
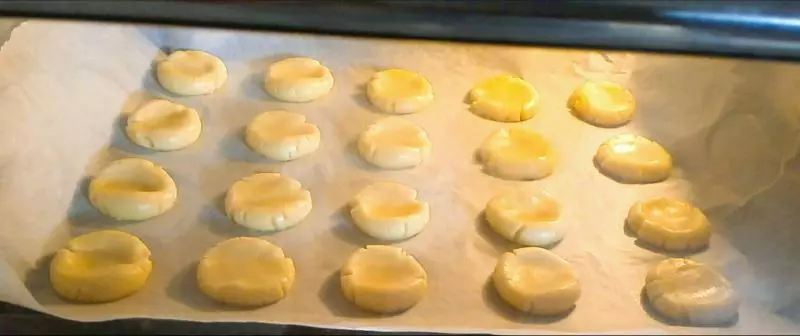
9温度170℃ 时间17分钟 观察饼干边缘有微微上色即可,时间到拿出晾凉
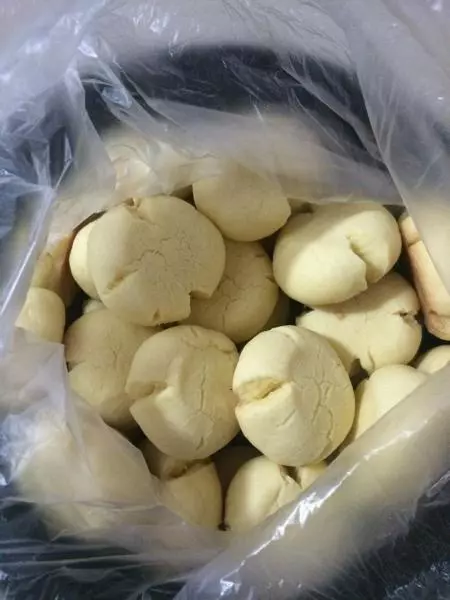
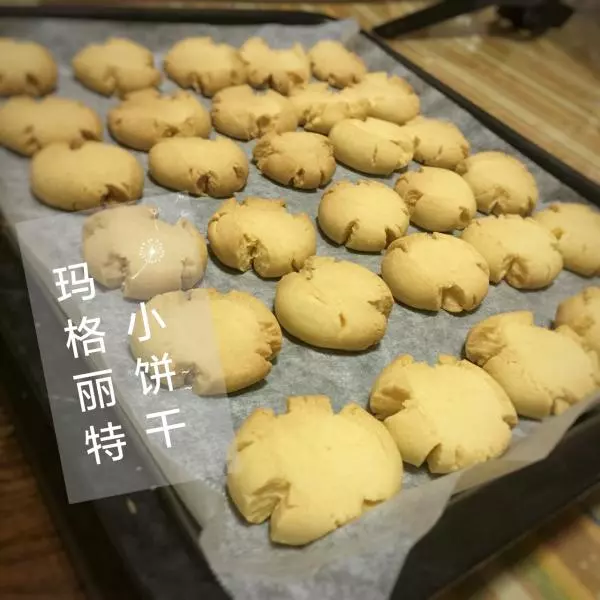
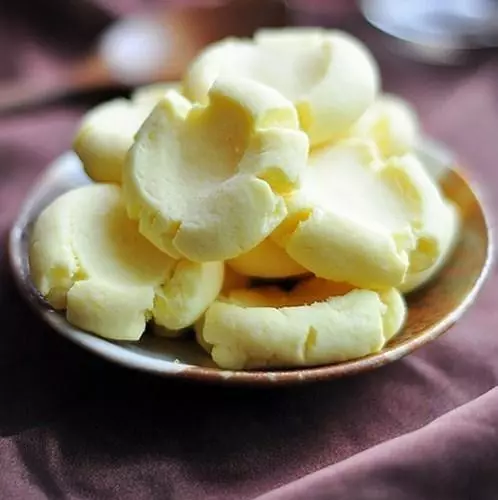
10成品

小技巧
玛格丽特饼干是烘焙新手的首要掌握基础,算简单,易上手。这里也还是要给大家普及一些小知识 1.烤箱一定要预热5~10分钟 烤箱预热的动作,可使饼干面团迅速定型,并且也能保持较好的口感。 2.粉类最好都过筛 3.黄油提前半小时或一小时恢复室温 5.排放有间隔不粘连 以免烤完边缘相互粘黏在一起影响外观。同时,留有空隙还能使烘烤火候比较均匀 6.大小均一