原料
蛋清: 打三个小鸡蛋(柴鸡蛋), 奶粉: 20g, 香蕉: 25g
步骤
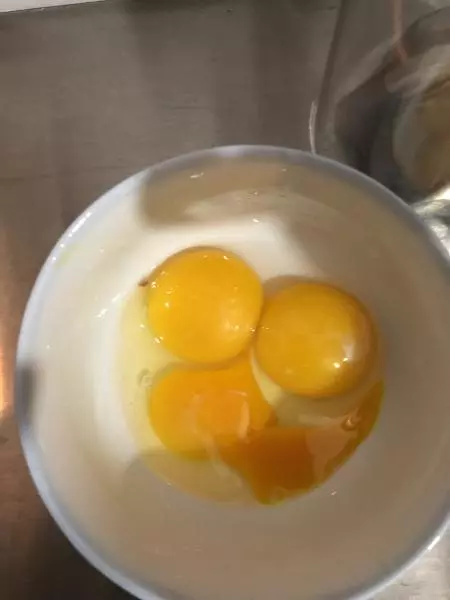
1蛋黄与蛋清分离。蛋黄留着可以做另外一种蛋黄香蕉溶豆。量都一样的。高速打发蛋清,打成干性细腻的泡。打的过程可以用刮刀把边缘的刮下来放中间。这样打发更均匀。提起打蛋器,底部有个直角的尖勾。我忘了拍了。
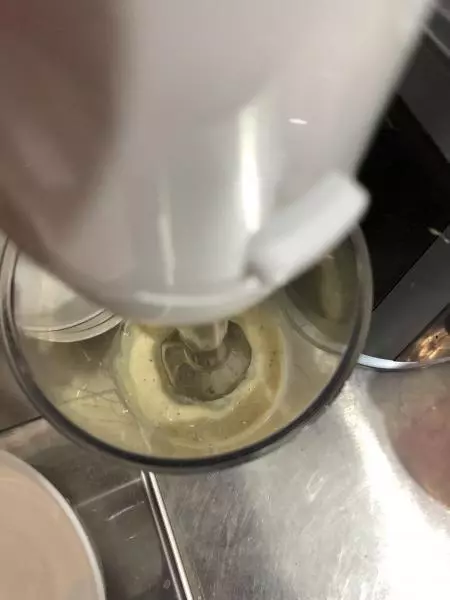
2香蕉打成泥,称重。25g。
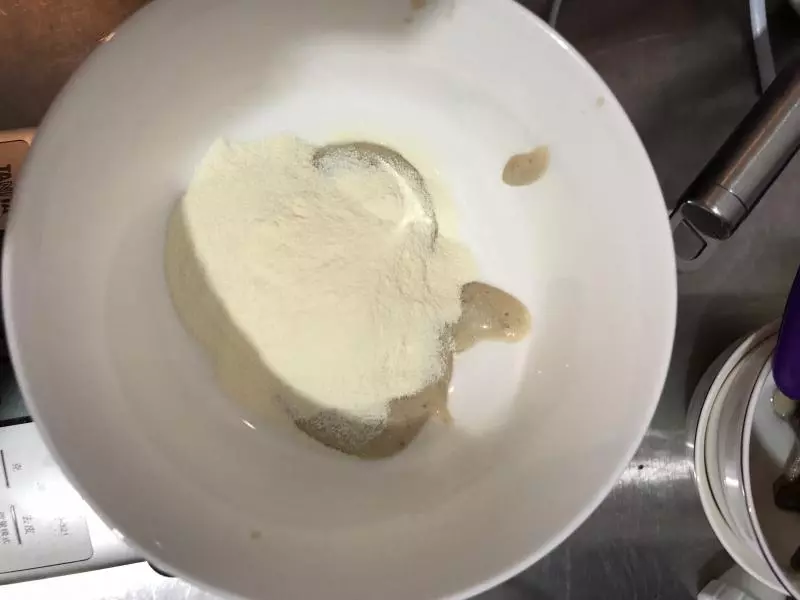
3倒入称好的奶粉。香蕉泥与奶粉混合。
4混合好的糊倒入打发好的蛋白中。
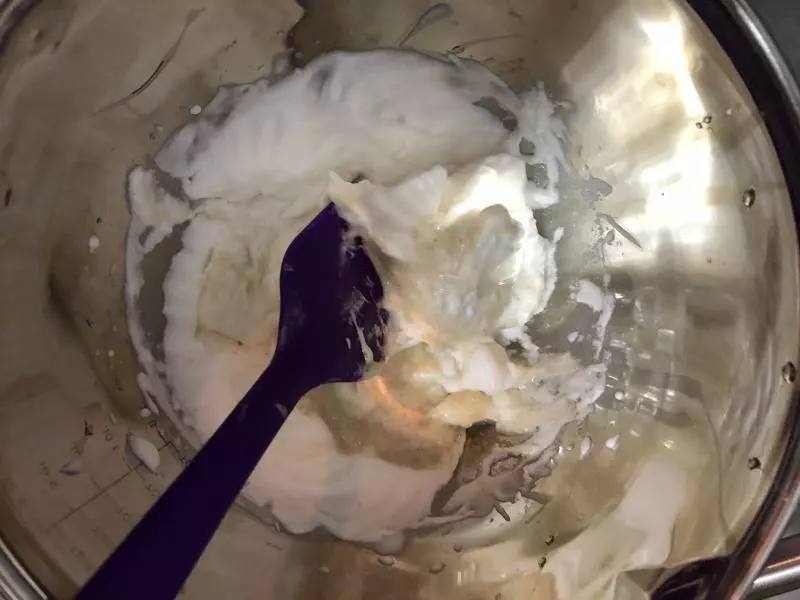
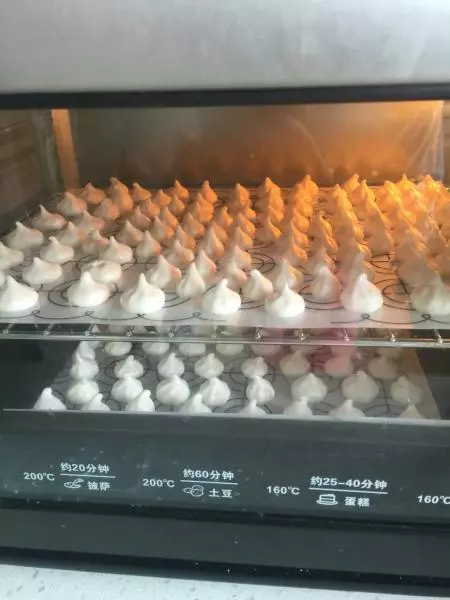
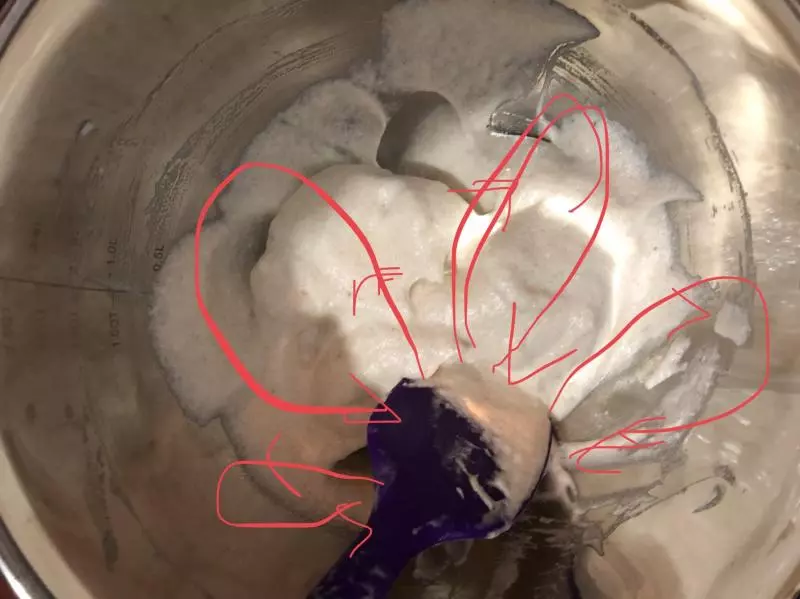
5从里到外翻拌。看图。就像炒菜的方式。轻柔翻拌,防止消泡。此处可以预热烤箱。烤着温度稳定。烤箱温度设置100度20分钟。
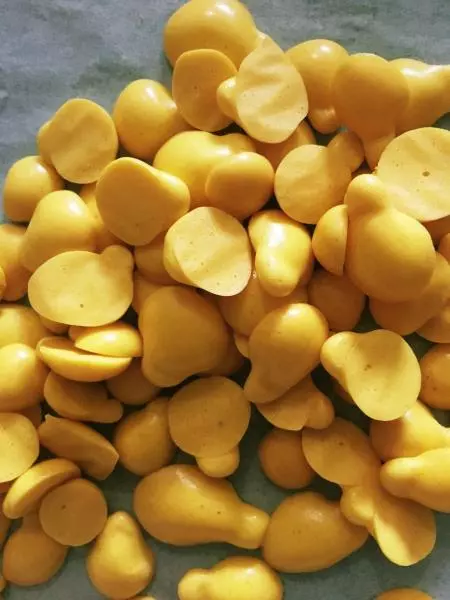
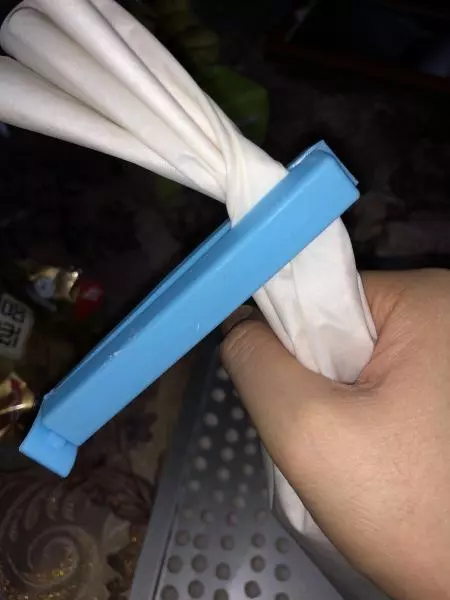
6将混合好的放入裱花袋。如图,这样不易溢出。
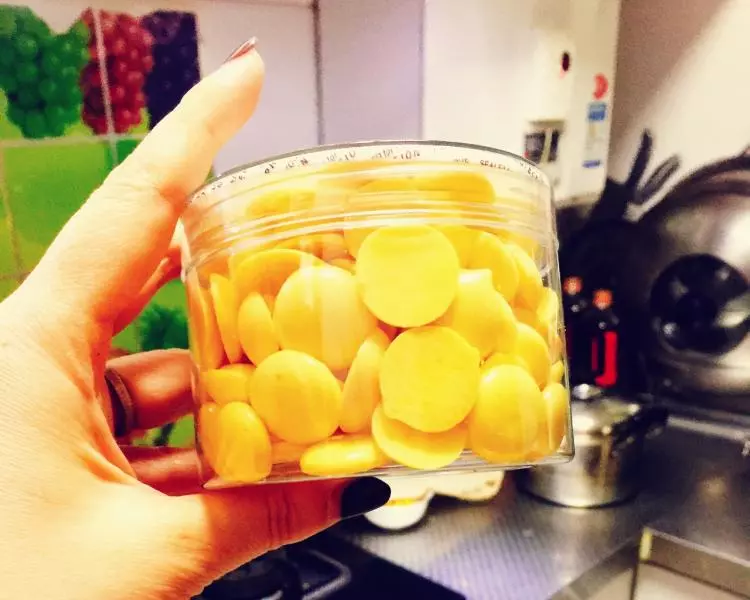
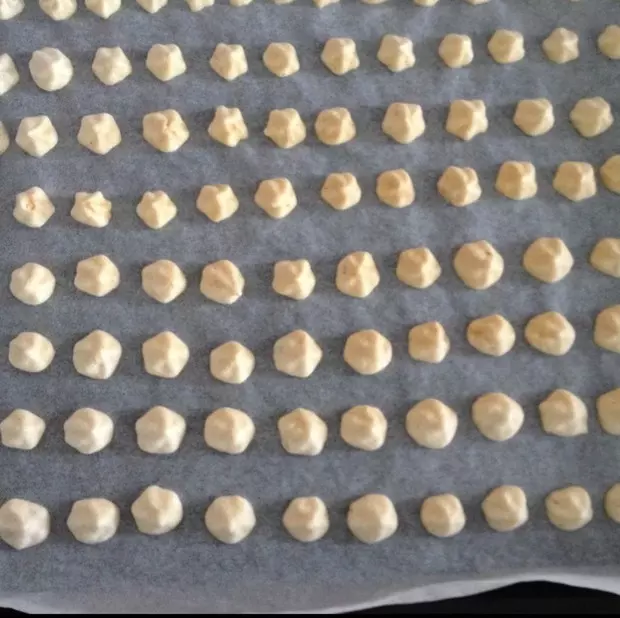
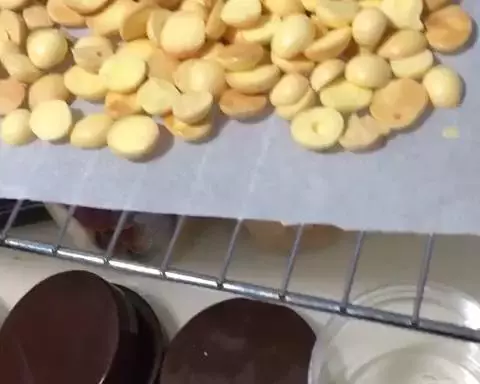
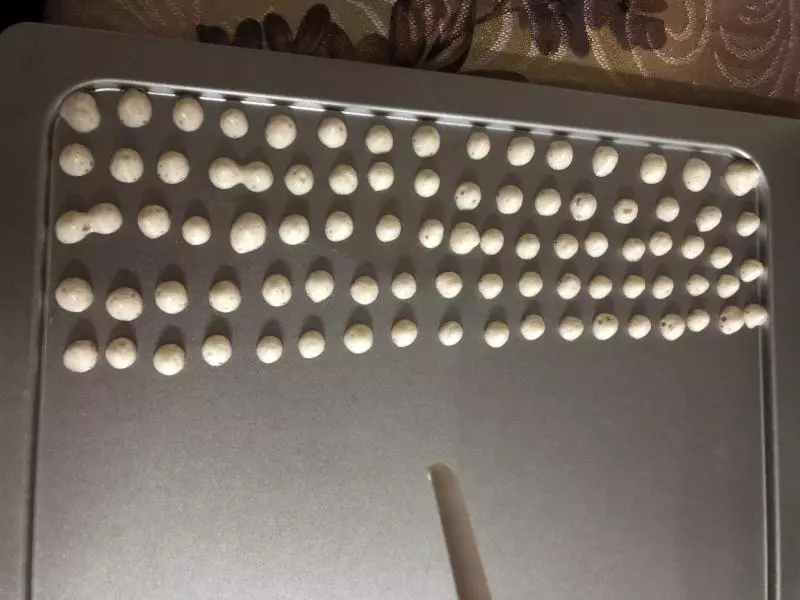
7挤出小颗粒。缩短烘焙时间,孩子吃不需要太大。烤好后是干的,不粘。纸一抖就下来了。放上油纸。烤好方便取。我是用完了。请忽略图片。
小技巧
糊的稀稠度:是有点稀,只要不自动流出来就成。 一定要铺油纸,不然不好拿。