原料
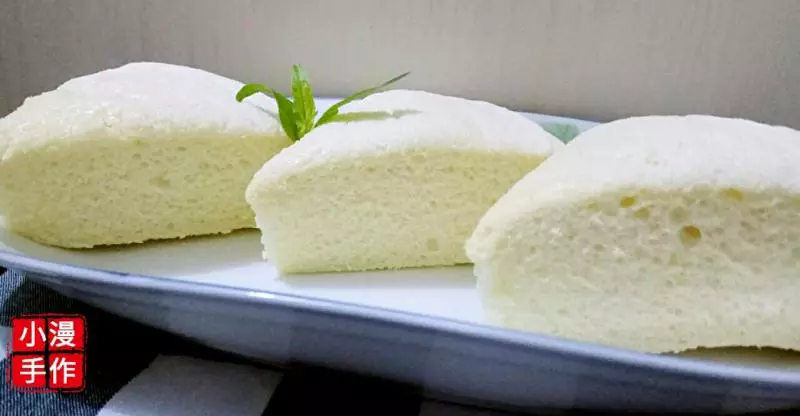
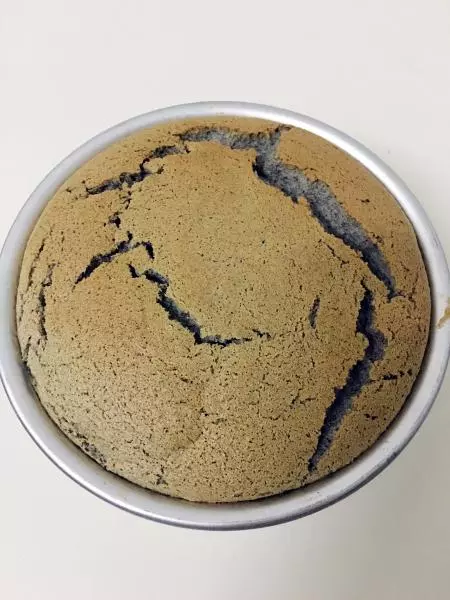
蛋糕胚: 两片, 椰子粉: 30克, 玉米淀粉: 10克, 低筋面粉: 30克, 白砂糖: 50克, 蛋黄: 三个
步骤
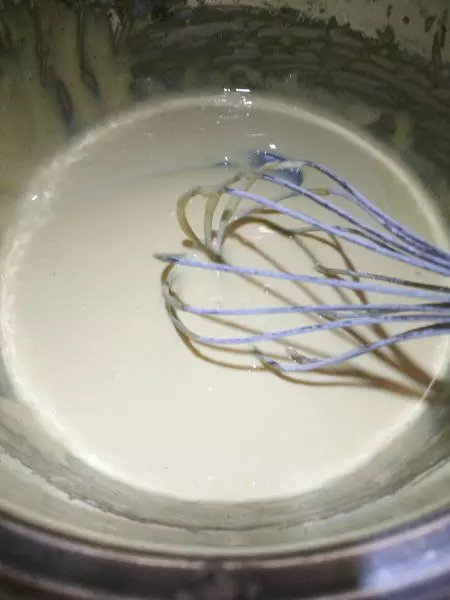
1蛋黄放入无水无油的盆中加入50克白砂糖
2用打蛋器搅拌至白砂糖融化的无颗粒状态
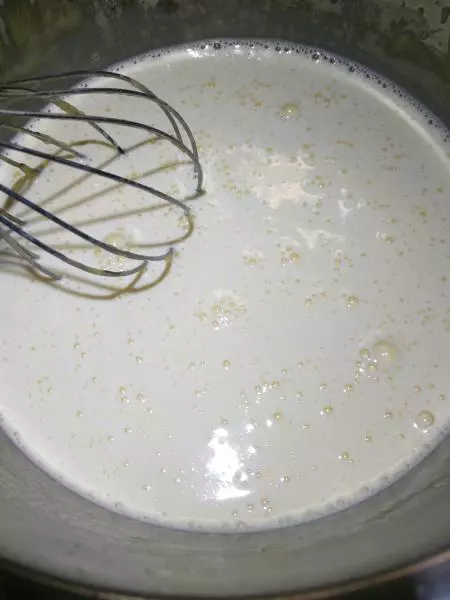
3低粉和玉米淀粉混合过筛到蛋液中
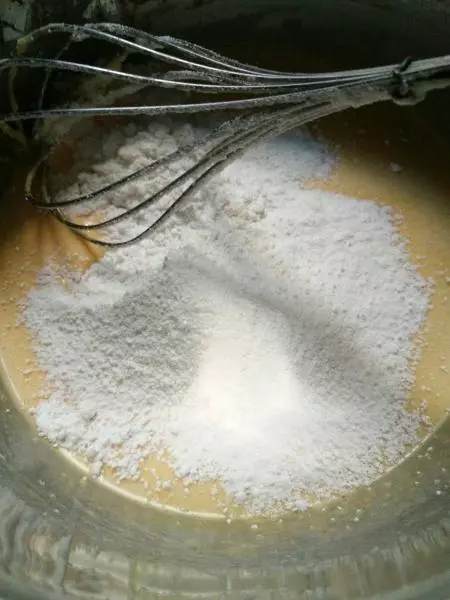
4搅拌均匀至无颗粒状态
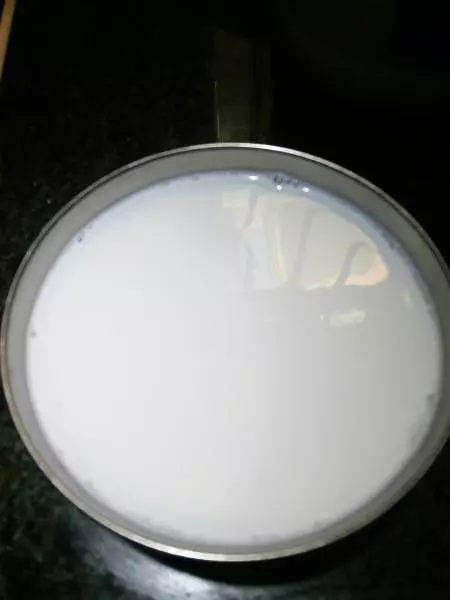
5用沸水冲拌30克椰子粉,得到300克带有浓浓椰香的热椰奶
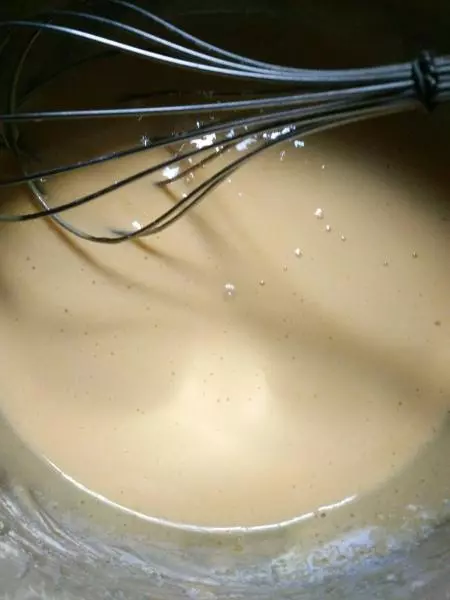
6热椰奶倒入蛋黄糊中,一边倒入一边搅拌
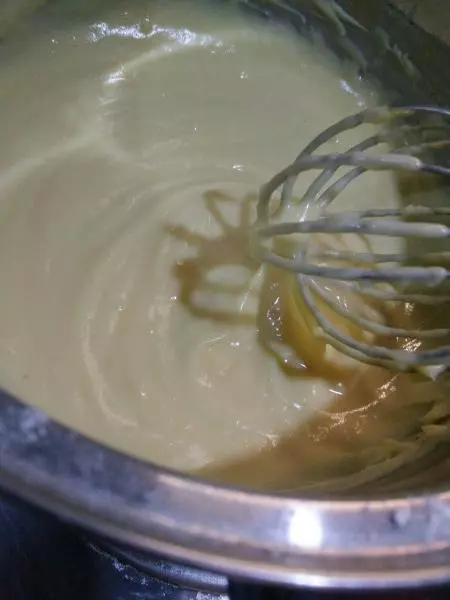
7小火加热蛋黄糊,边加热边搅拌,一出现将要凝固的状态立马关火,利用余热将蛋黄糊搅拌成适合的稠度后(稠度以能裱花的状态为准)隔冷水继续搅拌,至冷却状态即可,这样子椰香卡仕达酱就做好啦
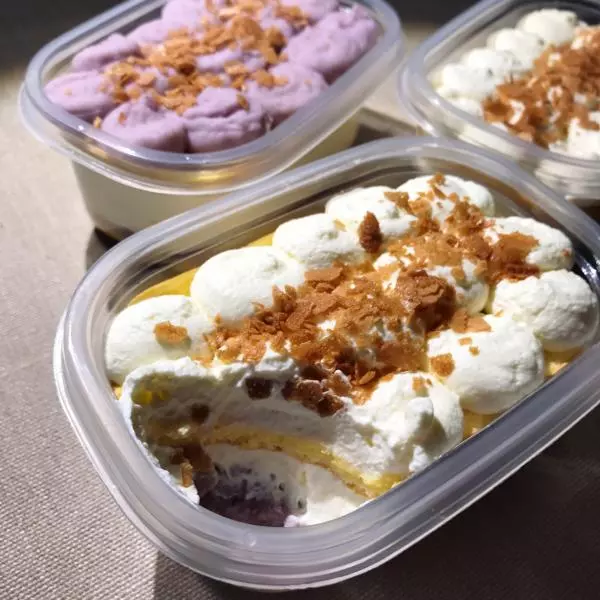
8裱花袋套入较高的杯子中以便加入椰香卡仕达酱
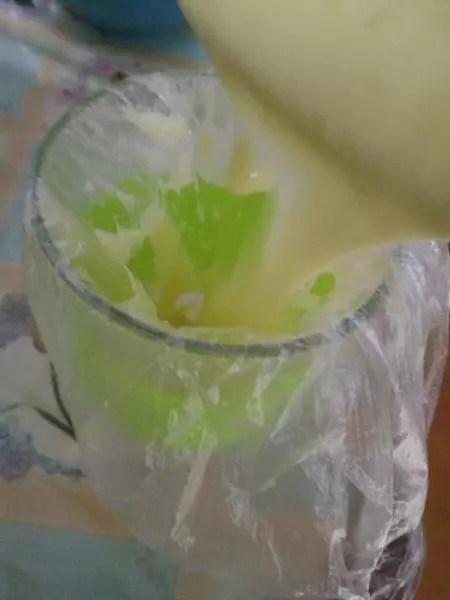
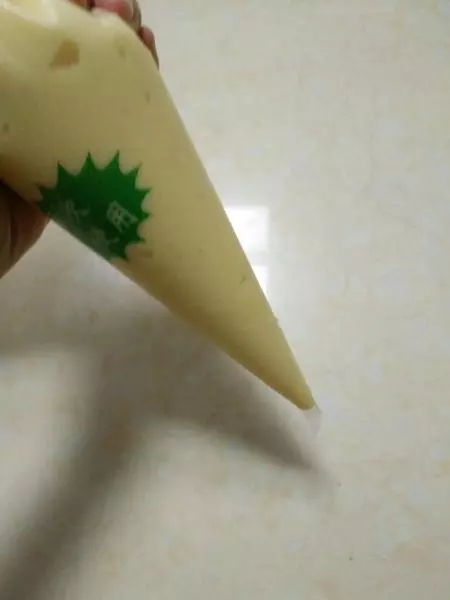
9将卡仕达酱全部装入裱花袋中
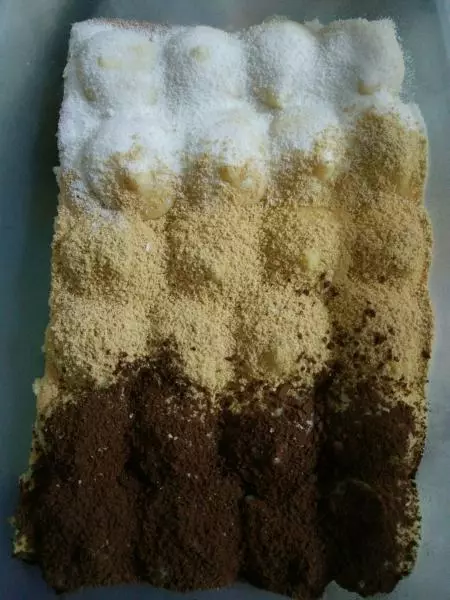
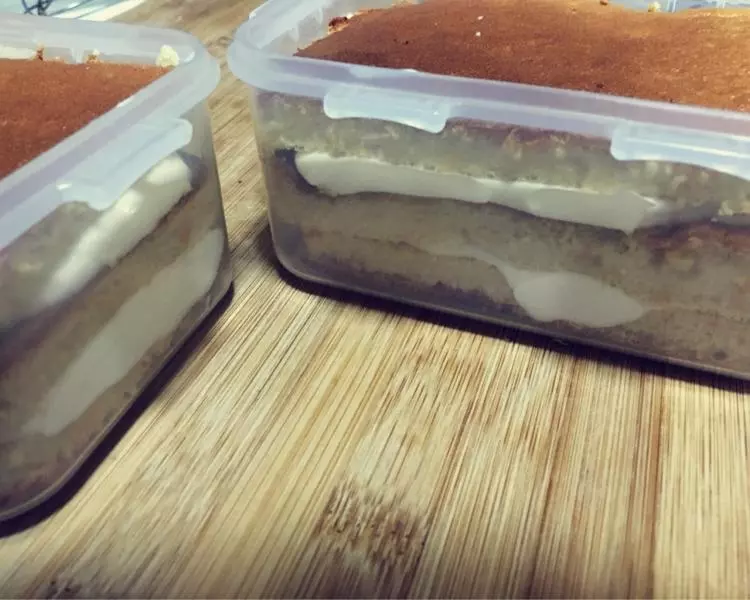
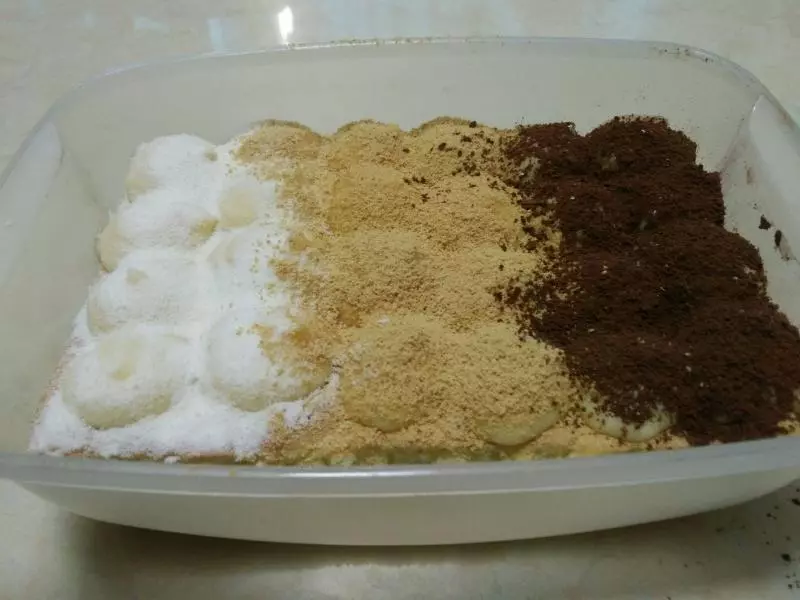
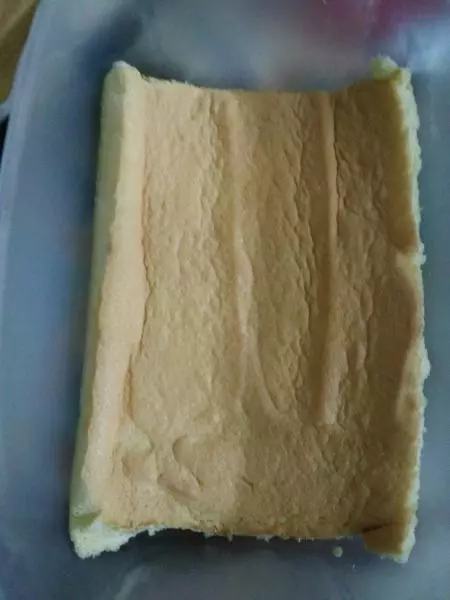
10将一片蛋糕胚放入盒子中加上一层椰香卡仕达酱再盖上一片蛋糕胚
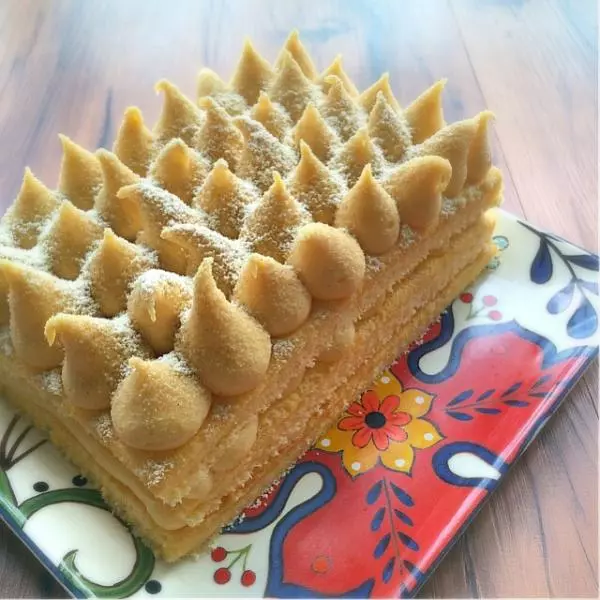
11裱花袋剪一小口套入裱花嘴,在蛋糕胚上一个球一个球的挤

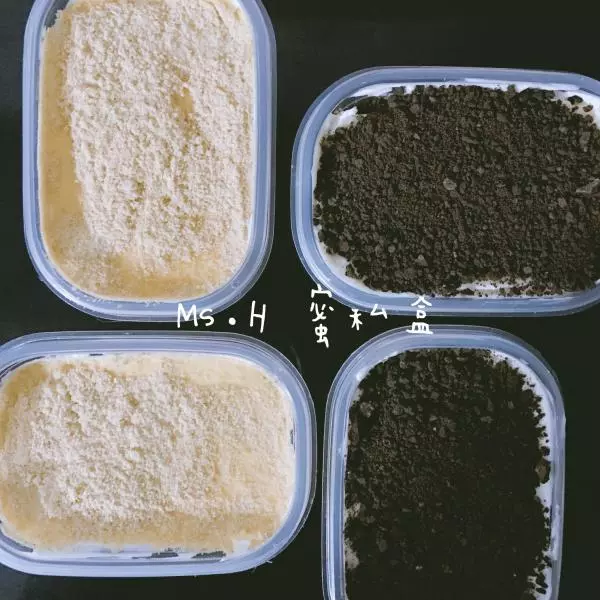
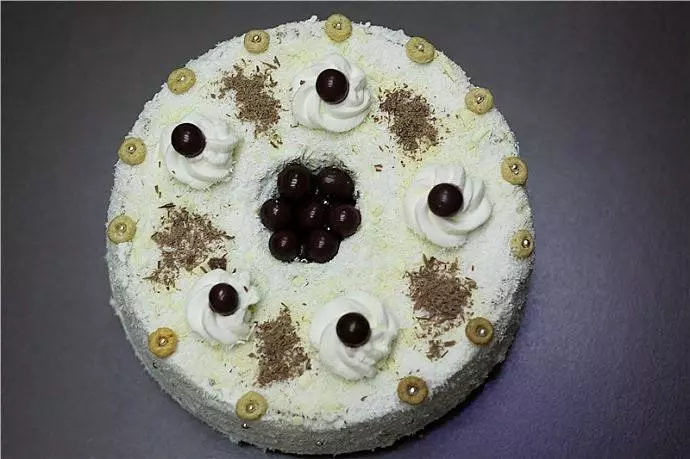
12最后再撒上自己喜欢的粉就可以啦,我撒了三种粉,分别是椰子粉花生粉和可可粉,可以尝到三种不同的口味~