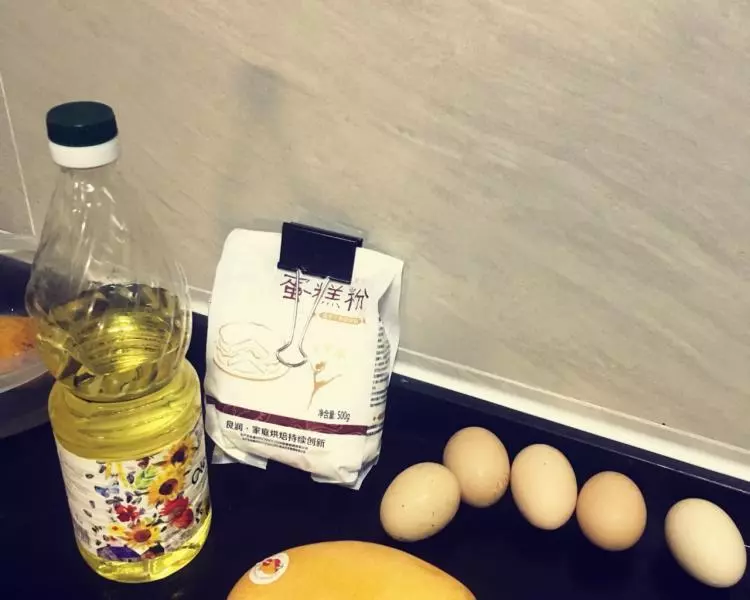
原料
鸡蛋: 5只, 低筋蛋糕粉: 100克, 金煌芒果: 半个, 细砂糖: 50克, 淡奶油: 200克, 葵花籽油: 45克, 水或牛奶: 50克
步骤
1准备好所有食材,鸡蛋事先放到冰箱冷藏,更好分离蛋黄蛋清。
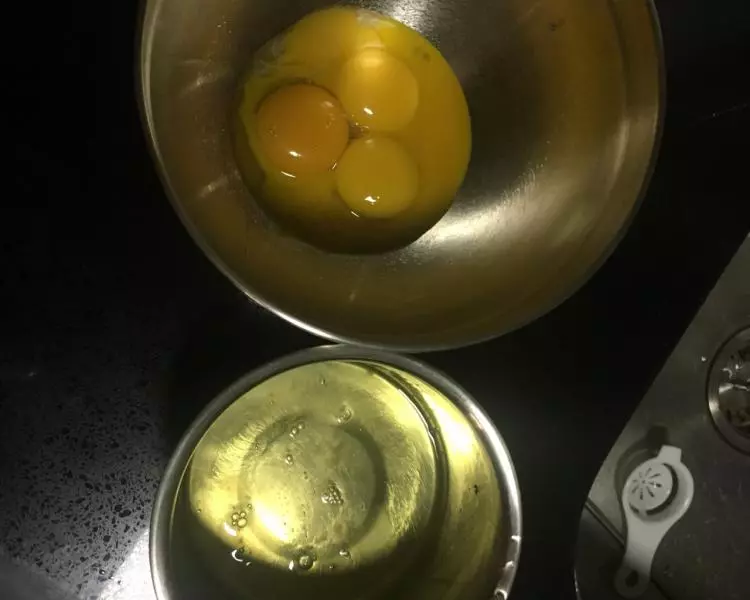
2分离蛋黄和蛋清。
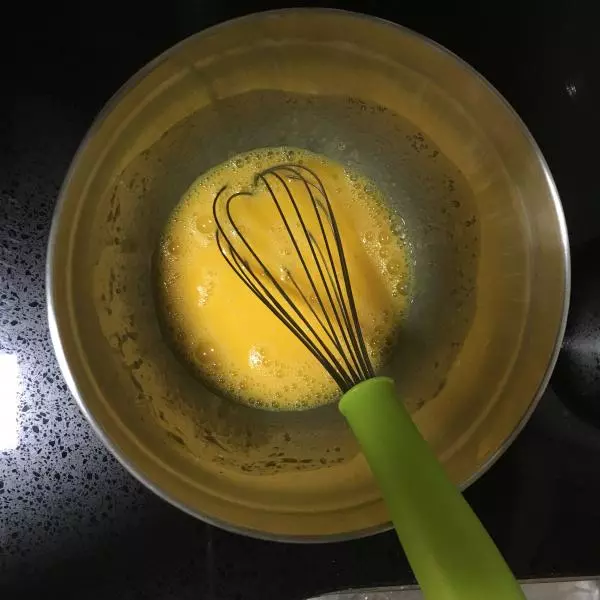
3在蛋黄中加入油、水和白砂糖,用打蛋器搅拌均匀。
4面粉过筛加入蛋液中。加入事先称好的低筋面粉,搅拌成面糊,记得不要太用力搅拌,拌匀即可,避免面粉出筋。

5在蛋清中加入少于白醋,用打蛋器将蛋白打发,打到基本变硬即可,太硬会导致蛋糕口感不够细腻。加入白醋更容易打发。

6将打发的蛋白分三次加入事先拌好的面糊中,采用切拌当时将蛋白和面糊搅拌均匀。搅拌的同时,调整好烤箱温度,上下火220度,打开预热10分钟。

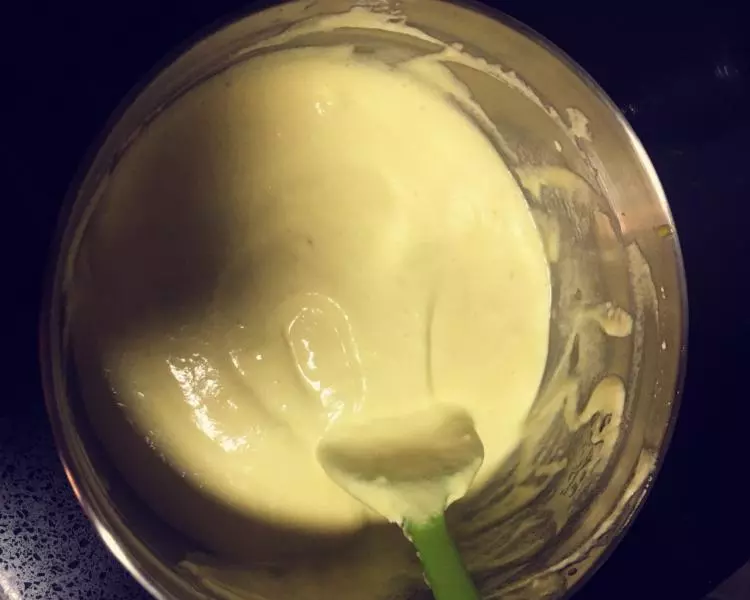
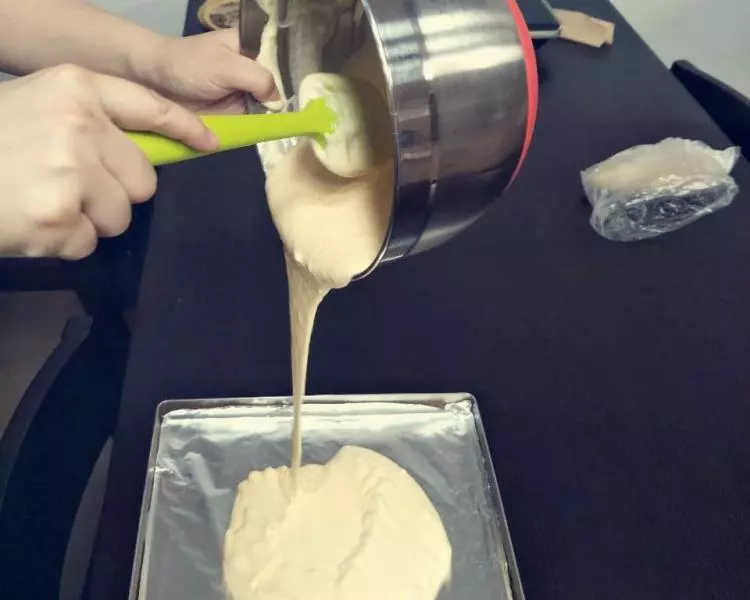
7搅拌好的蛋糕糊。
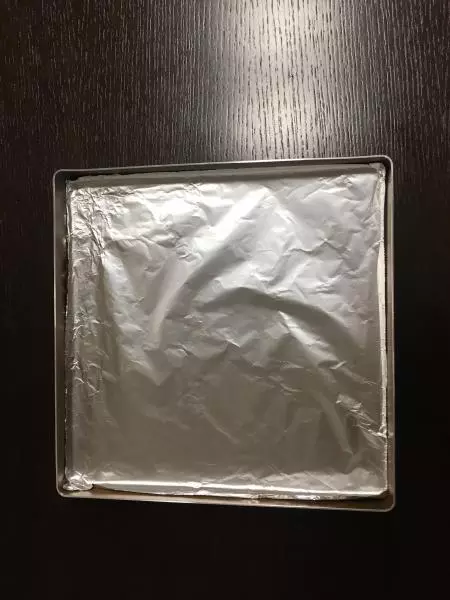
8拿出事先铺好锡纸/油纸的烤盘。
9将蛋糕糊从15厘米高处倒入烤盘,再用刮刀将面糊表面刮平。
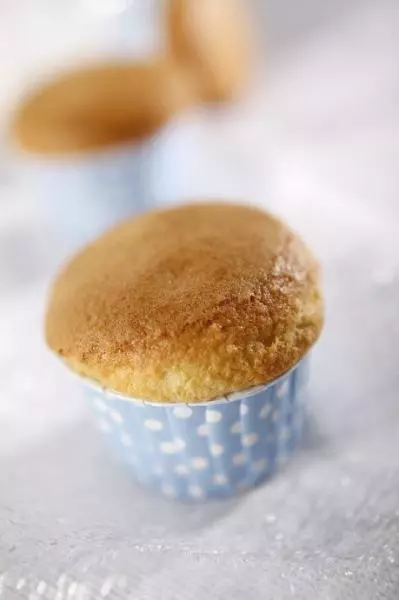
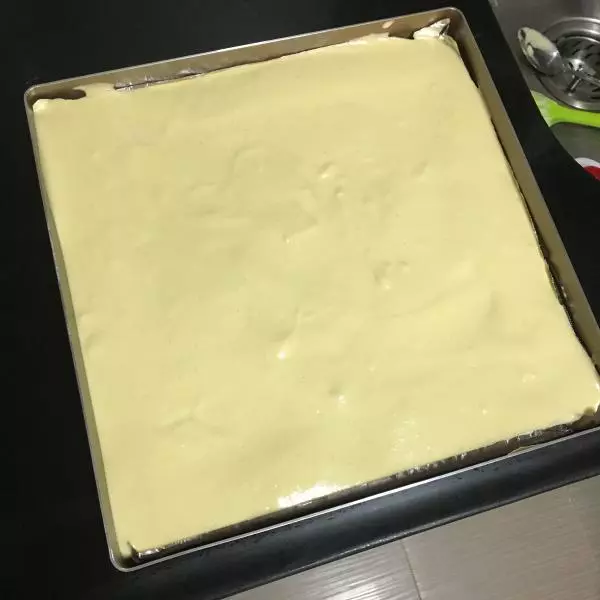
10装好的蛋糕糊,将烤盘放入事先预热好的烤箱,220度上下火烤25分钟,这个需要根据自己的烤箱调整温度,需要烤至表面干硬,不掉皮。
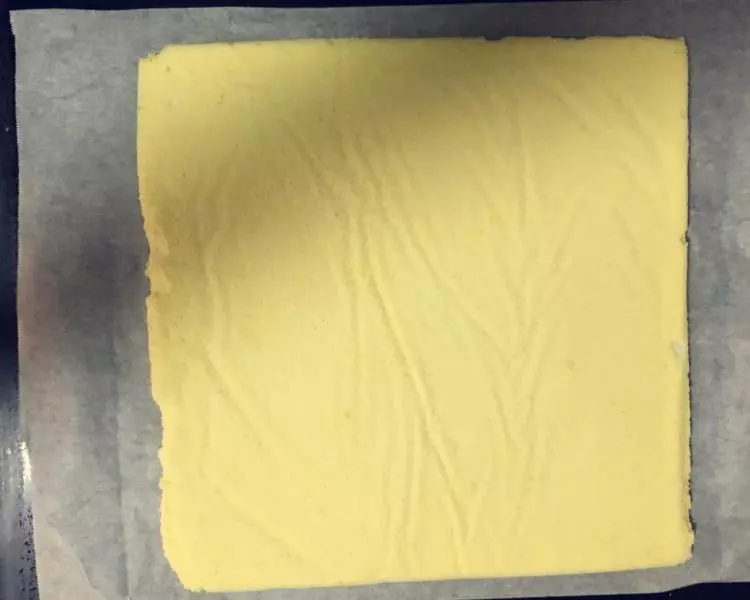
11烤好蛋糕后,倒扣在晾凉架上,待蛋糕完全冷却后,撕掉锡纸,倒扣时,直接在晾凉网上铺好锡纸,方便待会儿直接卷。
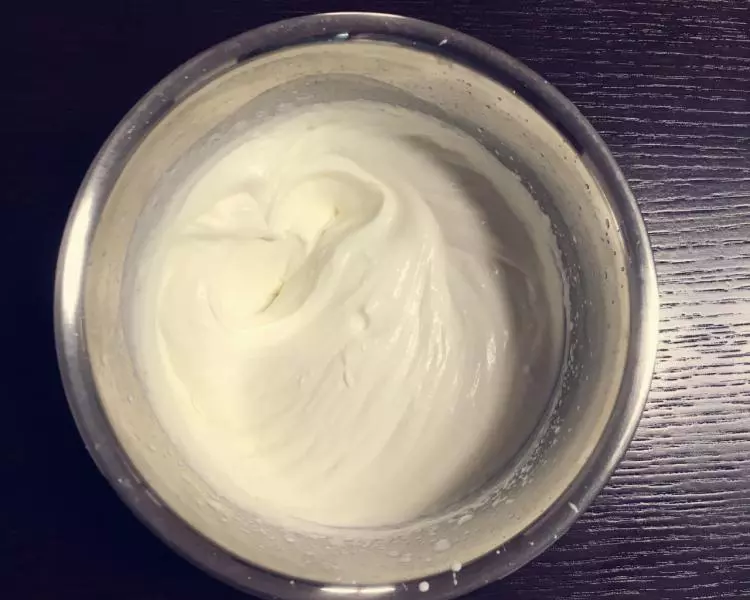
12蛋糕冷却后,开始打发稀奶油,我用的是欧德堡稀奶油,打发前记得先加入少许糖,打发至图片状态,大概需要1-2分钟左右,切忌打发过度,变成豆腐渣状。如果打发好后,其他准备工作尚未做好,可先放至冰箱冷藏。
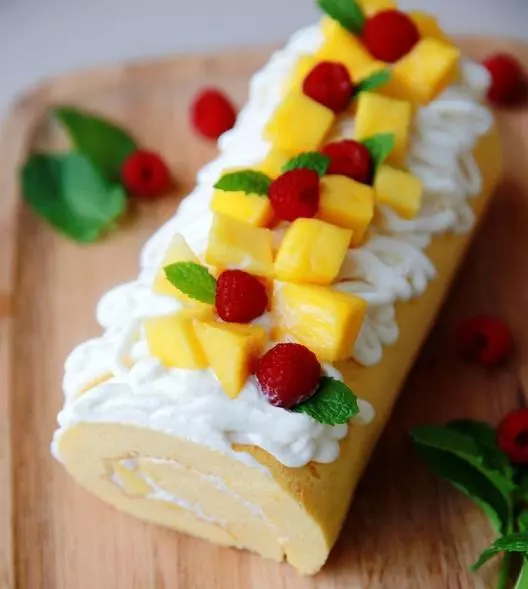
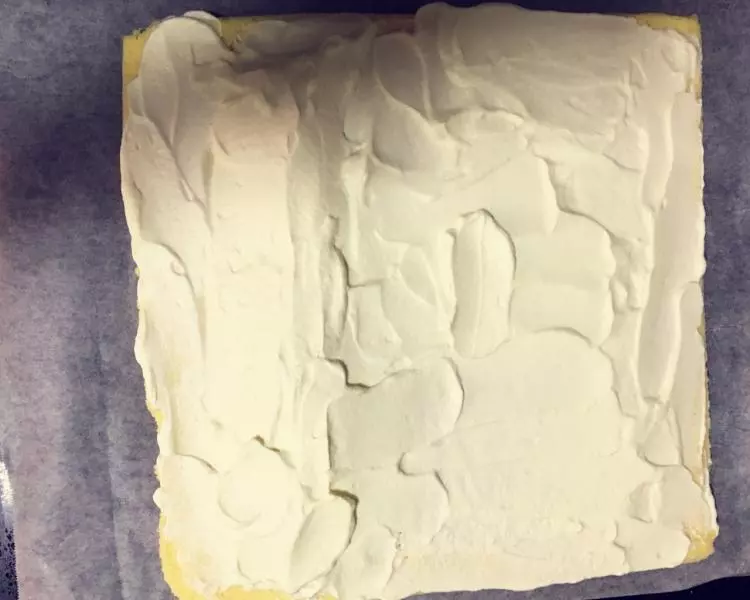
13用刮刀将奶油涂抹至蛋糕上,靠近身体处可稍厚一些。
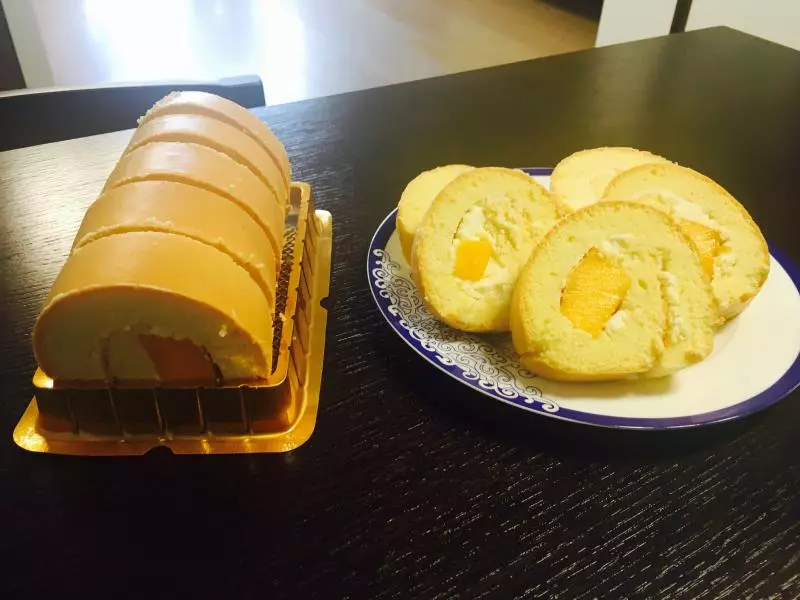
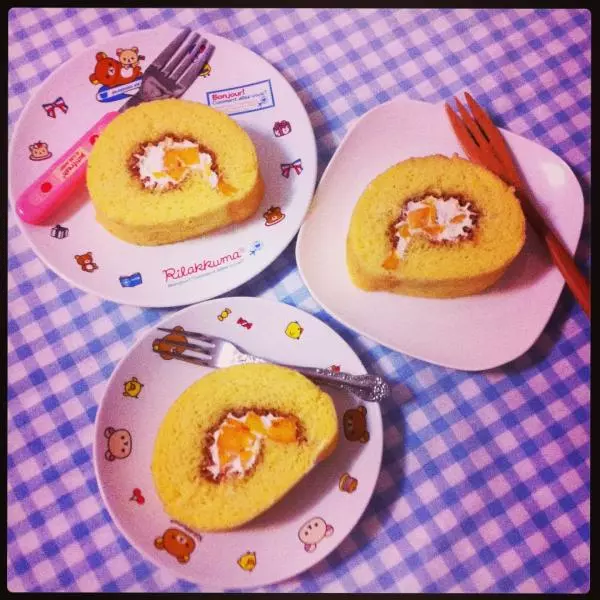
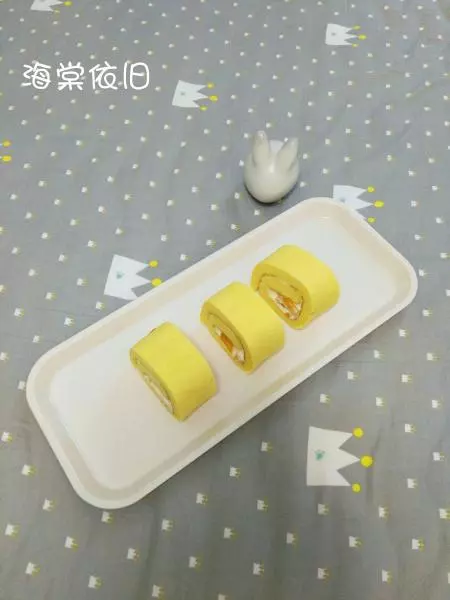
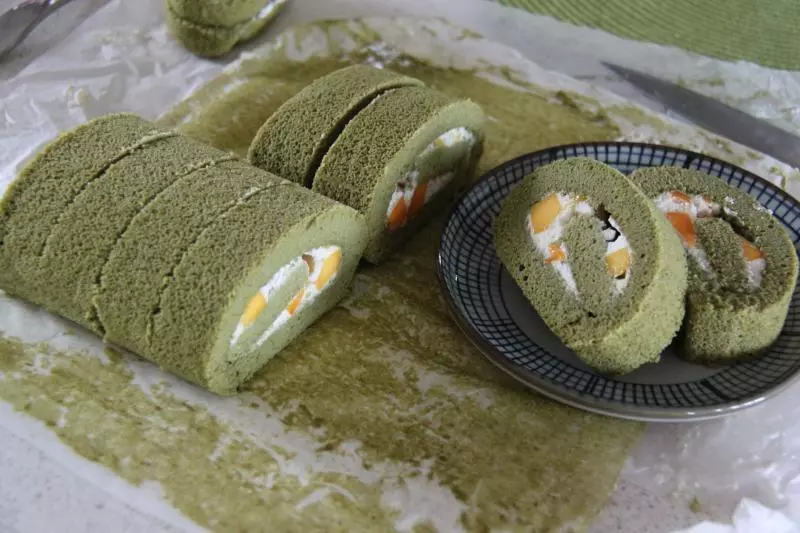
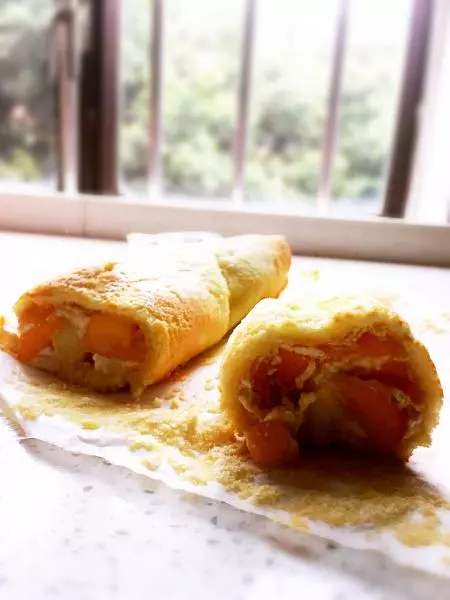
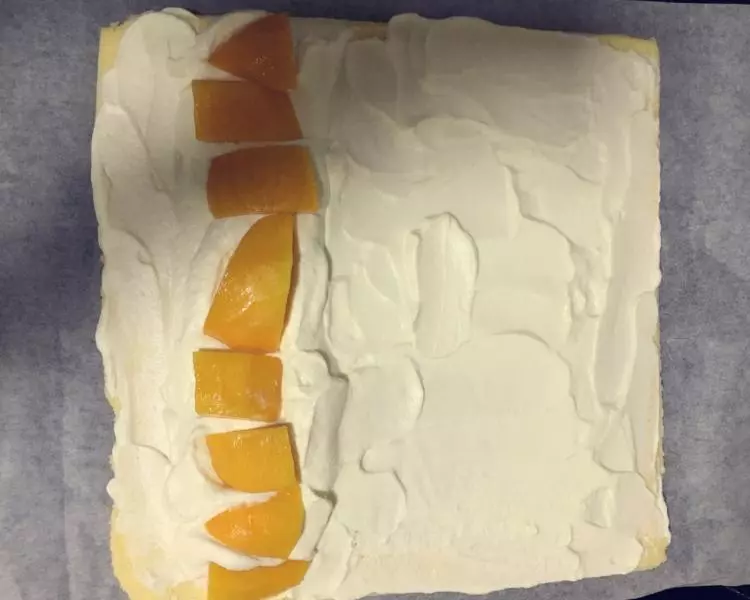
14放上事先切好的芒果。
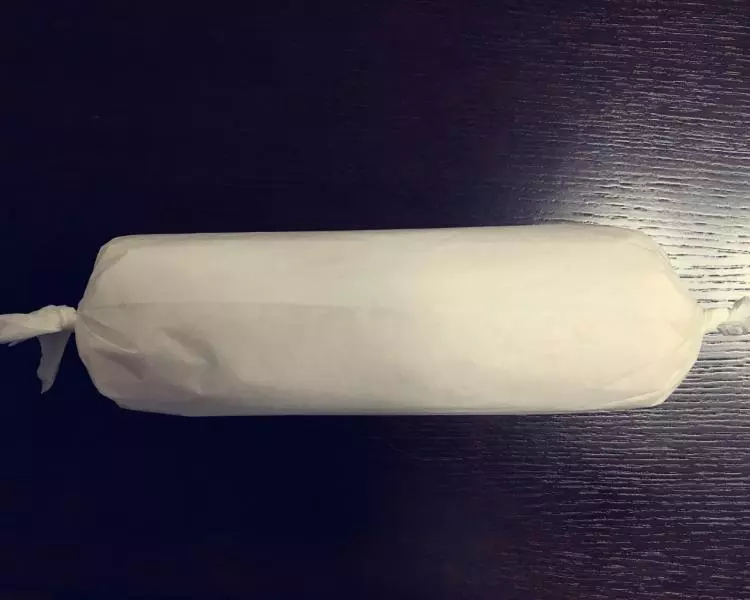
15借助擀面杖将蛋糕卷卷号,用油纸包好,像一颗大糖果,放入冰箱冷藏定型。
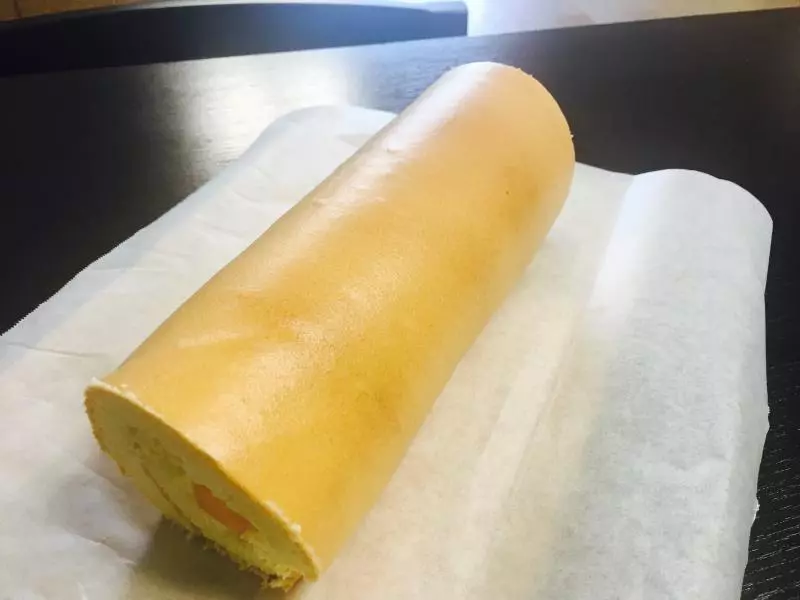
16当当当~~~冷藏后打开,切掉两端不规整的部分。剩下的就是漂亮的卷卷了~
17切好后和家人一起分享吧?