原料
主料:: , 明虾: 25只, 熟咸蛋黄: 2个, 大蒜: 2瓣, 小米椒: 2个, 调料:: , 生抽: 1大匙, 料酒: 1大匙, 盐: 1/4匙, 糖: 1小匙, 白胡椒粉: 少许, 辅料A:: , 鸡蛋: 1个, 面粉: 适量, 辅料B:: , 山茶油: 适量, 咖喱酱: 2大匙, 葱: 少许
步骤
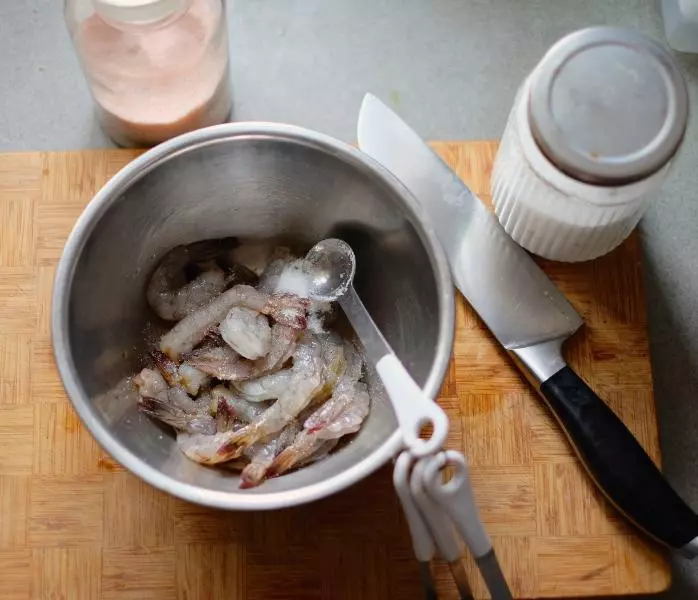
1明虾剥壳,开背去沙线。
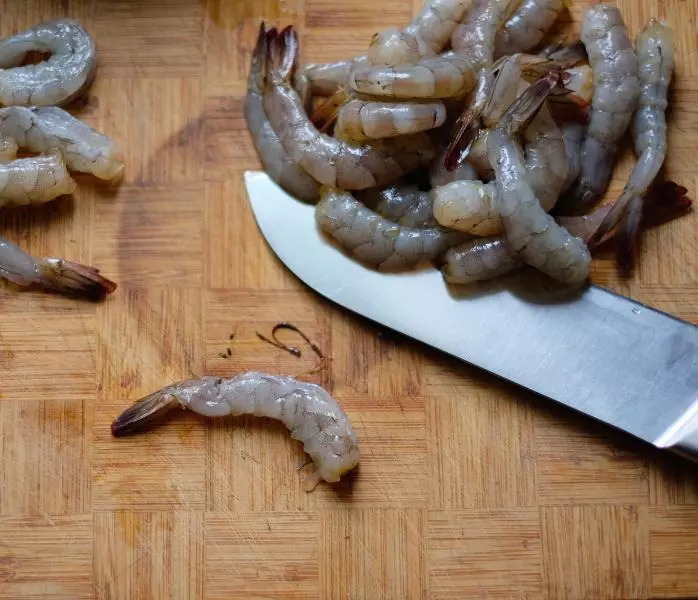
2洗净后用厨房纸吸去多余水分,加入调味料拌匀,冷藏腌制15分钟以上。
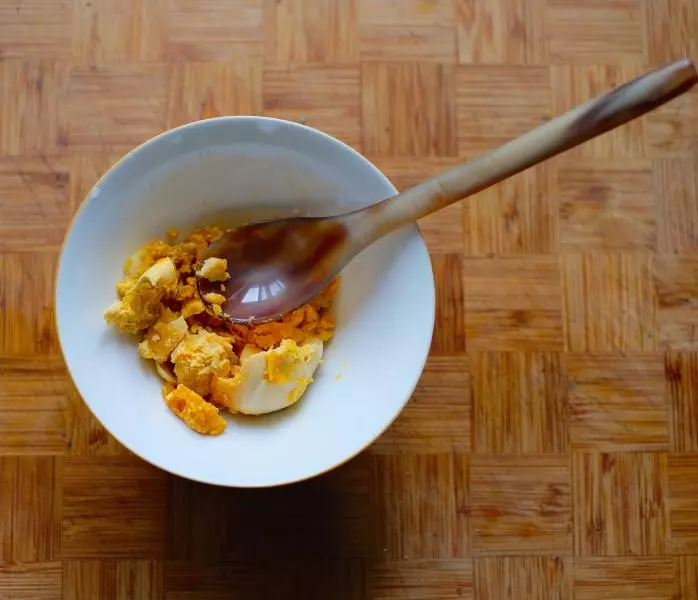
3咸蛋黄碾碎。
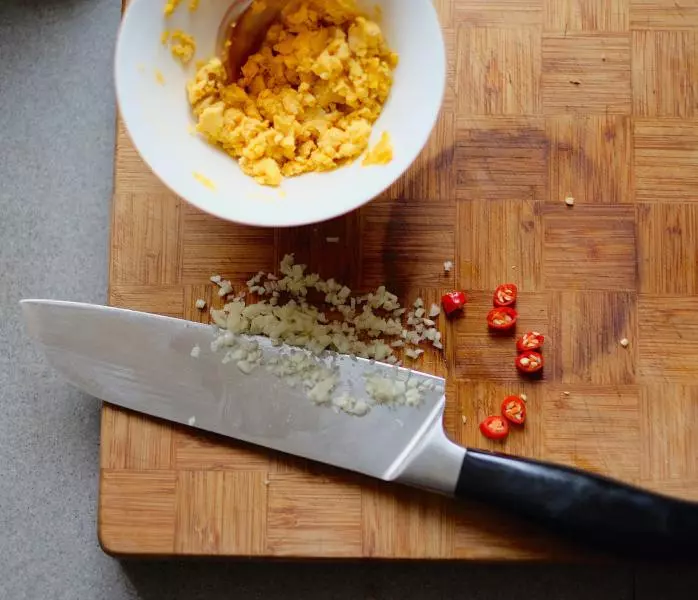
4加入切碎的大蒜碎粒和小米椒混合。
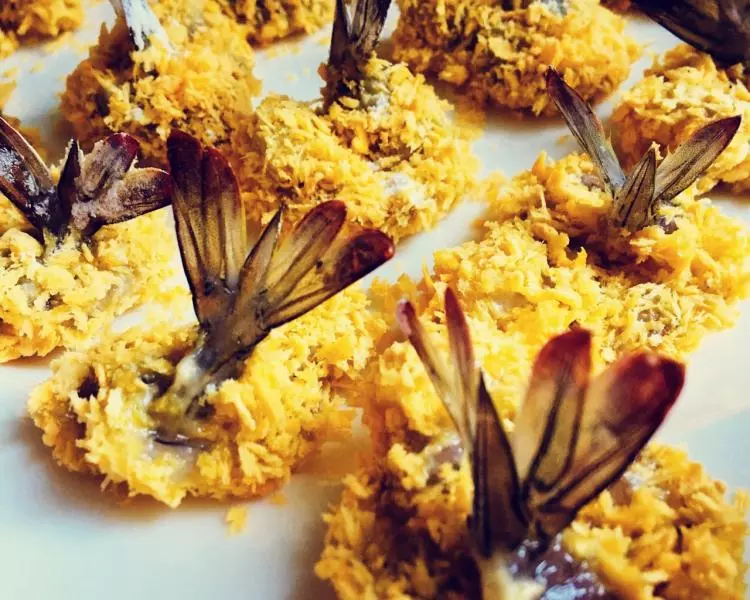
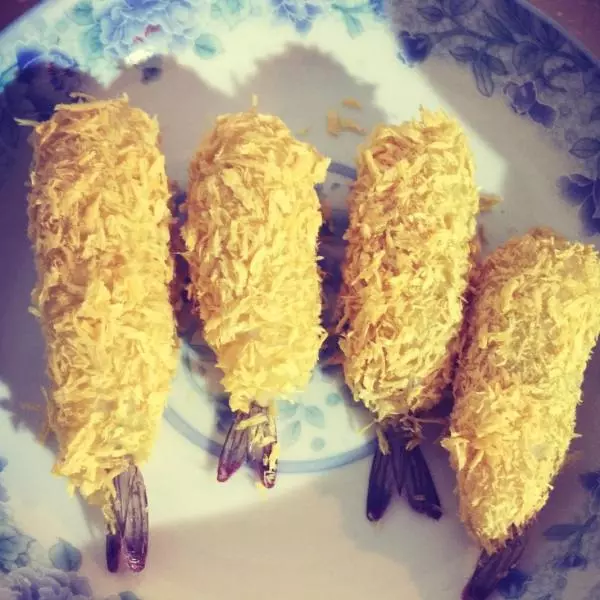
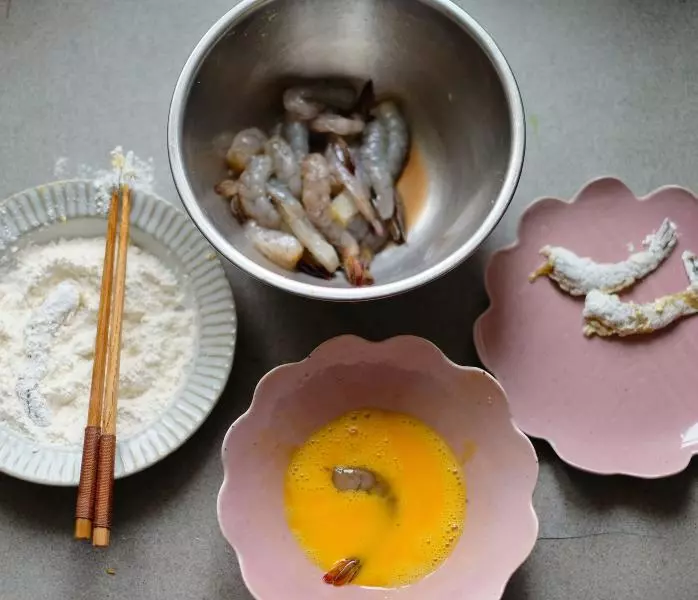
5鸡蛋打散。腌好的虾用蛋液浸泡后,外面再裹一层面粉。
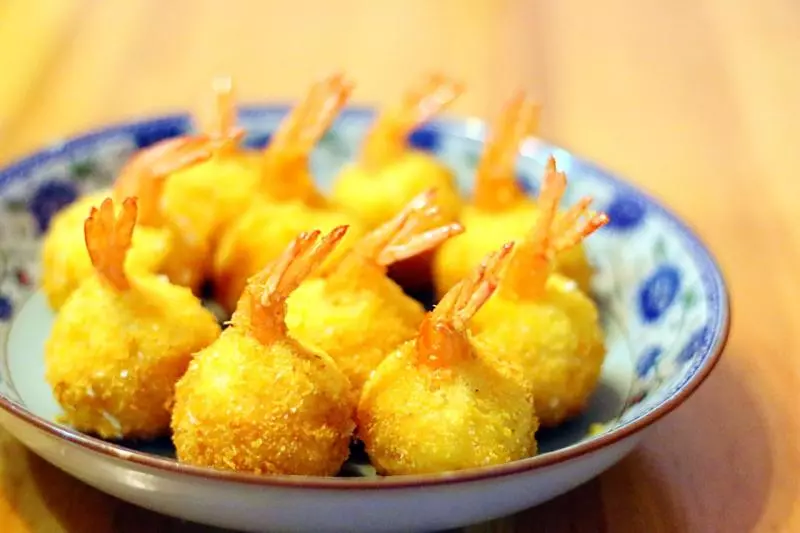
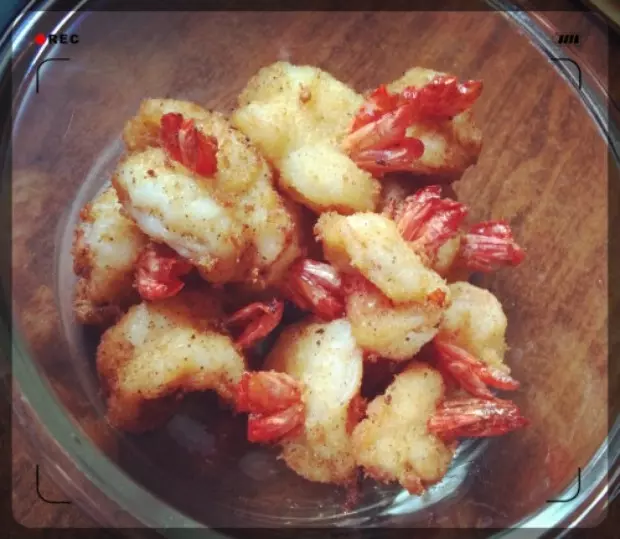
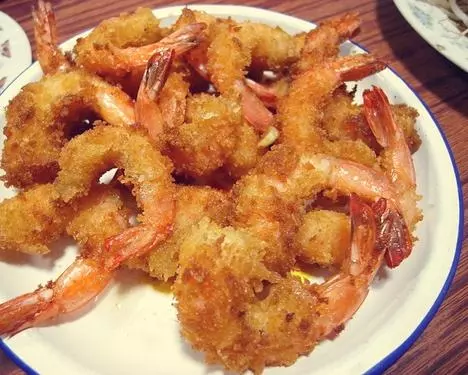
6电磁炉选用“匀火”模式,火力600瓦。待锅中的油温到达170度后,放入裹好面粉的虾油炸一下。
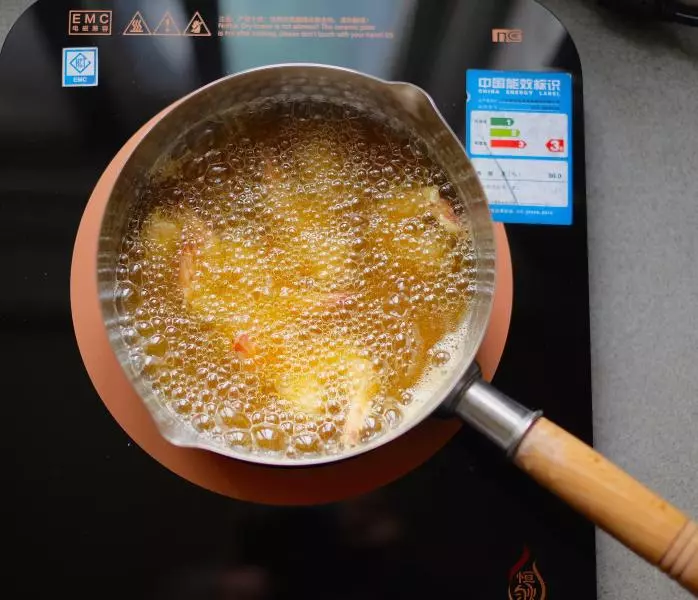
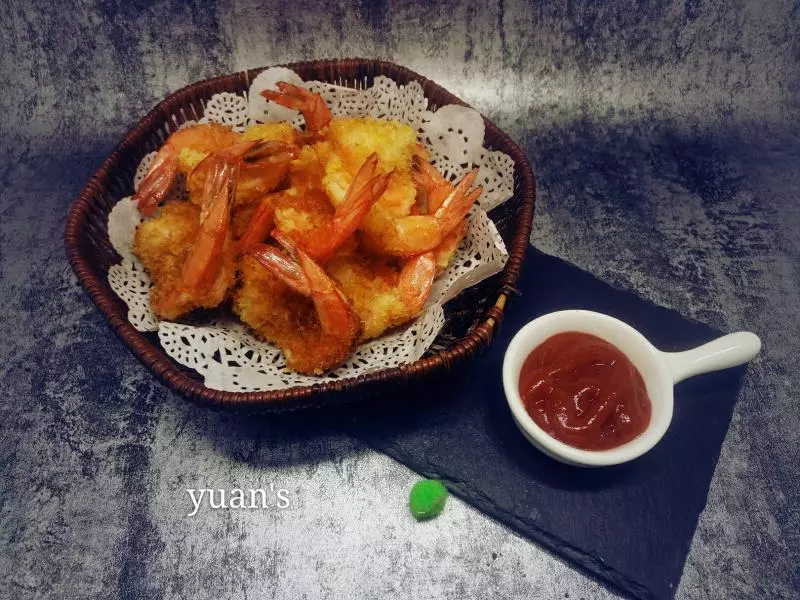
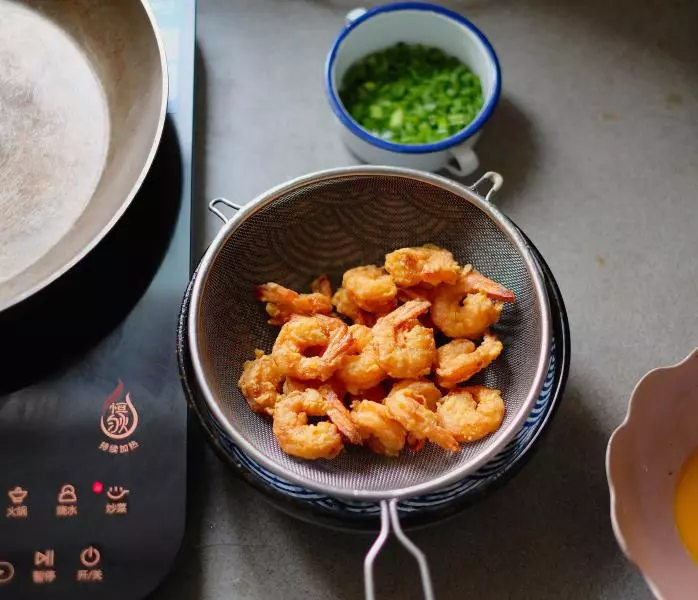
7第一次炸好的虾捞出后,再倒入油锅中炸第二次,捞出后沥去多余油分。
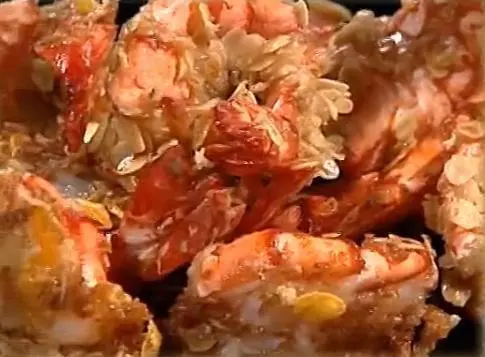
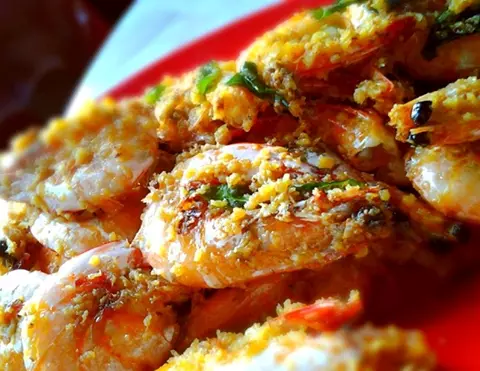
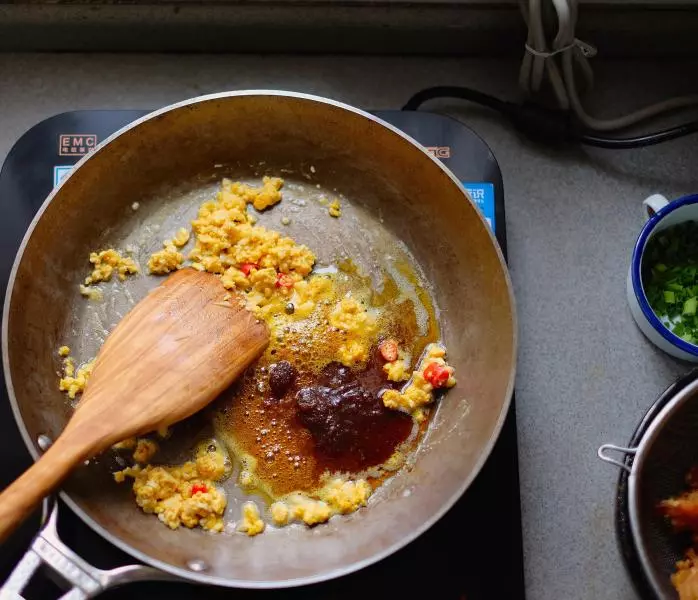
8换锅,电磁炉选“炒菜”模式,火力1600瓦,锅热后倒入油,30g左右,倒入咸蛋黄、大蒜、小米椒,炒香后再加入咖喱酱一起炒至起泡泡。
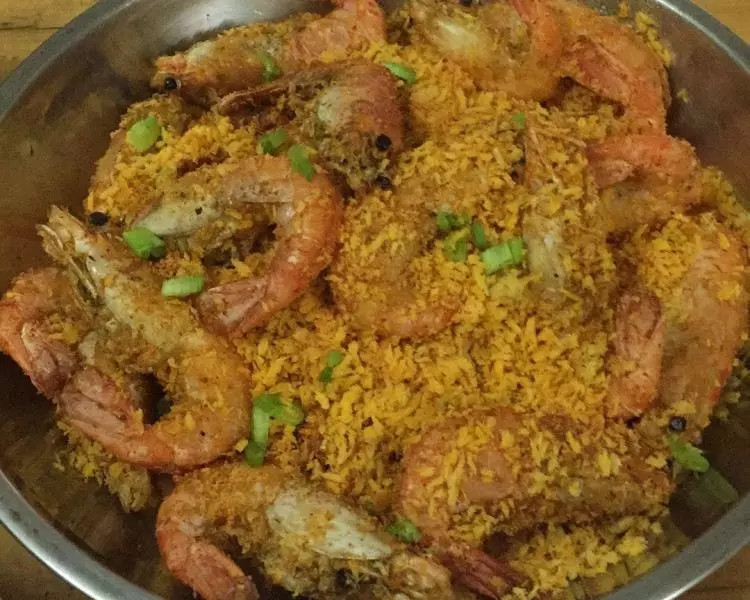
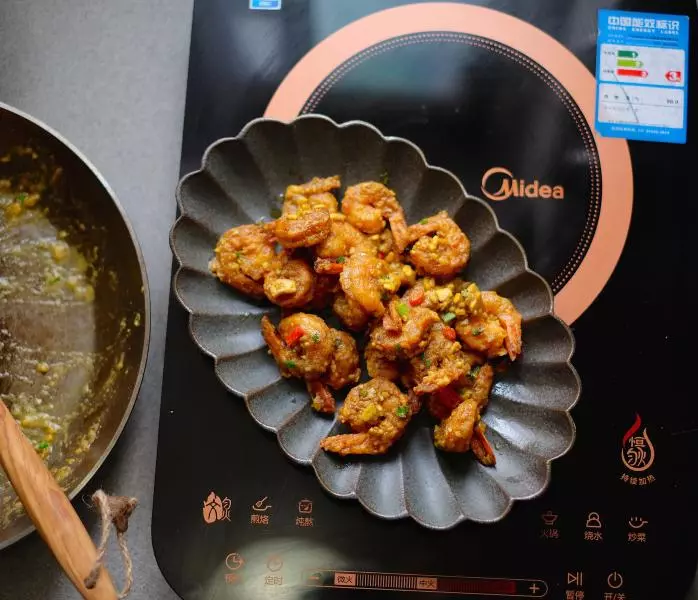
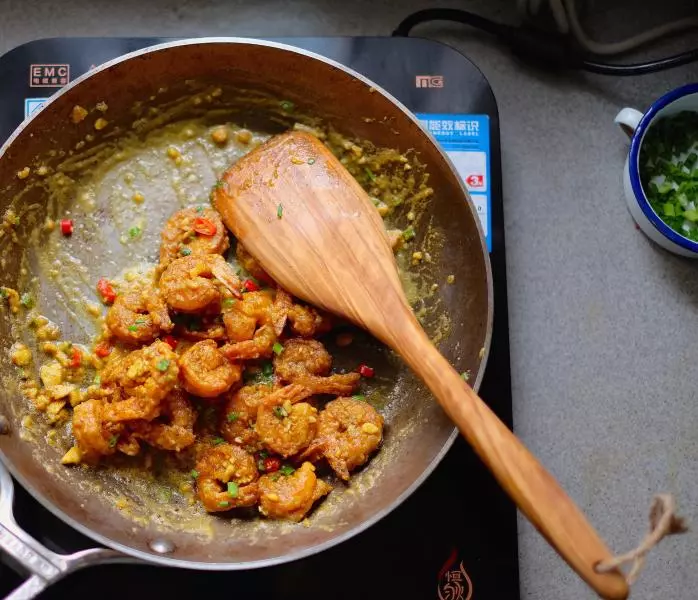
9火力调成1200瓦,加入炸虾,翻炒至虾均匀挂上咸蛋黄(颠锅效果更佳),关火,撒入适量葱花即可盛盘享用。
小技巧
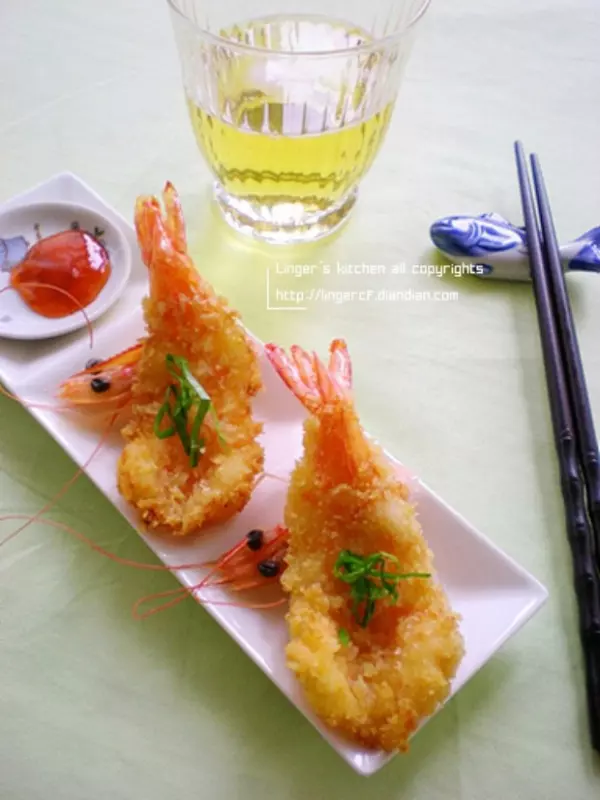
1、虾炸2遍,裹的外壳更酥脆。其实这样直接吃也很美味了。:) 2、生的咸蛋黄喷些黄酒再蒸熟,方便去除蛋腥气。 3、我用的是美的电磁炉,请按照自家的电磁炉模式适当调整做法。