简介
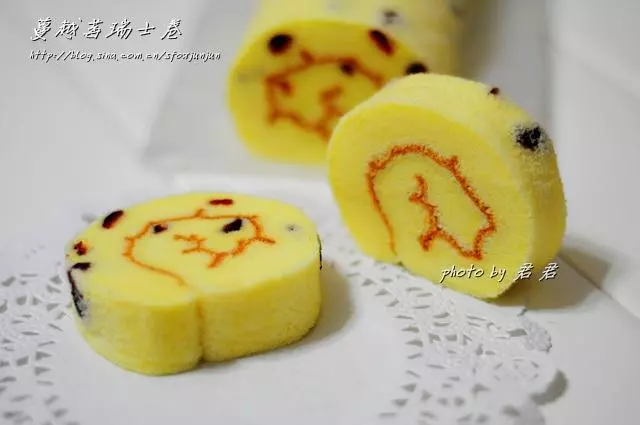
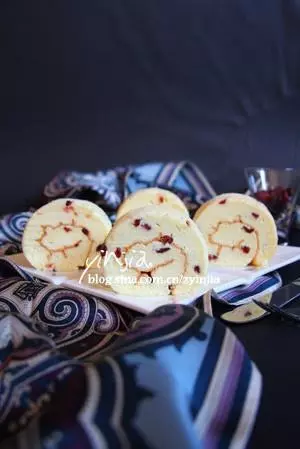
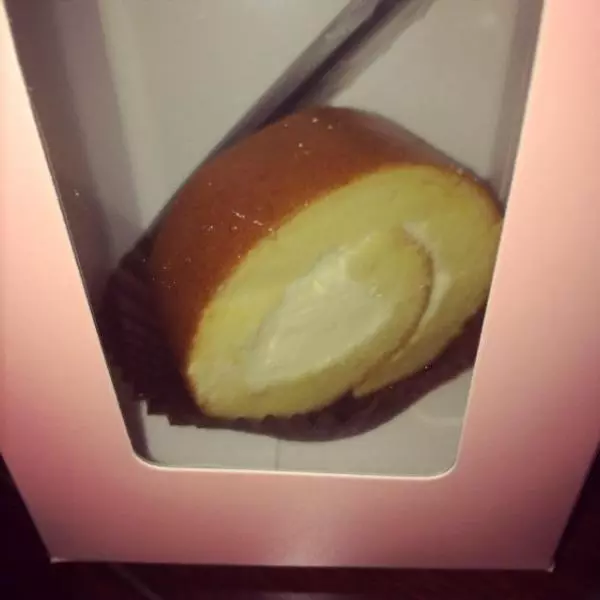
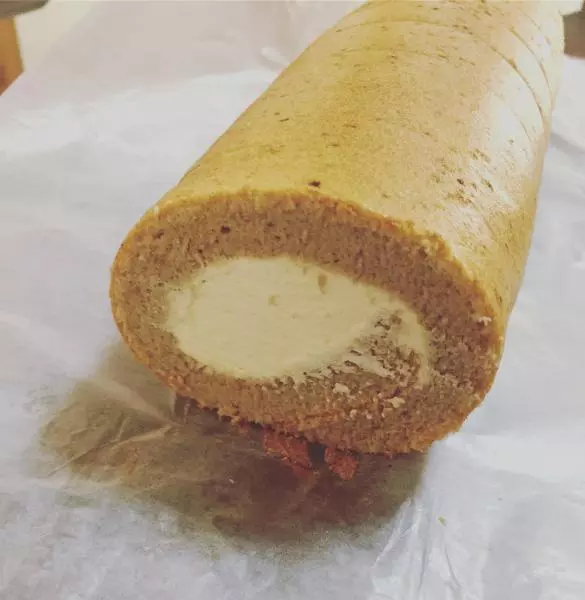
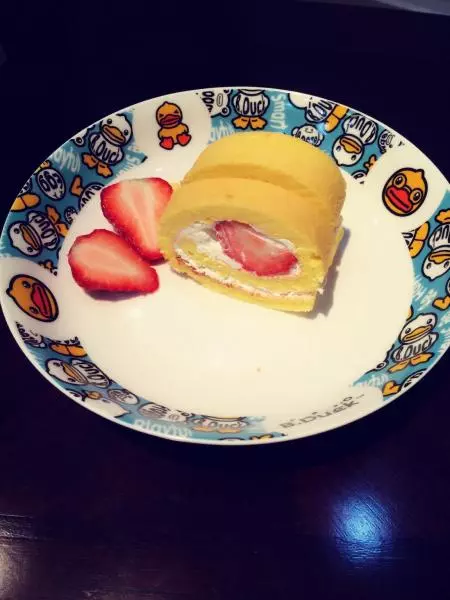
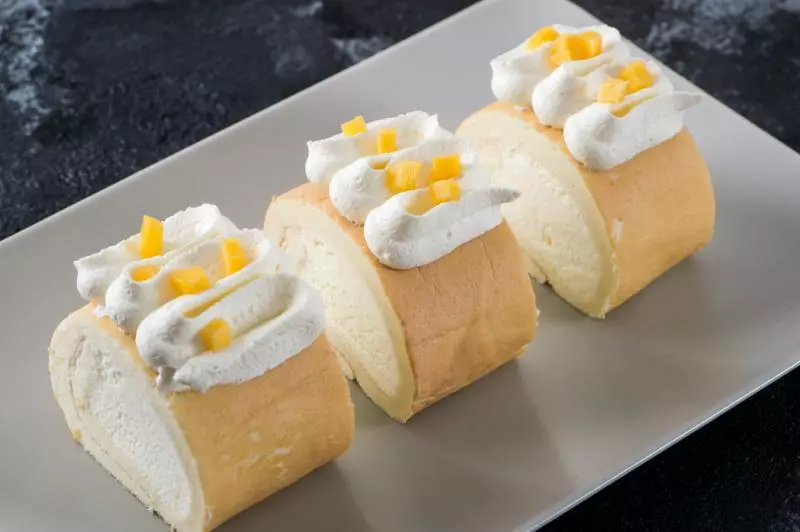
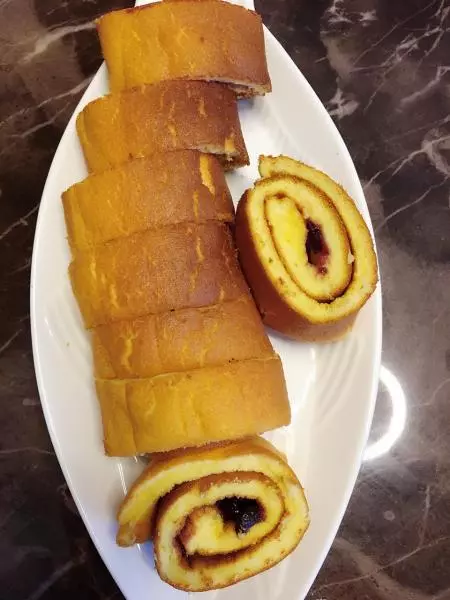
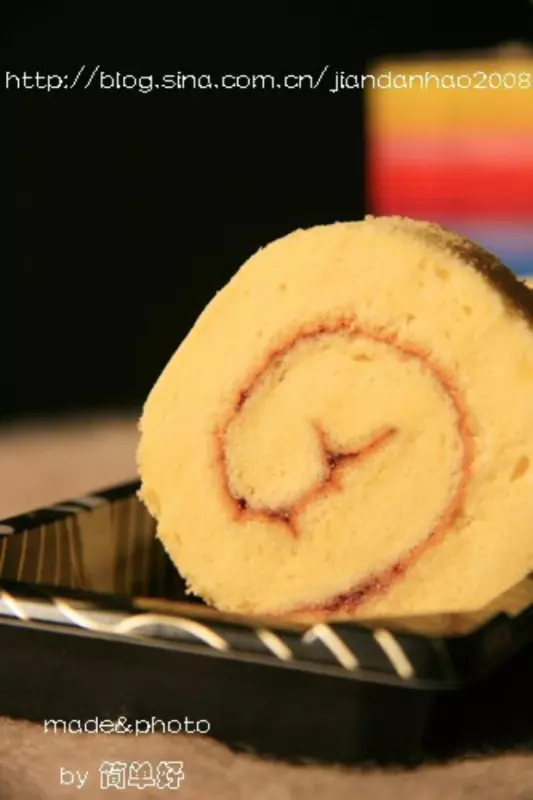
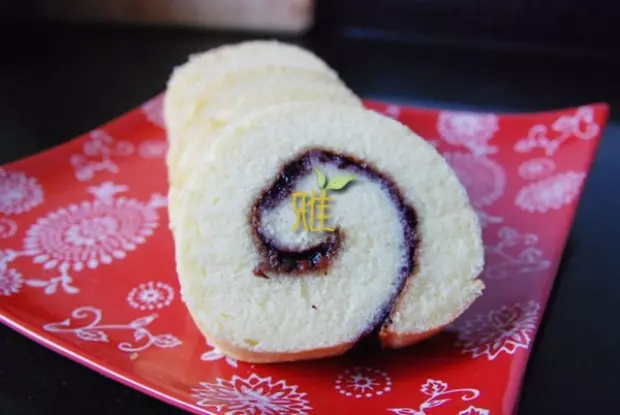
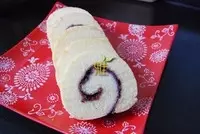
绵密细腻的瑞士卷,卷上蓝莓酱,真是搭的不得了,你也试试吧~
原料
鸡蛋 5个, 低筋面粉 90克, 糖 100克, 牛奶 80克, 玉米油 80克, 白醋或柠檬汁 2滴, 香草精 2滴
步骤
1蛋白蛋黄分离至无油无水的两个容器中~此步无图,木有任何难度~
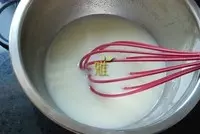
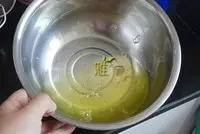
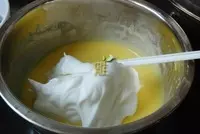
2糖40克加入全部的牛奶和油,滴入2滴香草精(没有可以不放)用手动蛋抽搅打至完全乳化,呈细腻的乳白色液体

3筛入低粉,用蛋抽画十字拌匀。
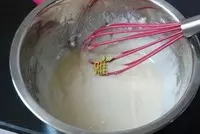
4将蛋黄分2次加入并继续画十字拌匀
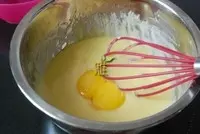
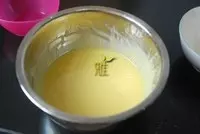
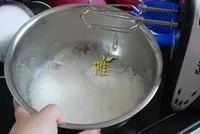
5打好的蛋黄糊细腻有光泽,覆盖保鲜膜一旁备用
6蛋白加入白醋或柠檬汁2滴
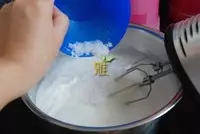
7用打蛋器打至鱼眼粗泡时加入剩余糖的二分之一
8转至高速搅打至细腻时加入剩下的糖继续打发
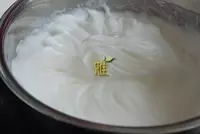
9打至湿性发泡即可
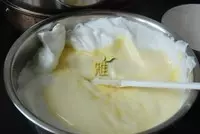
10三分之一的蛋白加入蛋黄糊内,翻拌均匀
11拌好的蛋黄糊倒回剩余的蛋白中,翻版均匀
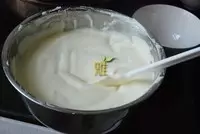
12拌好的蛋糊状态稳定,没有大气泡浮出。
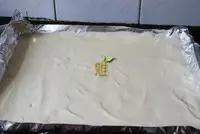
13倒入垫了锡纸的烤盘中,在台面上震两下,将大气泡震出
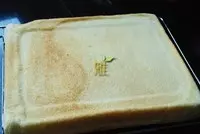
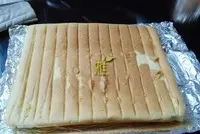
14烤箱175°预热,中层,25分钟,出炉立刻倒扣,将背面的锡纸撕掉,换上一张新的锡纸并将蛋糕翻转
15如果喜欢外卷的,表面需要多烤一会儿上色均匀后再出炉,否则皮容易粘掉
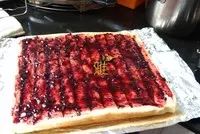
16抹上蓝莓酱
17一边卷蛋糕一边将锡纸包裹在外层,卷完正好锡纸也完全包住,两头捏紧固定十分钟。
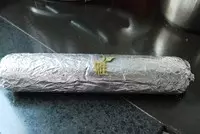
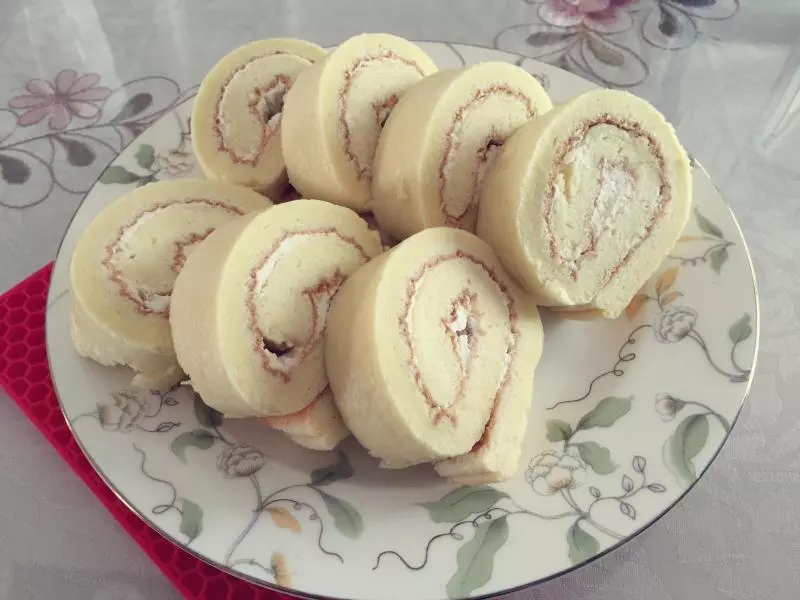
18等完全冷凉后切片,厚度自由把握。
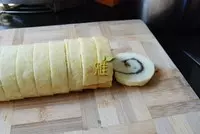
19为了方便宝宝吃我切的比较薄,其实厚一点的瑞士卷才有感觉~
小技巧
1、因为是卷果酱,所以可以热卷,如果是奶油内的馅心,请等蛋糕片冷却后再卷 2、此方出来的蛋糕片细密绵软,十分有韧性,不管冷卷热卷都不会断。值得新手尝试。