简介
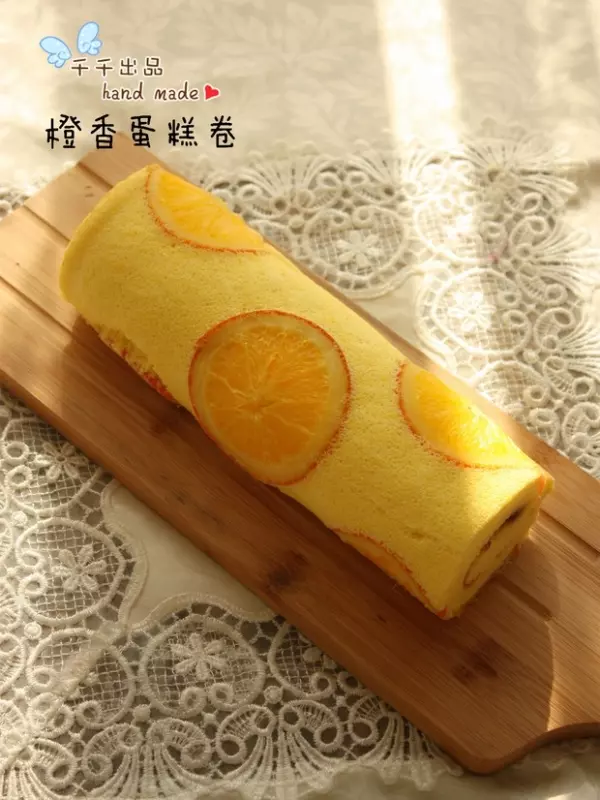
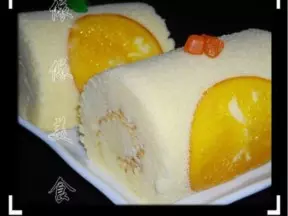
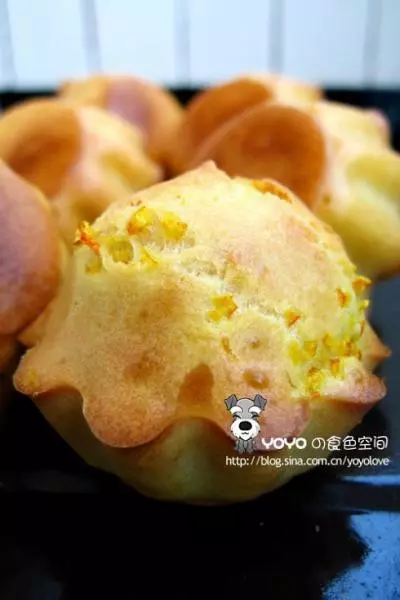
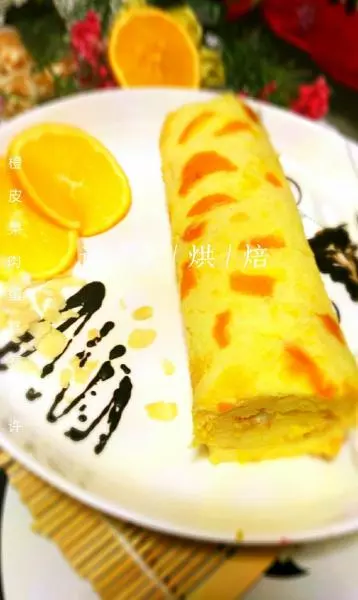
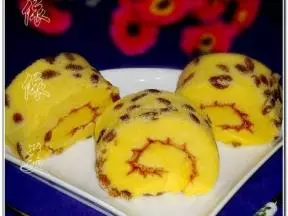
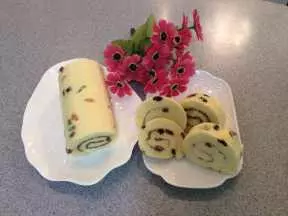
在一个风和日丽春光明媚的早晨,做了这款橙香蛋糕卷。煮橙子糖水的时候就闻到了一股浓郁的橙子香味,土鸡蛋做成的蛋糕卷颜色特别黄,再配上黄澄澄的橙片,相得益彰,诱人口水呀!中间涂抹的是自己熬的樱桃果酱,吃一口都满足感~~ 更多食谱可以关注我的新浪微博:V千千
原料
土鸡蛋 4个, 低筋面粉 80g, 白砂糖 40g, 橙子糖水 60g, 植物油 40g, 盐 1/8小勺, 柠檬汁 几滴
步骤
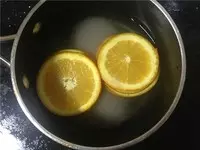
1蛋白蛋黄分离,橙子洗净切成薄片。

2把橙片放入炖锅中,加入两大勺糖(配方外),加入刚齐面的水,用小火炖10分钟。然后把橙片取出,沥干水分。
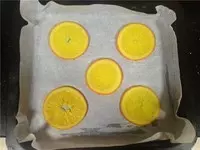
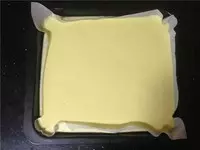
3把橙片摆放在铺好油纸的烤盘上。煮过的糖水放凉后备用。
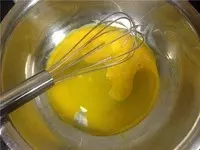
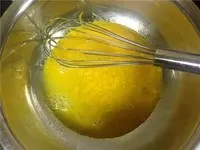
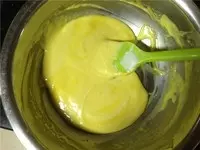
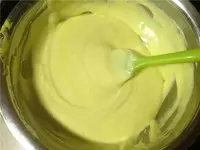
4蛋黄中加入糖水60g,搅拌均匀。
5加入植物油,搅拌均匀。
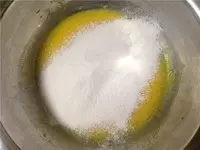
6筛入低筋面粉和盐。
7拌匀,至面粉无颗粒感即可。

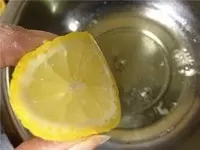
8蛋白中挤入几滴柠檬汁,没有的话也可以不加,加了会增加蛋白的稳定性。
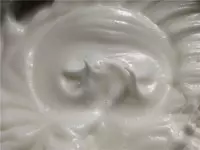
9用电动打蛋器打发至粗泡后加入白砂糖,分3次加入。
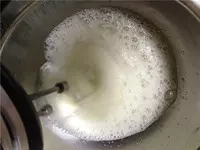
10直到蛋白打发至硬性偏湿。
11取1/3的蛋白糊到蛋黄糊中。
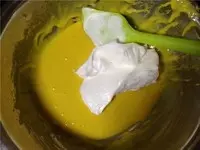
12用刮刀从下至上翻拌均匀。
13再把剩下的2/3蛋白糊倒入蛋黄糊中。
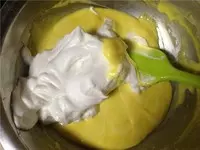
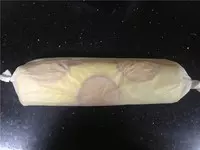
14继续翻拌均匀。
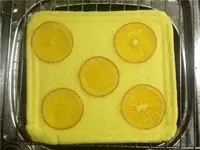
15把面糊倒入铺有橙片的烤盘里。抹平表面,轻轻震几下,震出大气泡。放入预热好的烤箱,170℃ 20-25分钟。
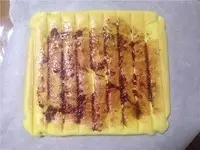
16出炉后倒扣在烤网上,撕去油纸。
17稍凉后翻转过来,涂上果酱。
18卷成蛋糕卷,固定成形,吃时再切。
小技巧
1.用土鸡蛋制作的蛋糕颜色会很黄,也会更香。 2.煮过橙子的糖水要放凉了才能用。 3.油纸要趁热撕去。 4.蛋糕卷起后要定型后才能切哦。


![[Lady Cake] 橙香奶酪蛋糕](/images/node/38/383680.webp?1638112601)