原料
鸡蛋: 3个, 牛奶: 30g, 色拉油: 30g, 低筋粉: 35g, 泡打粉: 1ml小勺, 细砂糖: 45g, 塔塔粉: 1ml小勺, 玉米淀粉: 10g, 红曲粉: 15g, 淡奶油: 150g, 糖粉: 15g
步骤
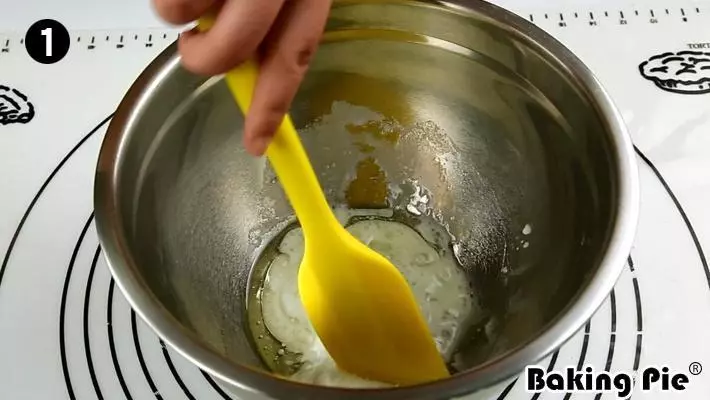
130g牛奶、30g色拉油和15g细砂糖加入打蛋盆中搅拌。
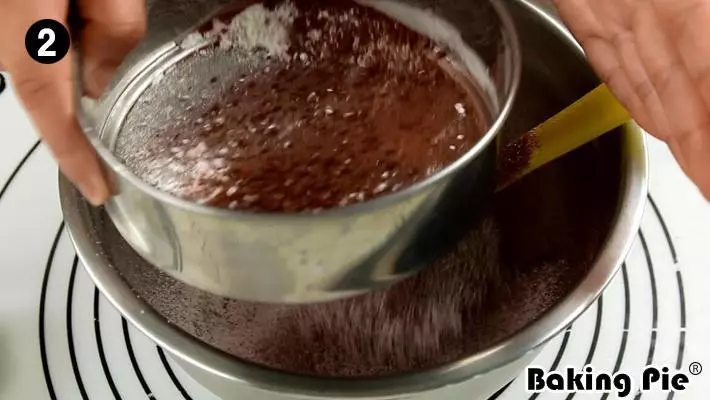
2再筛入35g低筋粉、1ml小勺泡打粉和15g红曲粉搅拌均匀
3再加入3个蛋黄筋
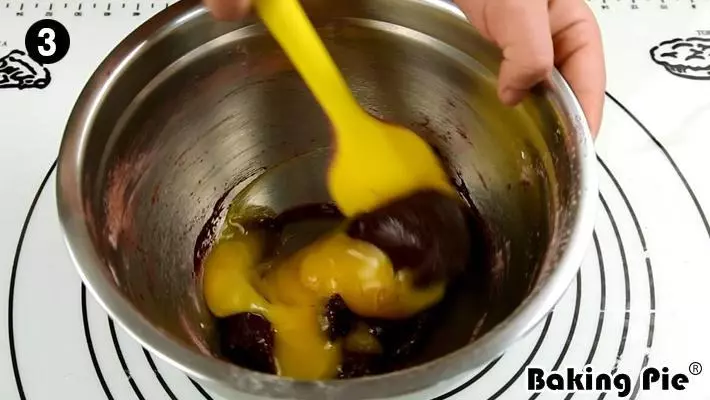
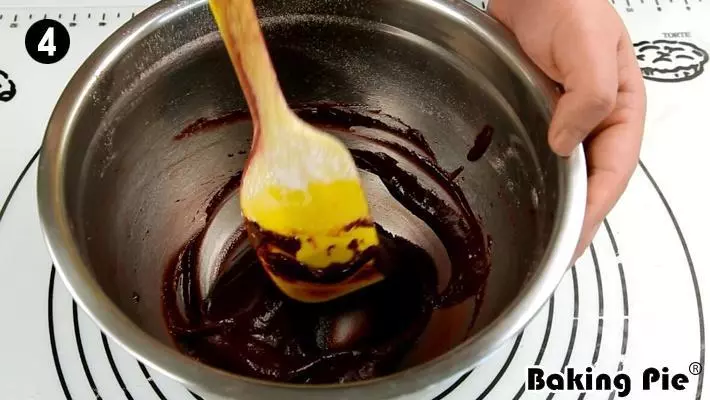
4继续搅拌均匀成为面糊(不宜过度搅拌,以免产生面)
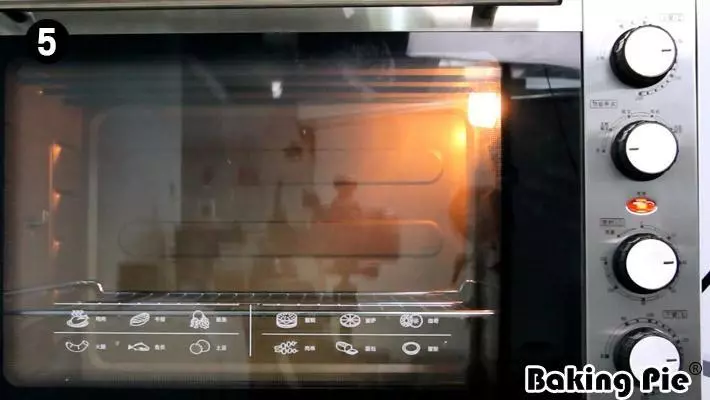
5烤箱开上下火170度预热。
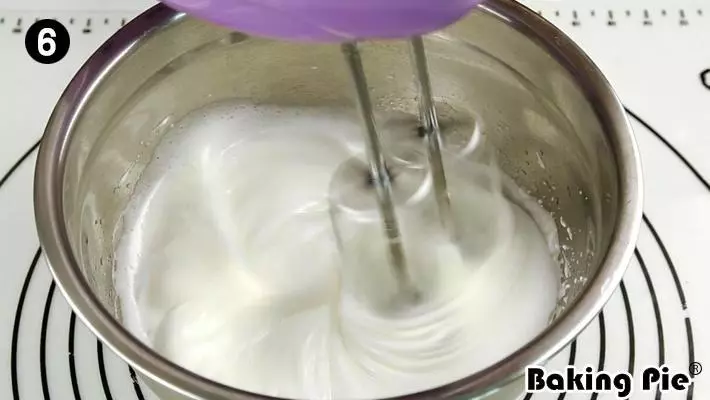
63个蛋清、1ml小勺塔塔粉和45g细砂糖到入打蛋盆中用电动打蛋器打发。
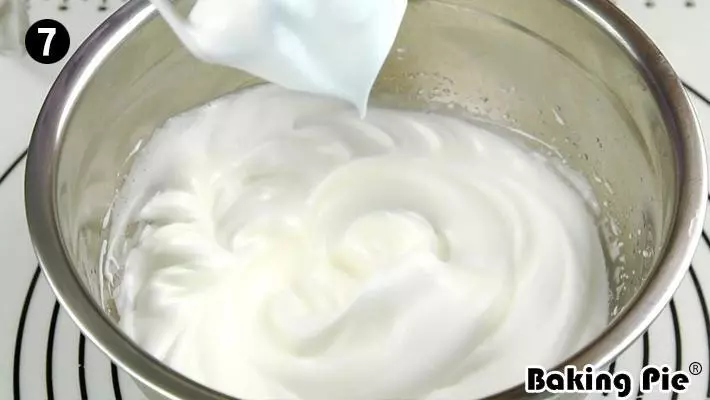
7最后的状态打蛋头提起成为小弯钩。
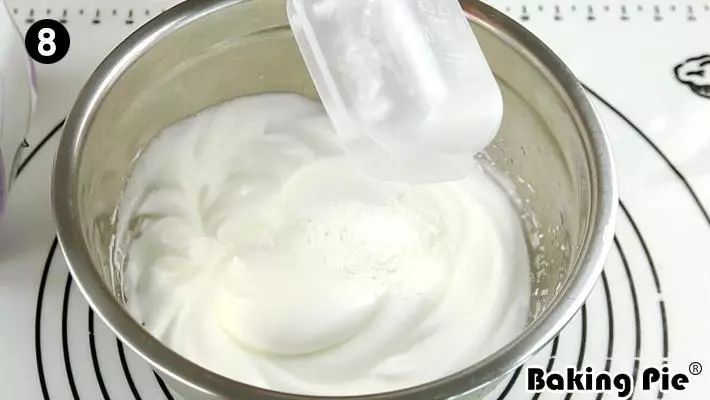
8再加入10g玉米淀粉
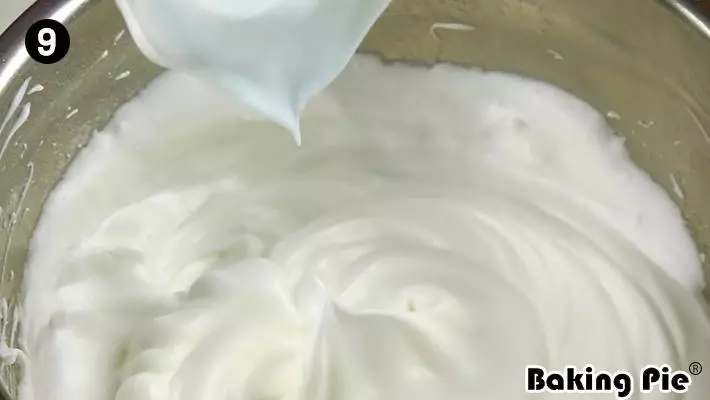
9继续打发至提起打蛋头成倒三角。
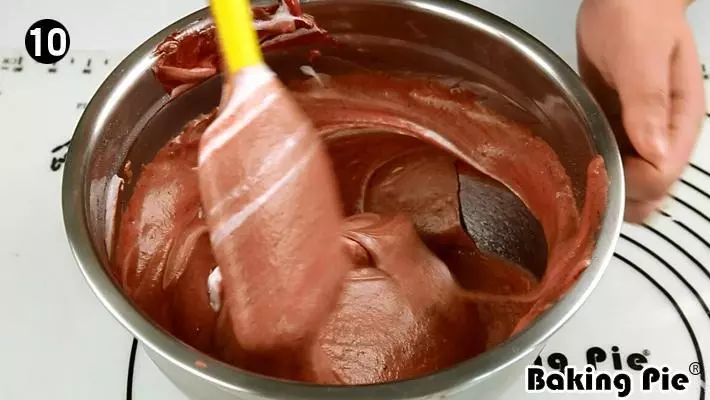
10打发好的蛋清分三次加入到面糊中用刮刀翻动搅拌均匀。
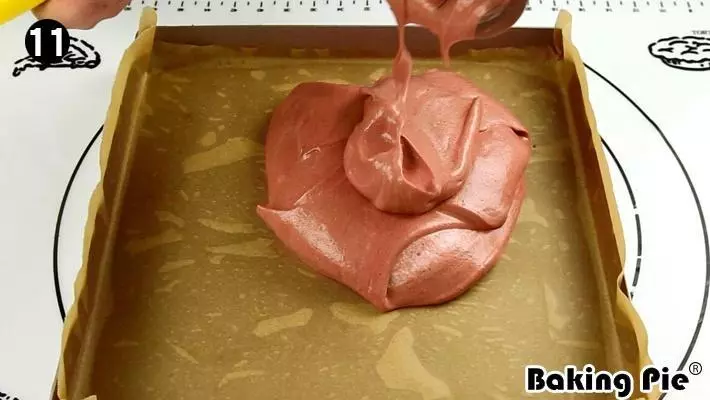
11再倒入烤盘中。
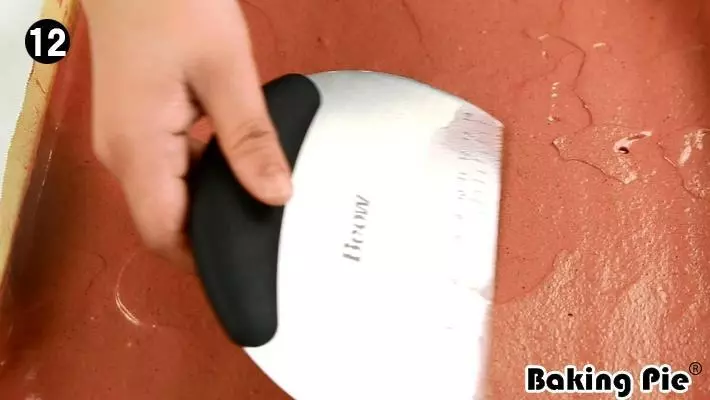
12抹平,放在桌子上震两下。
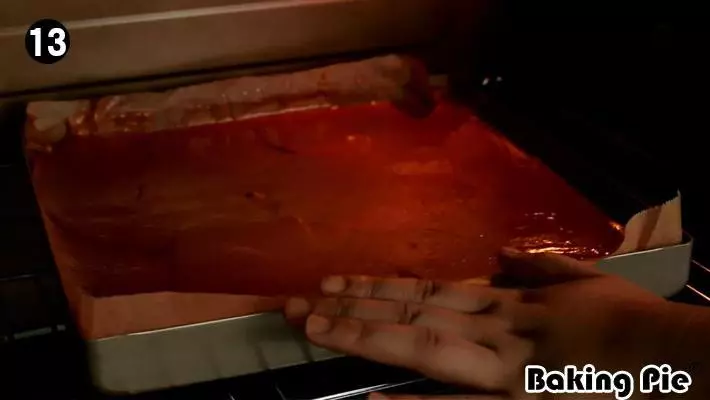
13放入预热的烤箱上下火170度烘烤15分钟,拿出放凉。
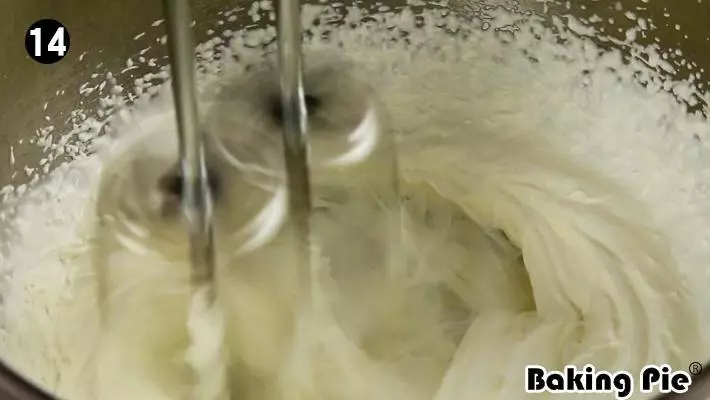
14150g淡奶油加15g糖粉打发成奶油状。
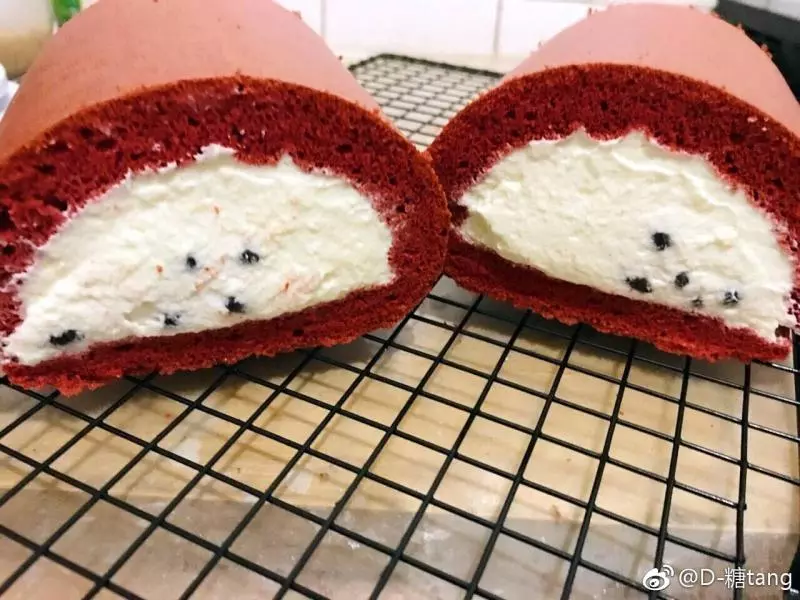
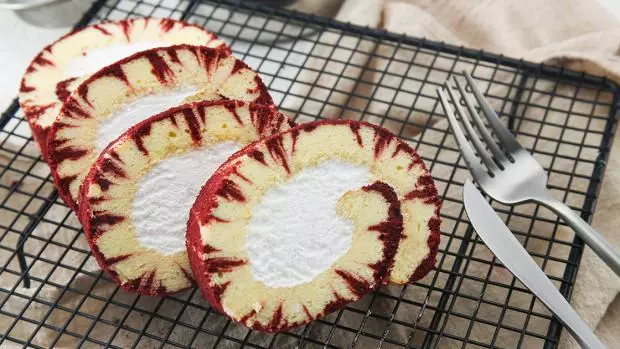
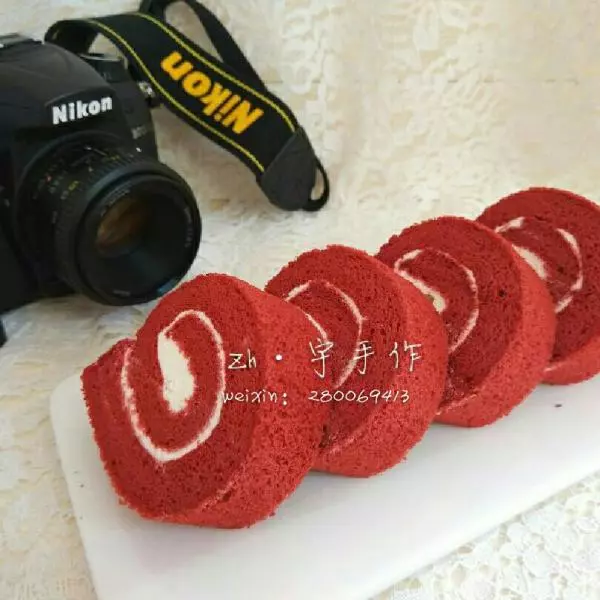
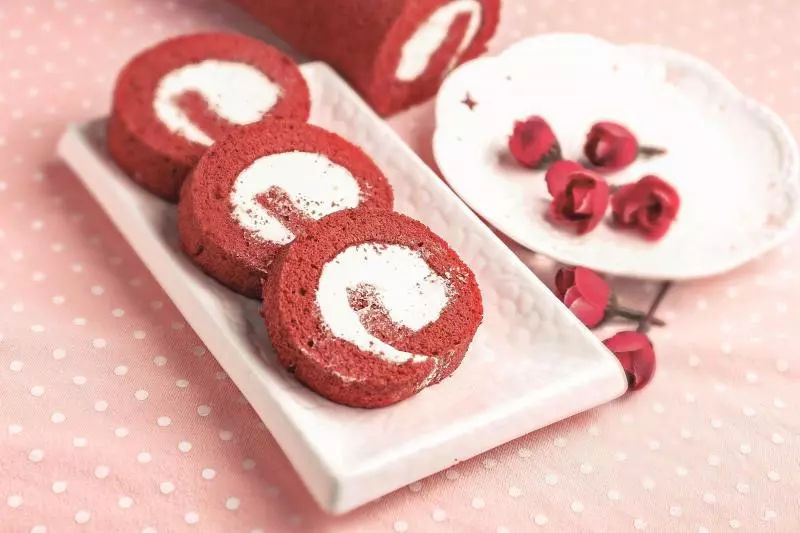
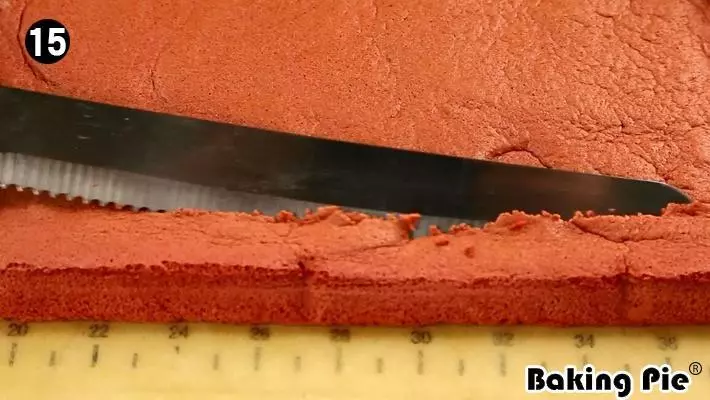
15冷却好的蛋糕正面朝上铺在油纸上,切去边角。
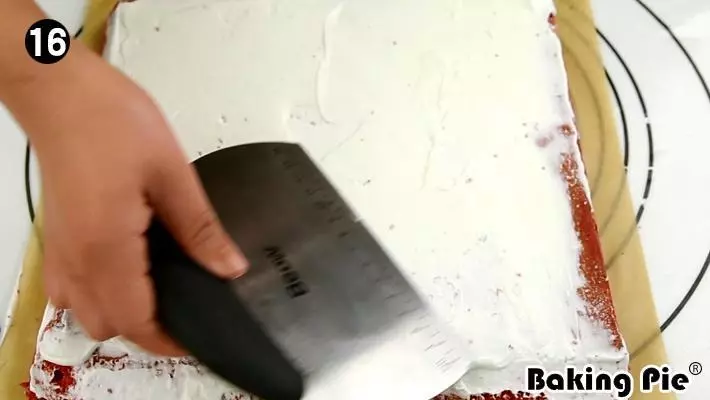
16打好的奶油抹在蛋糕上。
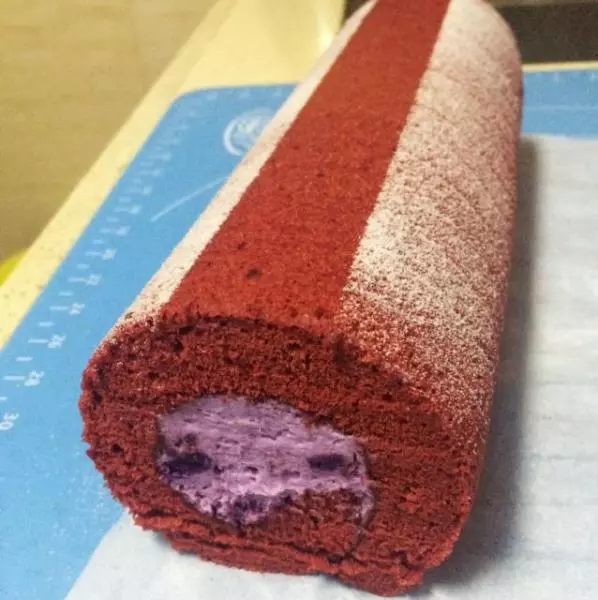
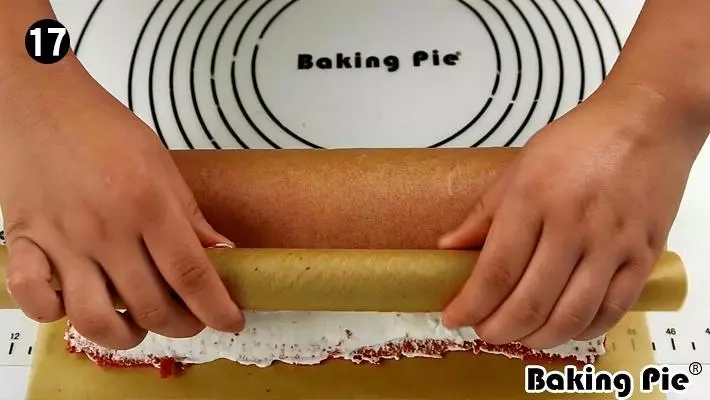
17卷起放冰箱冷,藏30分钟以上即可。
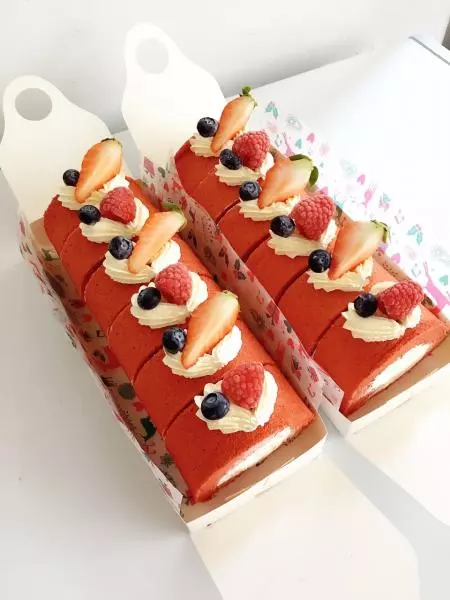
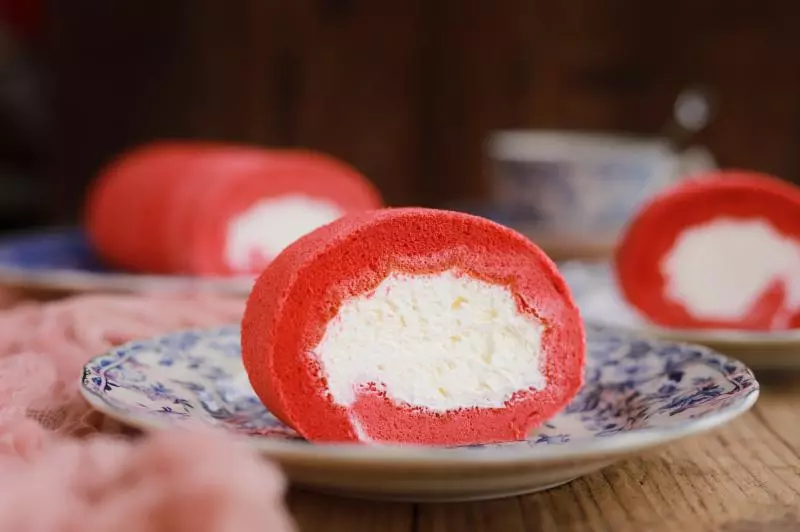
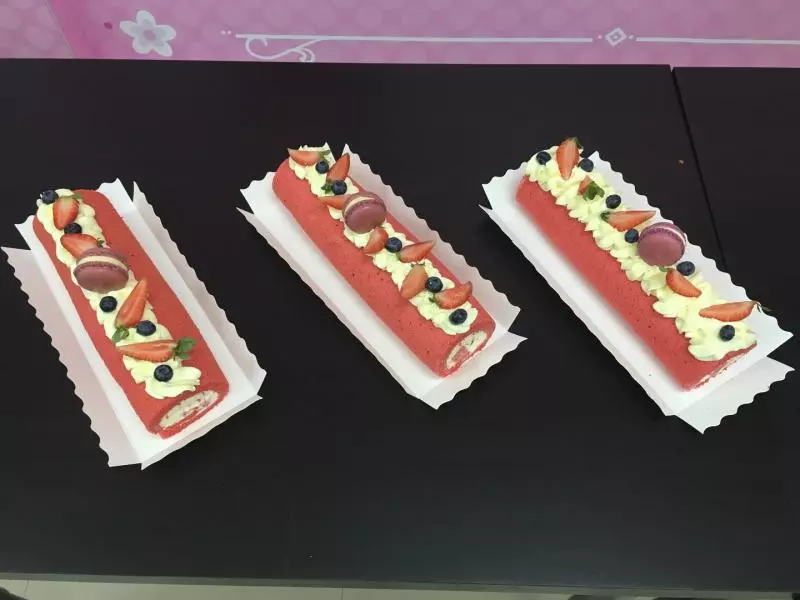
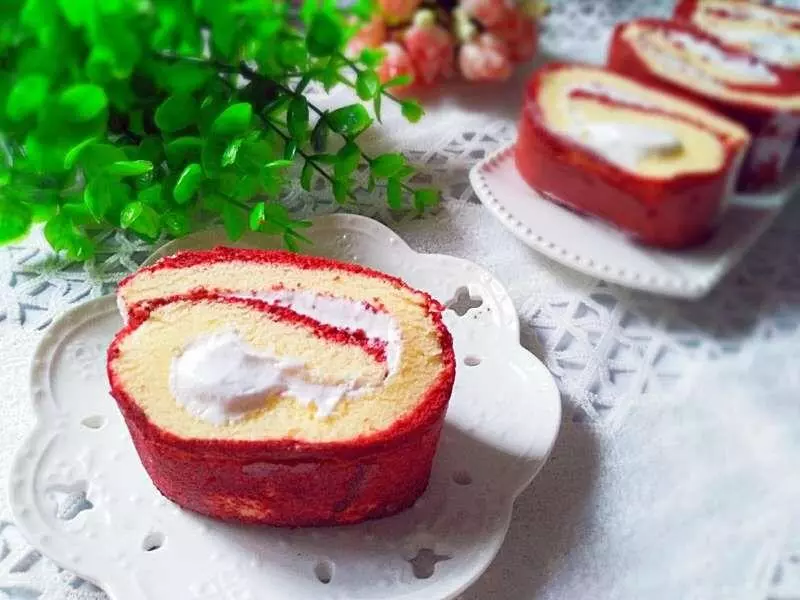
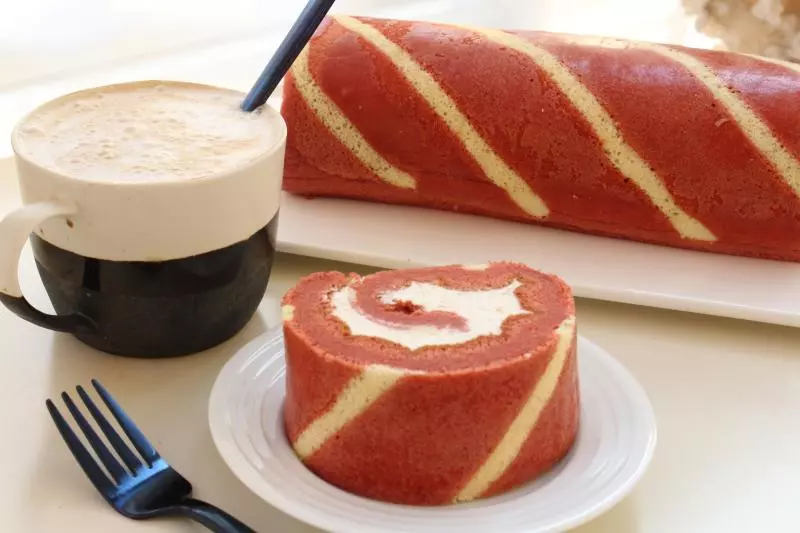
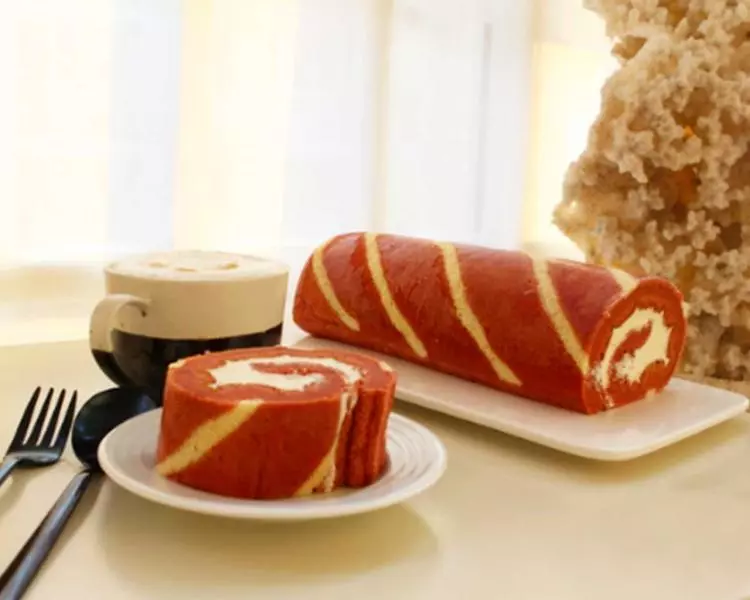
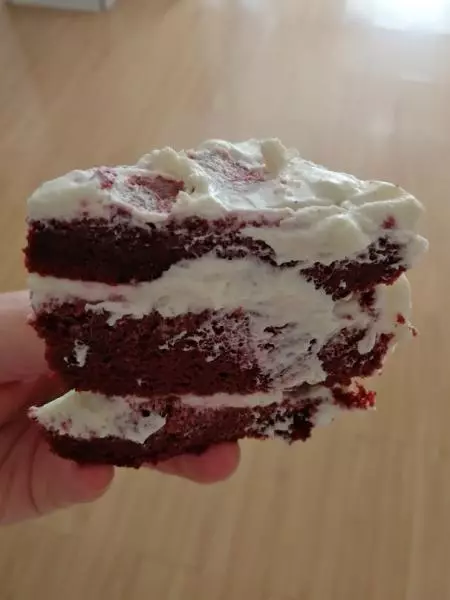
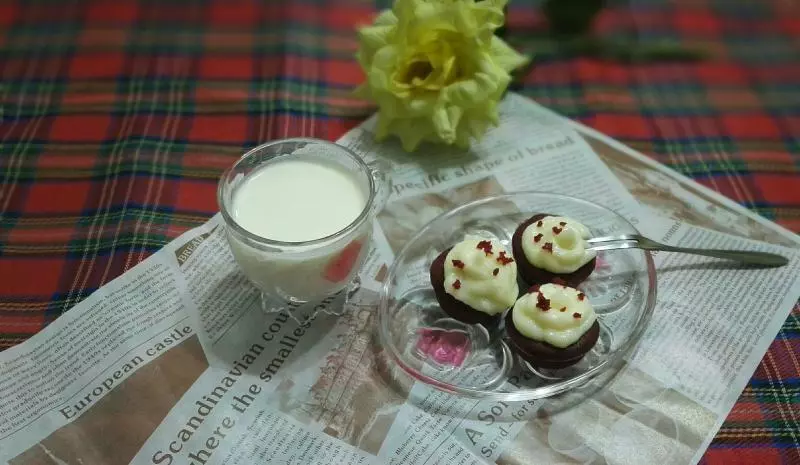
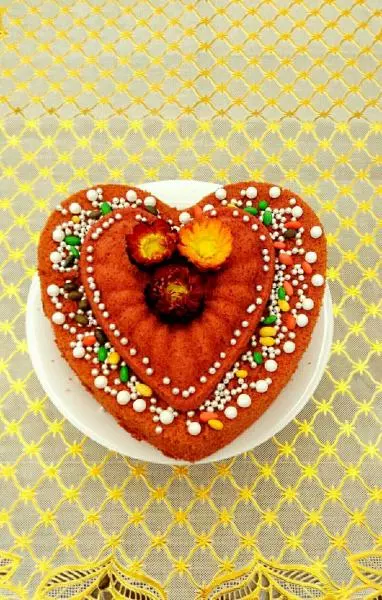
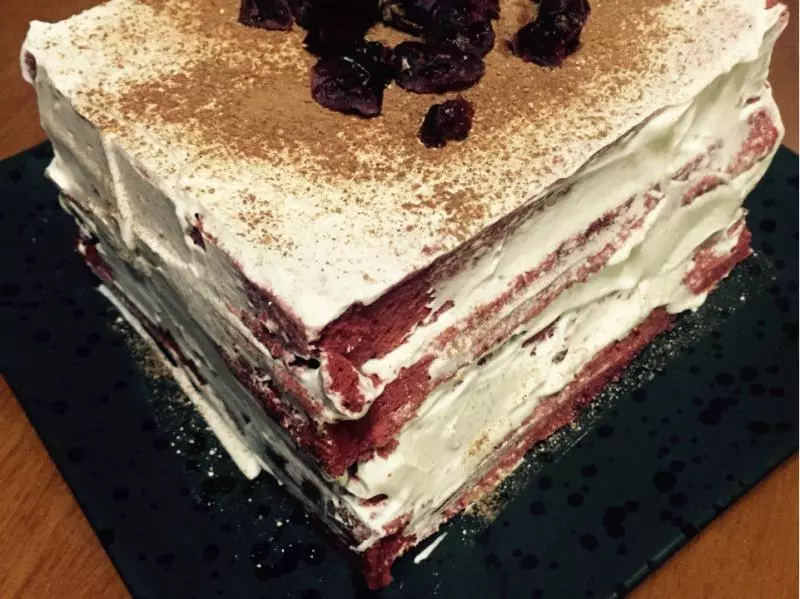
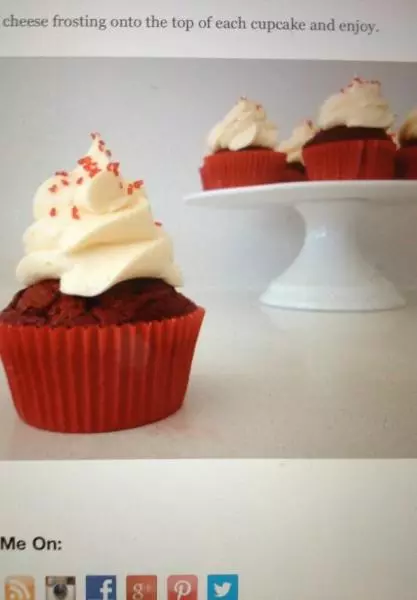
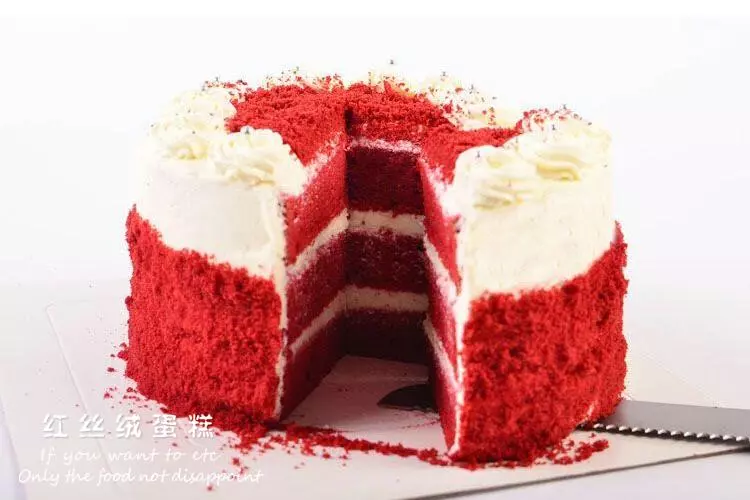
18这款红丝绒蛋糕卷,充满了蛋白奶油的香气,吃起来柔软可口,下了绵白糖,微甜的味道,真是别有一番风味。制作简单,天然。它绝对是另一种口感另一种味道的健康享受。行动吧小伙伴!