原料
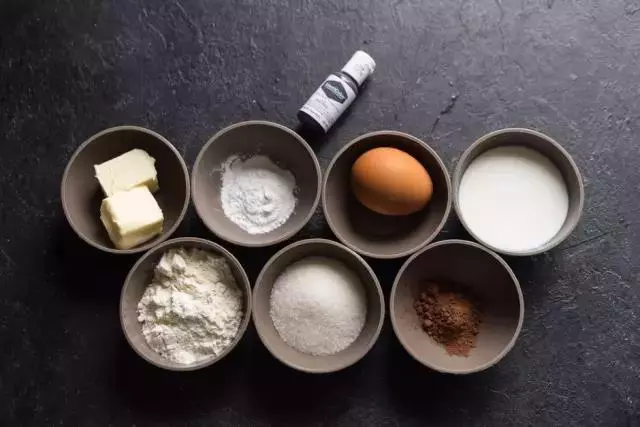
黄油: 220克, 细砂糖: 395克, 鸡蛋: 2个, 牛奶: 250克, 低粉: 365克, 泡打粉: 10克, 可可粉: 10克, 红色素: 7-8克
步骤
1准备材料
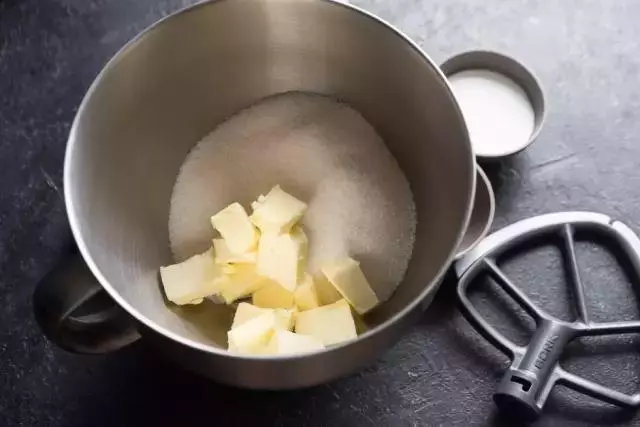
2黄油软化后(最好是室温自然软化,不要软的太过分,刚刚好变软时使用效果最佳)与砂糖放入搅拌缸中,用K桨开始搅拌。
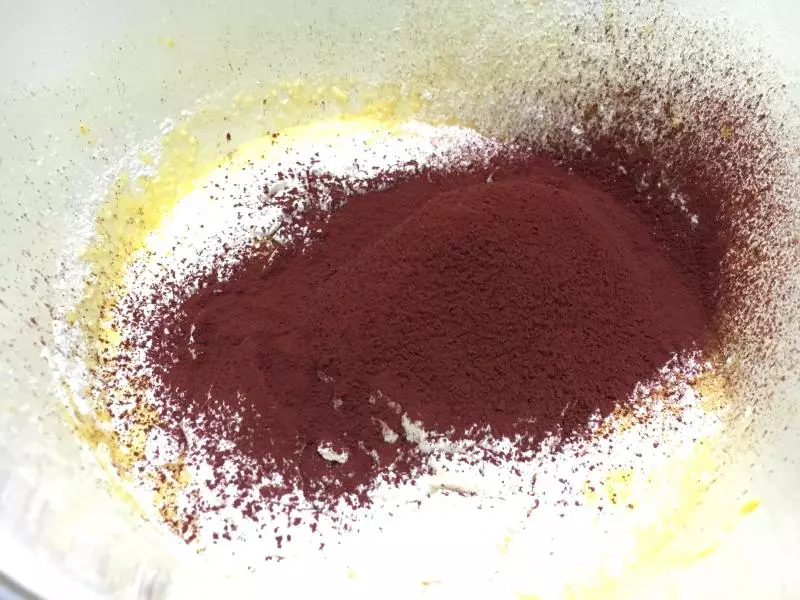
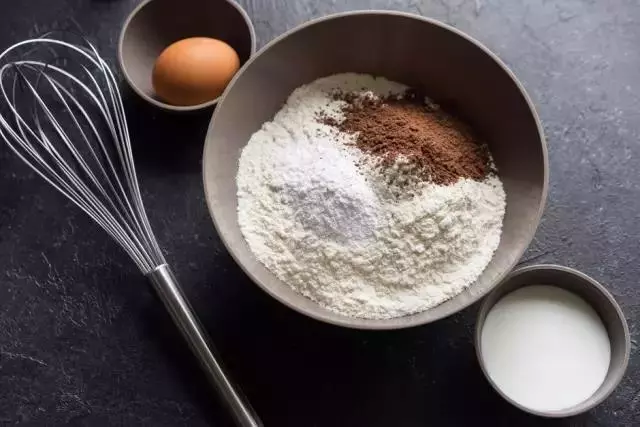
3料理盆中放入过筛的面粉、泡打粉、可可粉,用手持搅拌器搅拌均匀——尽可能越均匀越好。
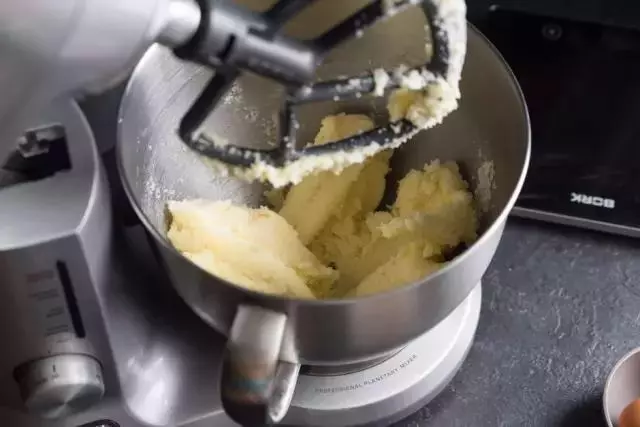
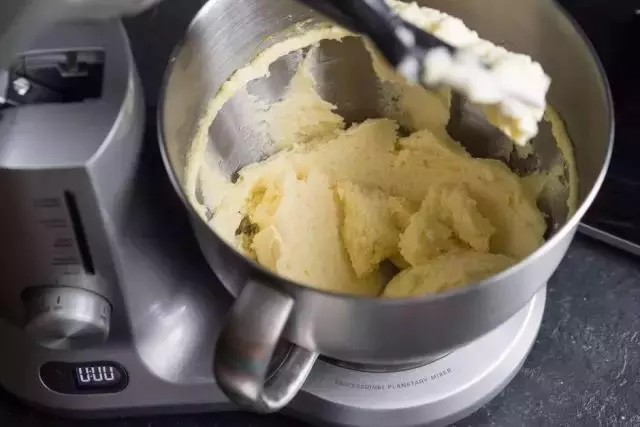
4砂糖与黄油搅拌至下图状态——看不到砂糖的存在。
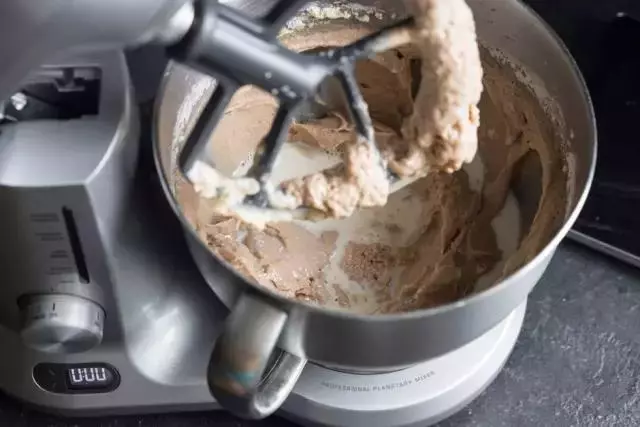
5每次加入一个鸡蛋并搅拌至彻底均质后再加入另一个鸡蛋。
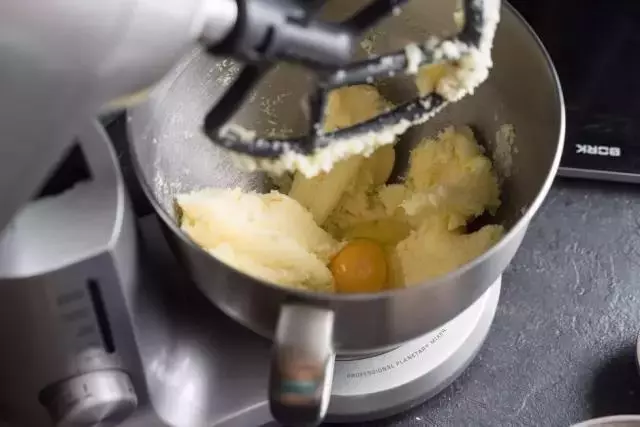
6搅拌成很均匀的面糊状态
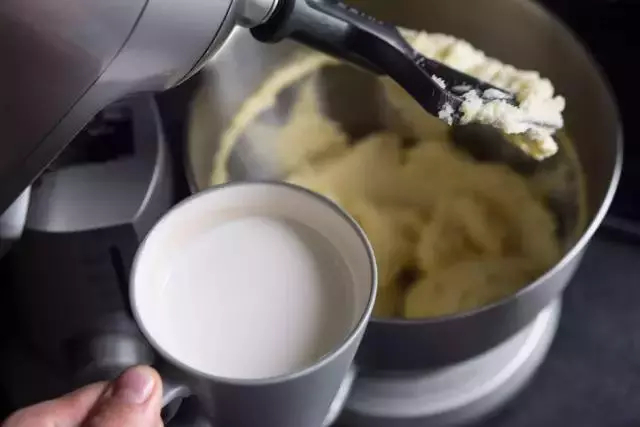
7加入一般量的牛奶(125克),此处可以根据知己的喜好使用任何牛奶或酸奶。
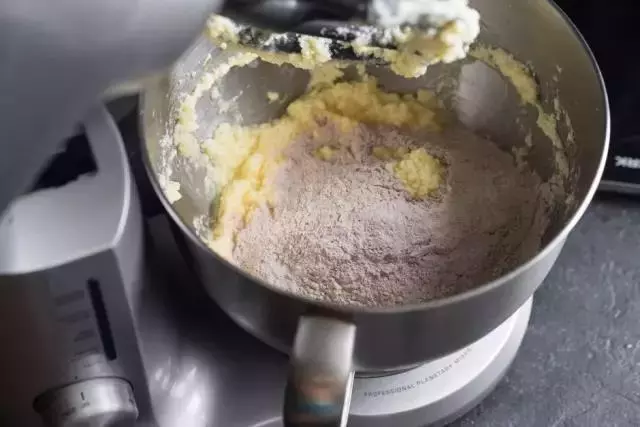
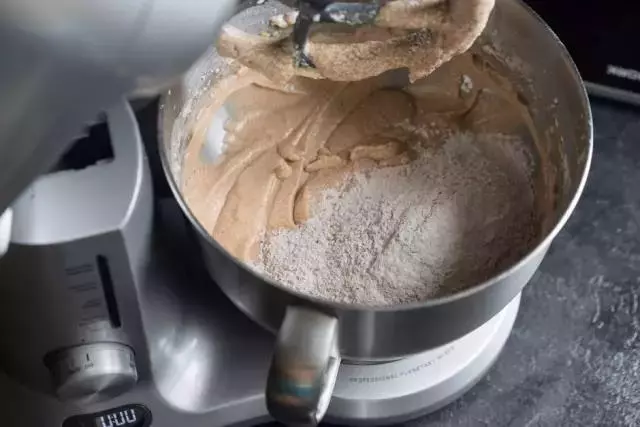
8加入“步骤2”中混合均匀的粉类的一半量,拌匀。
9再加入剩余的牛奶,搅匀
10加入剩余的粉类,搅匀
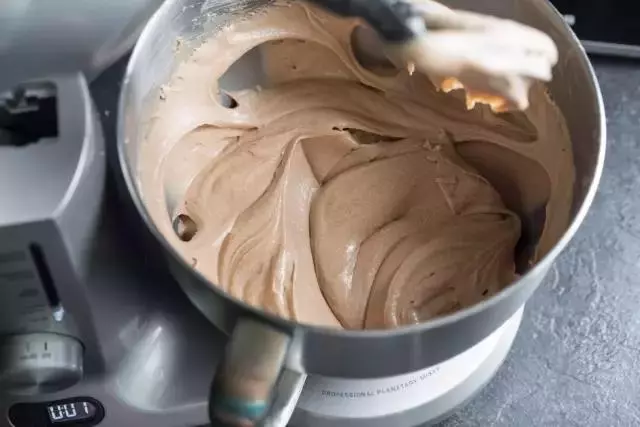
11搅拌均匀
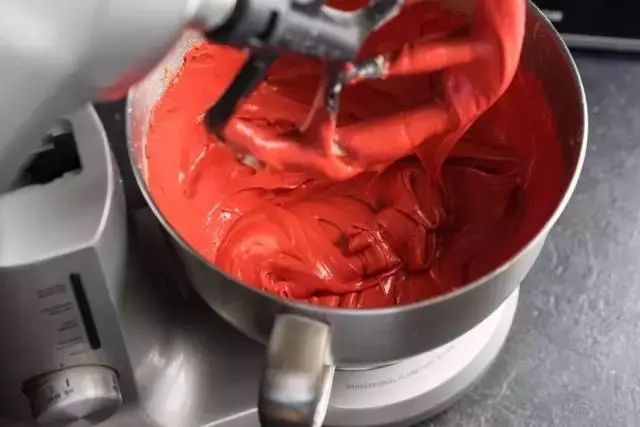
12加入红色色素,搅均
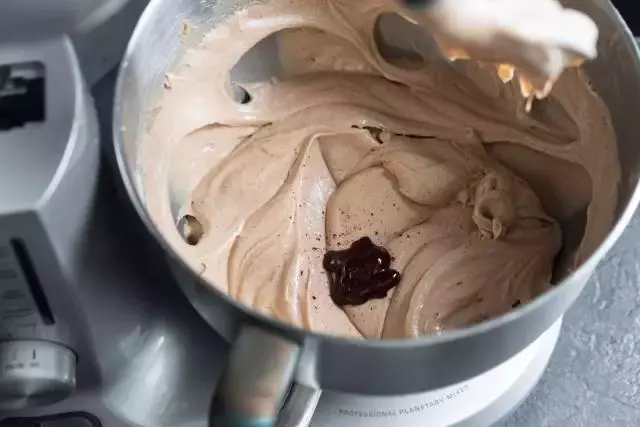
13不同的色素效果会稍有不同,记住:面糊的颜色一定要比想要的颜色重一些——烘烤后颜色会褪掉一些的。
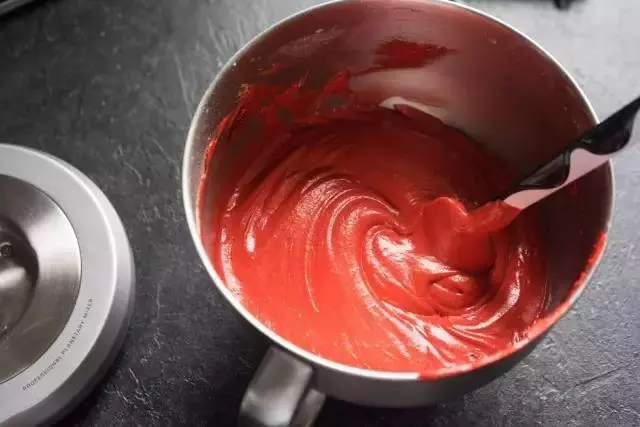
14把搅拌缸底部和内壁附着的面糊刮下,拌匀。
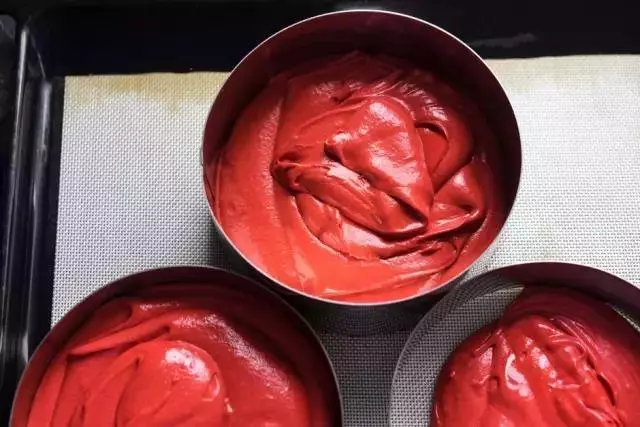
15均分在3个直径16cm的烤模中,可以是无底模具,也可以是活底模具,面糊较稠不用担心面糊在烘烤时会流出。
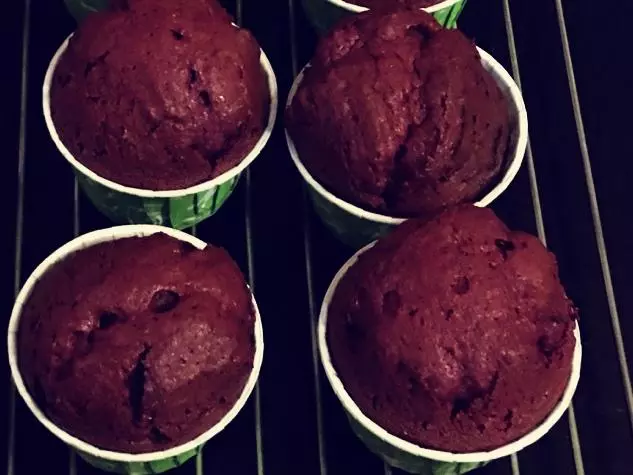
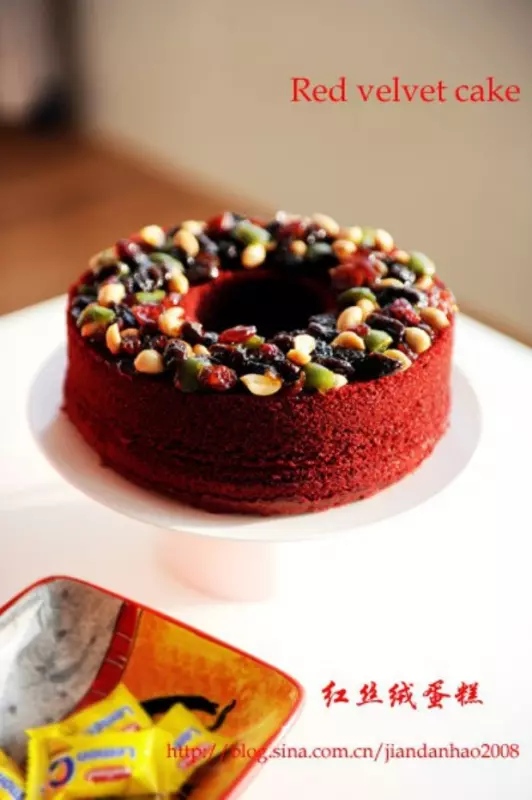
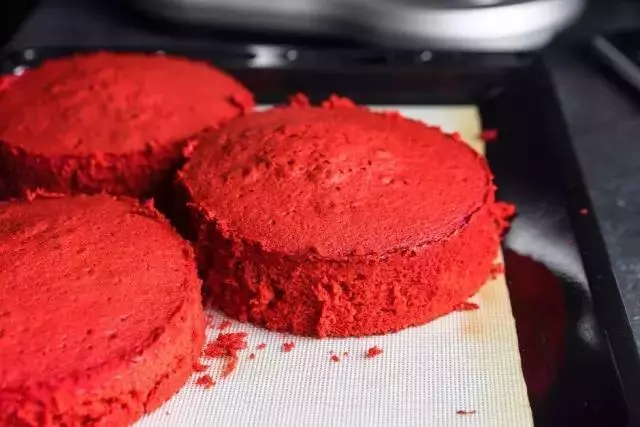
16放入提前预热的烤箱中,上火150℃/下火150℃。烘烤至手触有弹性不沾手,或用竹签插入测试。出炉后自然冷却约5分钟后,可以看到蛋糕自然从模具中收缩脱离模具。
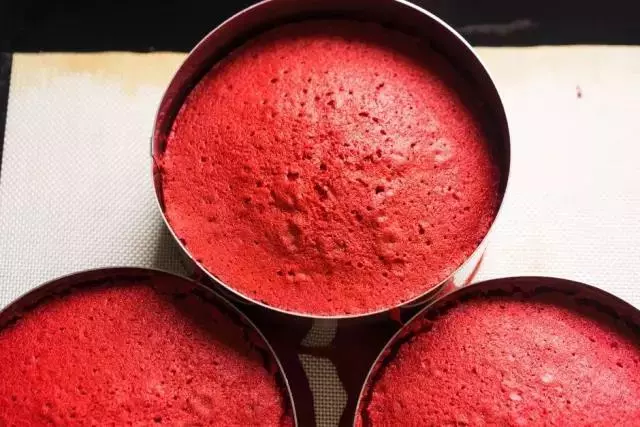
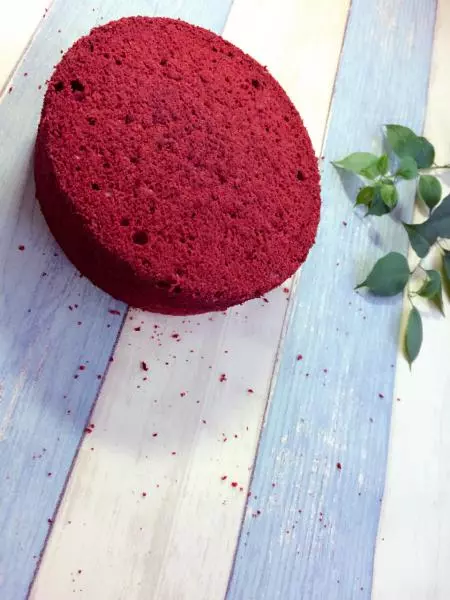
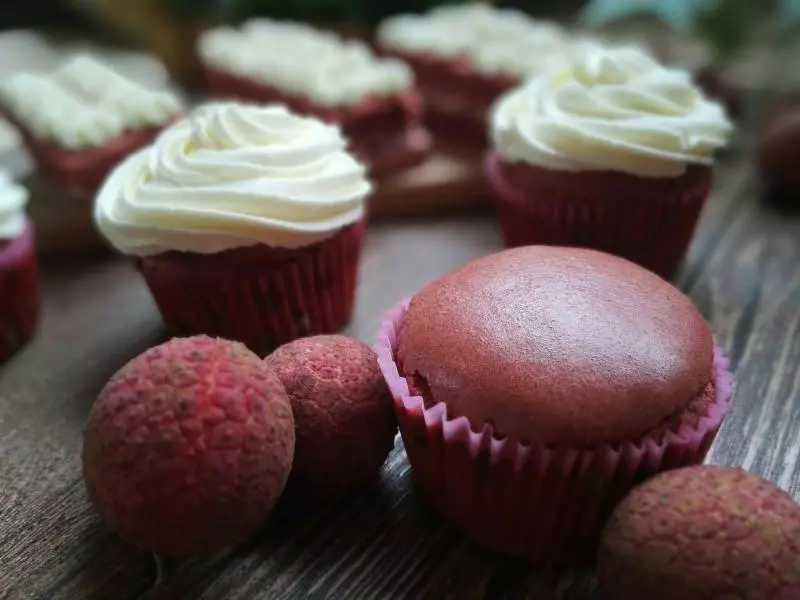
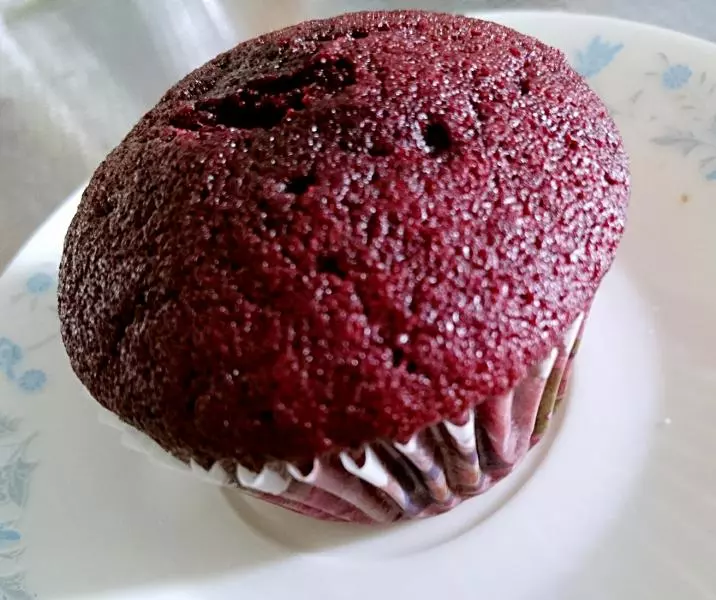
17很容易从模具中把蛋糕脱模——非常漂亮的红色绒色。
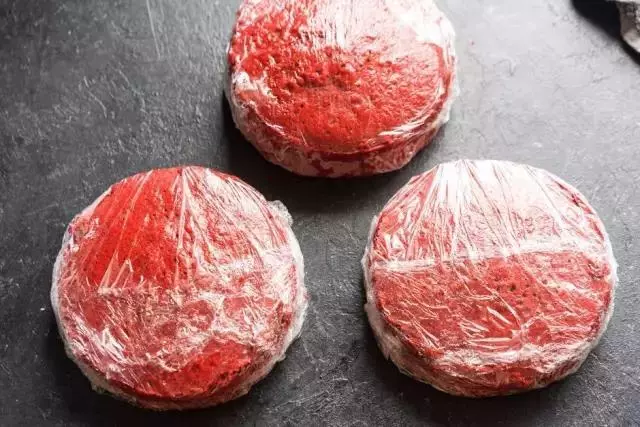
18用保鲜膜把温热的蛋糕密封包裹起来,冷藏3-4小时。
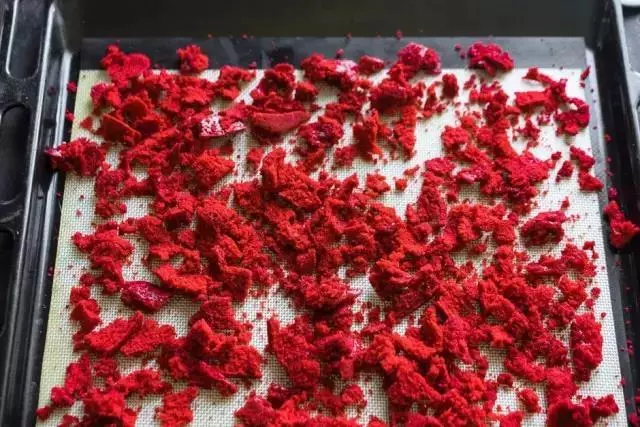
19每个切割成1厘米厚度,那么一共可以切出6片蛋糕,多余的边角料不要扔掉
20铺放在烤盘中,100~120℃低温烘烤约60~80分钟。
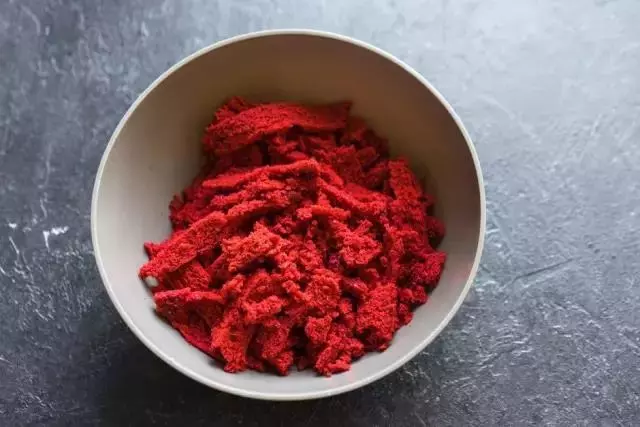
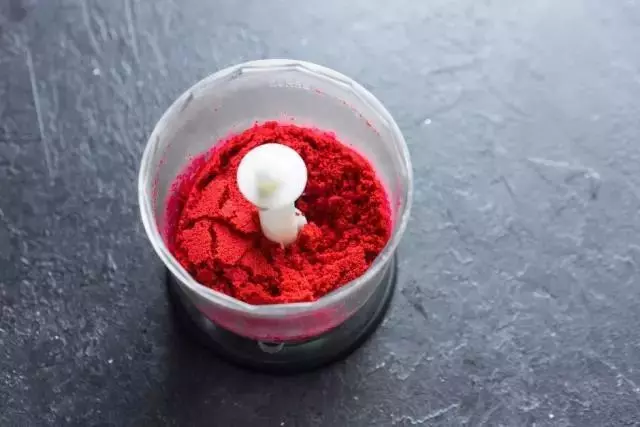
21放入料理机,搅成粉末
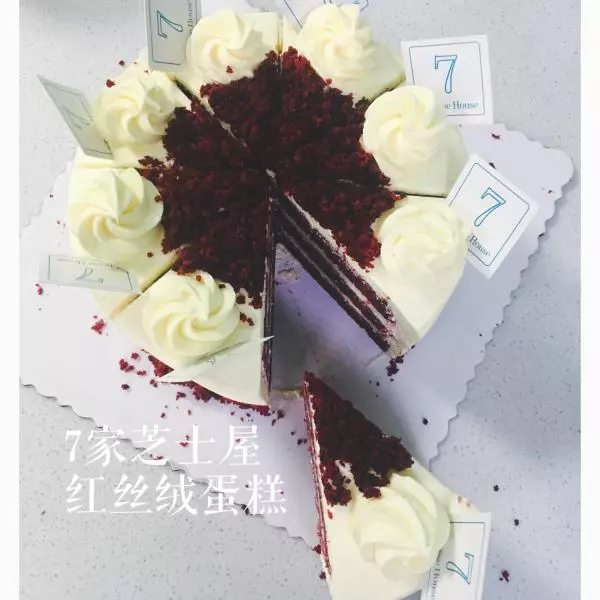
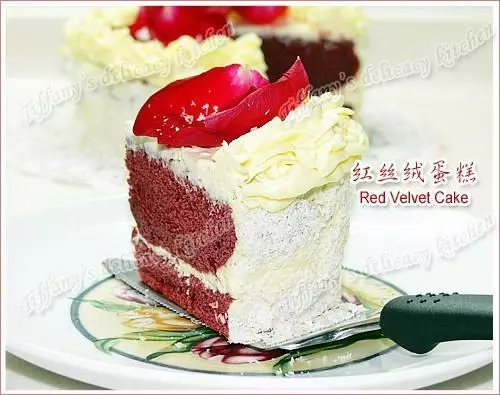
22蛋糕涂抹奶油或奶油霜并冷藏使之状态稳定,开始把红丝绒蛋糕茸铺放在表面和四周。
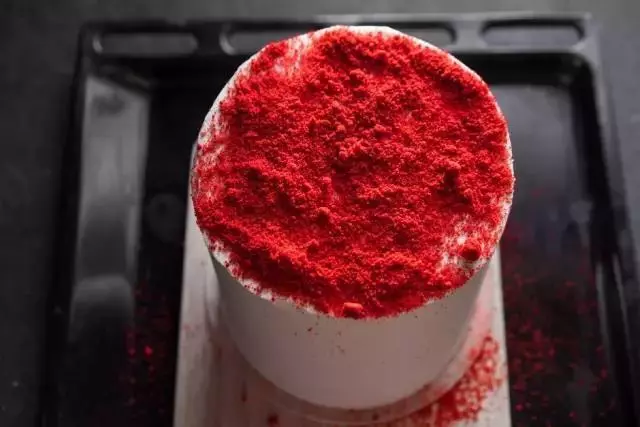
23注意边角部分要处理好,使之均匀沾满不要留空白。
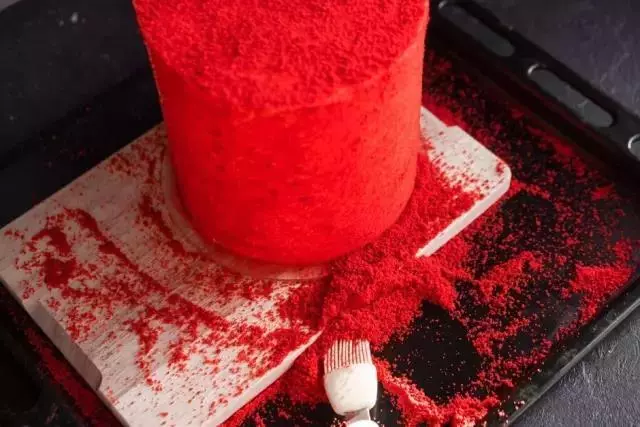
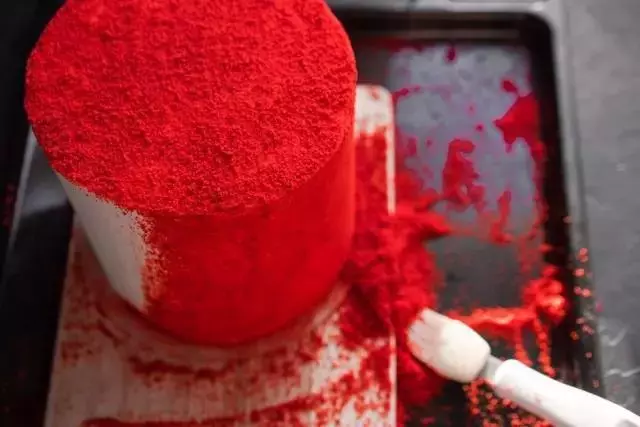
24同时用毛刷轻轻刷掉厚重的部分
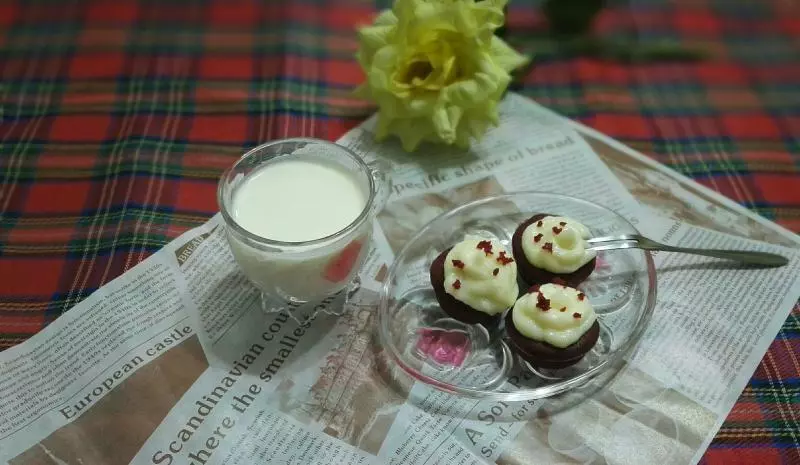
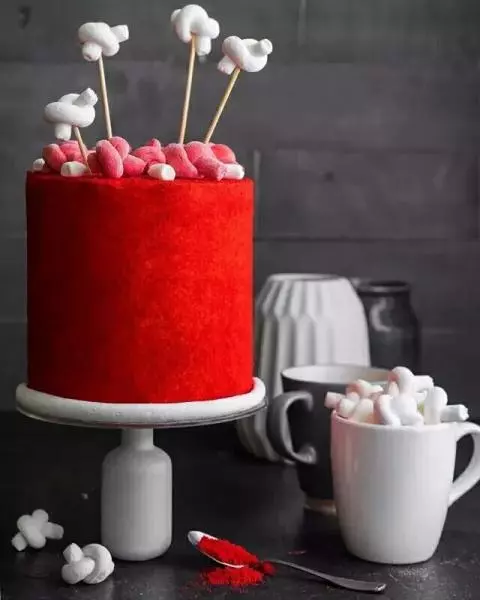
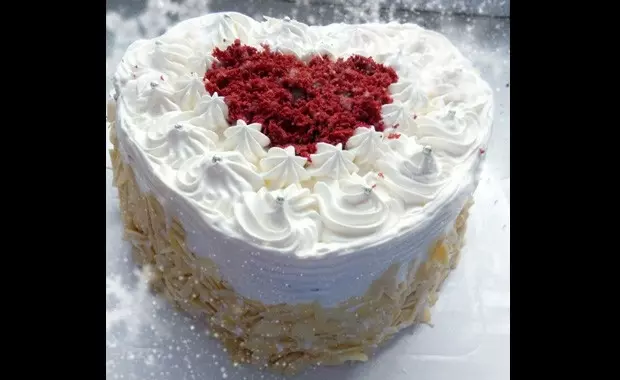
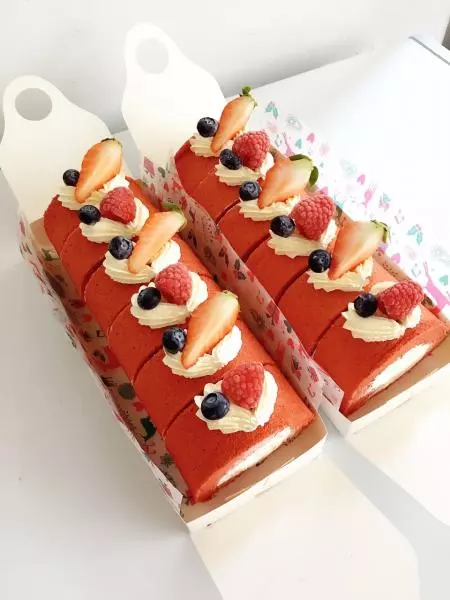
25装饰上打结的棉花糖,简单却逼格满满的红丝绒就搞定了!

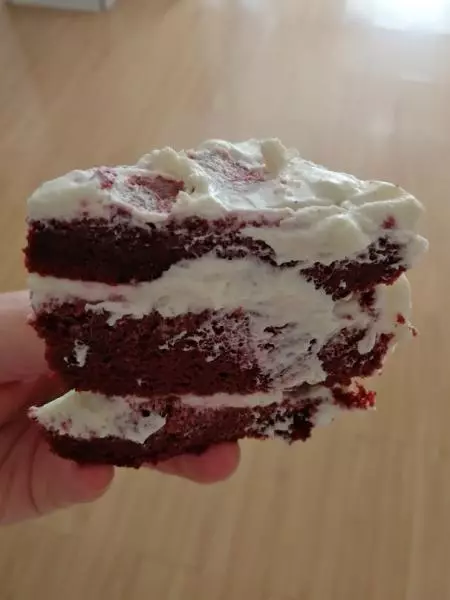
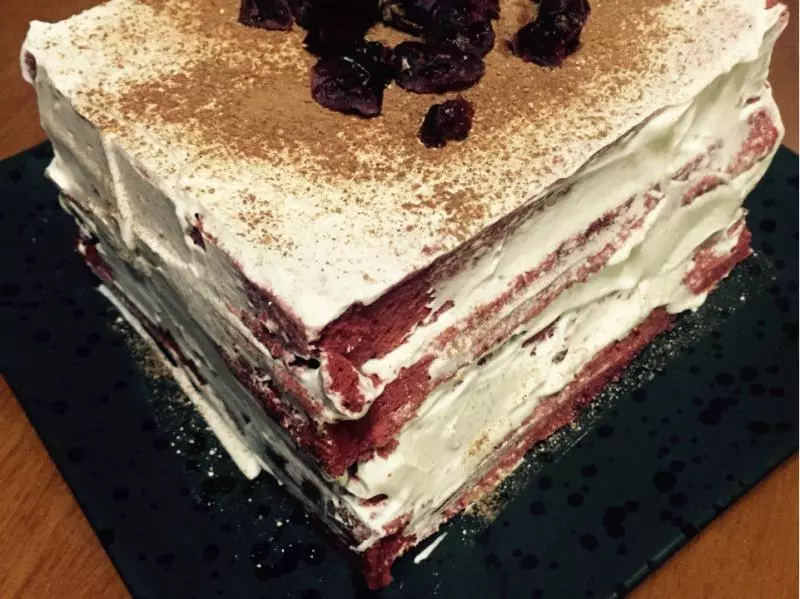
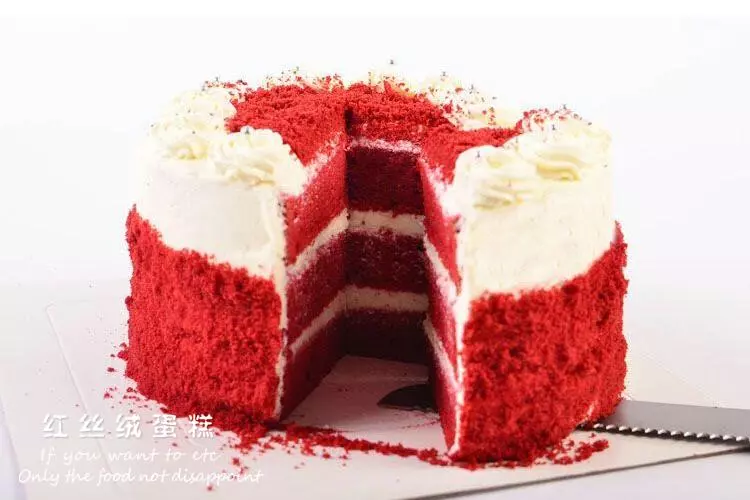
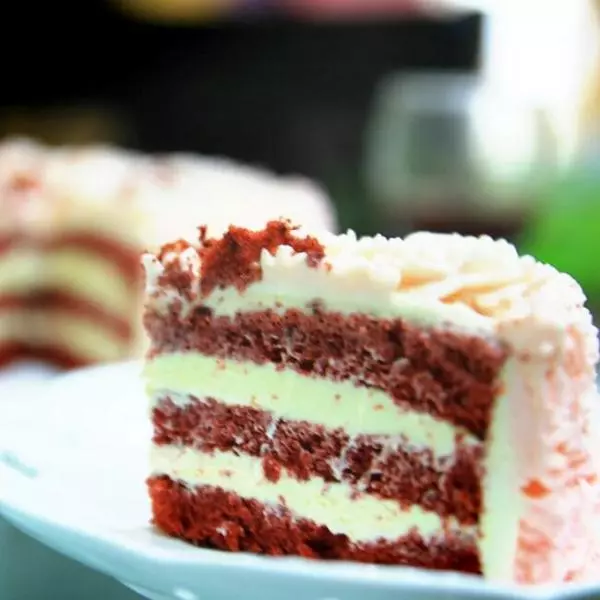
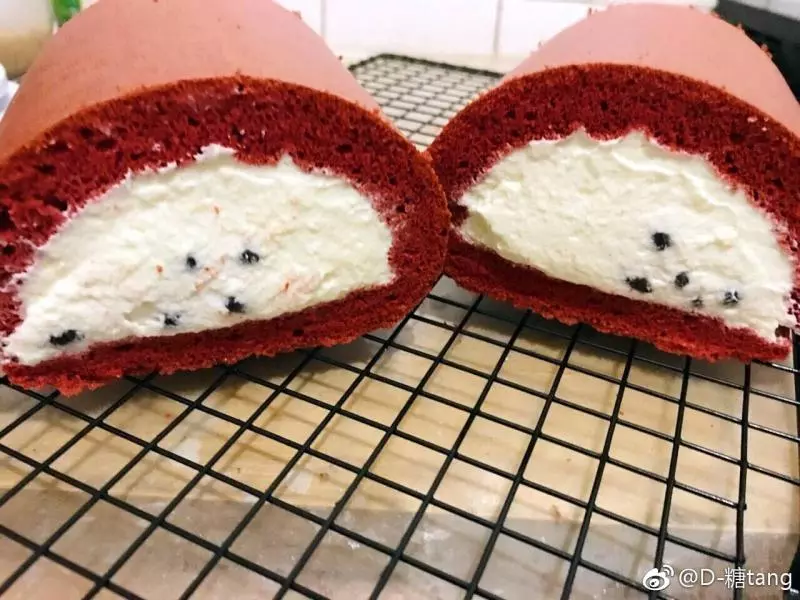
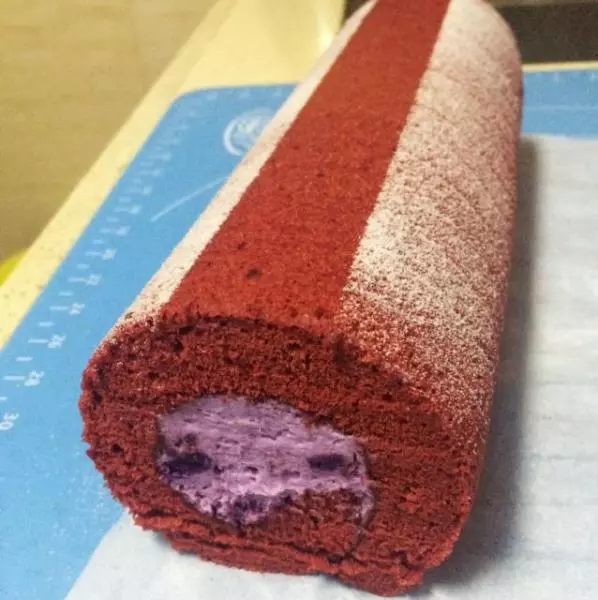
26稍冷冻一下,切开的样子足够诱人~吃起来嘛,如果不知道配方会很纳闷怎么会有巧克力的味道