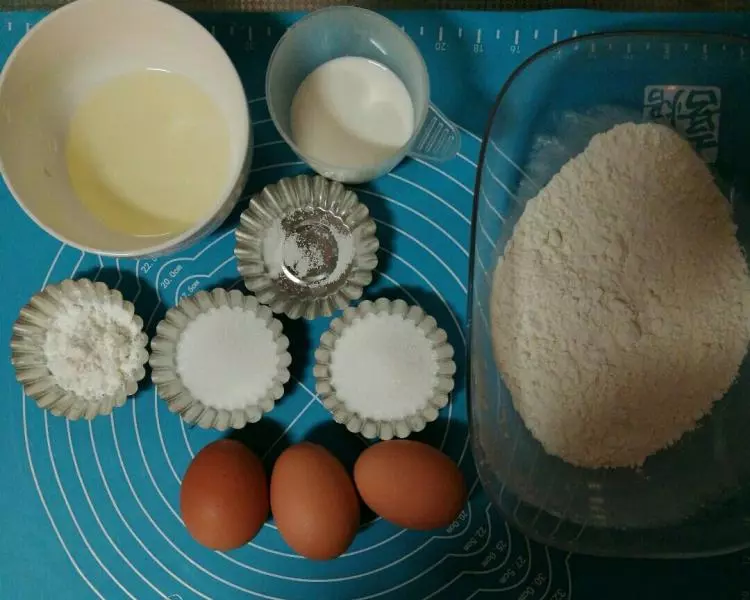
原料
鸡蛋: 3个, 低粉: 55克, 玉米油: 30克, 玉米淀粉: 7克, 牛奶: 30克, 白砂糖(加入蛋黄): 15克, 白砂糖(加入蛋清): 30克, 盐: 0.5克, 柠檬汁: 数滴
步骤
1准备好食材
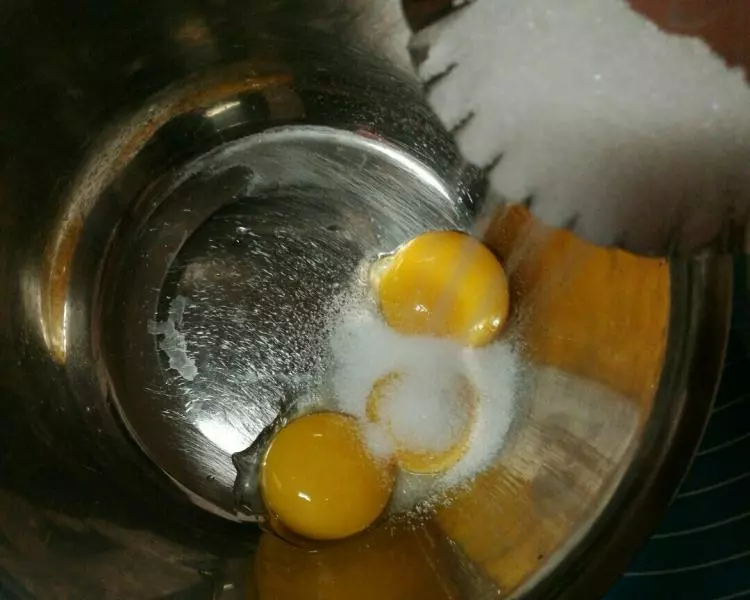
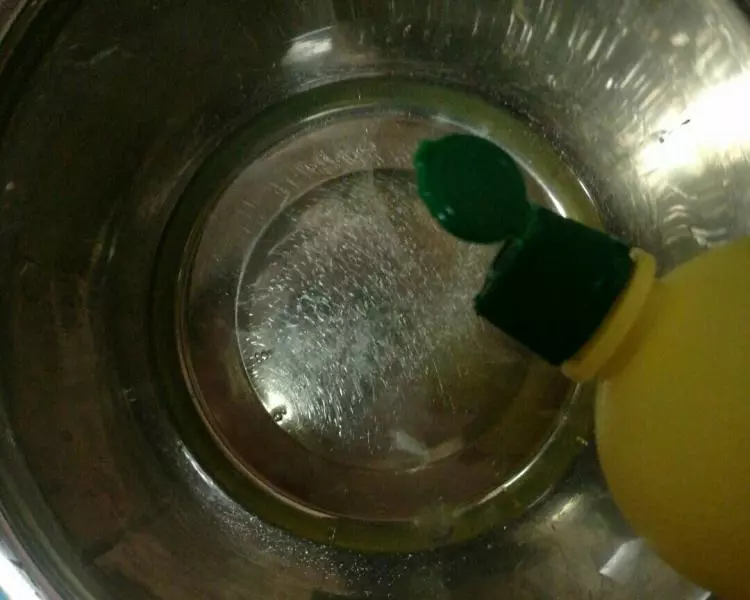
2蛋清、蛋黄分离,分别放入没有油、水的容器中

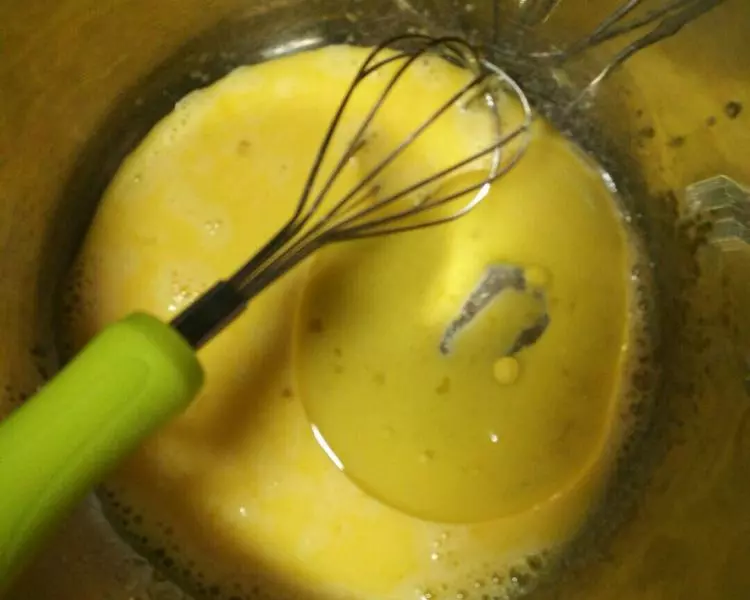
3白砂糖加入蛋黄中,用手动打蛋器搅匀
4加入牛奶搅拌均匀

5加入玉米油搅拌均匀
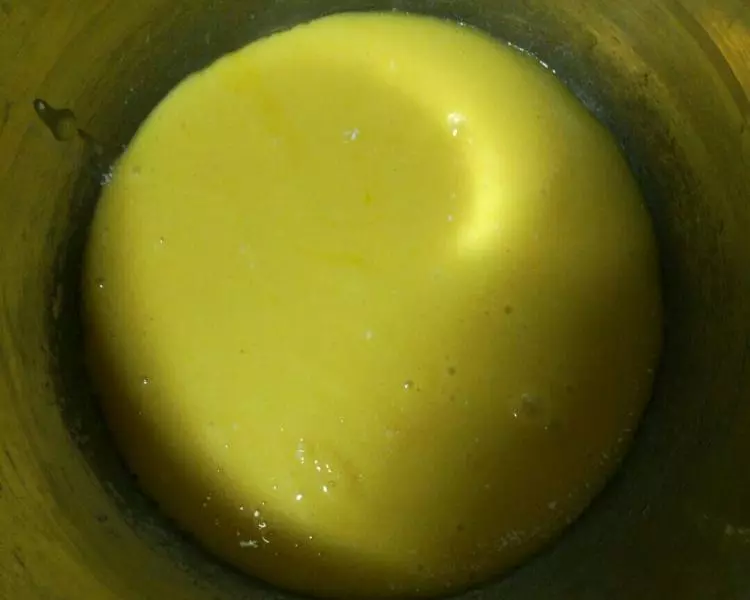
6淀粉、盐、低筋面粉混合过筛到蛋黄糊中

7搅拌至无颗粒(避免过度搅拌起筋),烤箱150度预热
8蛋白中加入几滴柠檬汁(去腥)
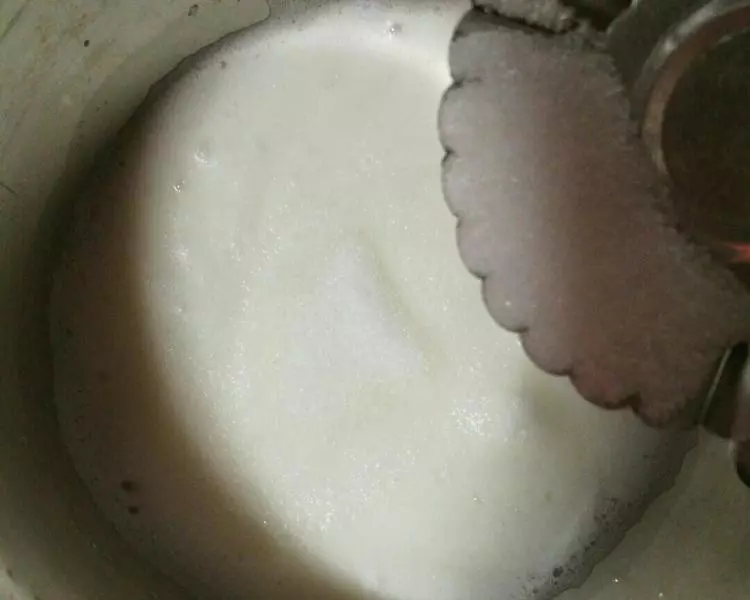
9用电动打蛋器打出鱼眼泡(粗泡)时加入1/3白砂糖
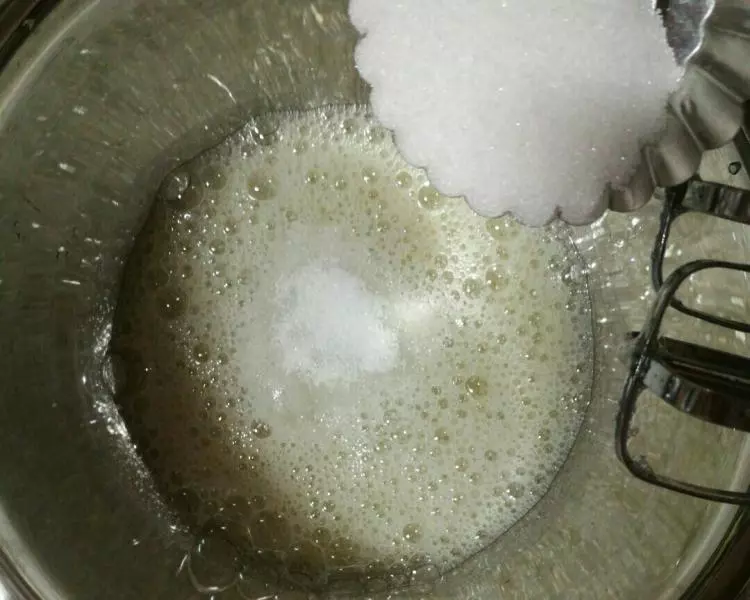
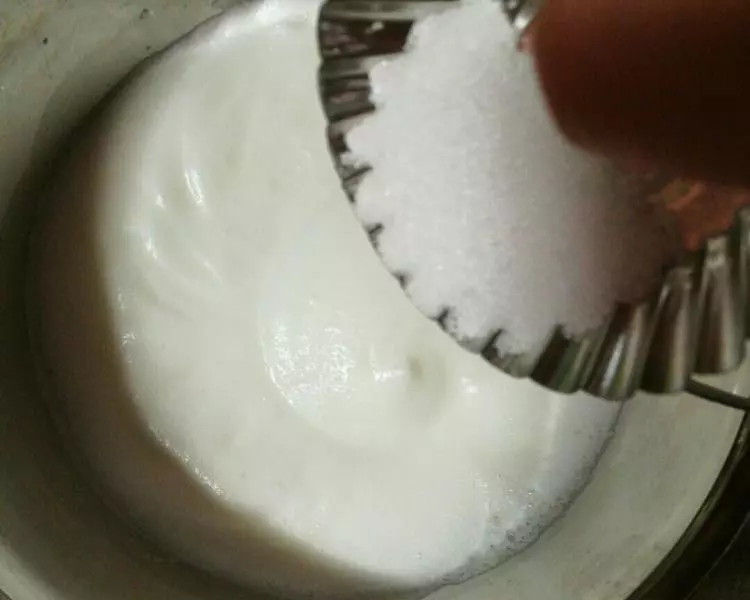
10继续打发至浓密细泡加入1/3白砂糖
11继续打发出现纹路加入剩下的1/3白砂糖
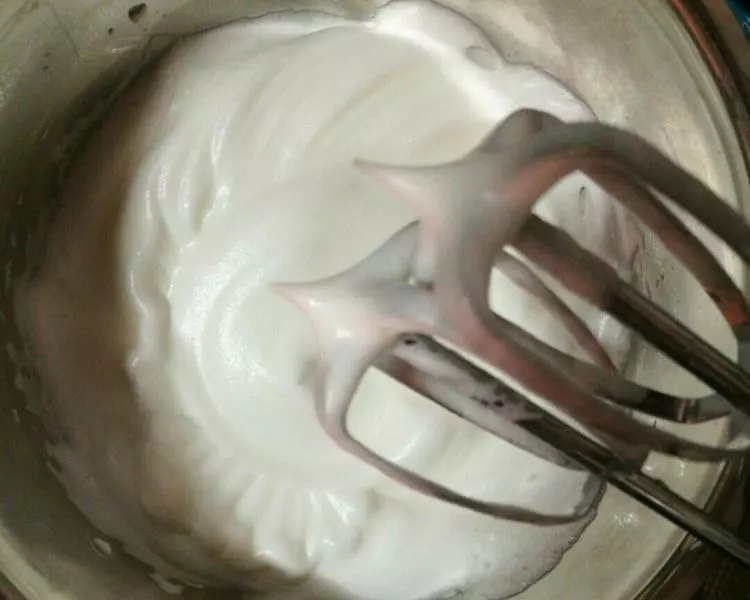
12打发至提起打蛋器蛋白呈直立尖角停止打发
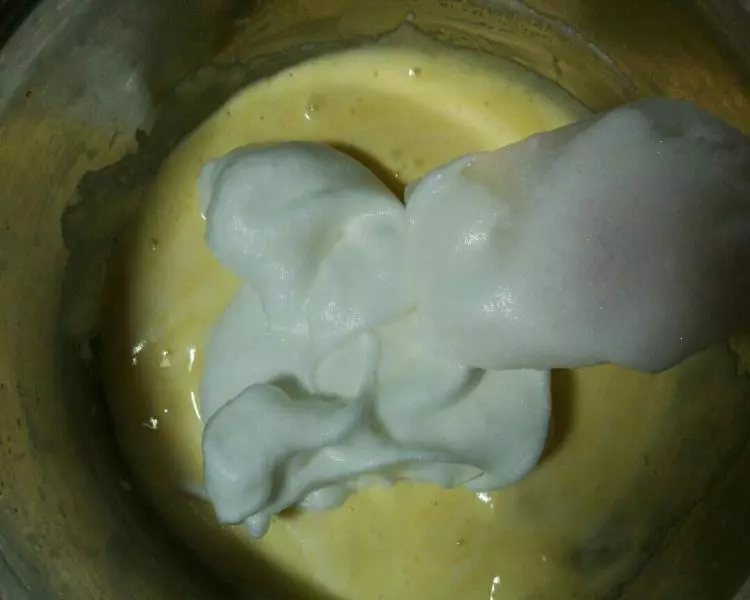
13取1/3蛋白到蛋黄糊中,用刮刀以切拌的手法快速翻拌均匀(不可划圈以免蛋白消泡)
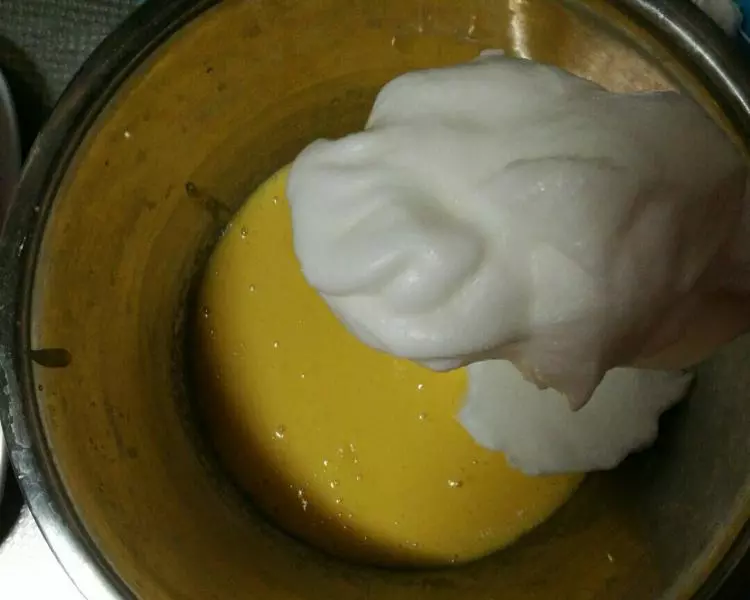
14在加入1/3蛋白,切拌手法拌匀
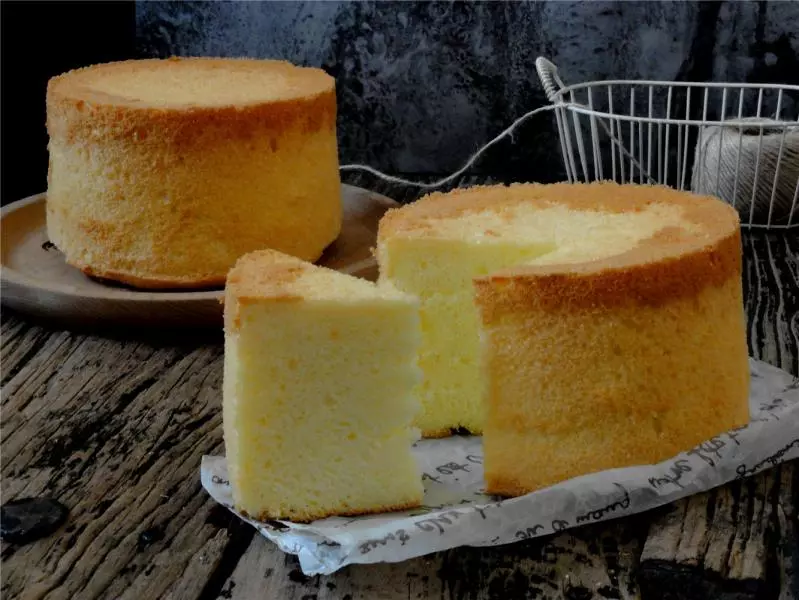
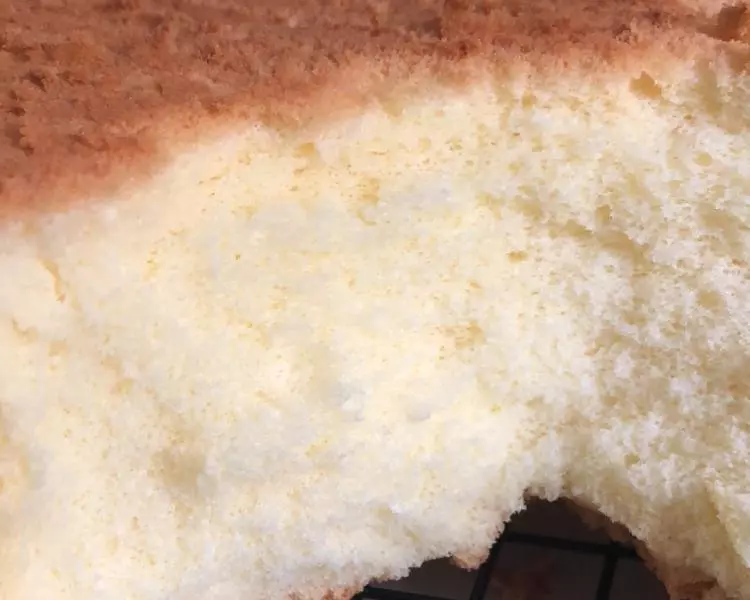
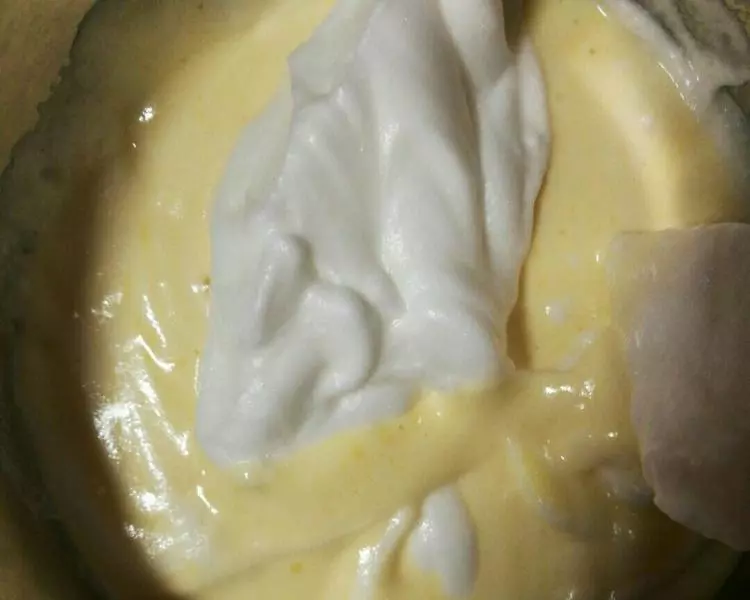
15把剩下的蛋白加入蛋黄糊中,拌好的蛋黄糊是细腻可流动的
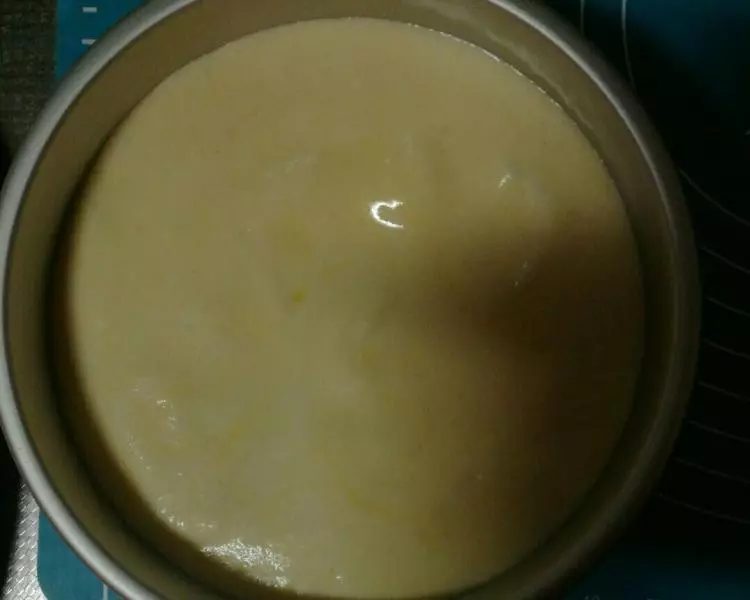
16倒入六寸模具中,用力震两下排除大气泡,抹平
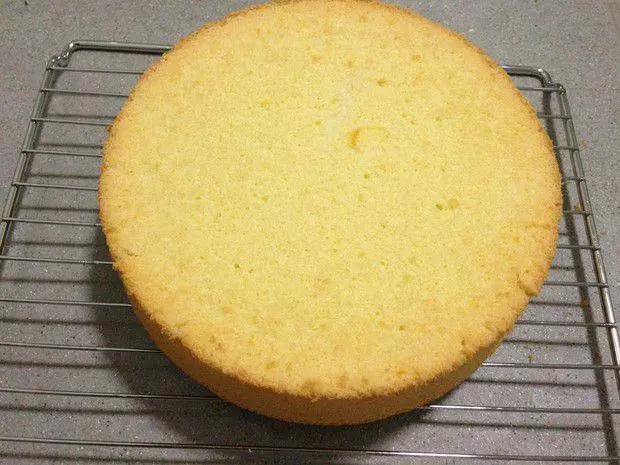
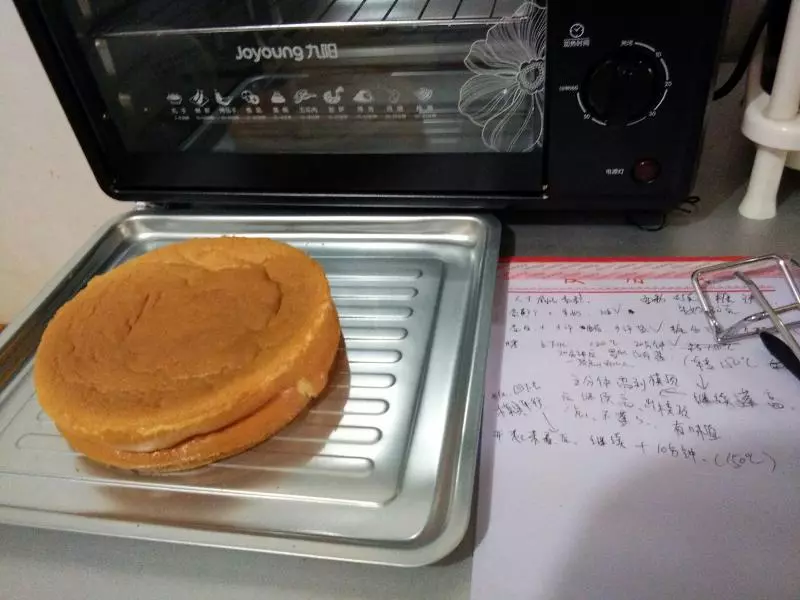
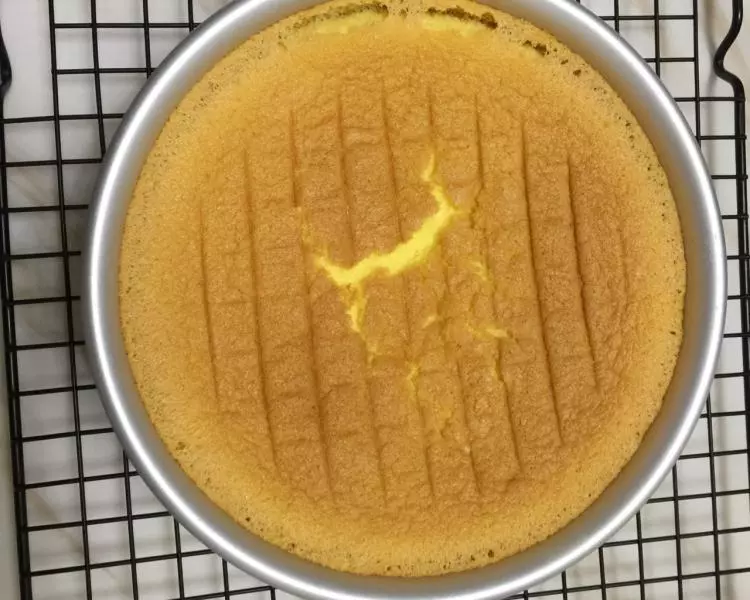
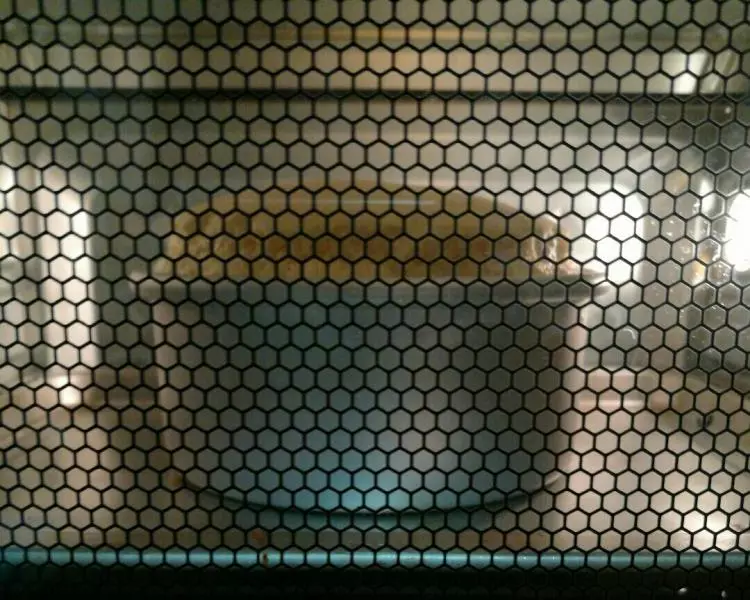
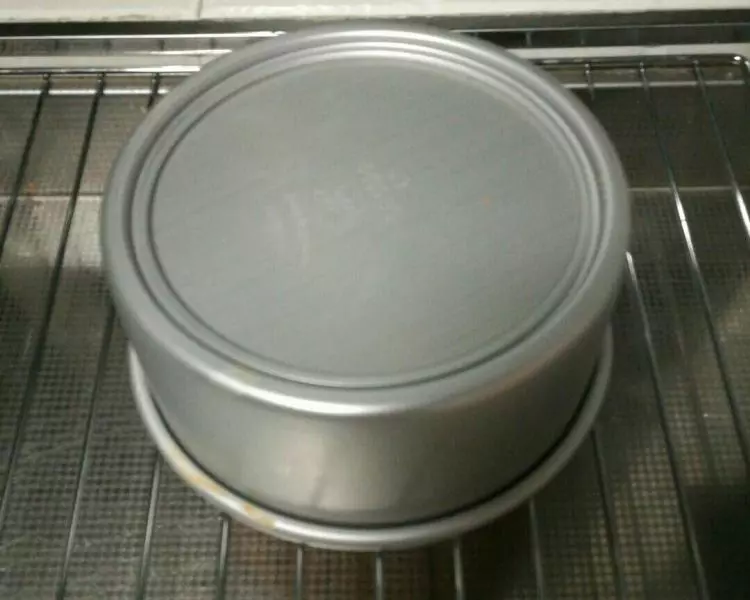
17送入烤箱中层,上下火150度60分钟

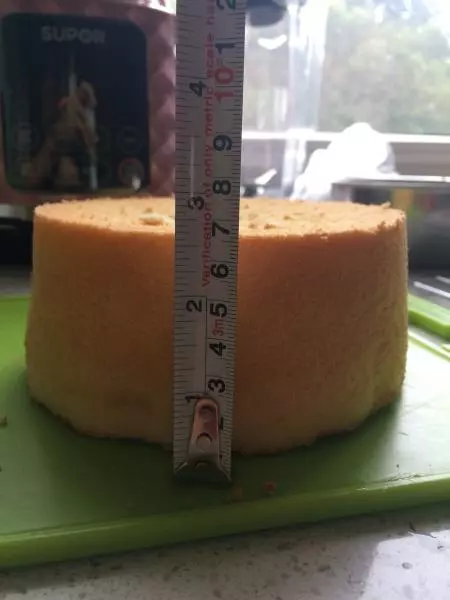
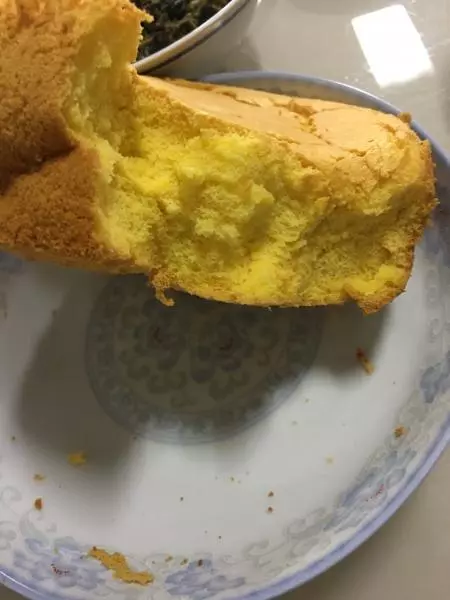
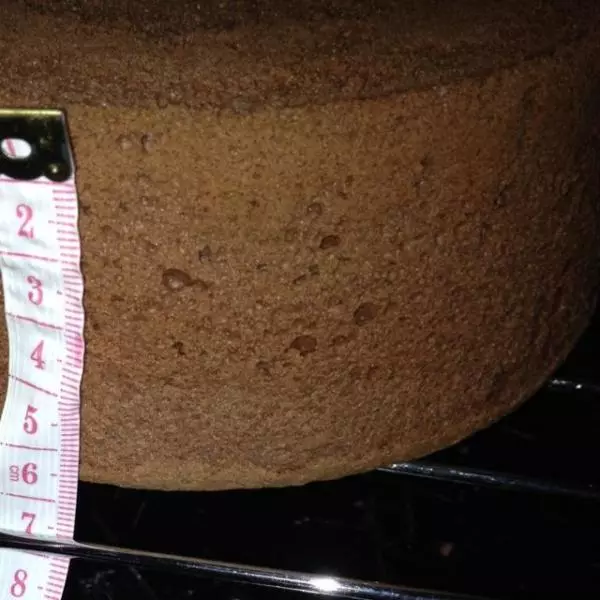
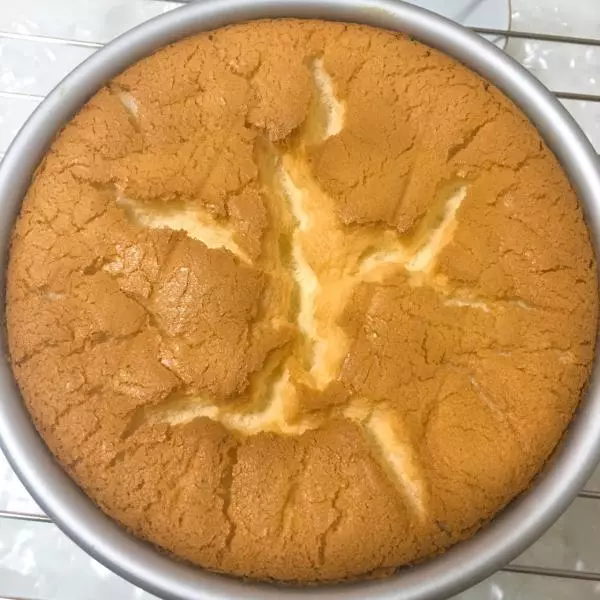
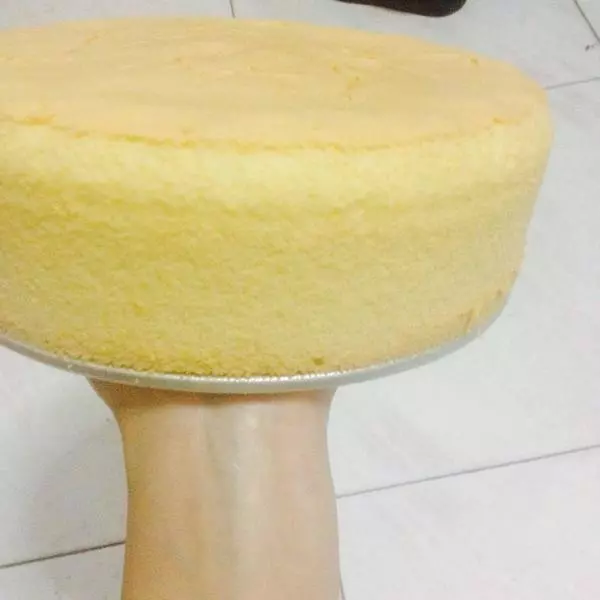
1830分钟后爬的很高哦!
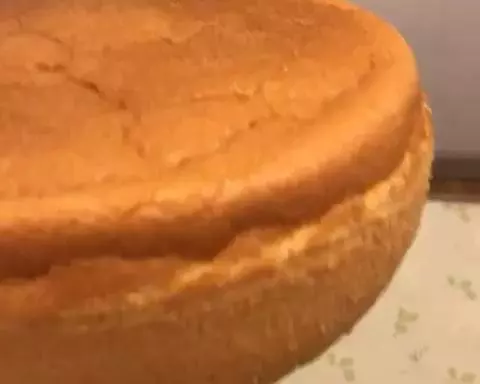
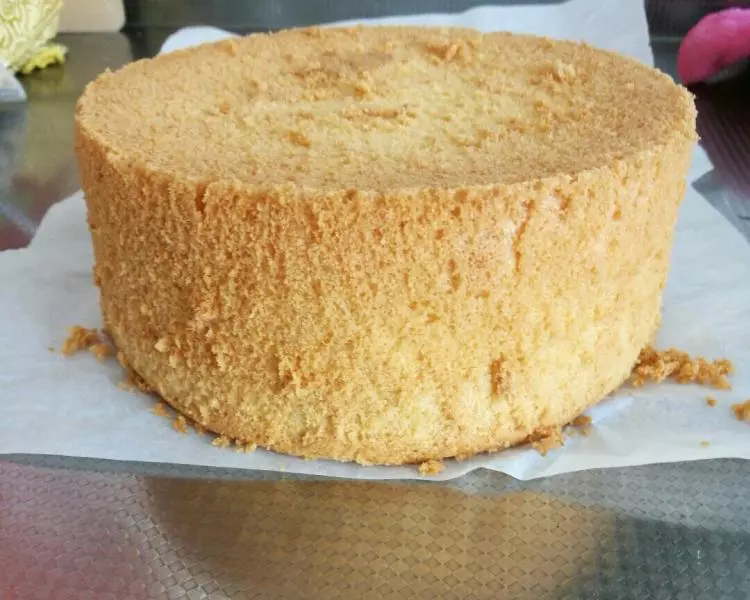
19叮!时间到!打开烤箱用牙签扎一下不粘牙签证明烤熟了,拿出来要马上墩3-4下(切记,不塌腰不回缩的秘密在这!),倒扣直至晾凉才可以脱模
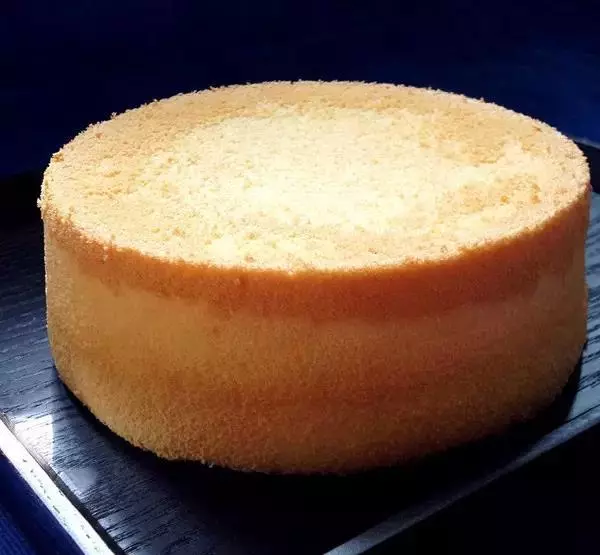
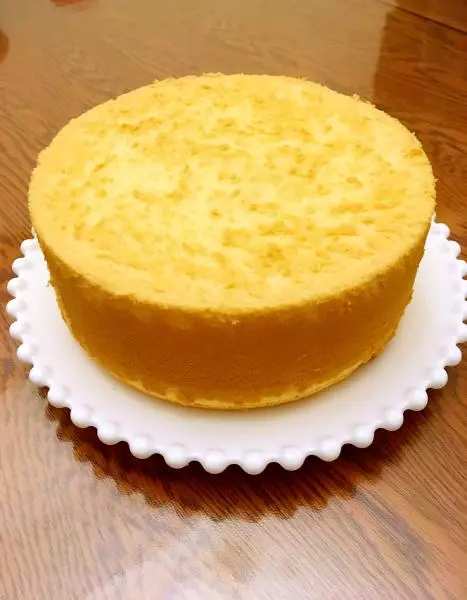
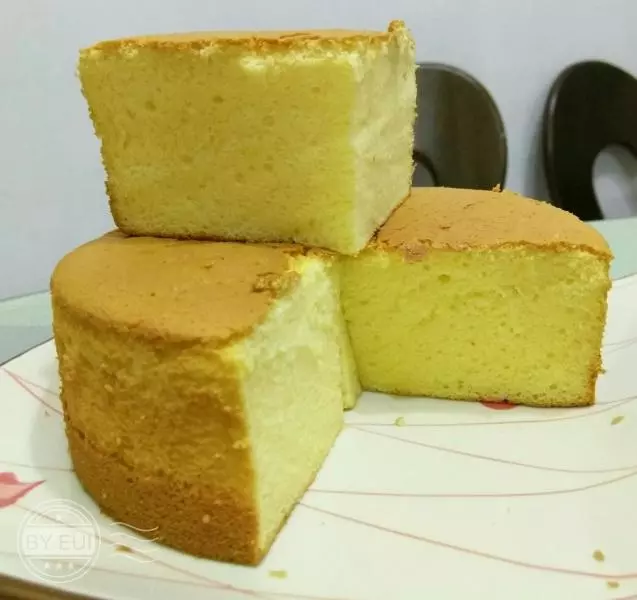
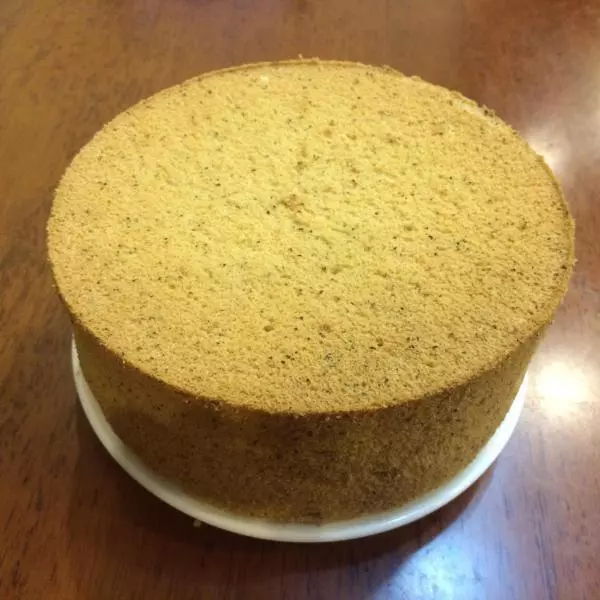
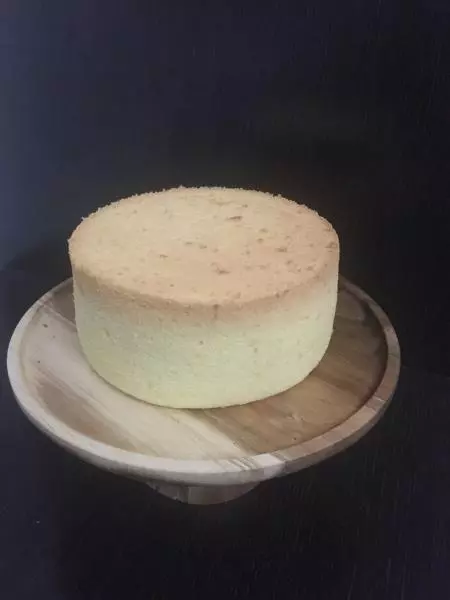
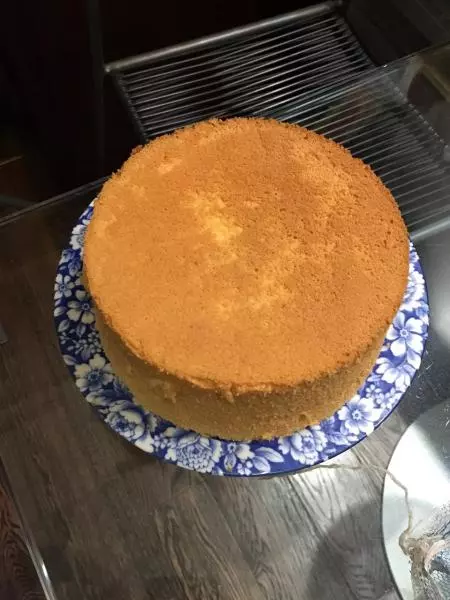
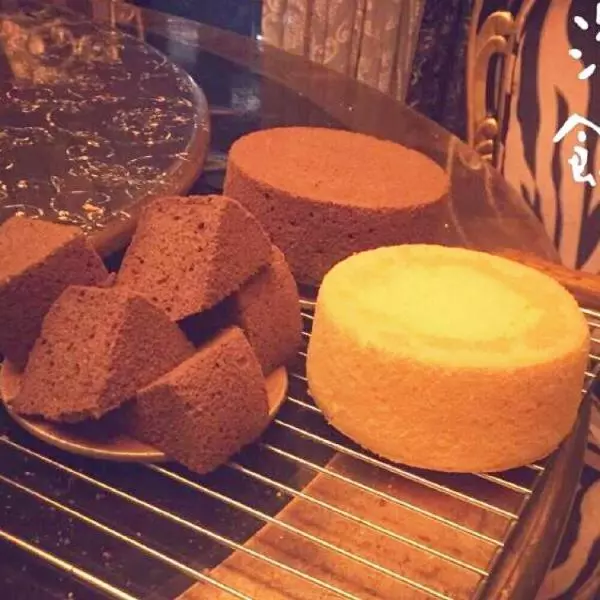
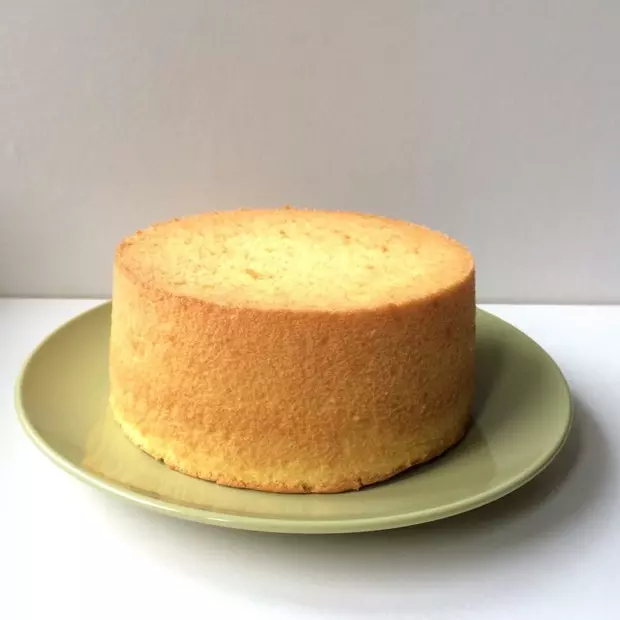
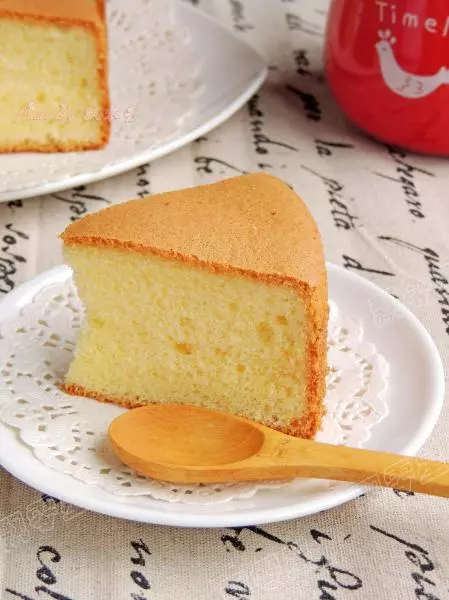
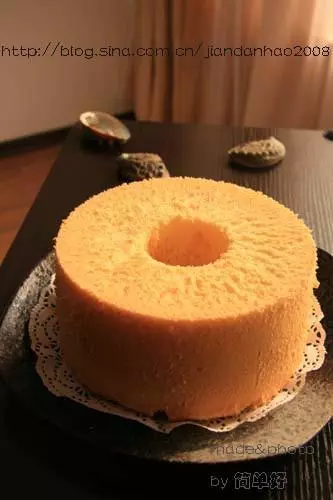
20完成

小技巧
★蛋白打发千万不能打过,打到蛋白液在盆里不流动就好 ★切记考好一定要墩几下立刻倒扣,手慢那就全都白费了,不要着急脱模!必须凉透才可以 ★温度还是要根据自己烤箱的脾气来掌握,本人用的是美的32L烤箱,美的烤箱温度都要偏低一些 ★想要爬的高磨具也很重要哦!(戚风一定要用阳极的)