原料
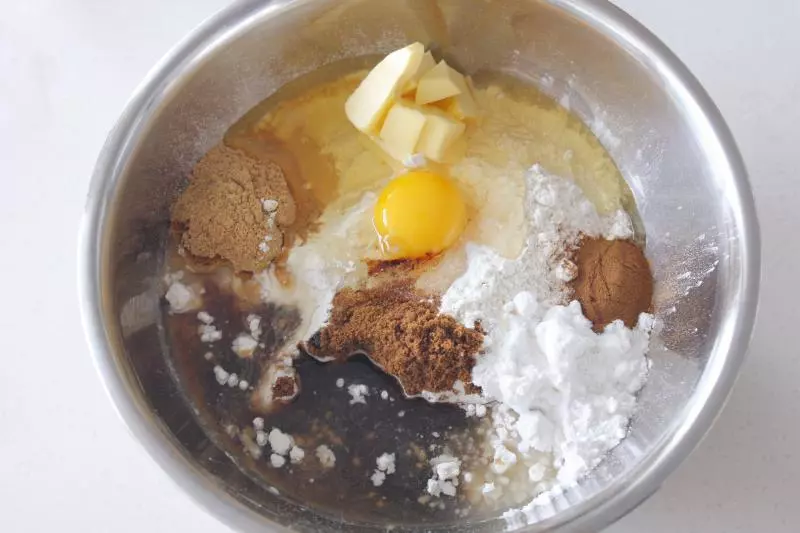
展艺低筋粉: 500克, 软黄油: 100克, 水: 60克, 红糖: 50克, 展艺糖粉: 100克, 蜂蜜: 70克, 鸡蛋: 50克, 展艺肉桂粉: 3克, 展艺生姜粉: 10克, 鸡蛋: 10克, 水: 20克, 蛋清: 40克, 展艺糖粉: 300克, 柠檬汁: 8克
步骤
1所有原料一起拌至无粉状
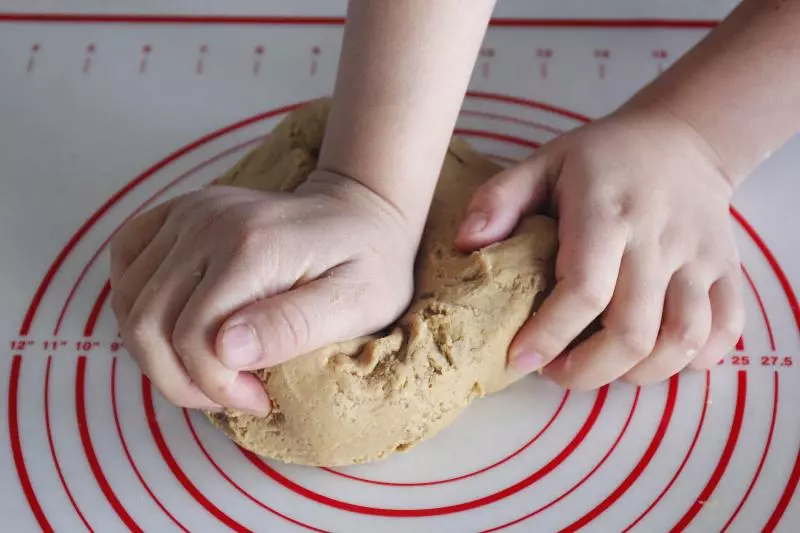
2再倒到硅胶垫上用手揉匀,开始揉时面团表面会比较粗糙,耐心揉至面团表面光滑即可
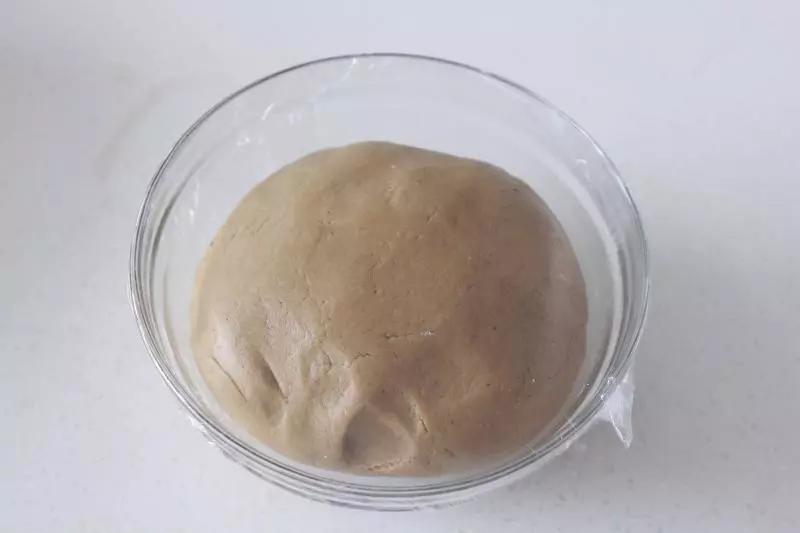
3揉好的面团放冰箱冷藏松弛1小时
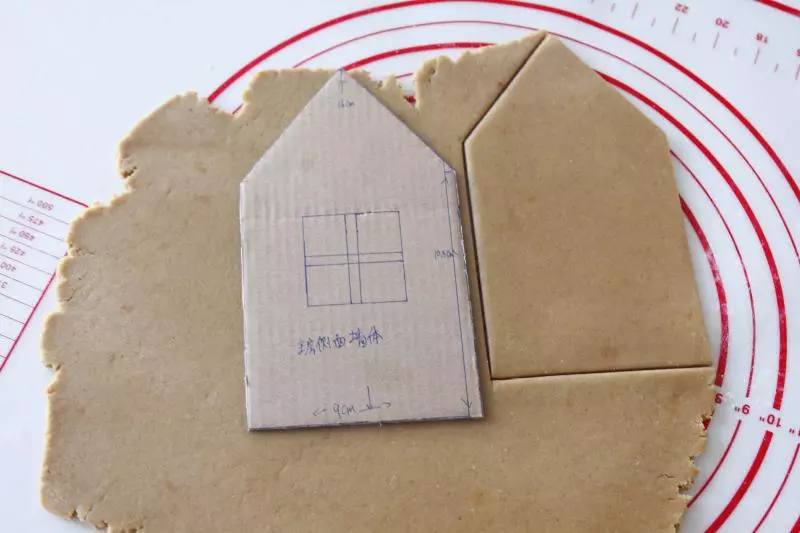
4松弛好的面团放桌上擀成厚约0.3厘米的薄面片

5把剪好的模型纸片放面片上用刀切割出图案(有多余的面可随意做个栅栏)
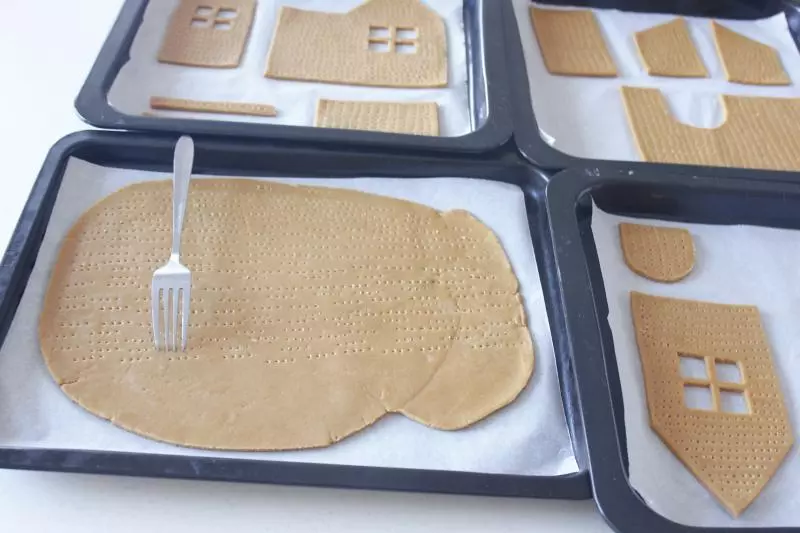
6切好的面片图案放烤盘上,用叉子均匀的扎些小孔
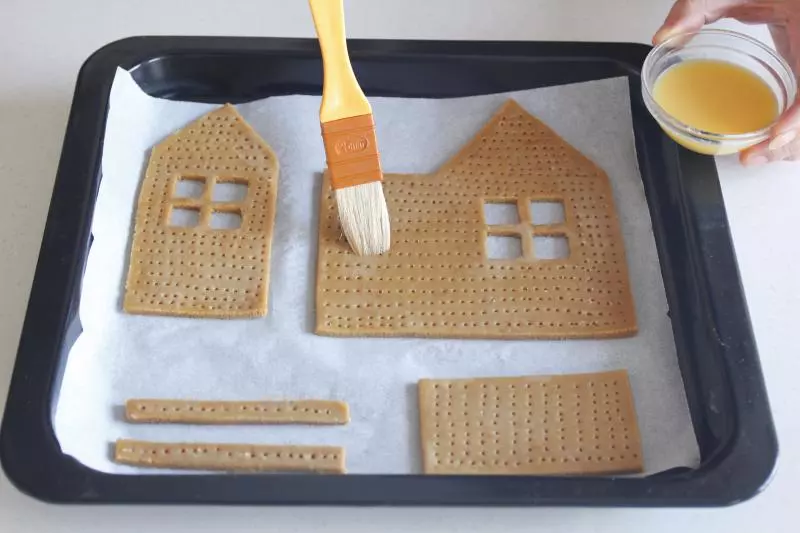
7再刷蛋液的鸡蛋和水混合后,刷一层在扎好孔的面片图案上
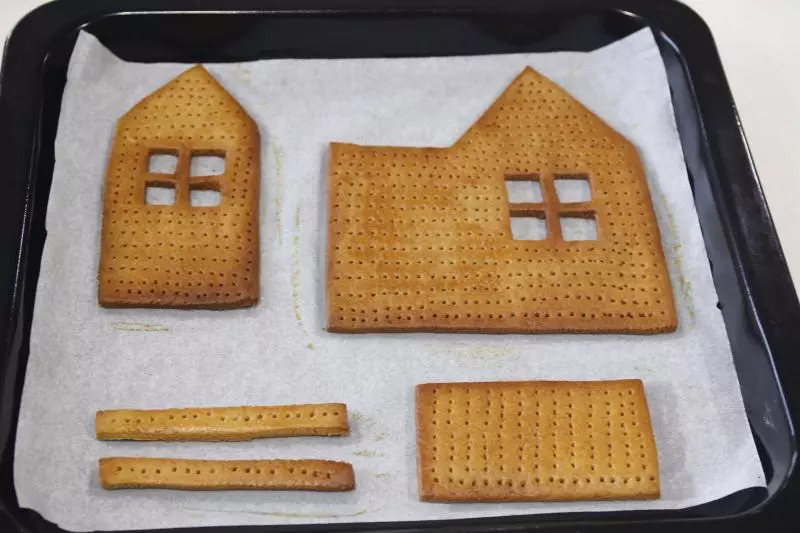
8静置松弛20分钟左右,再刷一层蛋水液,放烤箱中层,上下火180度烤15分钟左右,烤至自己喜欢的颜色程度取出冷凉
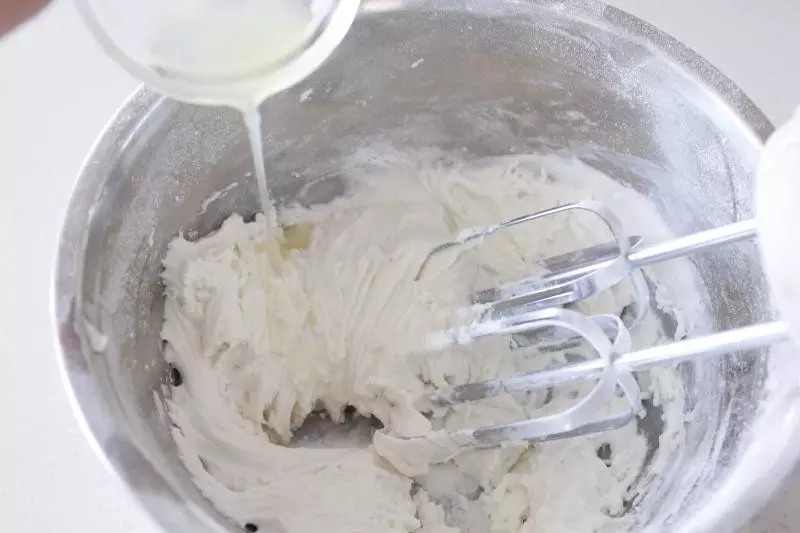
9冷凉过程中制作蛋白霜,蛋清和糖粉一起打
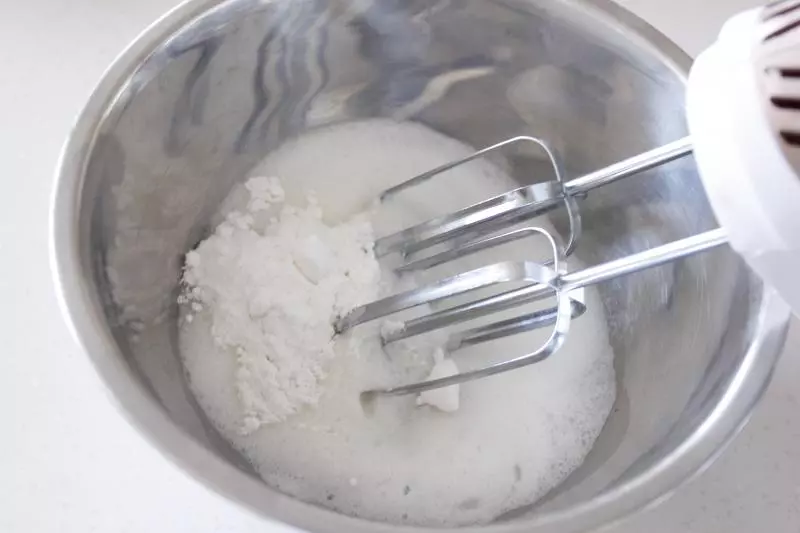
10中间加入柠檬汁打至适合的稠度即为蛋白霜
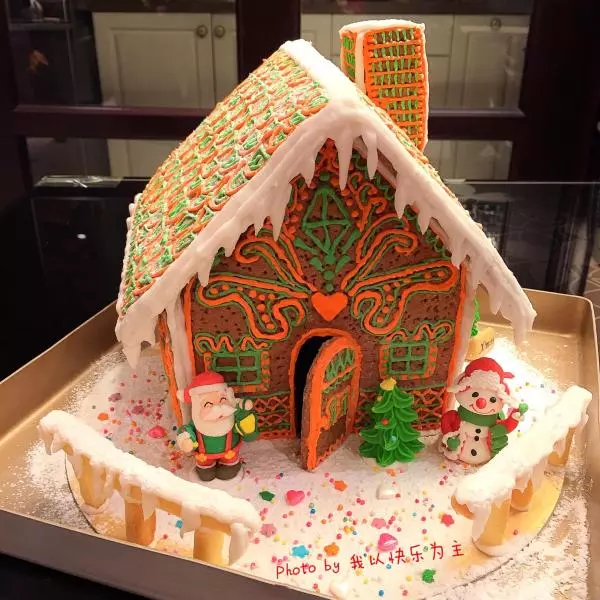
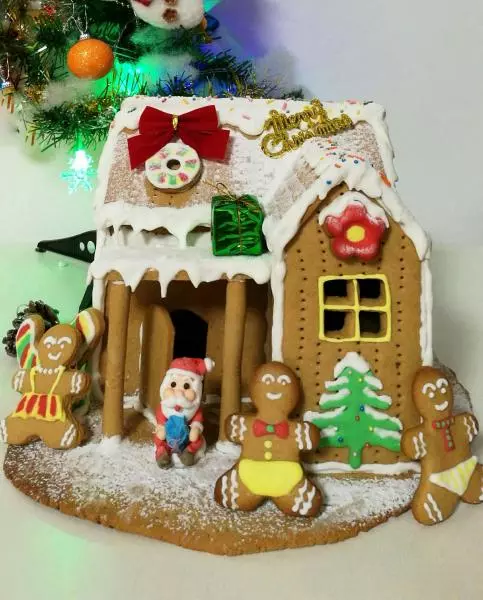
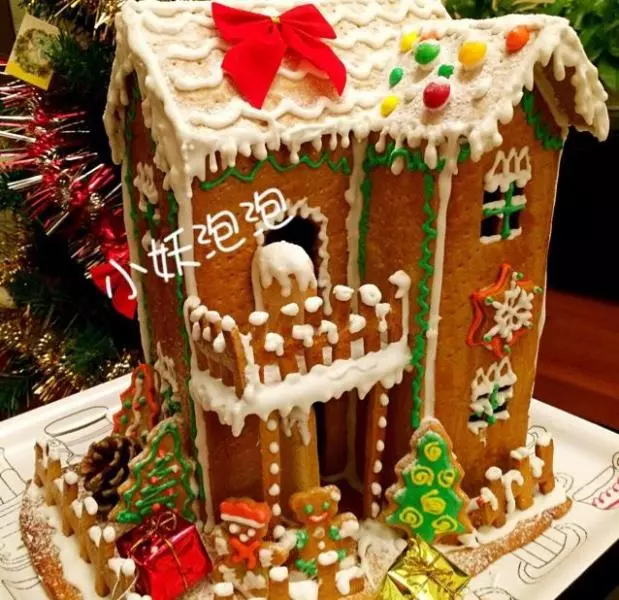
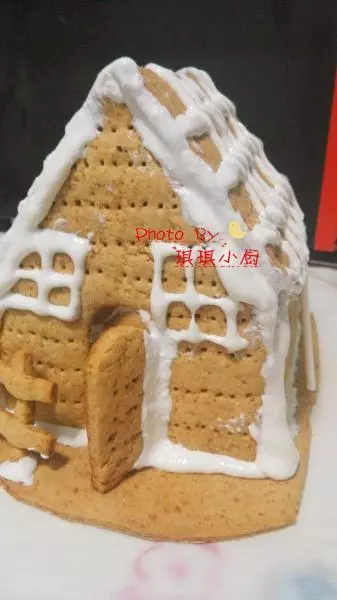
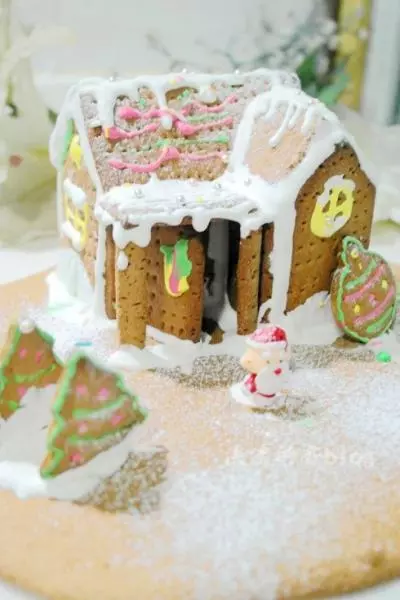
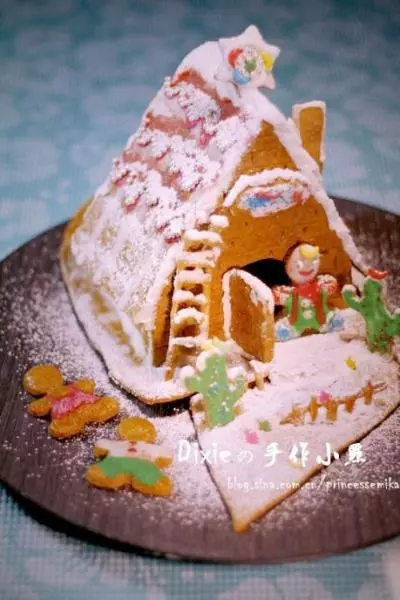
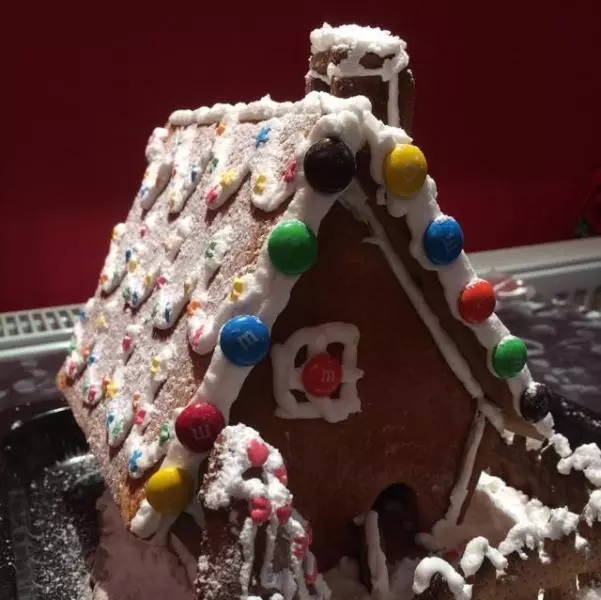
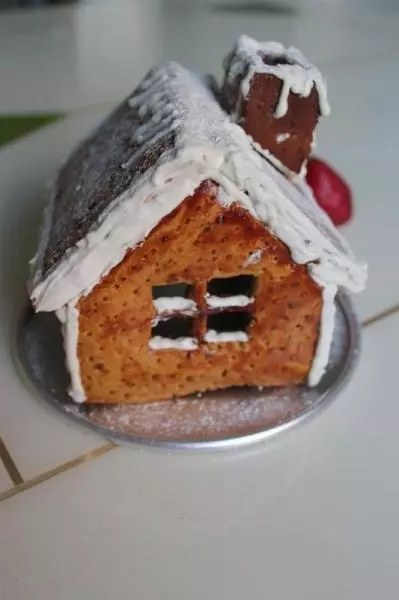
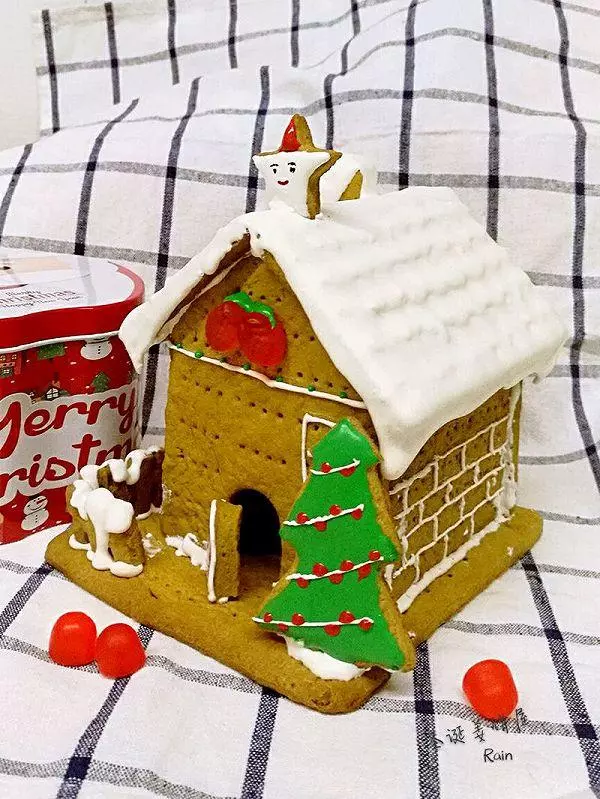
11蛋白霜准备好后装在裱花袋里,裱花袋剪个小口子,在底部面饼上先粘上主房四面墙
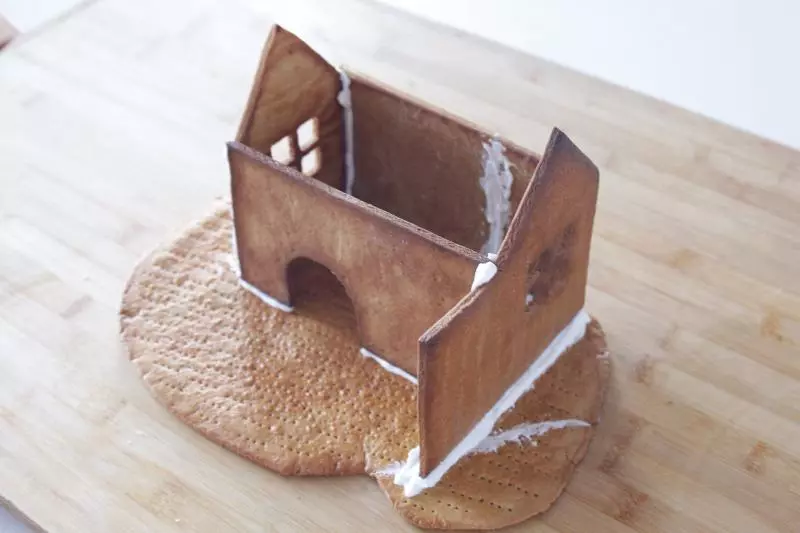
12等粘主房的蛋白霜干了粘牢了,再把前面两片偏房面片粘上待干
13接着把主房的两片房顶粘上待干
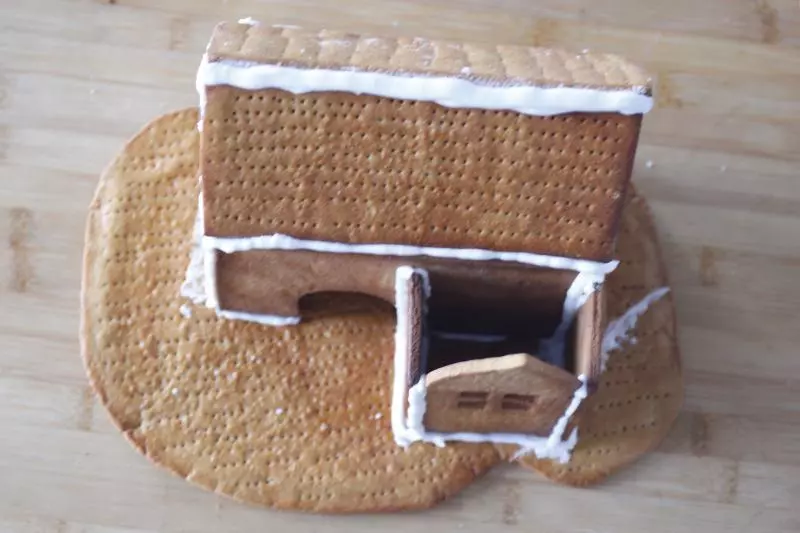
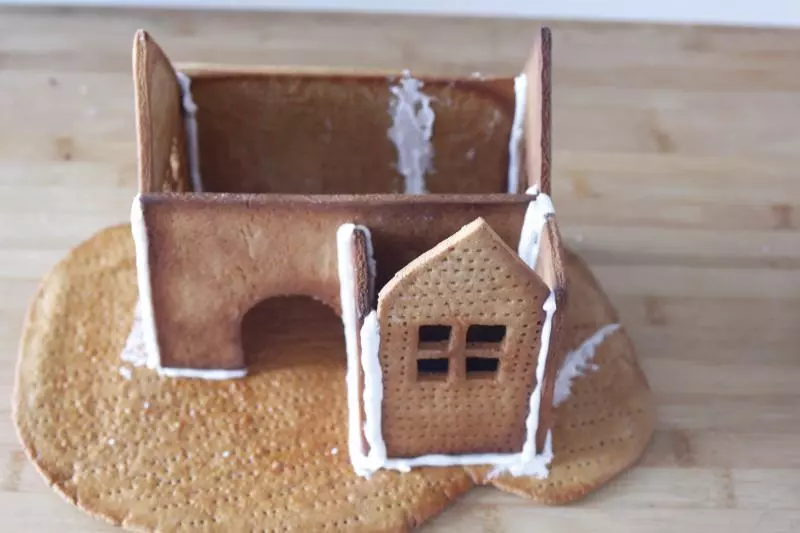
14再把大门前的小棚子两根柱子和棚都粘好,门粘好待干
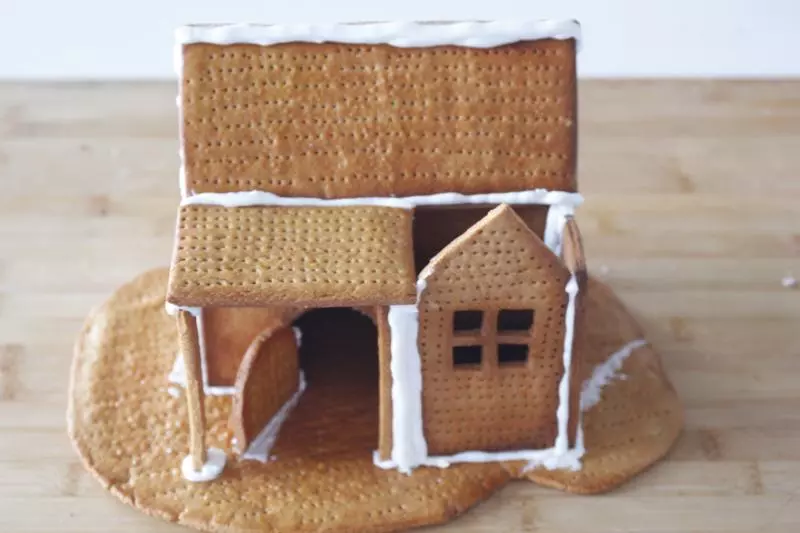
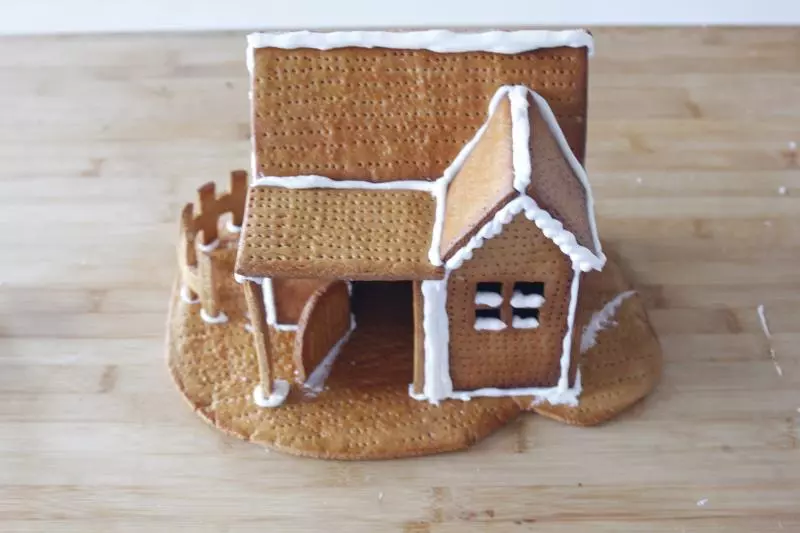
15再把偏房的两片屋顶粘好待干,栅栏粘好待干
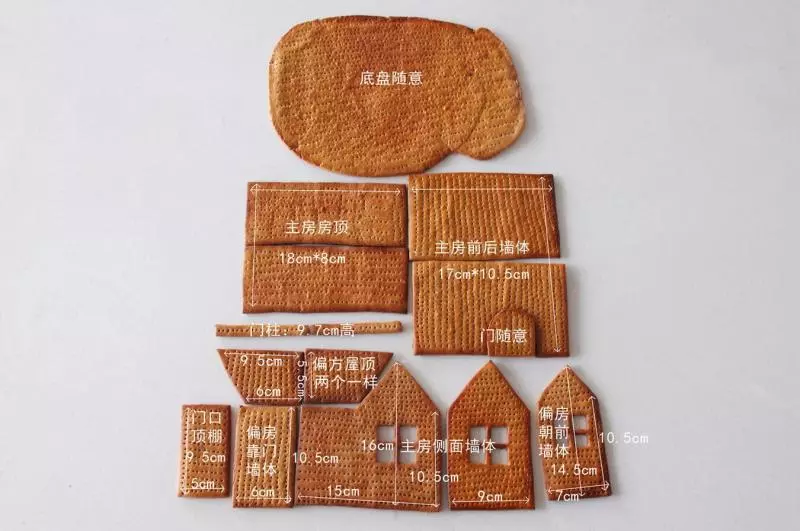
16姜饼屋尺寸参考
17最好用蛋白霜把底部的面饼图上一层蛋白霜,按自己喜欢装饰下就可以咯