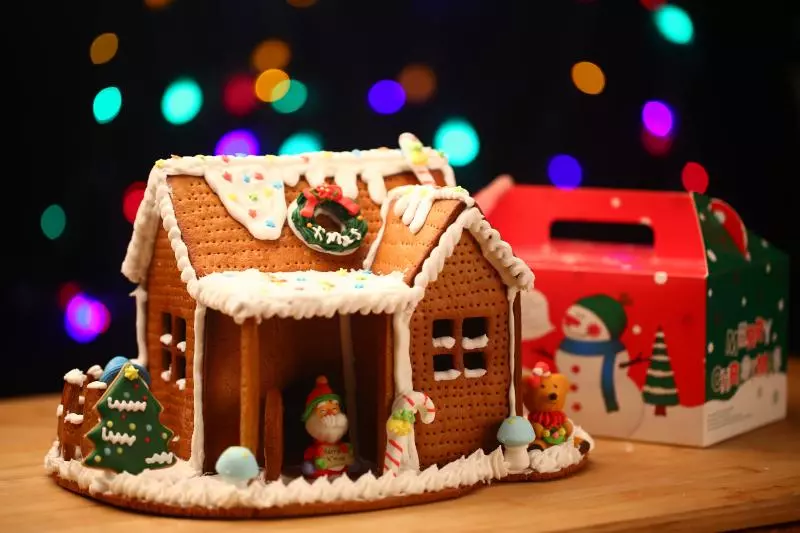
简介
分量
姜饼屋一个 两个屋顶搭板前后两块长12厘米,宽8厘米两块。 前后门长11厘米,宽6厘米两块。其中一块有个拱门。需要事先挖出来。 屋体长10.5厘米,宽6厘米,另加高5厘米尖顶为连体。共两块。 烟囱长3.7厘米宽3厘米。两块。另中间有尖头。各两块。总共是四块。(后来这部分我没用) 底盘直径大于20厘米
原料
低筋面粉 300克, 融化的黄油 60克, 姜黄粉 6克, 白糖 80克, 蜂蜜 50克, 水 50克, 肉桂粉 2克, 鸡蛋 35克, 蛋白糖霜, 蛋白 22克, 糖霜 127克, 醋 三滴, 各种颜色色素 少许, 装饰糖 少许
步骤
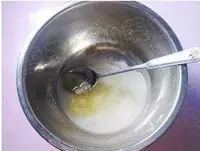
1姜饼原料中的水,蜂蜜和白糖先放在容器里融化
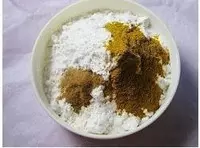
2姜黄粉,肉桂粉,加面粉混合均匀过筛
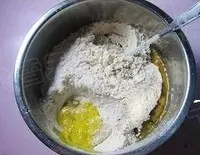
3图1中加入过筛后的粉类,以及姜饼屋原料中的其他材料
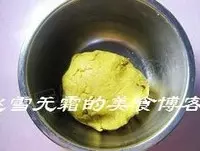
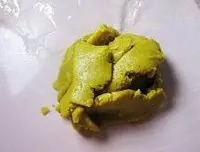
4揉成团,盖盖,醒30分钟
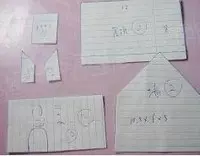
5下面开始画图纸。我用的是去年巧克力模具上的图纸。照着画的。尺寸别弄错就行了
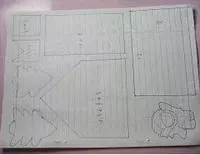
6然后将纸片剪下来放一旁备用
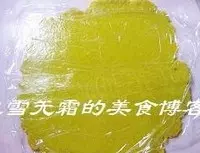
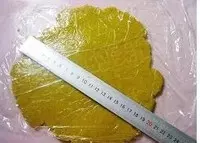
7将醒好的面团,上面放上保鲜膜擀成0.4厘米的长片

8擀好后,将保鲜膜去掉
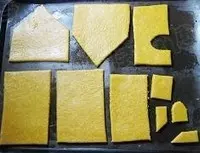
9然后将图纸放在上面。开始用刮板压出形状
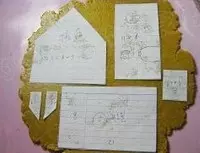
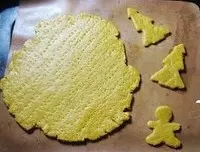
10做好的形状放在烤盘上。图中少一个极小的长方形面片。所以屋顶我就没有装了
11然后用小叉子叉上小眼,这样可以防止面片在烤的过程中膨胀鼓起。烤箱175度预热,中层,烤20分钟左右
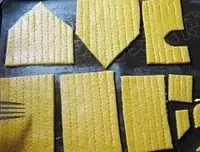
12烤好后,取出放凉
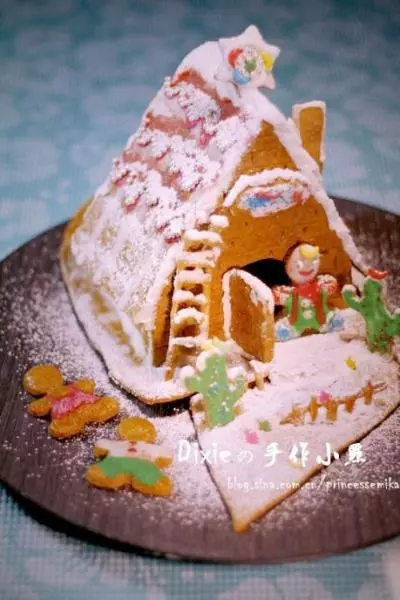
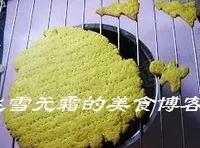
13剩下的面团先压几个小饼干,比如圣诞树。小雪人。然后其余的全部放在一起
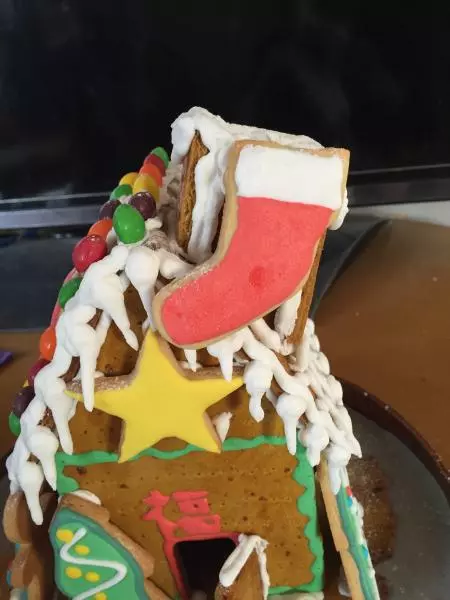
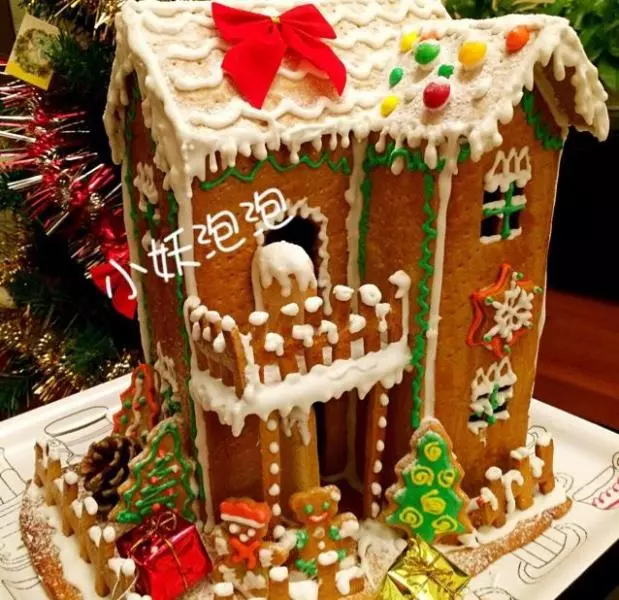
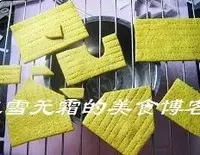
14同样用保鲜膜压出形状。擀平。保证直径大约是20厘米即可
15顺便也压了几个圣诞树。和擀好的饼干模一起烤。同样是175度预热,中层20分钟左右
16烤好后,也放凉
17蛋白糖霜用电动打蛋器打好。呈要滴不滴状态
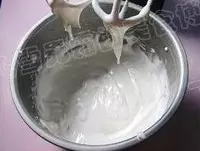
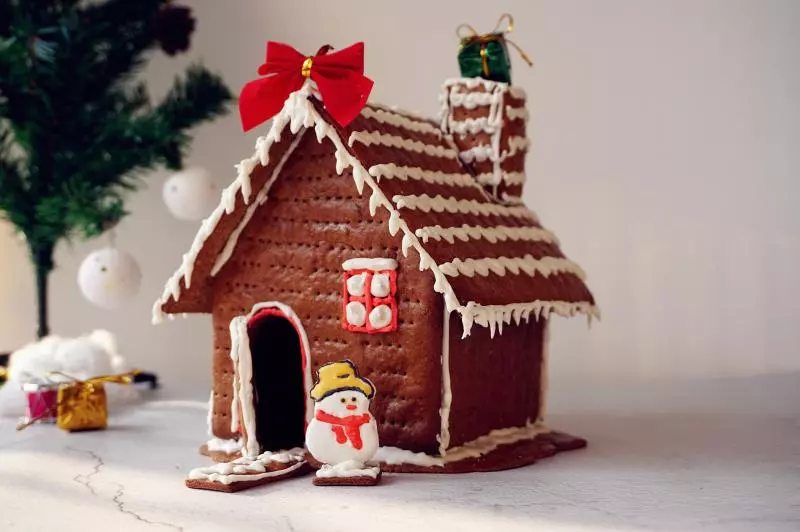
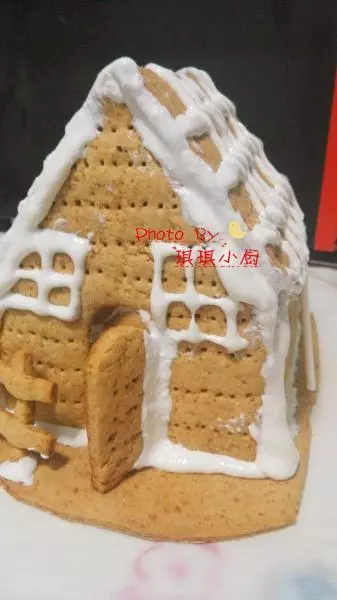
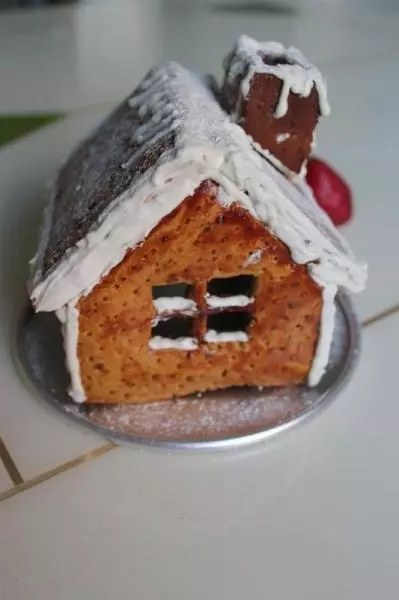
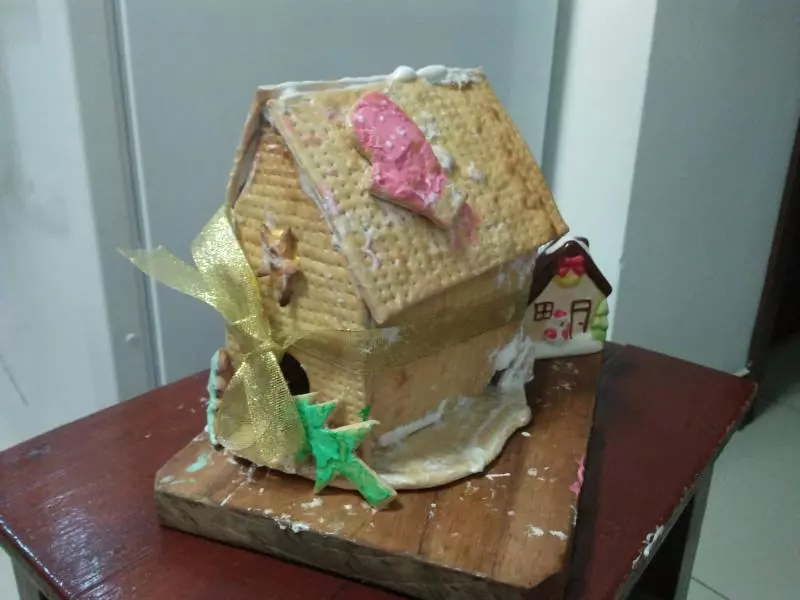
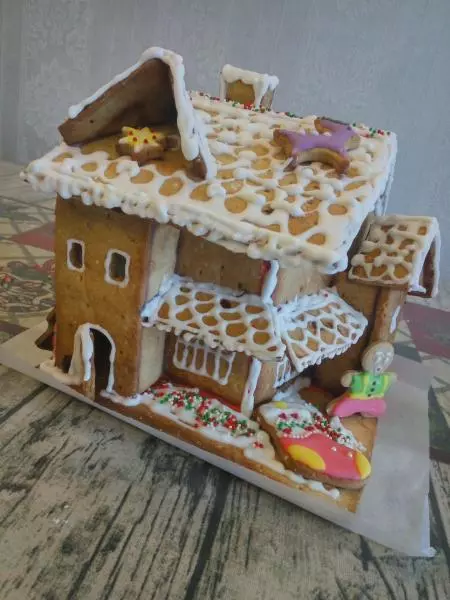
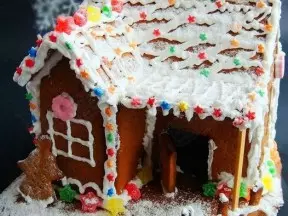
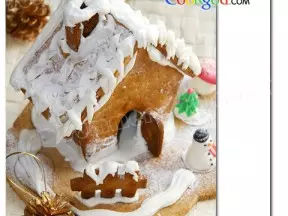
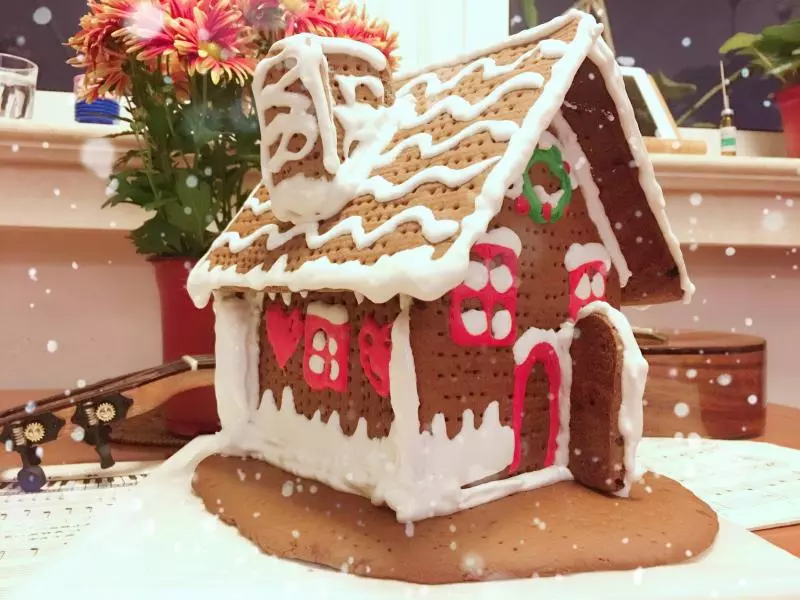
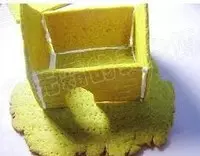
18然后开始装屋子。屋子的四边要先粘好。一定得等糖霜凝固了再装屋顶。不然屋子容易倒。糖霜可以稍厚些容易粘,如果糖霜太稀就不容易粘会倒。如图17即可
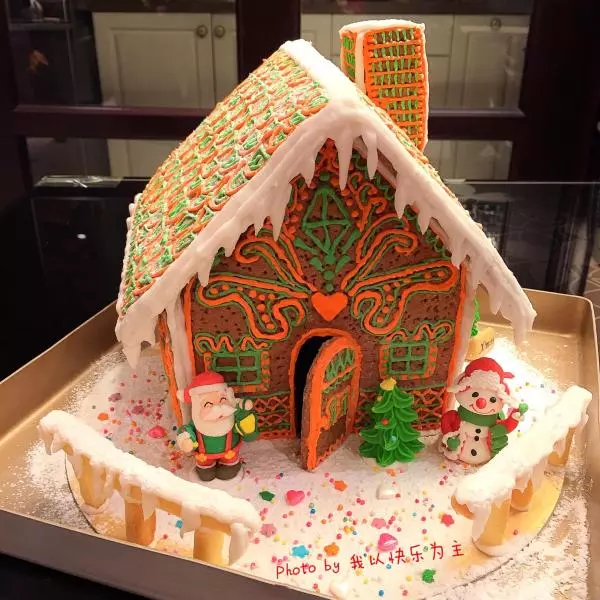
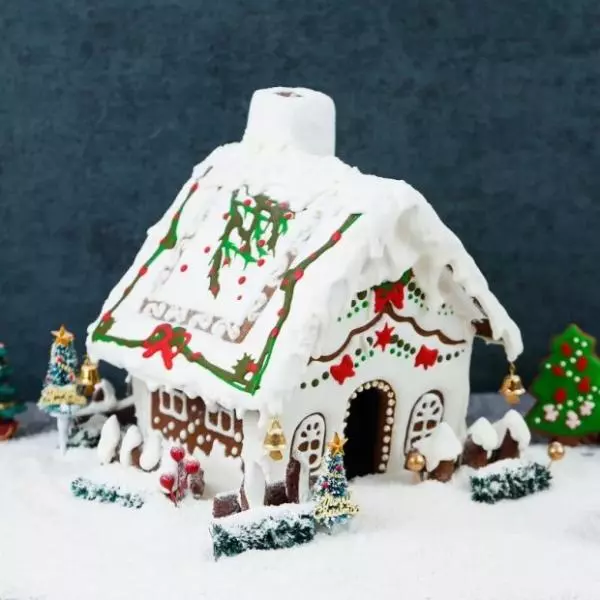
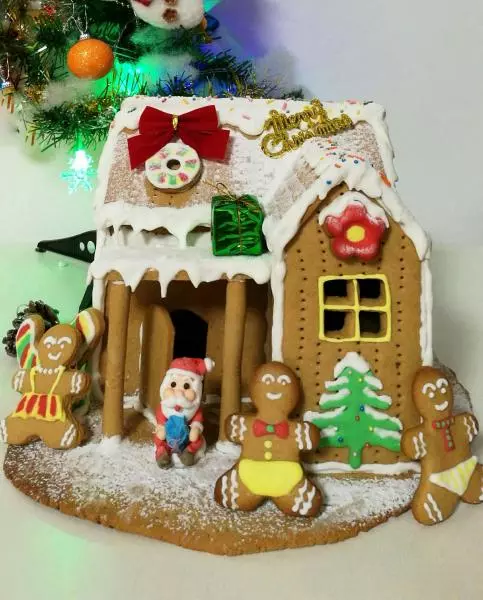
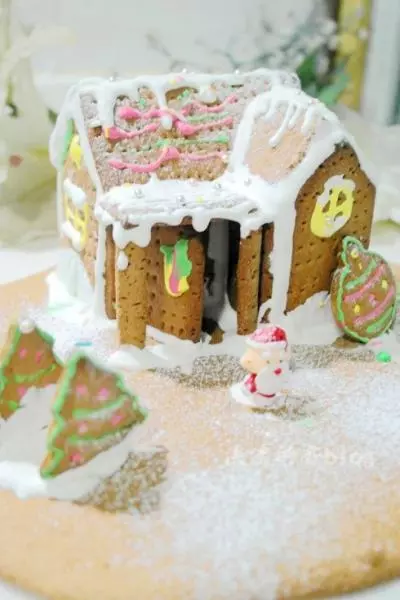
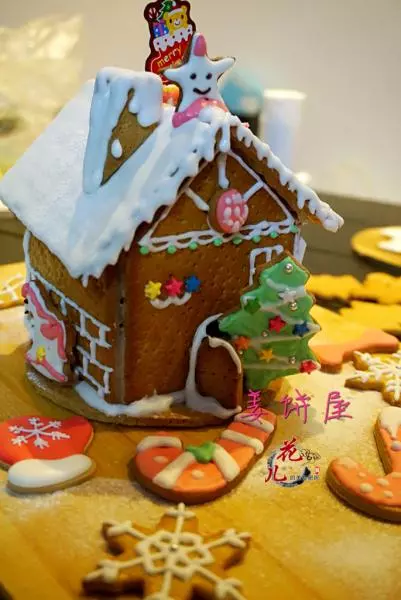
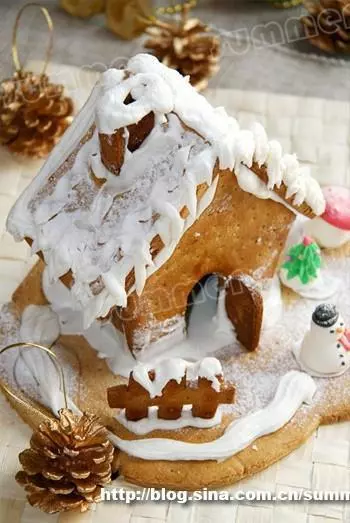
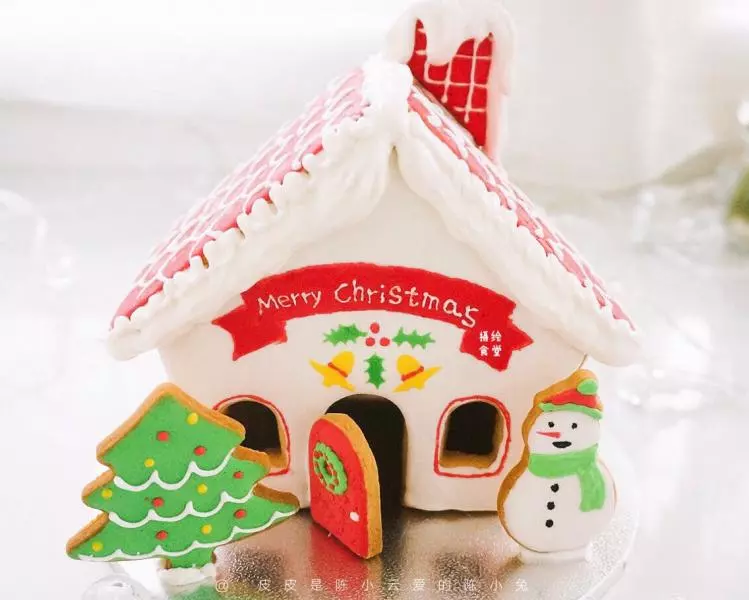
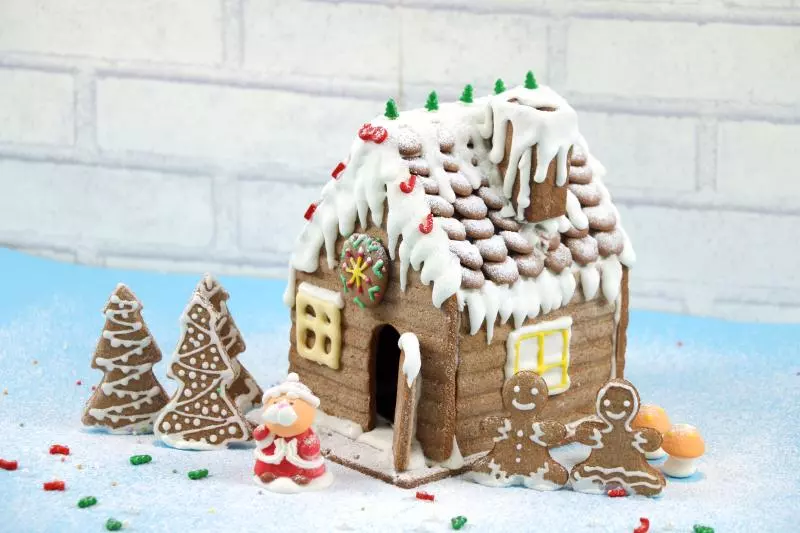
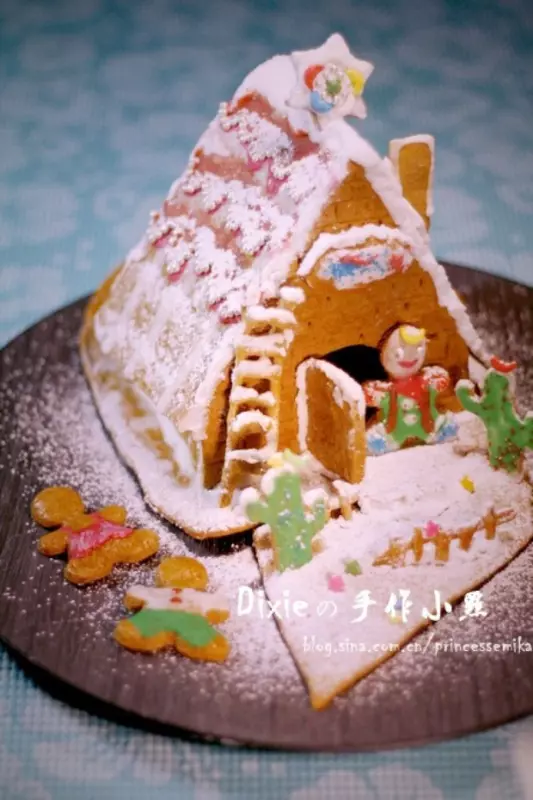
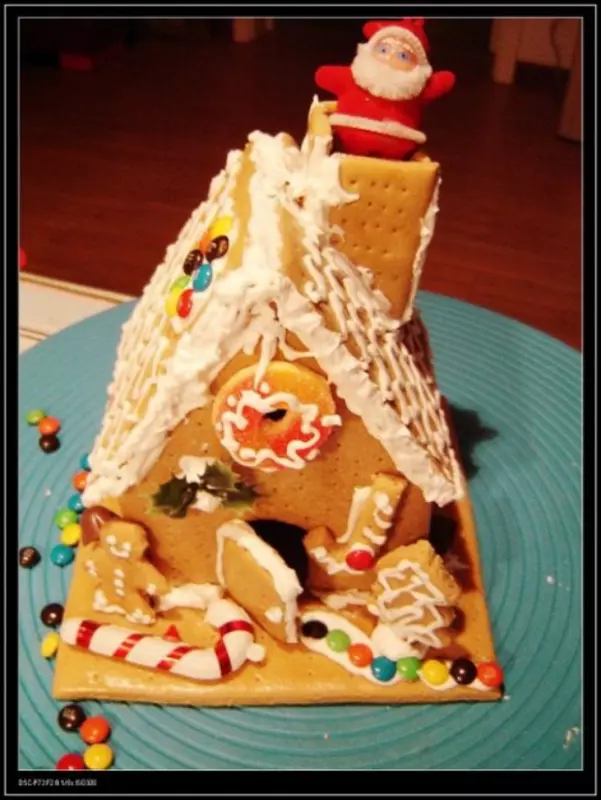
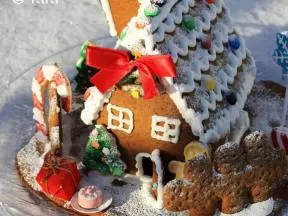
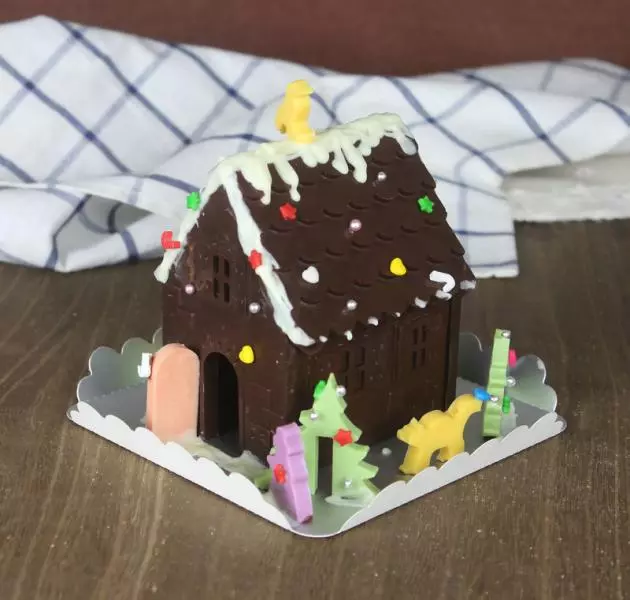
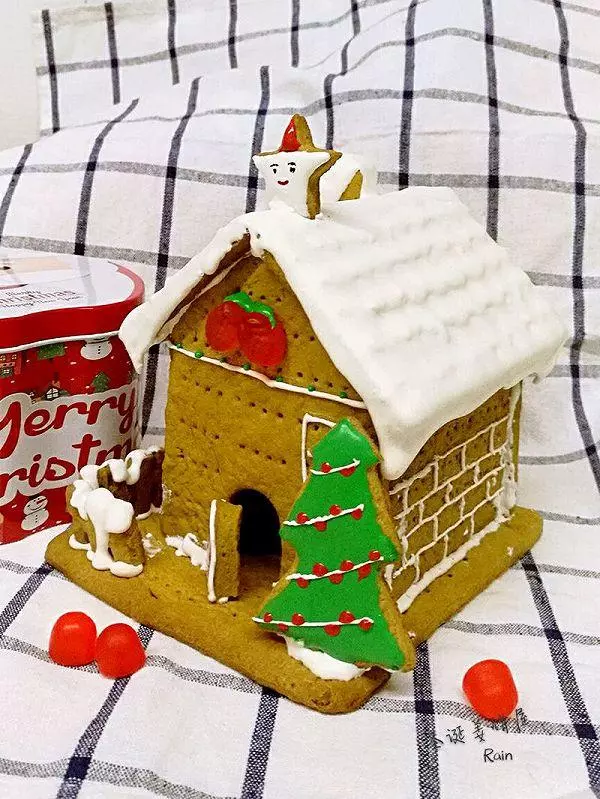
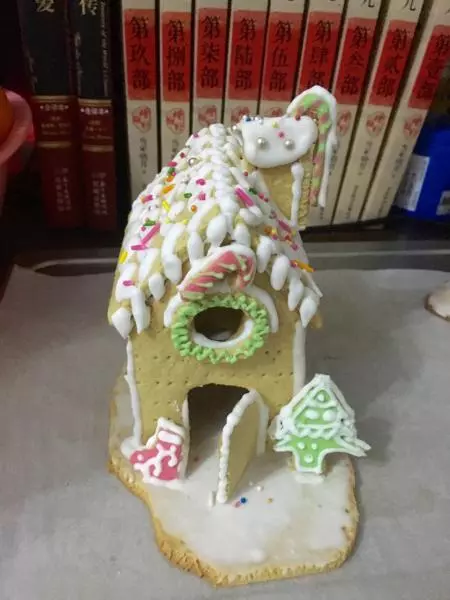
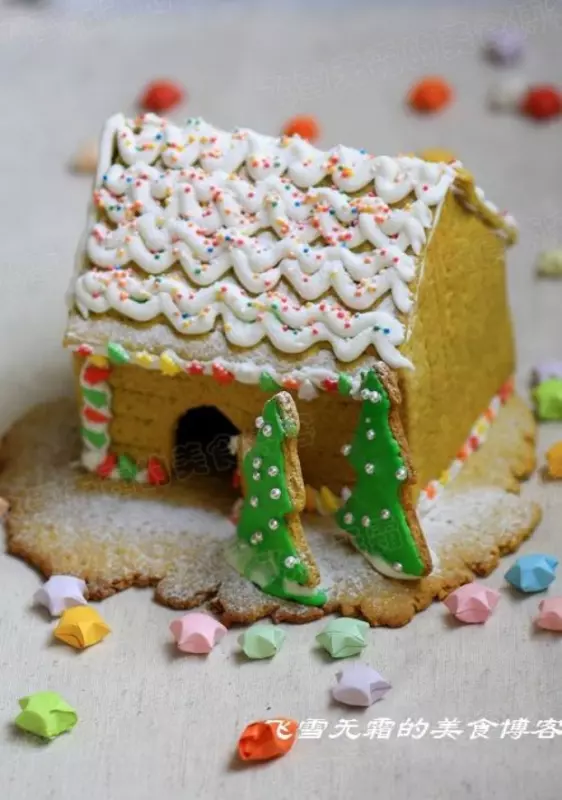
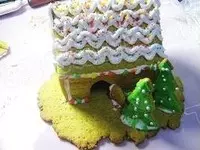
19然后再装屋顶。涂上蛋白糖霜装饰。圣诞树用蛋白糖霜加几滴色素,装入裱花袋中。比步骤17要稀些。所以粘屋顶的蛋白糖霜,和装饰饼干表面的糖霜不是一种厚度的蛋白糖霜。饼干表面的蛋白糖霜要稀一点。这样表面才光滑。而粘屋子的糖霜要稠一点,屋子才容易粘得住。裱花袋挤一个小洞。洞眼极小。涂在圣诞树上。再装饰卡通糖
小技巧
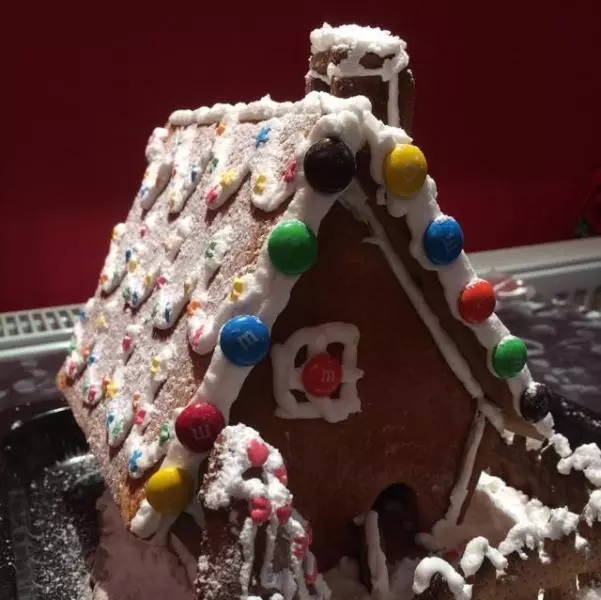
1,姜饼屋的面团稍醒一会儿,擀得时候才容易擀开。如果发现不好擀,可以松驰一会儿。 2,擀的面片0.4厘米。不要再厚。如果厚了下面屋子害怕你的地就不够用了。而且搭的时候也不好看。 3,为了建造喜庆气氛,可以多洒些卡通糖装饰。显得热闹。