原料
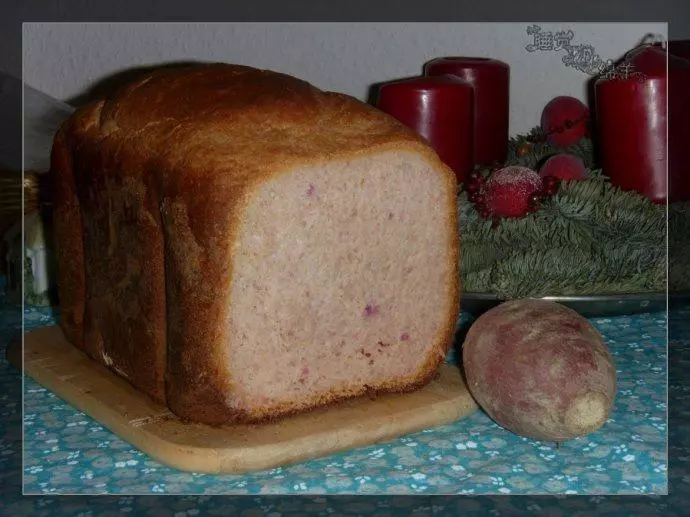
高筋面粉: 250G, 紫薯泥: 100G, 鸡蛋: 50G, 牛奶: 50G, 水: 40G, 细砂糖: 50G, 酵母粉: 1小匙, 盐: 1/2小匙, 黄油: 25G
步骤
1将除黄油以外的材料全部混合均匀后,揉成团放入案板开始揉搓摔打面团,至光滑及能拉出稍厚点的膜,再加入黄油继续揉搓摔打至拉出稍具透明的薄膜状就ok。把面团放入容器盖上保鲜膜进行室温发酵。

2发酵至2-2.5倍大

3取出面团轻压排气,再揉成相等重量的9个圆形小面团盖上保鲜膜进行中间醒发15分钟。

4醒发好的面团擀成长舍状。

5再翻过来横着卷起,捏紧收口,用手搓成长条状。

6依次搓好。

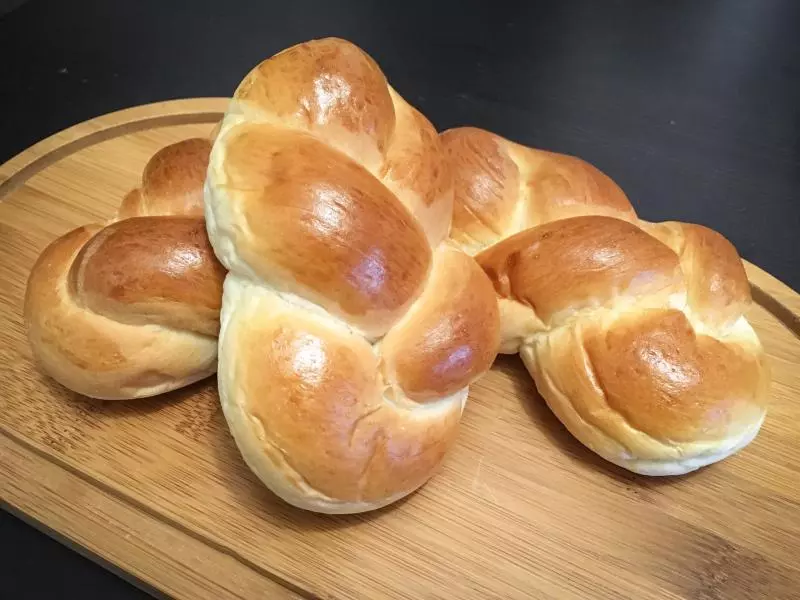
7用三根长条状如图交叉,捏紧头端。

8辫成辫子形状。捏紧尾端。

9辫好后,放入烤盘进行最后发酵。

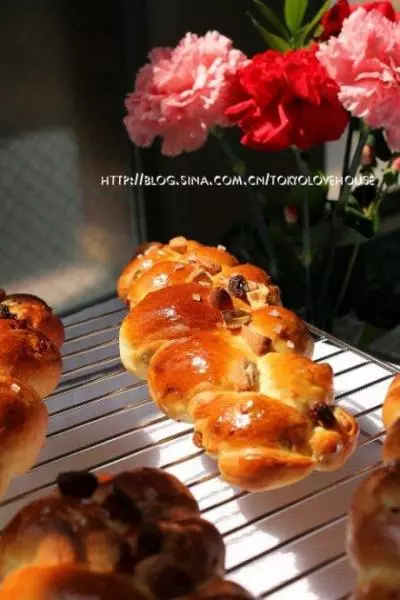
10发酵至1.5-2倍大,再刷上全蛋液,表面撒上黑芝麻。

11放入预热好的烤箱180度,烤18-20分钟左右至表面上色。

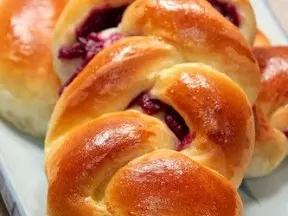
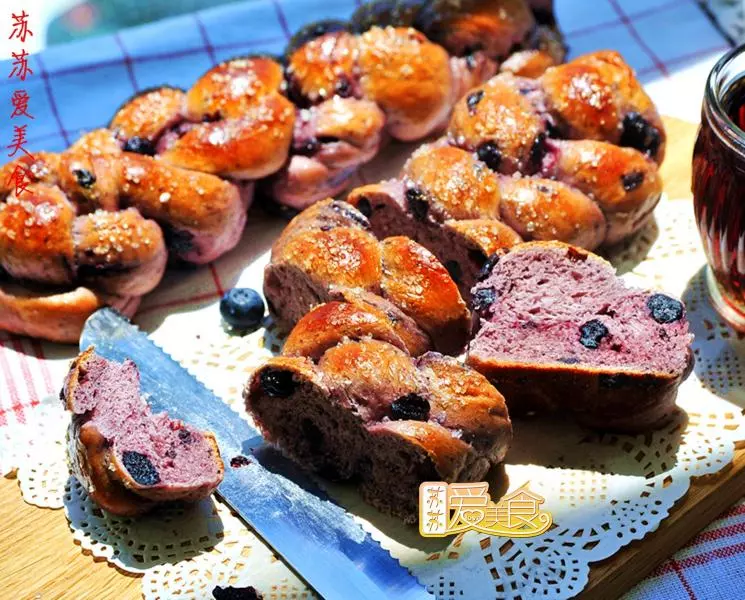
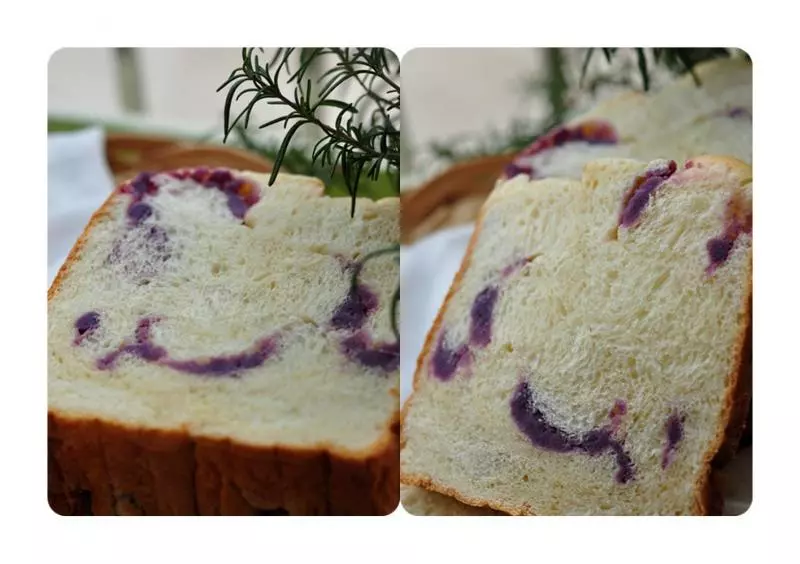
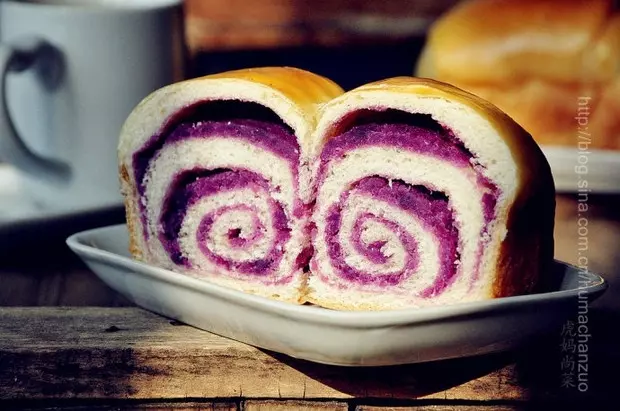
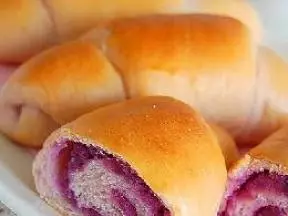
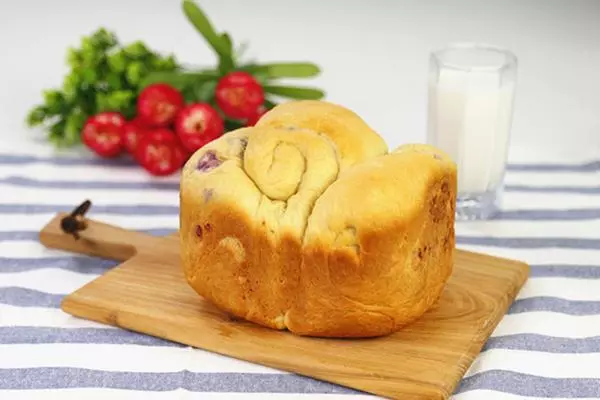
12完美成品。

小技巧
豆妈温馨语: 1、因紫薯泥有水分不同,液体量要保守添加。 2、辫辫子不用辫得太紧,首尾端要捏紧,以免发酵后松开。 3、 面包出炉后放凉再吃口感最好。 4、温度与时间要根据自家烤箱自行把握,以上仅供参考。