原料
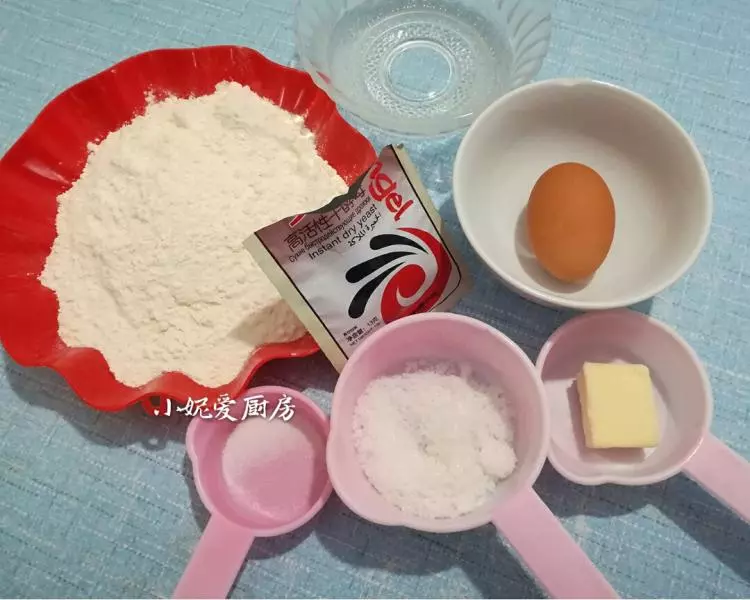
高筋面粉: 200克, 水: 95克, 全鸡蛋液: 30克, 盐: 2克, 白糖: 20克, 酵母: 3克, 黄油: 15克, 表面用料: , 蛋液刷表面: 适量, 小烤肠: 9个, 沙拉酱: 适量, 番茄酱: 适量, 小葱碎: 适量
步骤
1备好材料
2我用了两种烤肠

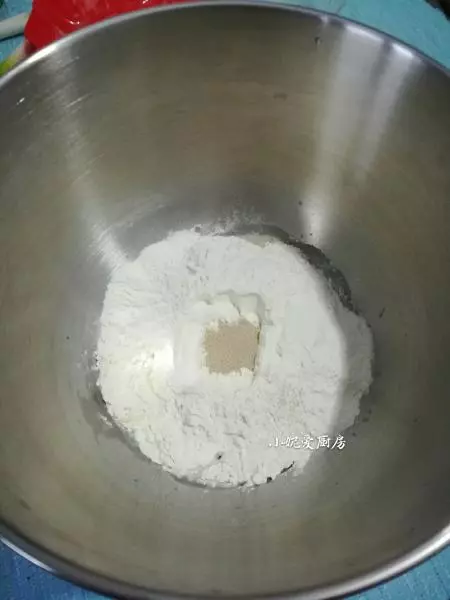
3除黄油外,所有食材放到厨师机里,酵母放上面,
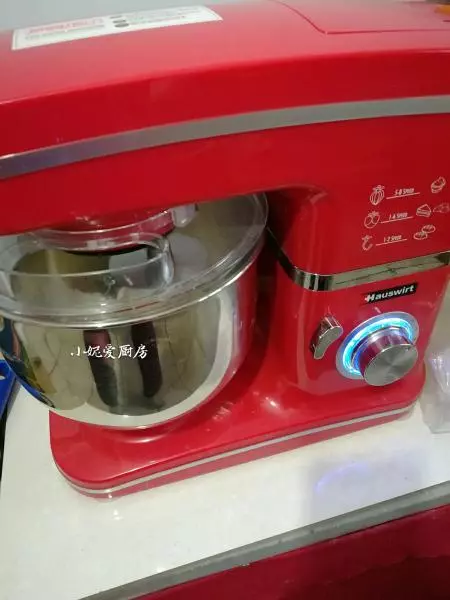
4开始揉面
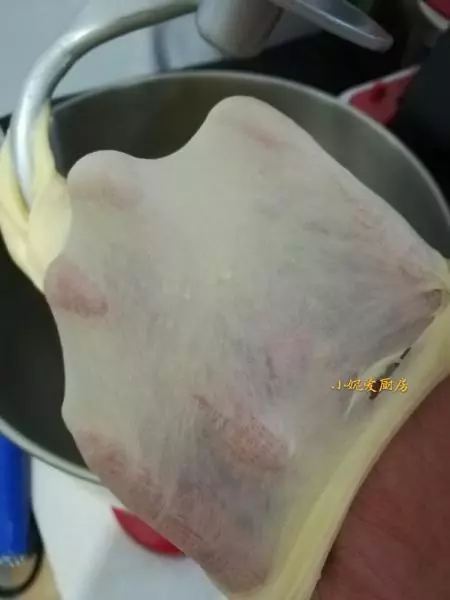
510分钟出膜状态
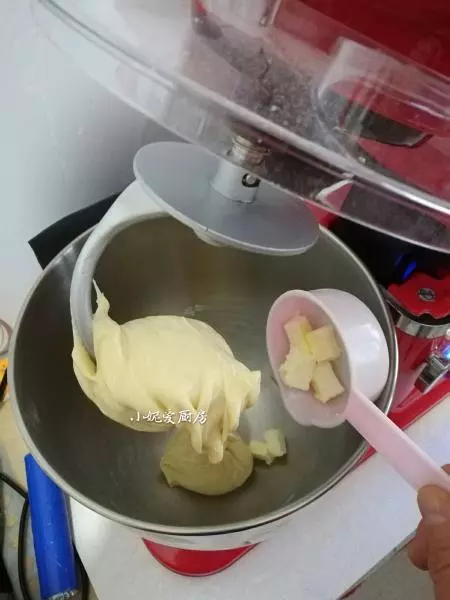
6加黄油,揉到完全
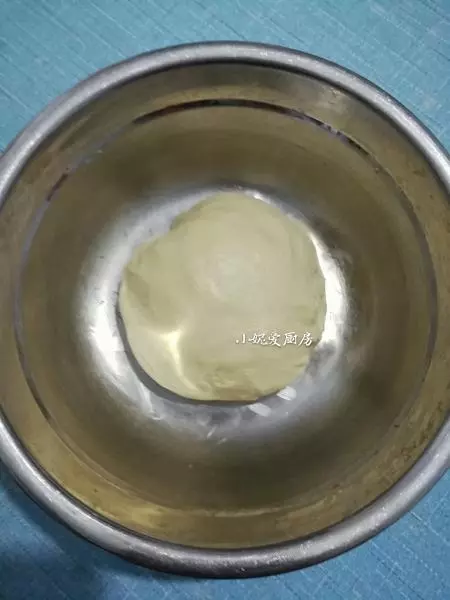
7盖上保鲜膜基础发酵
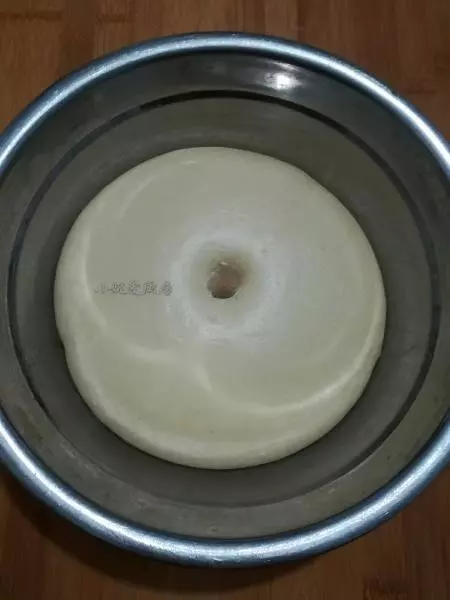
8发酵两倍大
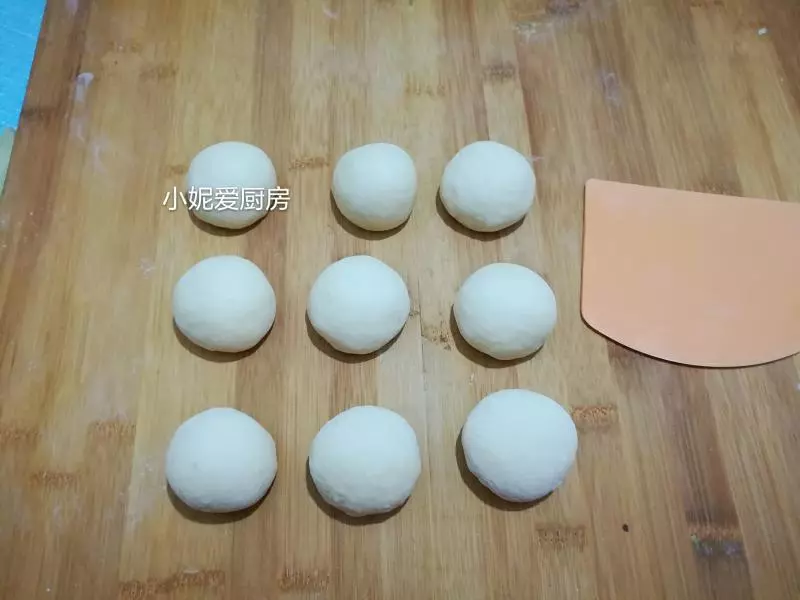
9排气,分成九份(每份平均43克左右)
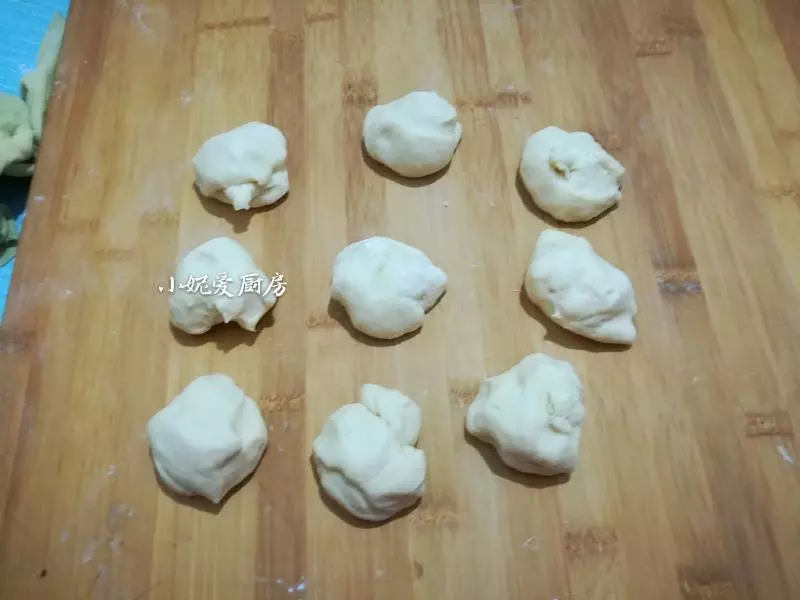
10滚圆松弛15分钟
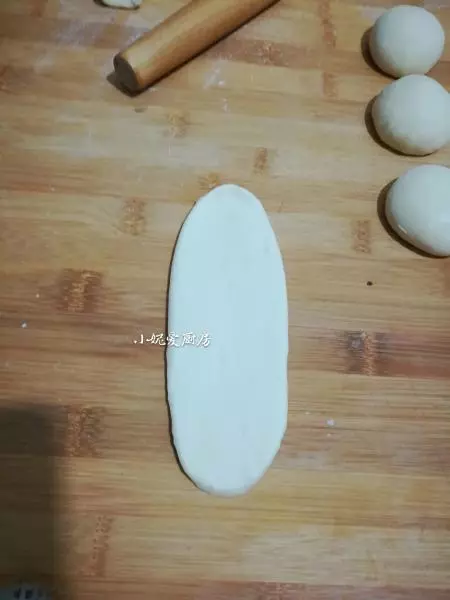
11擀成长条形
12翻过来,由上至下卷起
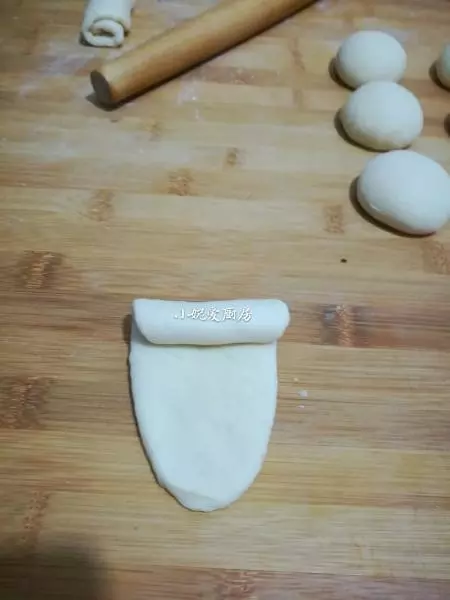
13都卷好后,盖上保鲜膜再松弛15分钟

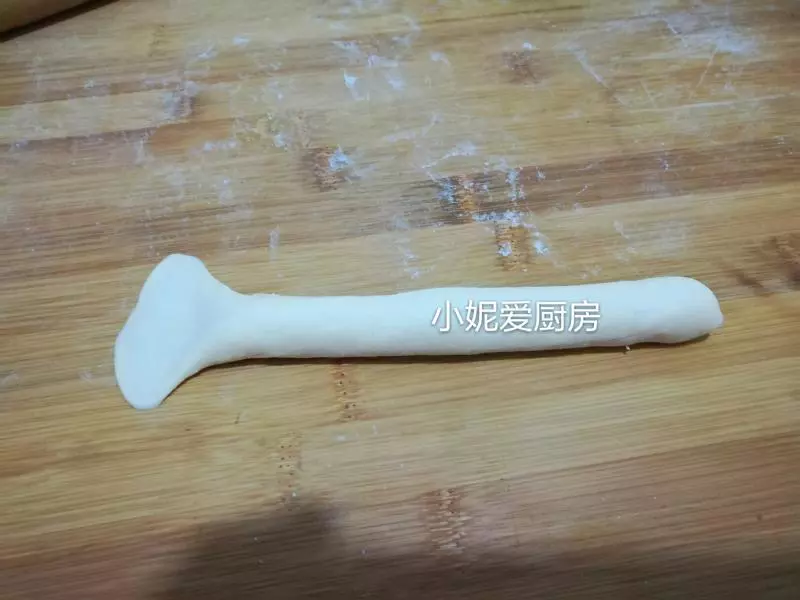
14搓成长条,一头按扁,用擀面杖擀几下
15对折,薄薄的一头包裹另一头捏紧
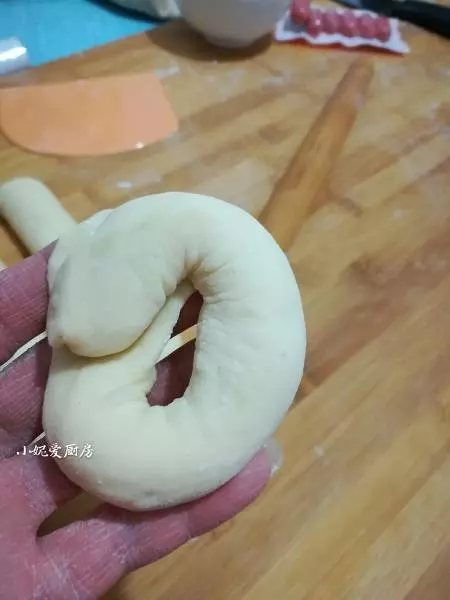
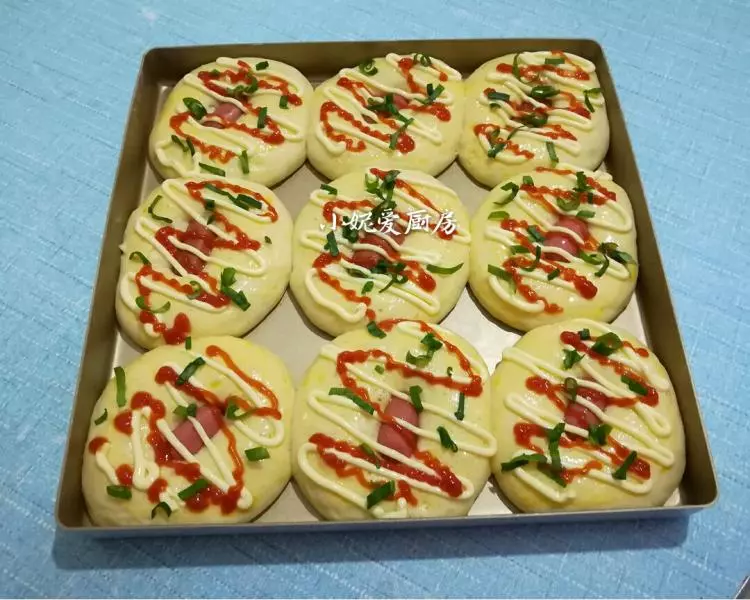
16摆在烤盘上,把烤肠小心的放入中间,进行二次发酵,

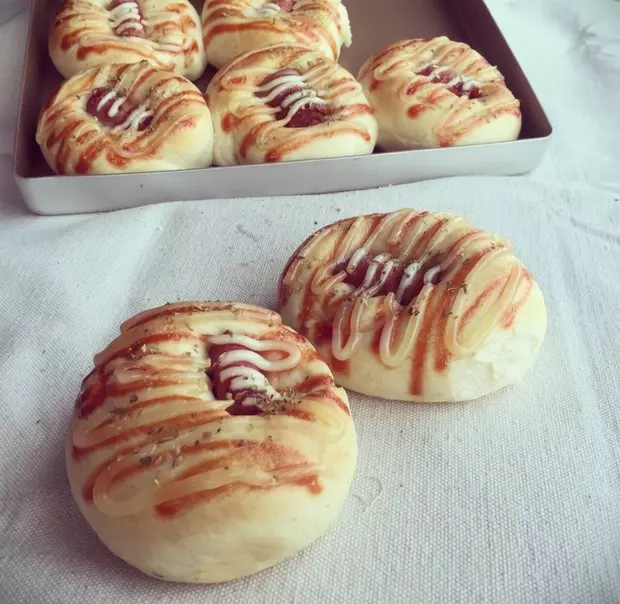
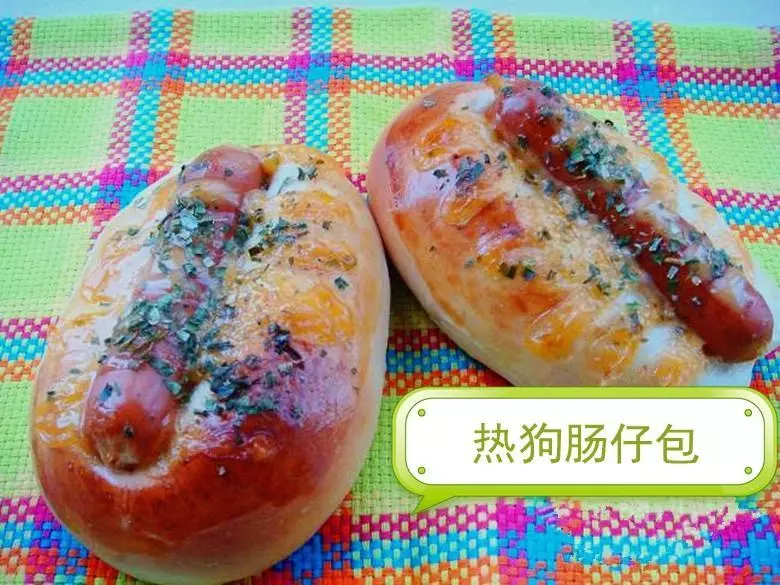
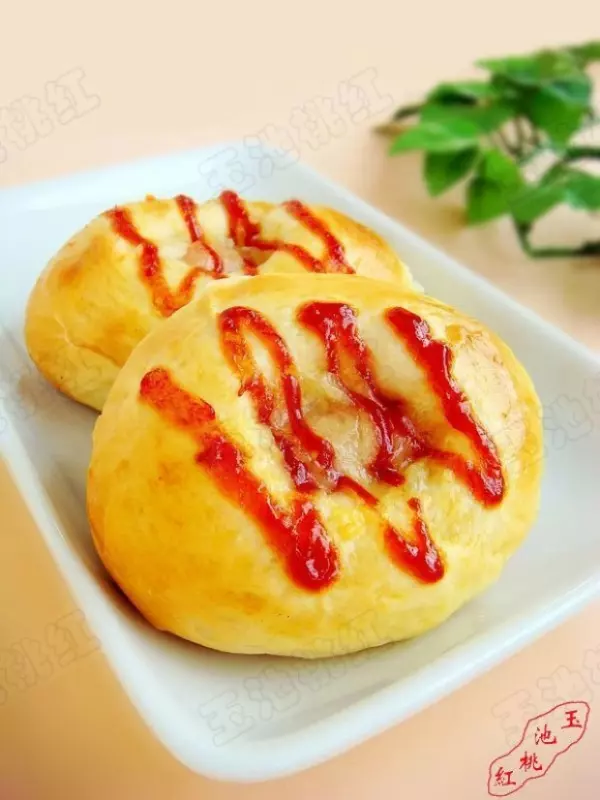
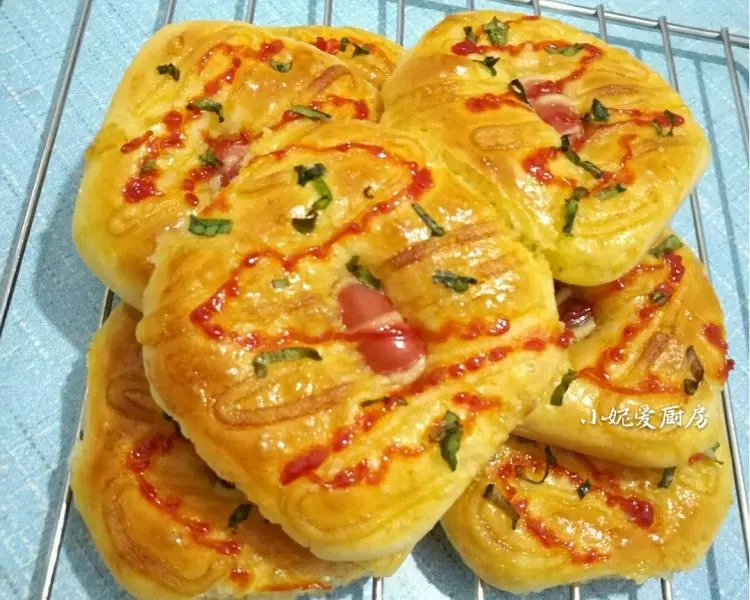
17发酵完成,一不小心有点发过了,表面刷蛋液,挤上沙拉酱,番茄酱,在撒点小葱碎
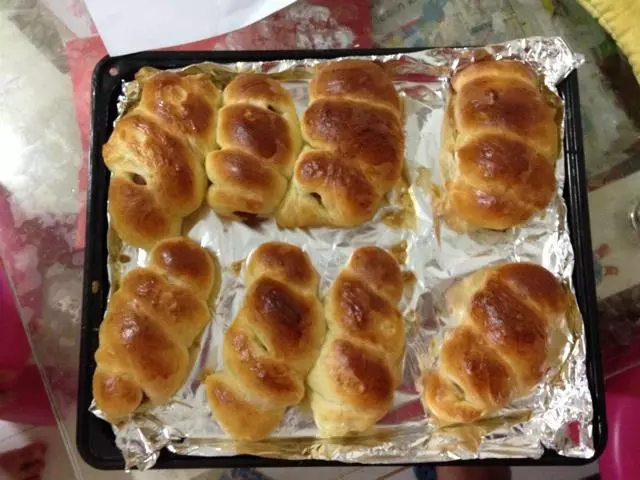
18预热烤箱,170度中层,烤20分钟
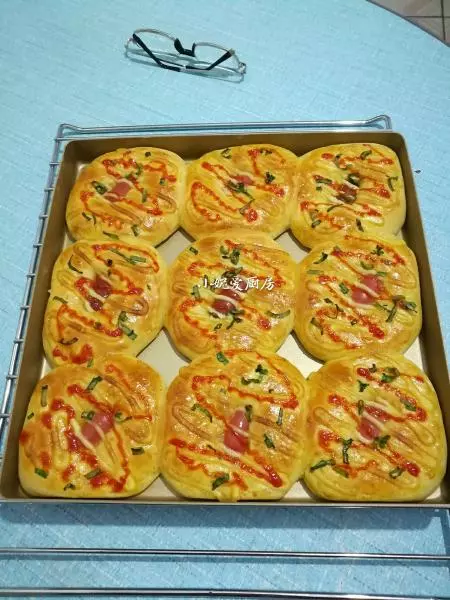
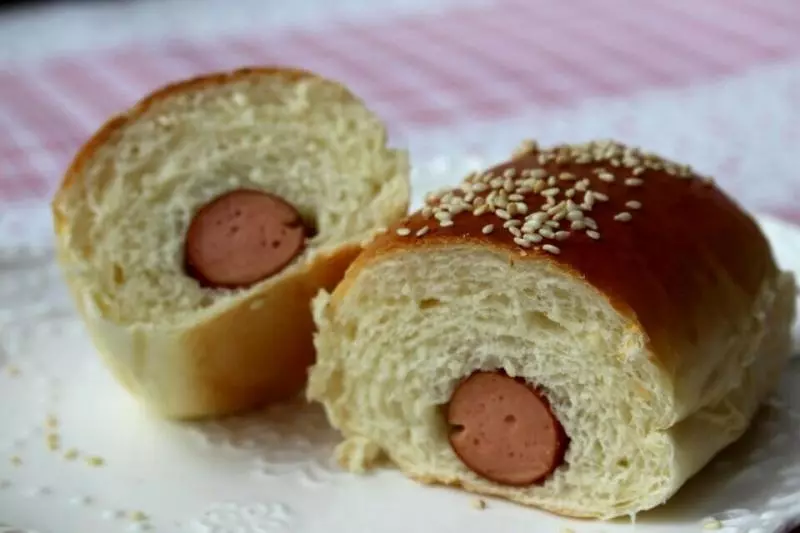
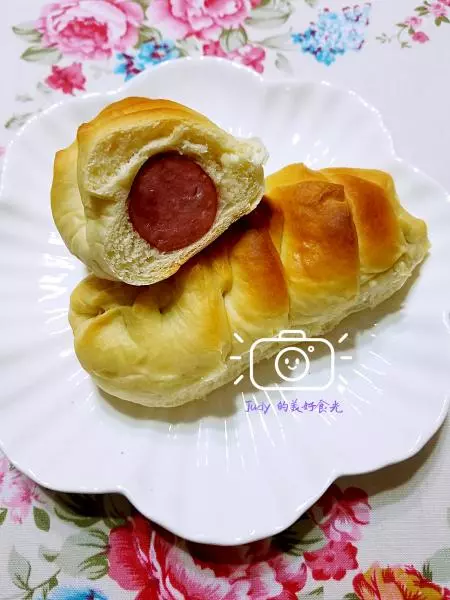
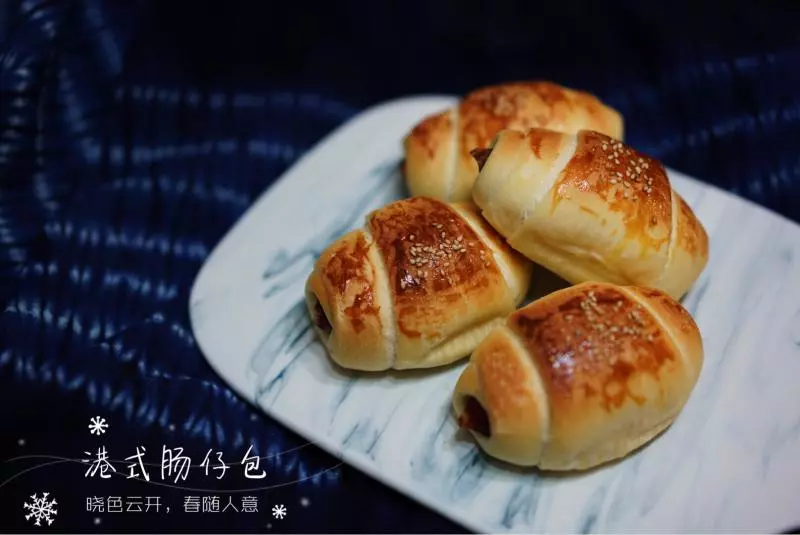
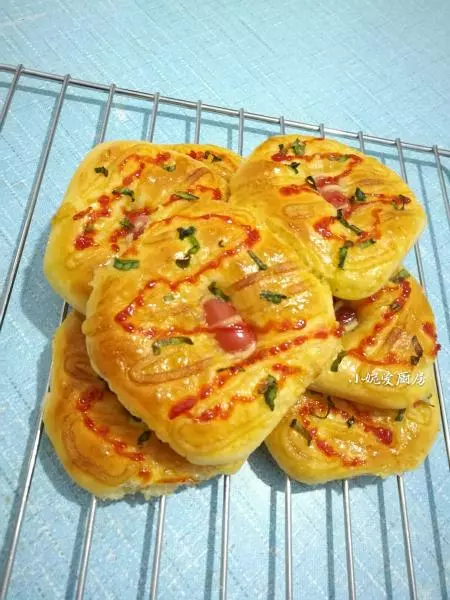
19出炉,放凉网上,凉后装袋保存,已经吃掉了一个了,趁热吃太好吃了,
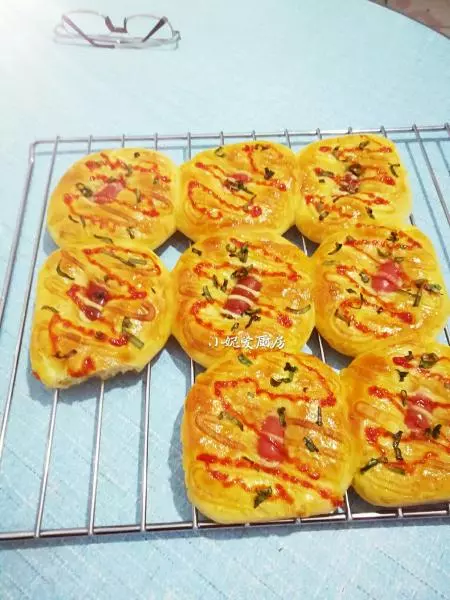
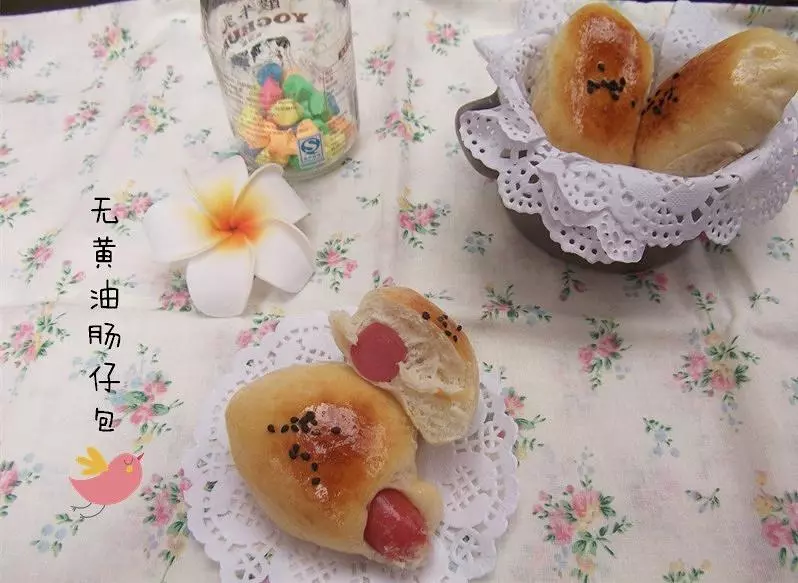
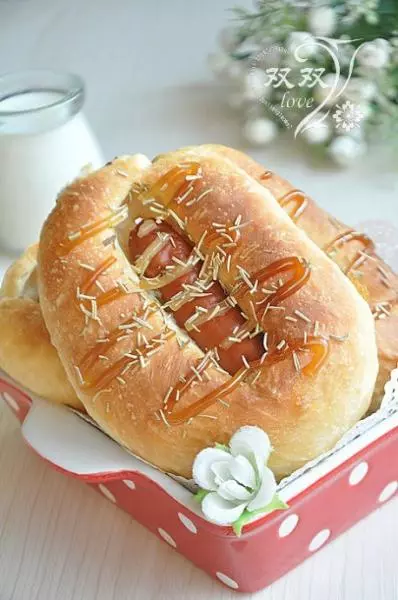
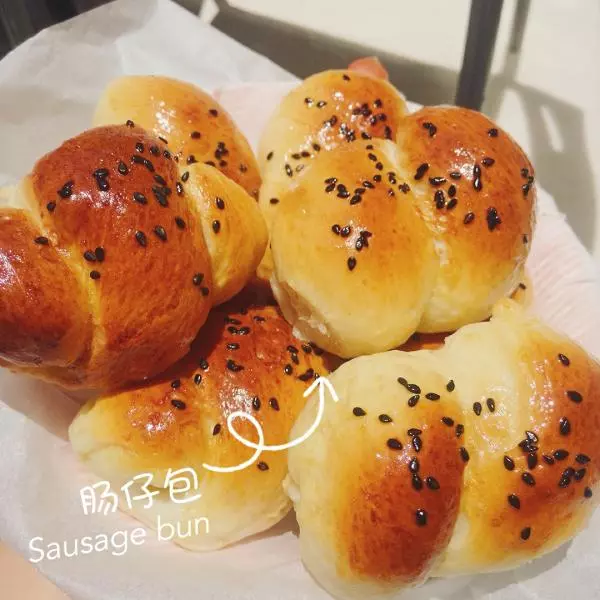
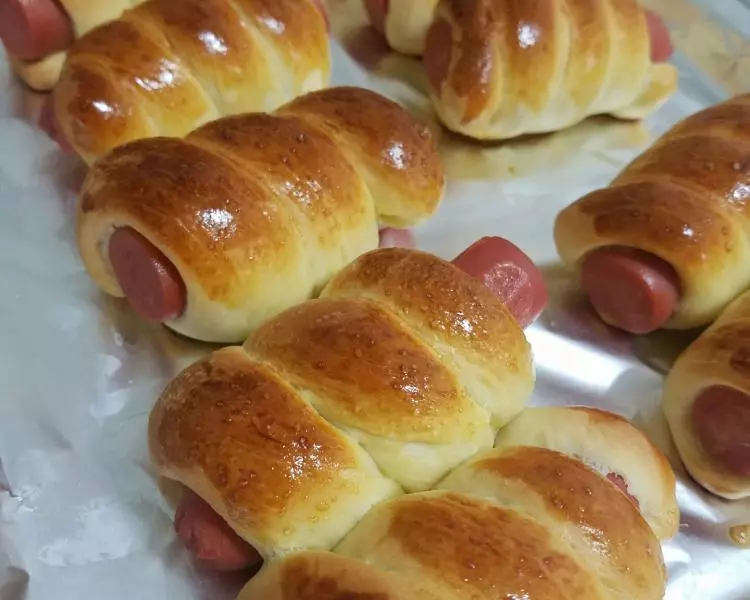
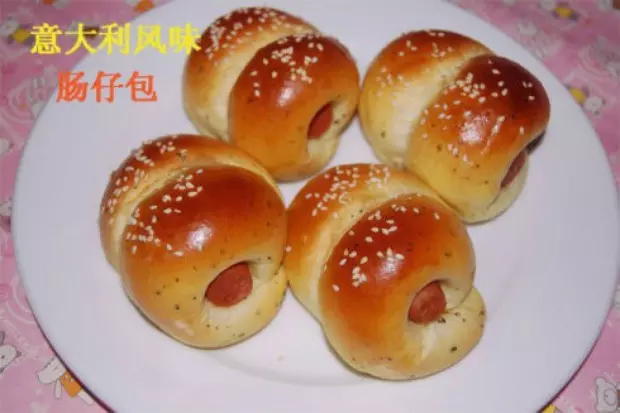
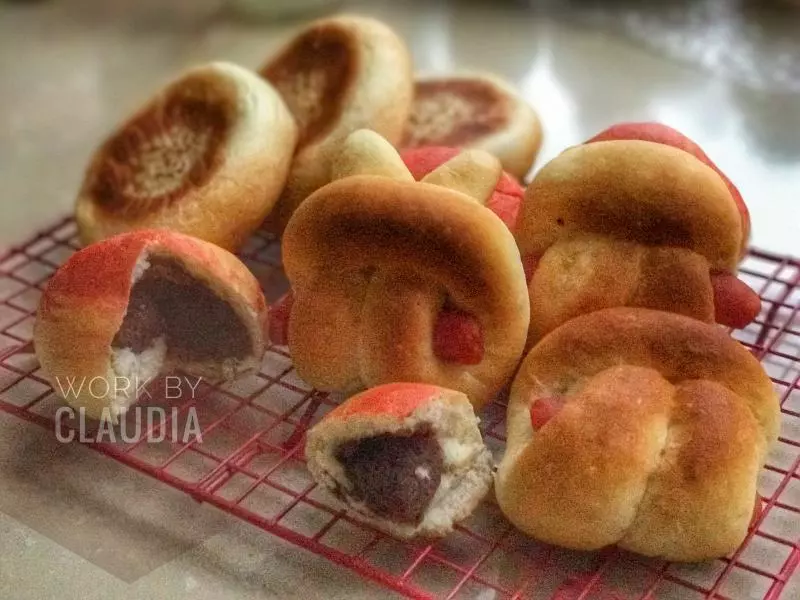
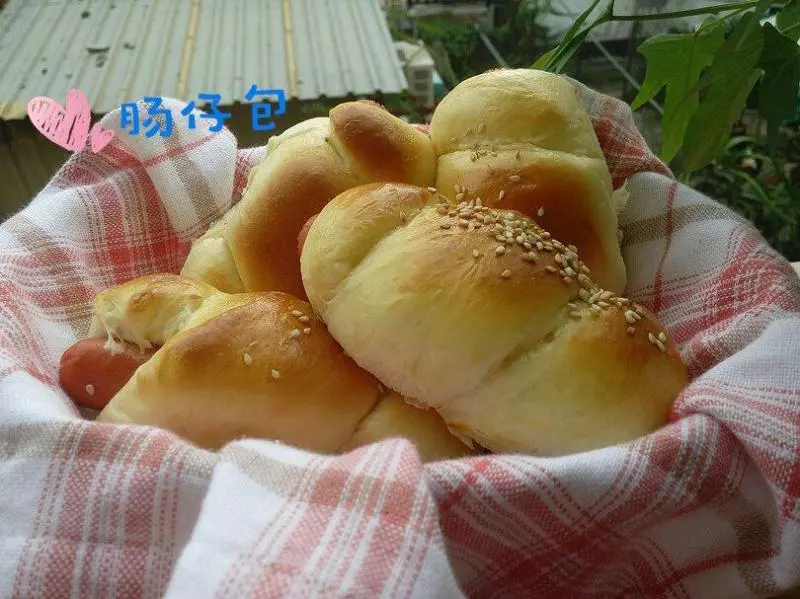
20美味哒肠仔包,
小技巧
肠仔小餐包没有吐司要求的高,一旦有失手的环节,也不会失败的多难吃,比吐司要好做的多地多,不用害怕动起手来吧。