原料
酸奶: 400克, 鸡蛋 (分离好蛋清): 8个, 盐: 2-3g, 蛋糕粉: 250克, 糖 蛋白用: 150克, 红糖 蛋糊用: 200克, 色拉油: 70克, 小苏打: 12克, 无核金丝枣: 250克
步骤
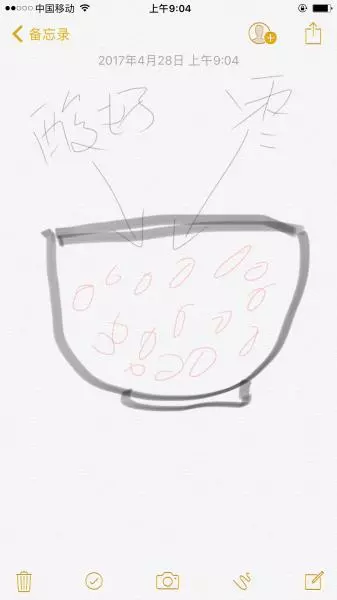
1如图先将大枣用酸奶泡起来 我泡了大约一个小时 其实20分钟ok
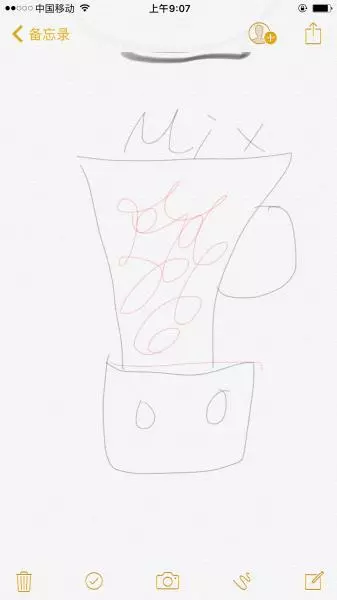
2料理机 将泡好的酸奶枣子 打碎
3枣泥 蛋黄 油 盐 小苏打 红糖 一起搅拌! 好!!用力!! 搅拌至红糖没有大块了的就好了? 歇会~~
4开始打蛋白 分三次加入砂糖 打到蛋白稳定有了小尖尖
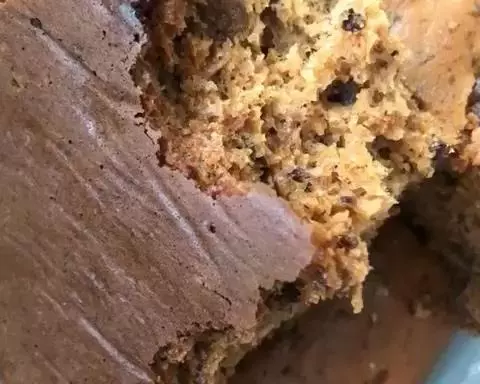
5加入蛋糕粉 我的方法是 将蛋糕粉分为俩分 一份加在红糖蛋糊里 一份加在蛋白里 俩份搅拌均匀后再mix在一起搅拌 至均匀!! 翻拌!!翻拌!!翻拌!! 烤箱 上火130 下火150 中层50分钟 温度还是要自己掌握吧 毕竟每家烤箱不同温度差太多
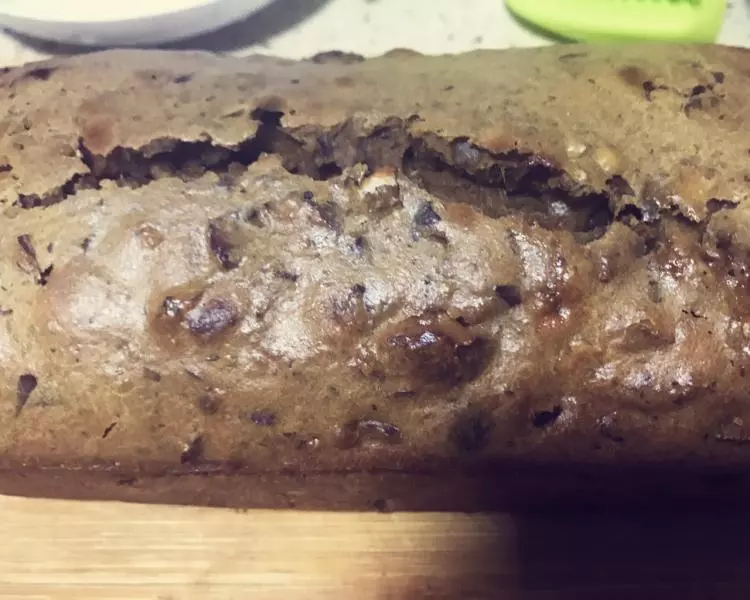
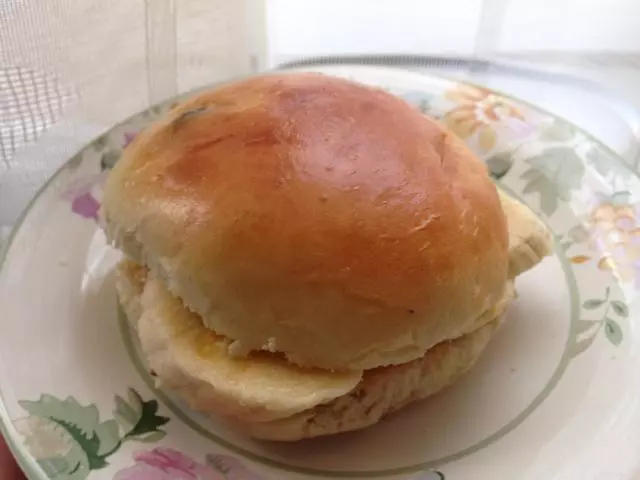
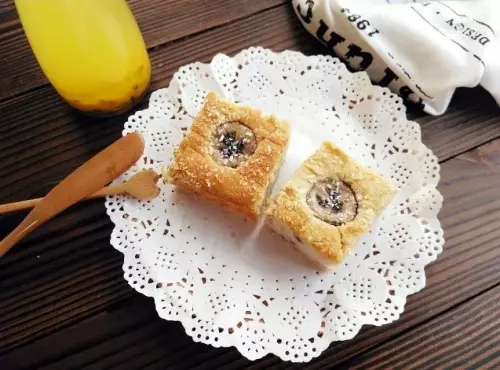
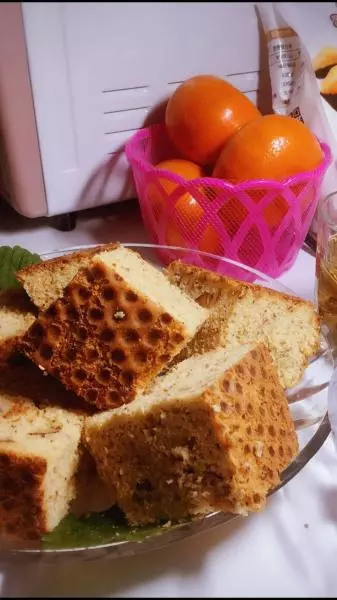
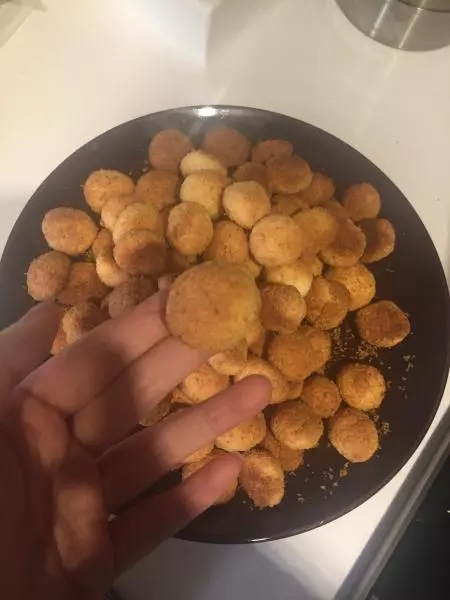
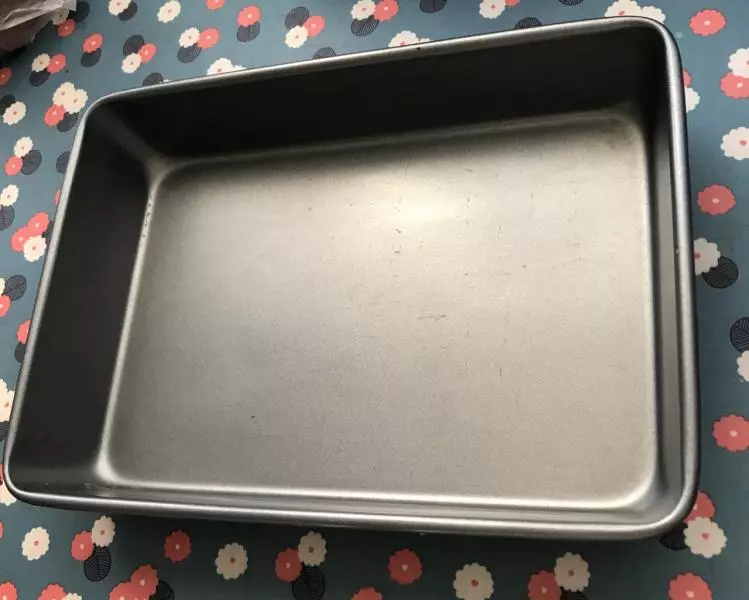
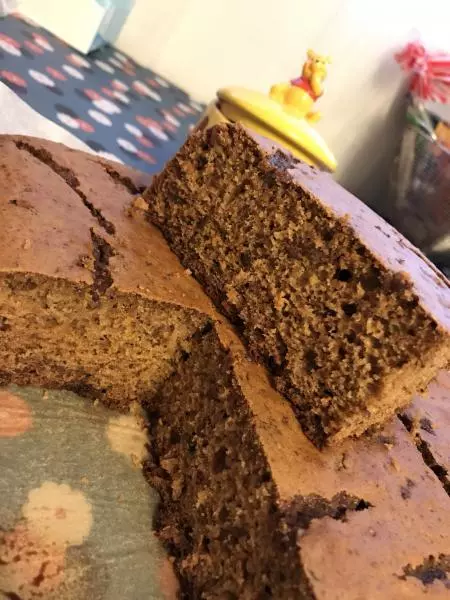
6这货就是我用的烤盆 大块的吃起来比较过瘾
7很好吃 !!相信我!! 超级简单 !!
小技巧
如果烤箱温度不稳定 烤30分钟后 见蛋糕表面发黑的话 记得扣上锡纸哦