原料
鸡蛋: 6个, 面粉: 半碗多点, 白糖: 三分之一碗, 玉米油: 三分之一碗, 纯牛奶: 三分之一碗
步骤
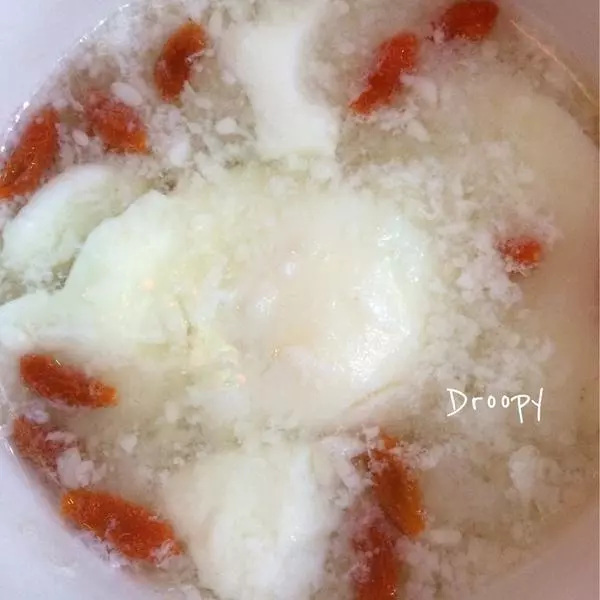
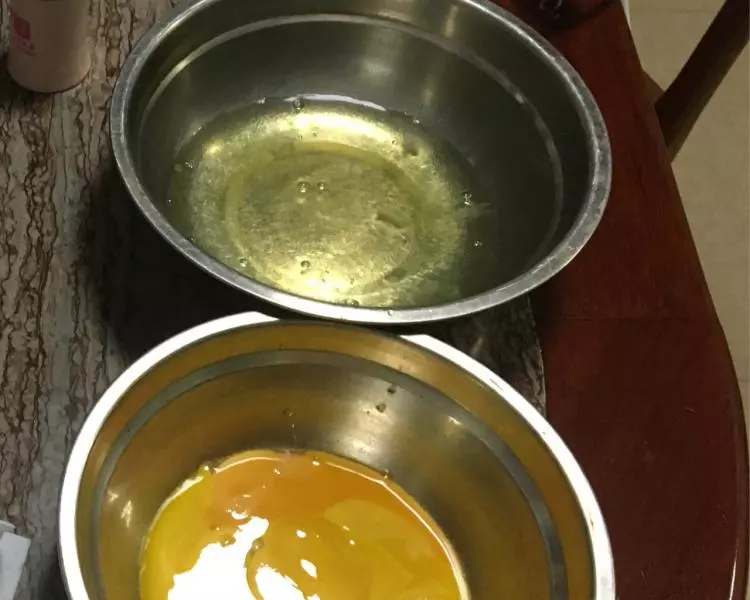
1蛋白蛋黄分开装在两个无油无水干净的不锈钢盆里
2用电动打蛋器中速打发蛋白,边打发边加入白糖(加一半留一半白糖在蛋黄中加入)蛋白变成纹路清晰的白色泡沫不会流下来即可。

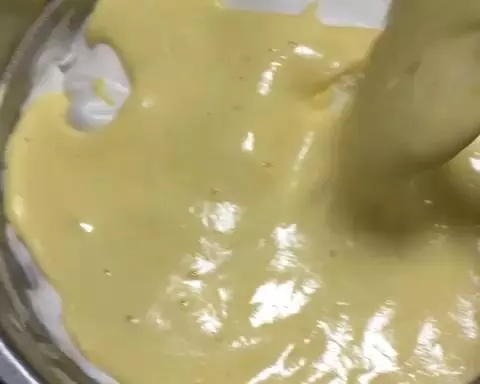
3蛋黄中加入剩下的白糖,加入三分之一碗玉米油和纯牛奶拌匀,再倒半碗面粉用饭勺拌匀
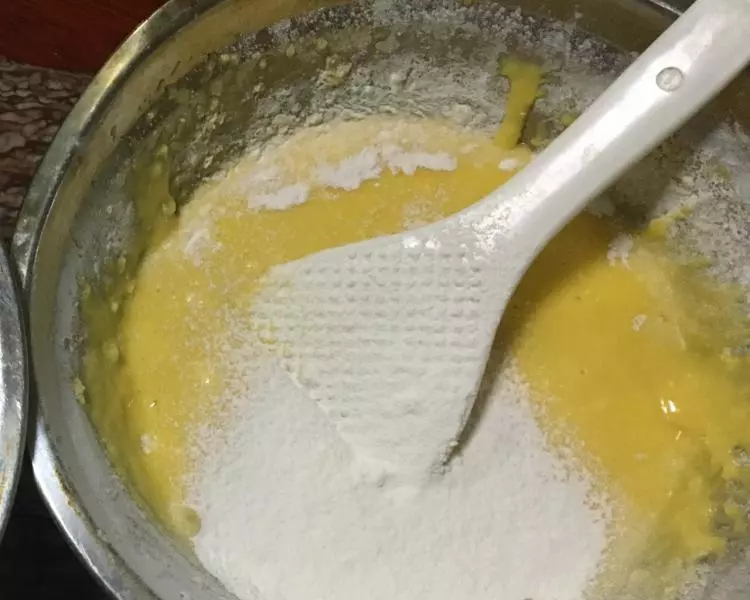
4拌蛋黄糊时需由下至上翻拌,不可打圈圈以免面糊起筋影响蛋糕的蓬松感?

5蛋黄糊拌至无颗粒状态,用饭勺舀三分之一蛋白加入蛋黄糊中,也是由下往上拌均匀,不可打圈圈?
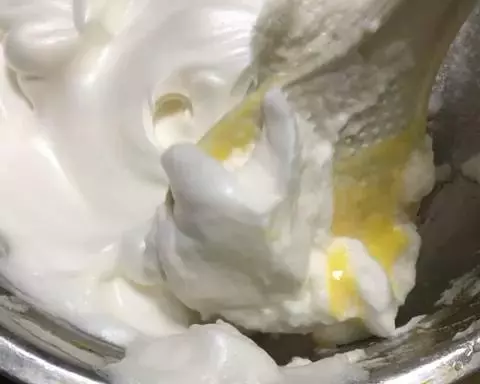
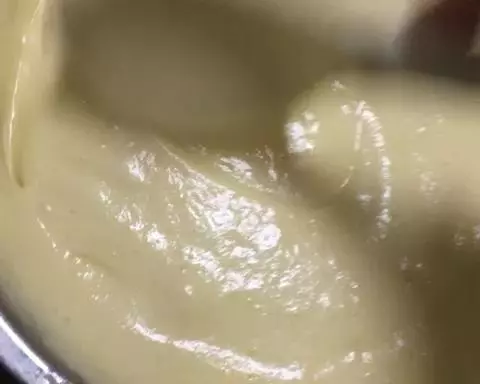
6把拌匀的蛋白蛋黄糊倒入剩下的三分之二蛋白中由下往上翻拌均匀
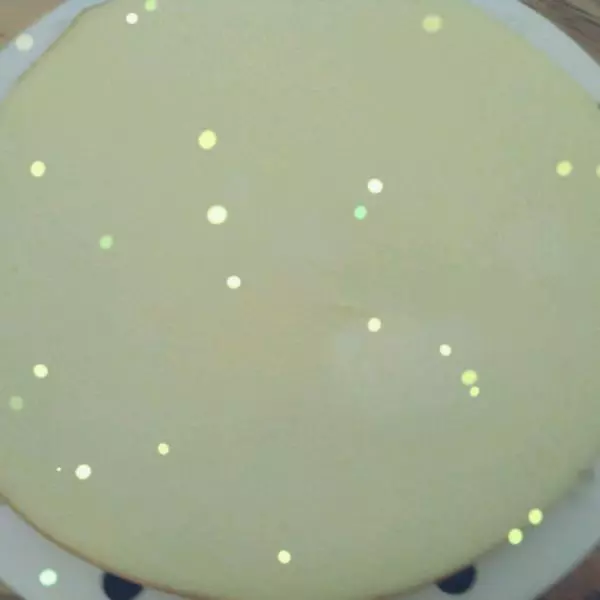
7面糊拌匀后无颗粒,光滑细腻有流动性
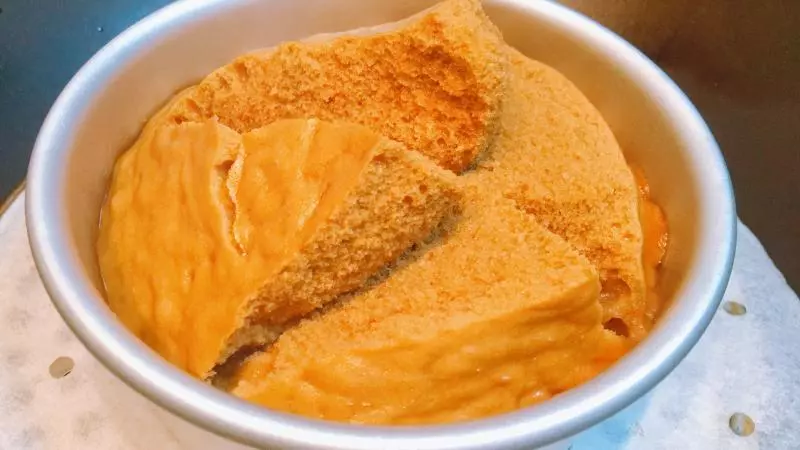
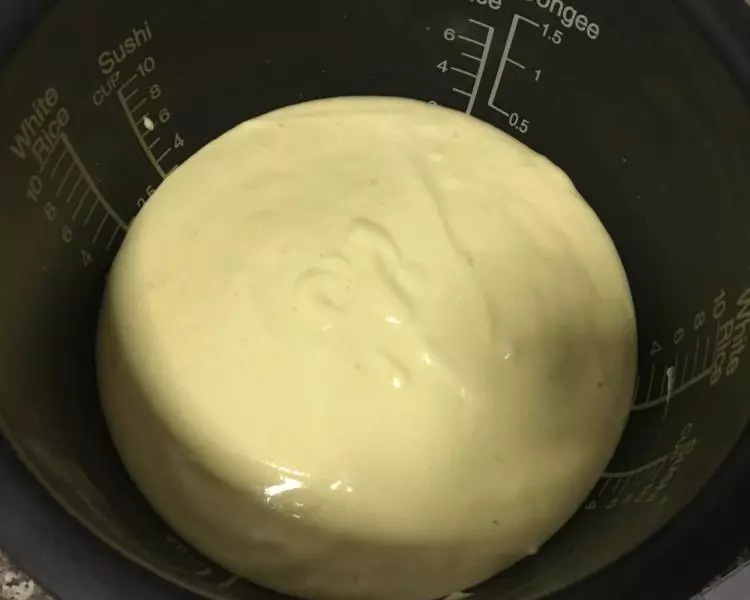
8把面糊倒入电饭锅中,把电饭锅拿起震出面糊中的小泡泡
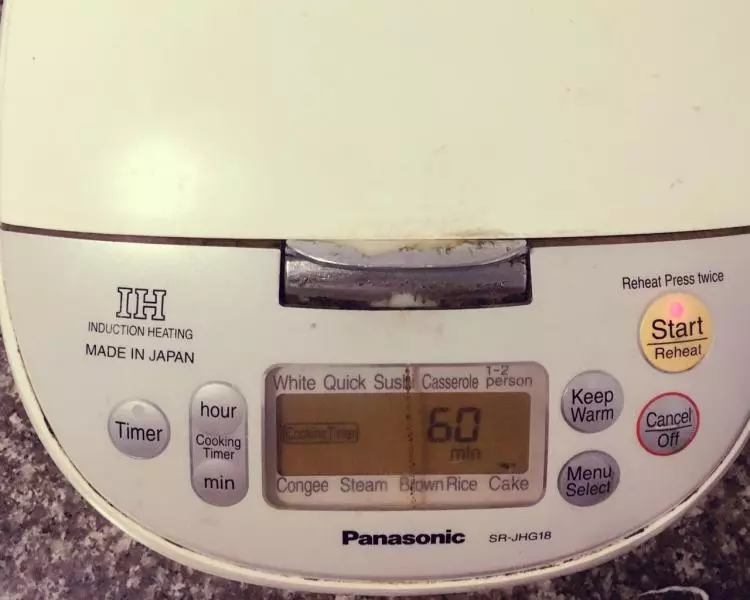
9按蛋糕功能(如果没有蛋糕功能就按加热功能二十分钟左右即可)
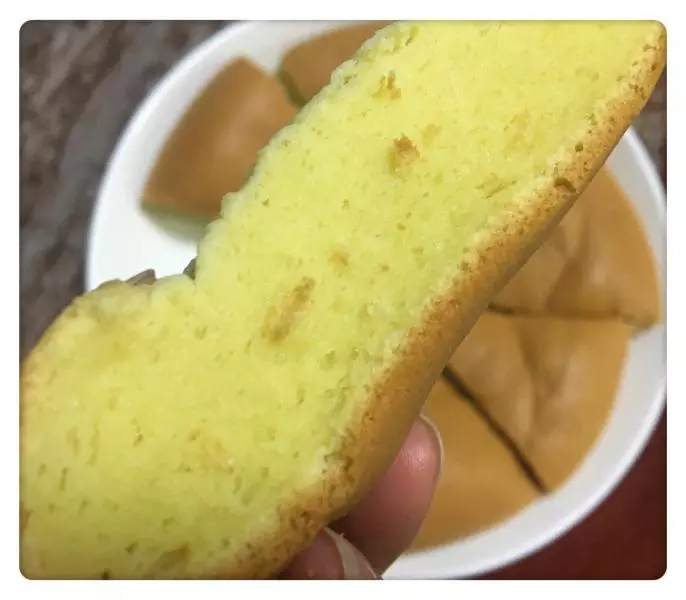
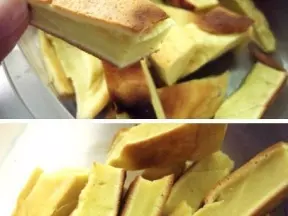
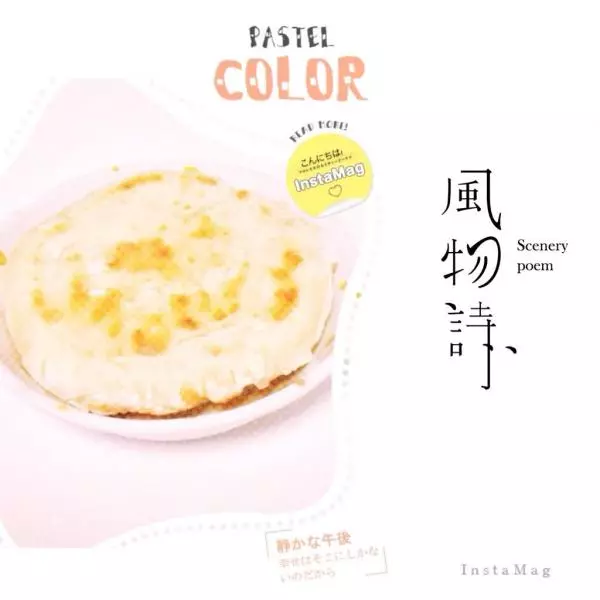
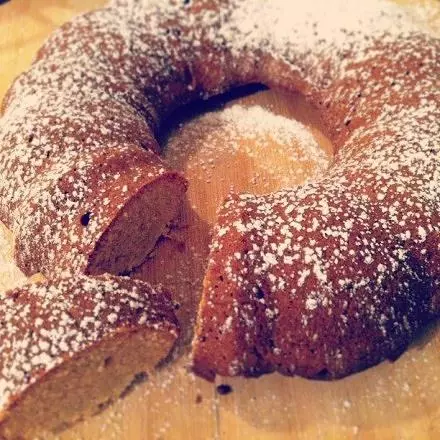
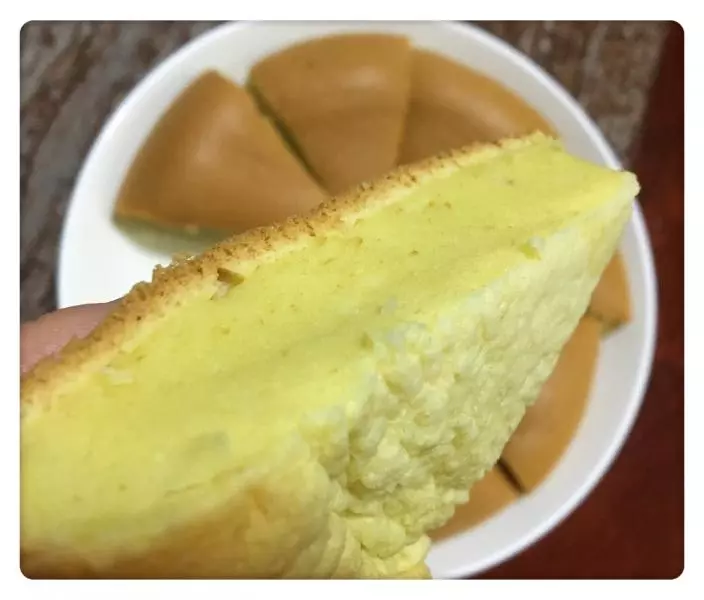
10出锅马上切块摆开(预防底下出水蒸气噢)
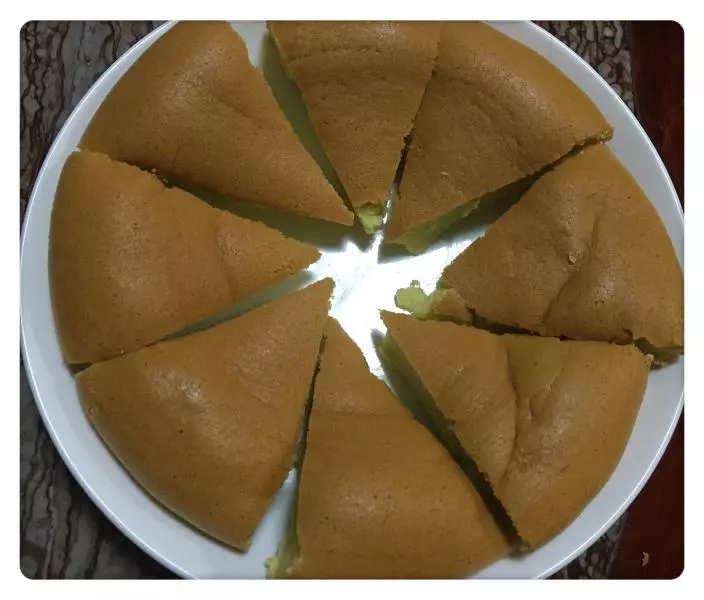
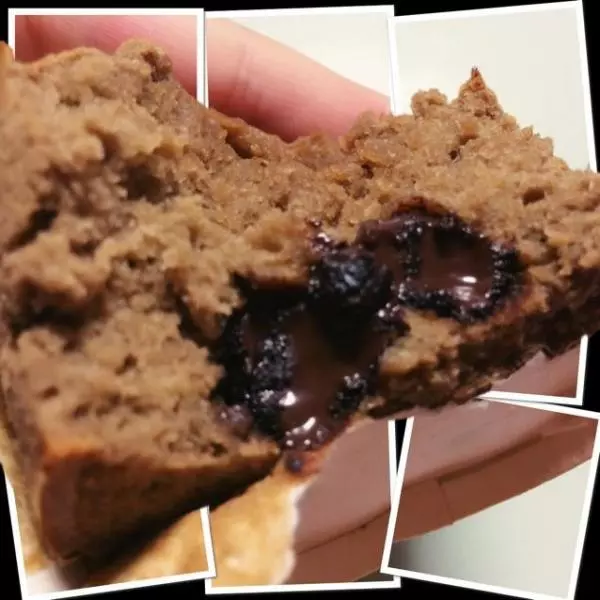
11天然无添加,柔软可口?