原料
油皮: , 面粉(高粉): 225克, 猪油: 82克, 糖: 45克, 水: 94克, 油酥: , 低粉: 175克, 猪油: 90克, 红曲米粉: 4克, 可可粉: 4克, 蛋黄: 24个, 豆沙: 25克一个, 油皮的盐: 2克
步骤
1把油皮所有材料放进揉面机里 揉30分钟 能拉出薄膜最好

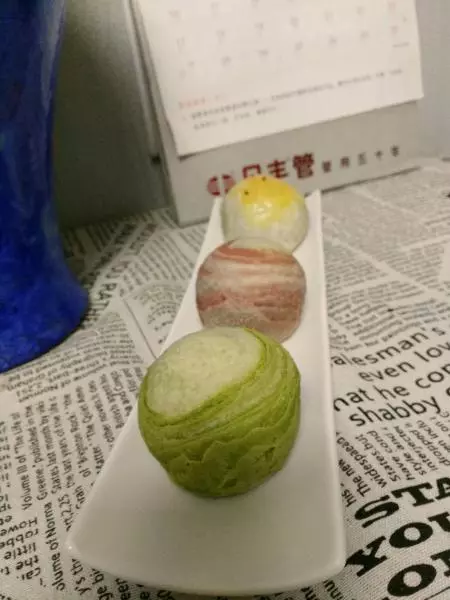
2油酥材料放到盆里用手抓均匀 分成3份 两份加上可可粉和红曲米粉 如果是抹茶粉或紫薯粉也是这个时候放 油皮油酥用保鲜膜包好 放温室醒20分钟 我醒了一早上

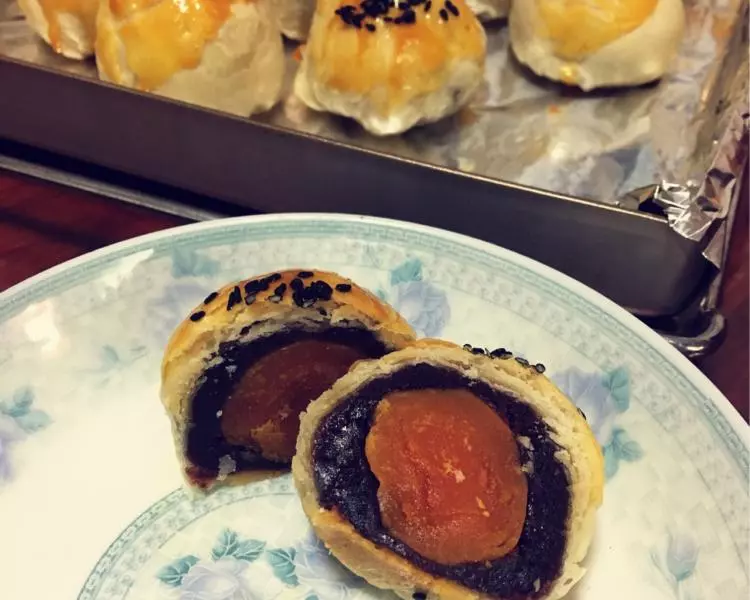
3醒面的时候可以包蛋黄 25克豆沙包住蛋黄 我蛋黄不够 就做了几个黑芝麻豆沙的 蛋黄不用加工 因为烤30分钟 不用加工也会熟的

4醒好的油皮分成8小份和8个大份的 带颜色的油酥每个颜色4份 原色8份 因为带颜色的最后要一切二 所以分量最后是一样的 切开的才有圈圈

5油皮把油酥包住 盖上保鲜膜 放置10分钟

6所有的包好放保鲜膜

7下面就要分开介绍怎么擀皮 取一个带颜色的 先擀成长牛舌 卷起来 放到保鲜膜里 就可以 把所有的都好擀卷起来 放入保鲜膜

8把卷好的卷再次按扁 擀成长牛舌卷起来 放入保鲜膜 如果有时间可以静置10到20分钟 把所有擀好放入保鲜膜

9原色的也是一样 两个一起 先擀长宽牛舌卷起来 在按扁擀成长牛舌卷起来

10取一个带色的卷 用锋利的刀子一切为二 按扁 擀成皮 中间的圈圈朝下

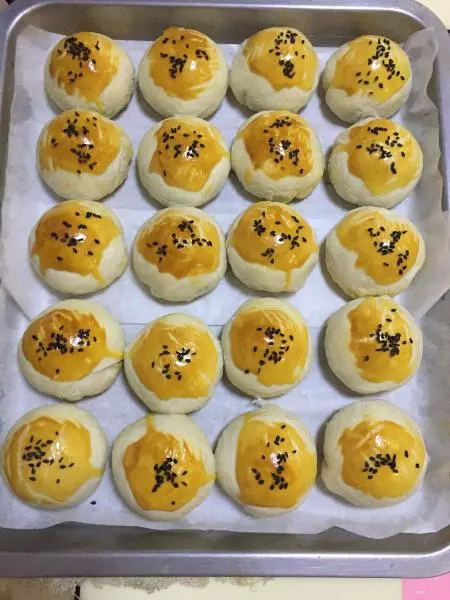
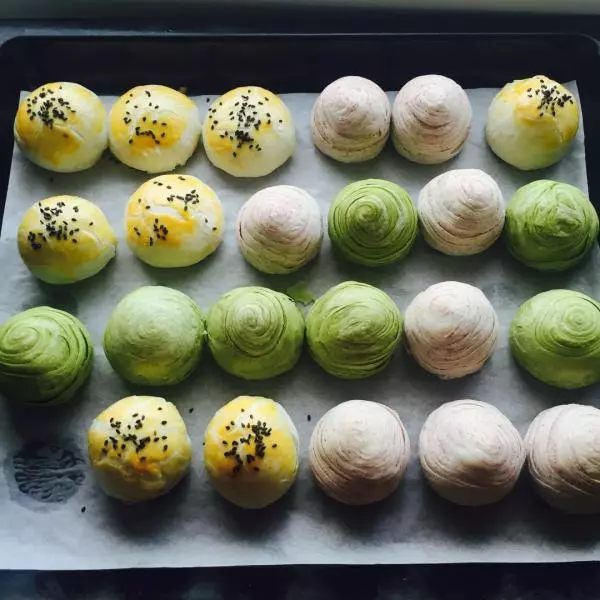
11包入蛋黄豆沙馅 收紧口 摆放整齐

12包好放置一旁

13原色的最后不用切开 中间按下 两边往里一收 擀成皮包入馅 所有包好 原色刷上蛋黄液 撒上芝麻 如果包的光豆沙可以切个十字花 就是开口酥了

14烤箱提前170度预热5到10分钟 放入包好的蛋黄酥 160度30分钟 就可以了

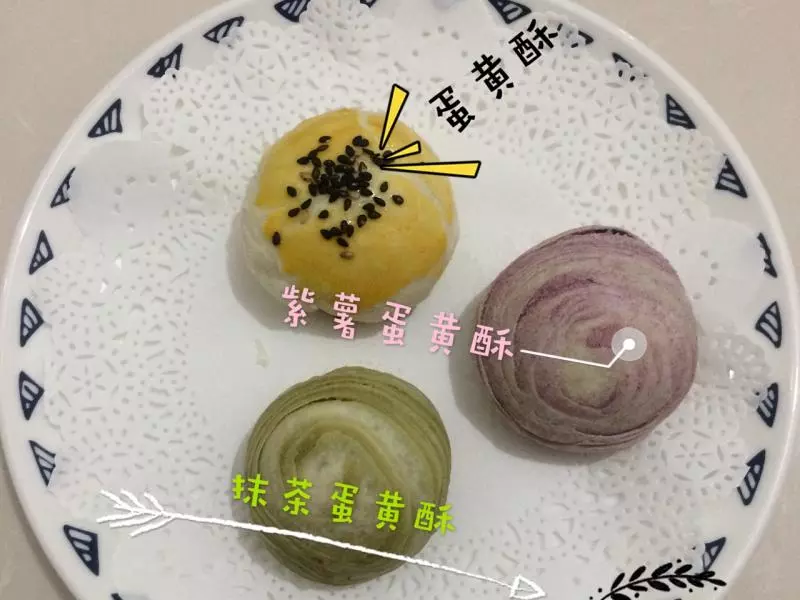
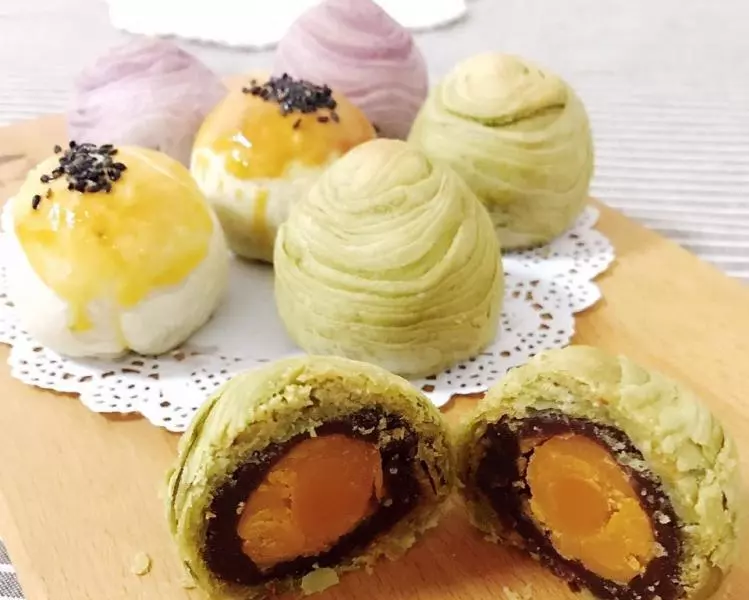
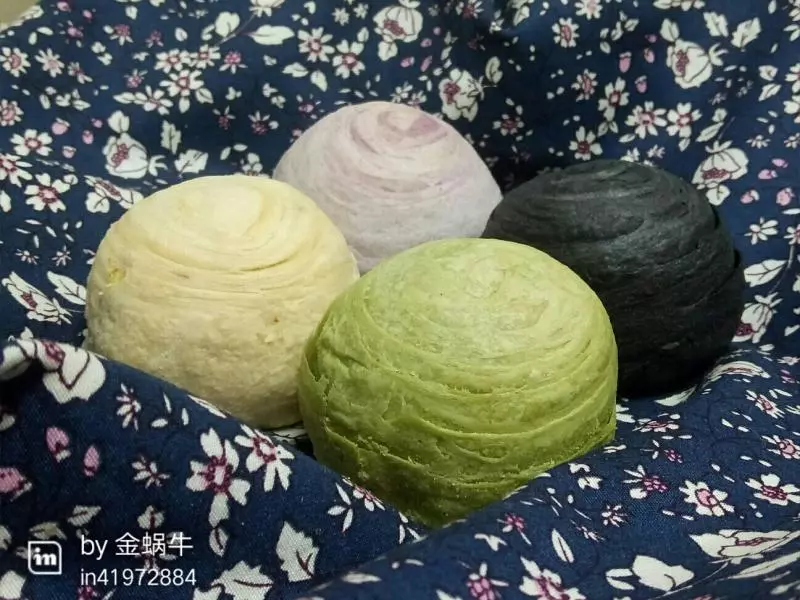
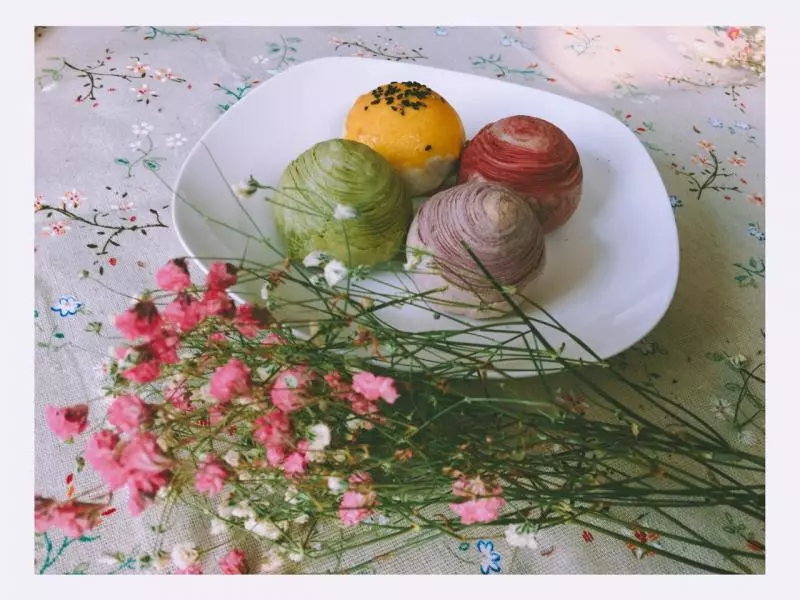
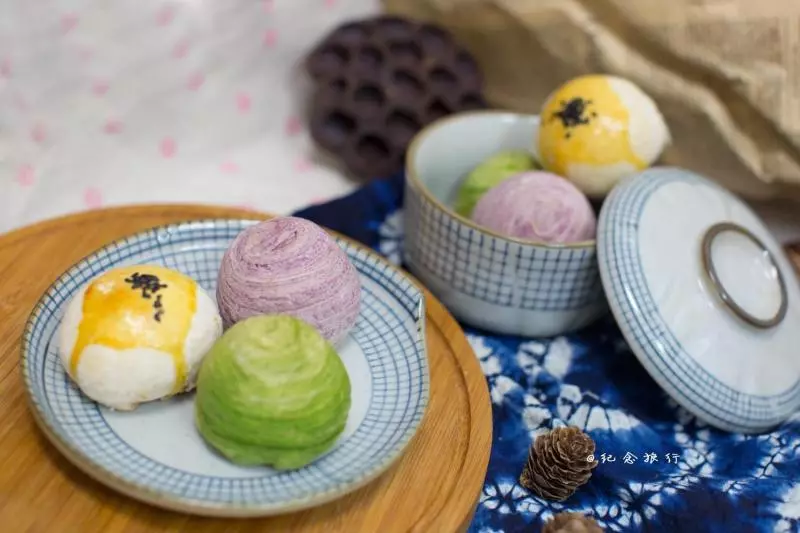
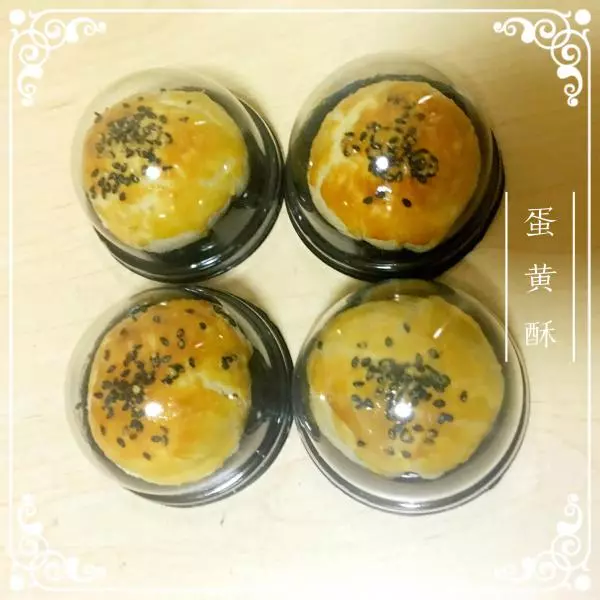
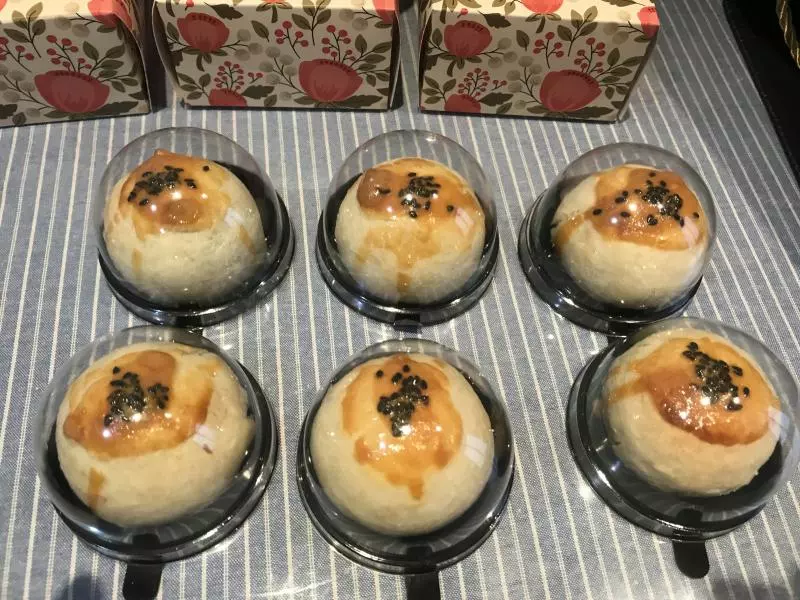
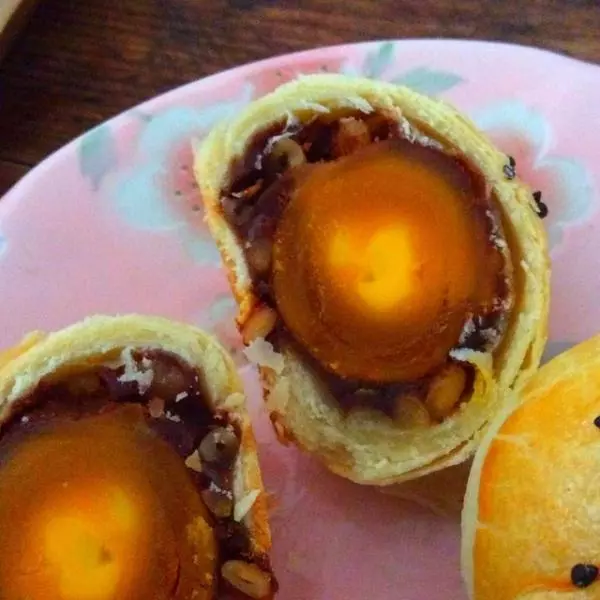
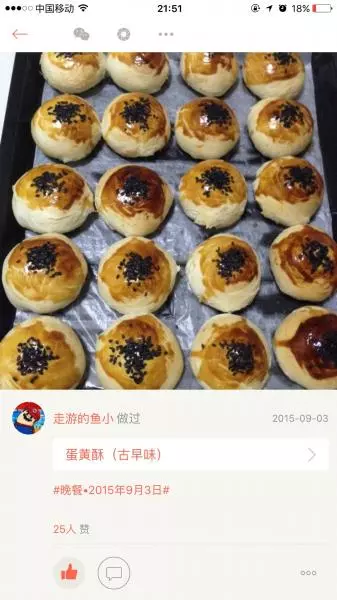
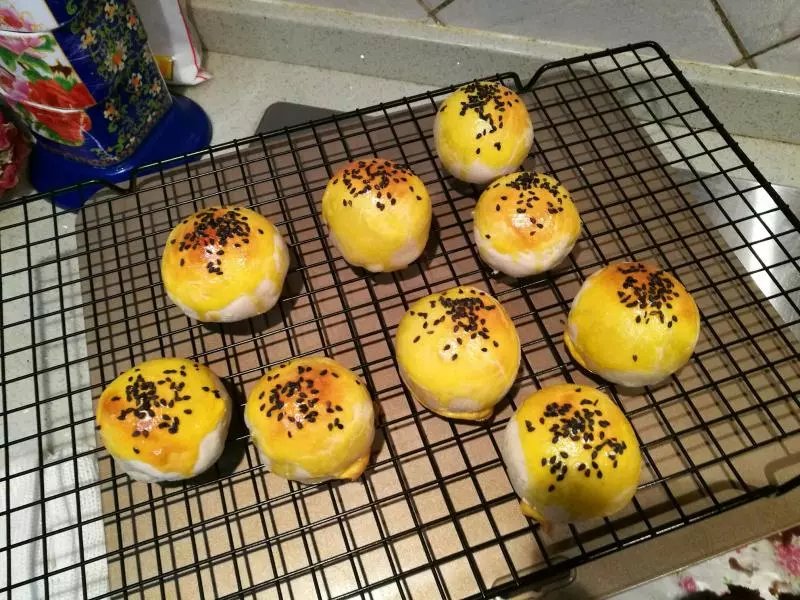
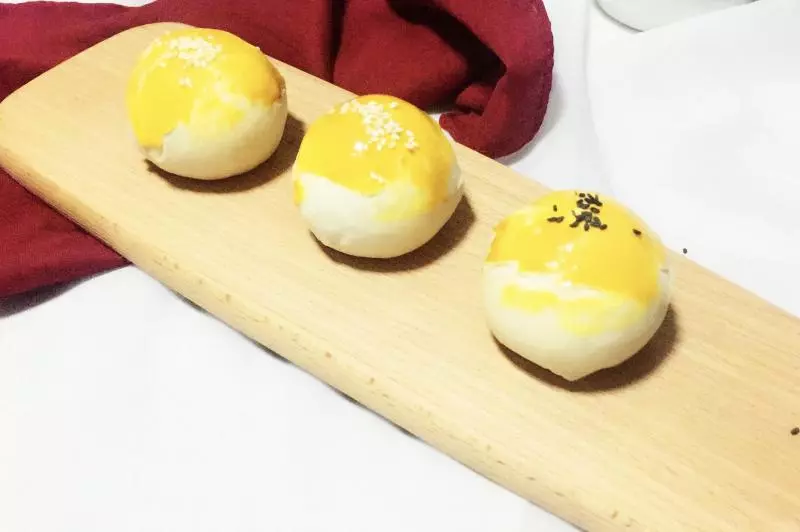
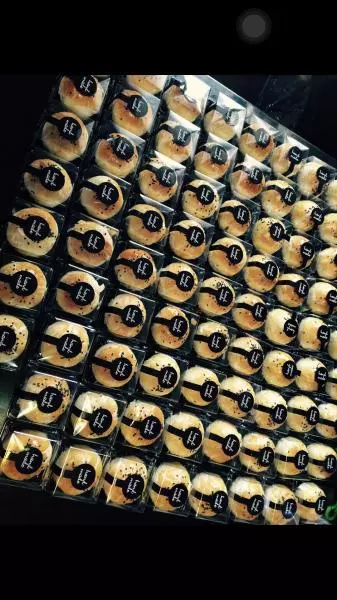
15成品图

16成品图

17成品图

18成品图

19成品图

20成品图

21成品图

22成品图

小技巧
猪油可以换成黄油 奶味会很重 也可以换成玉米油 都很酥 不用担心不酥 做好放凉后一定要密封 如果想吃热的 180度不用预热 烤5分钟闷3分钟就可以