原料
鸡蛋: 2只(大的洋鸡蛋), 低粉: 25g, 玉米淀粉: 10g, 牛奶: 20g, 玉米油: 20g, 细砂糖: 40g, 炼奶: 少许, 柠檬汁: 两滴, 抹茶粉: 2g, 盐: 1g
步骤
1低粉、玉米淀粉、抹茶粉、盐,分别称好放在同一个碗里备用
2鸡蛋分离出蛋白和蛋黄放在两个无水无油的盆里
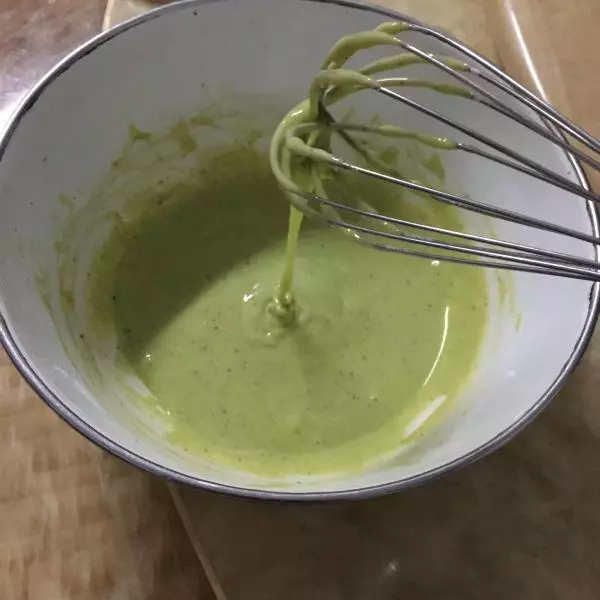
3蛋黄加入10g糖打散。将粉类过筛加入蛋黄中。轻轻搅拌均匀无干粉就好,不要过度搅拌!
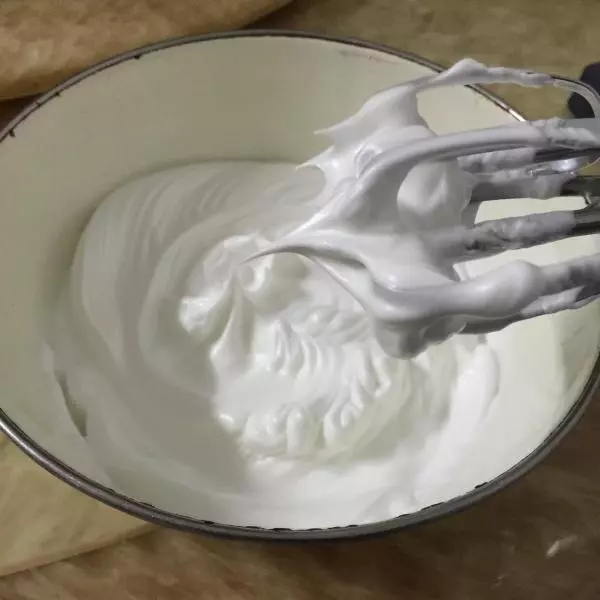
4蛋白加入几滴柠檬汁,分三次加糖打发蛋白。蛋白打到拉出直角
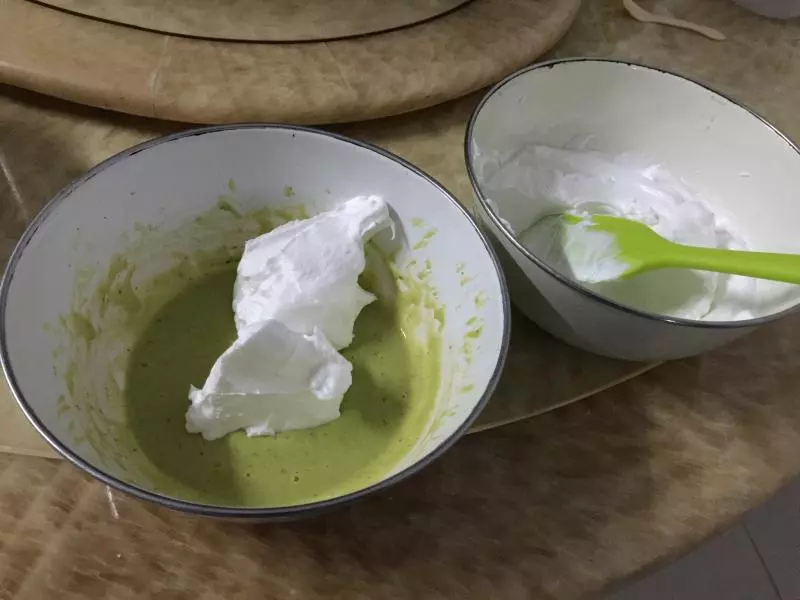
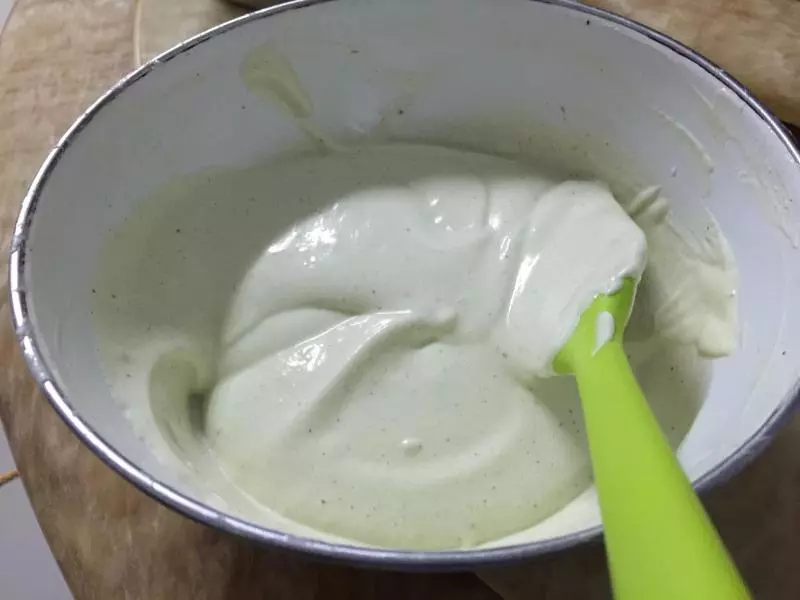
5此时180℃十分钟预热烤箱。预热的时间将打好的蛋白霜分三次加入蛋黄糊中。要从旁边从下往上翻拌,不要过度翻拌,以免消泡
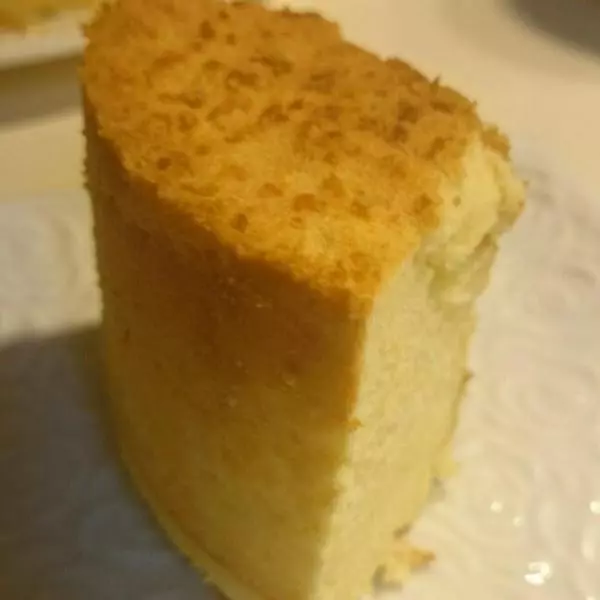
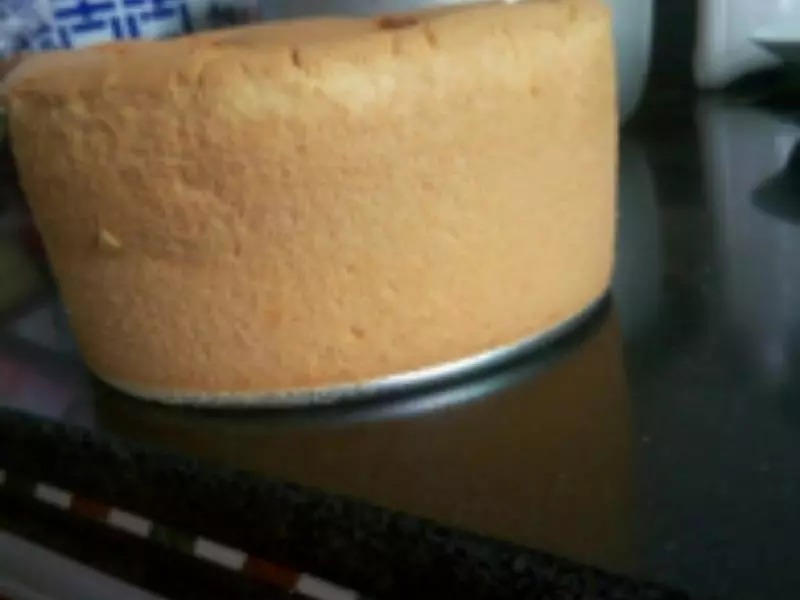
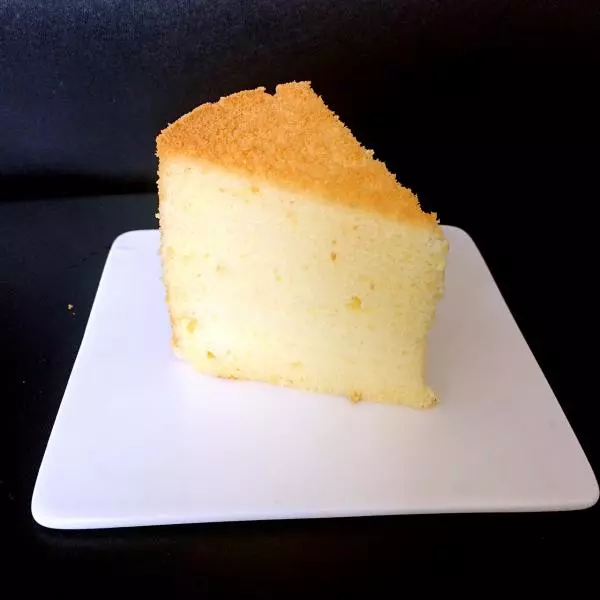
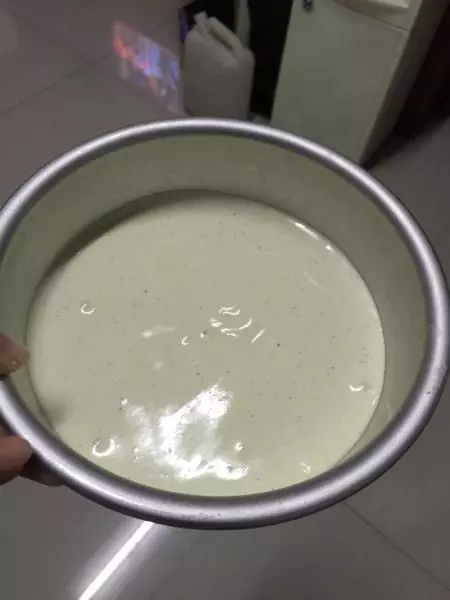
6拌好后倒入模具,在台上大力振几下,振出气泡
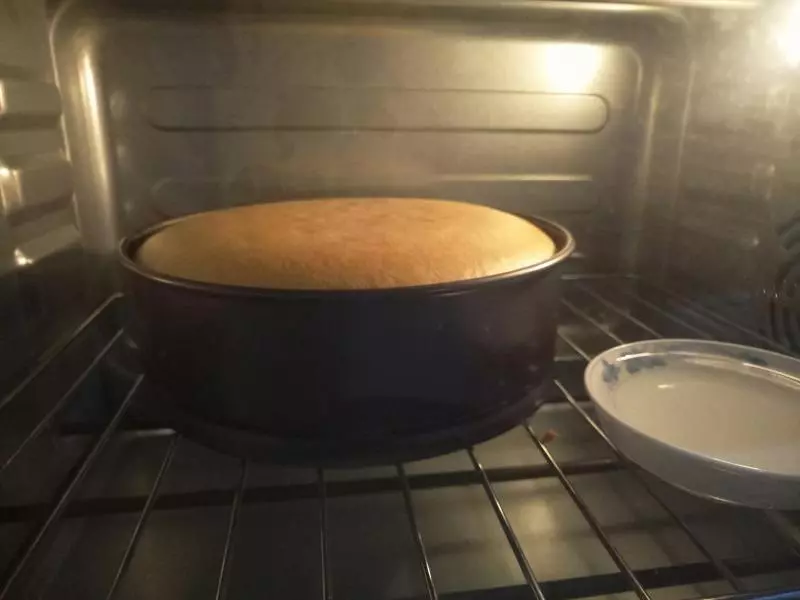
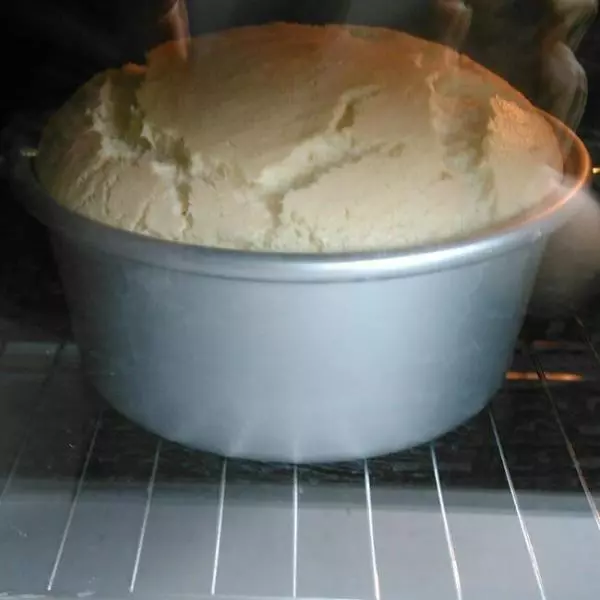
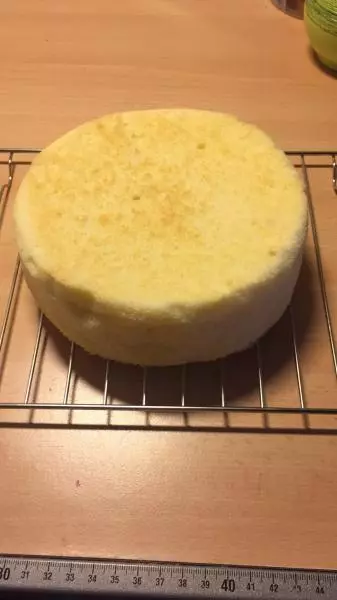
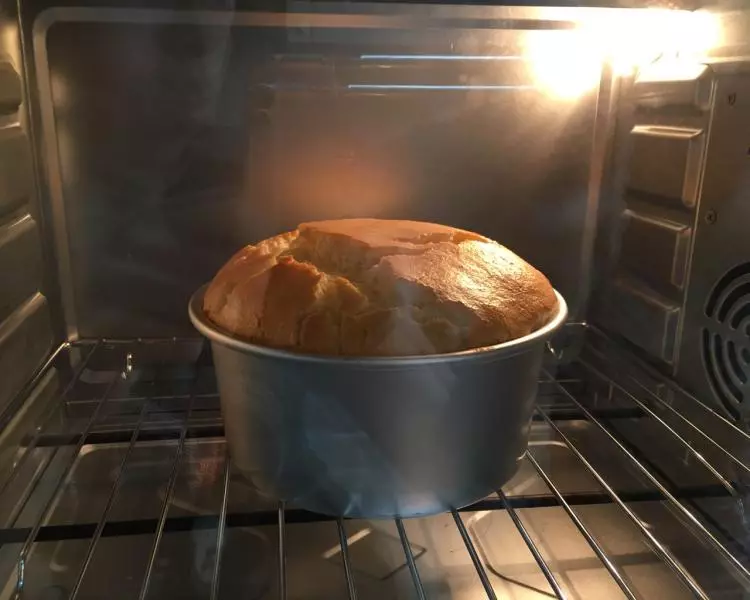
7预热停止,放入烤箱,120℃五十分钟
小技巧
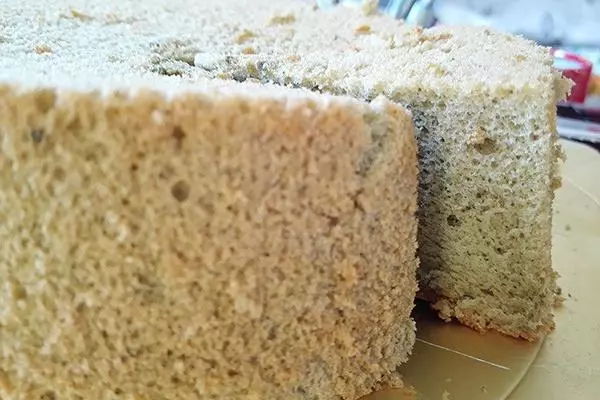
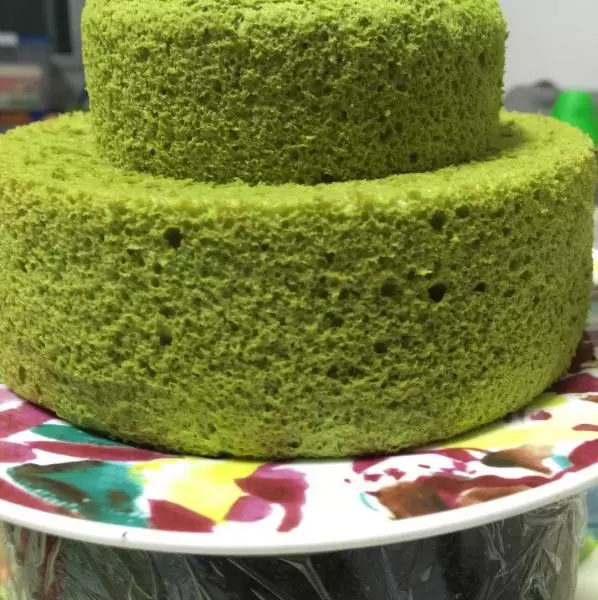
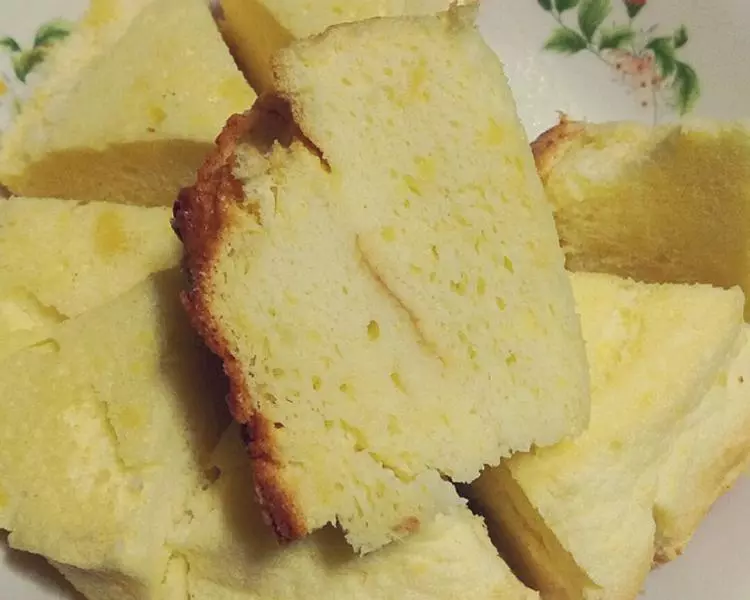
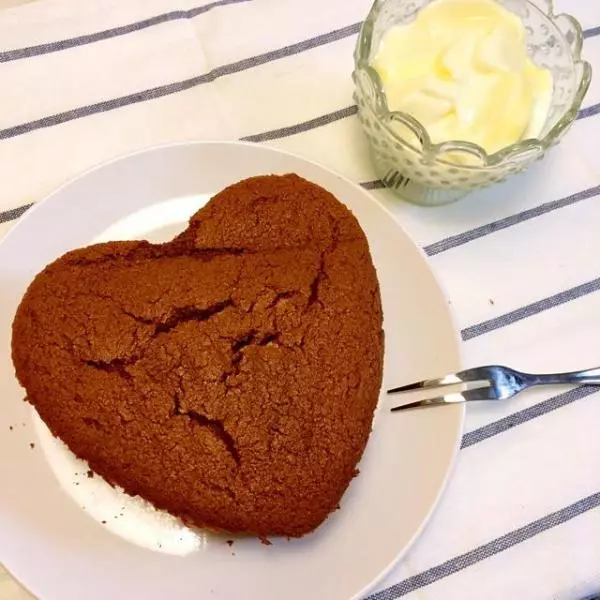
烤箱温度各位亲看自己烤箱啦,我试过几次觉得120℃正好合适,不容易开裂~还有我的抹茶粉感觉放少啦,颜色很淡,亲们自己试验咯,放多颜色就深,这个看你们自己啦,没有固定的~