原料
黑芝麻粉 30克, 低粉 60克, 普通鸡蛋 5个, 细砂糖 65克(糖最低不要低于50克,最高不要超过100克), 色拉油 40克, 牛奶 60克
步骤
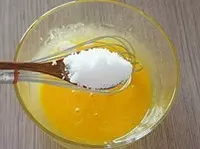
1蛋黄中加入20克砂糖,用手动单抽搅打至砂糖完全融化,蛋黄液细腻状态
2继续加入色拉油搅打均匀

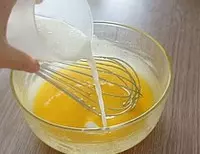
3再加入牛奶搅打均匀
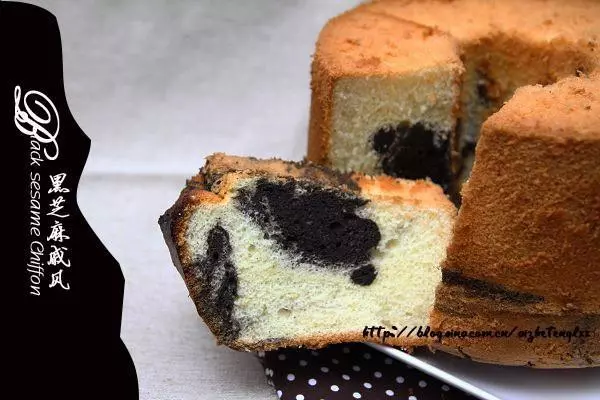
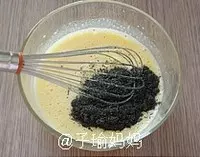
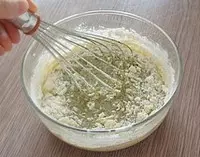
4倒入芝麻粉搅拌均匀
5筛入低粉
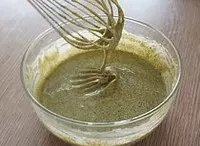
6搅拌均匀
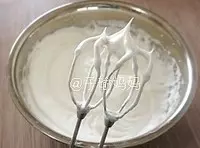
7蛋白中低速打至粗泡加入15克砂糖
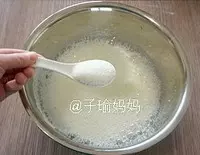
8打至泡沫细腻加入15克砂糖
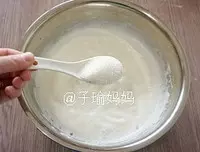
9打至湿性发泡加入最后的15克砂糖,将烤箱预热175度
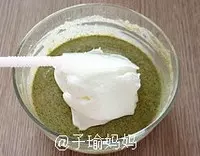
10挑起两刮刀的蛋白霜入蛋黄糊盆中,翻拌均匀
11将蛋黄盆里的面糊全部倒入蛋白霜盆中
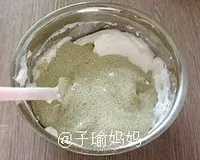
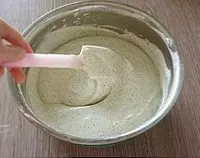
12翻拌均匀
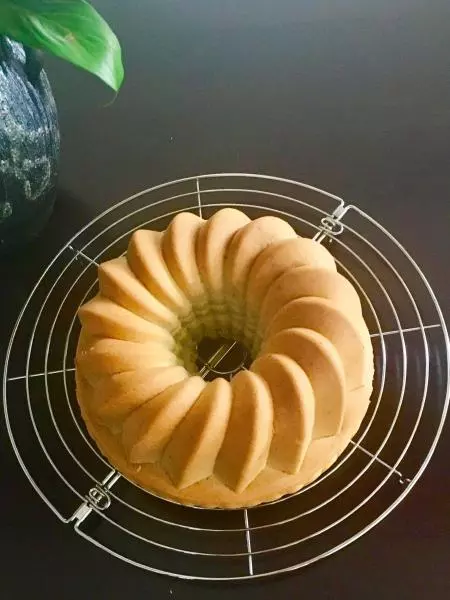
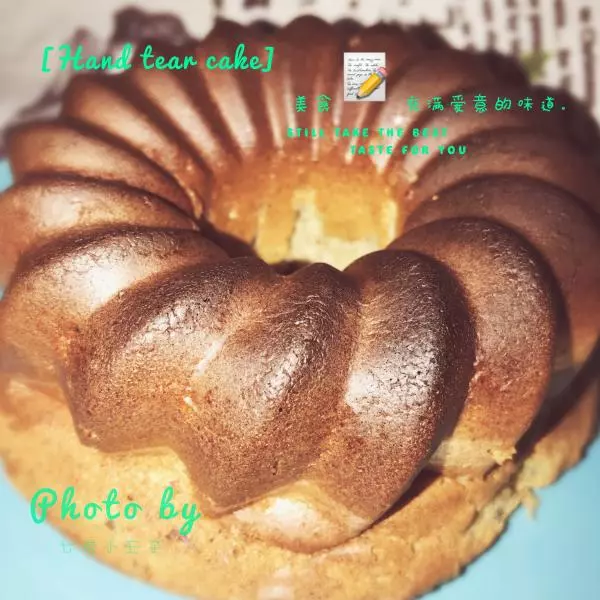
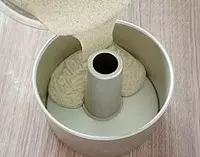
13将面糊倒入中空模中8分满
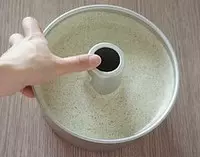
14双手大拇指按住中间烟囱,提起整个模具在桌面上轻震几下
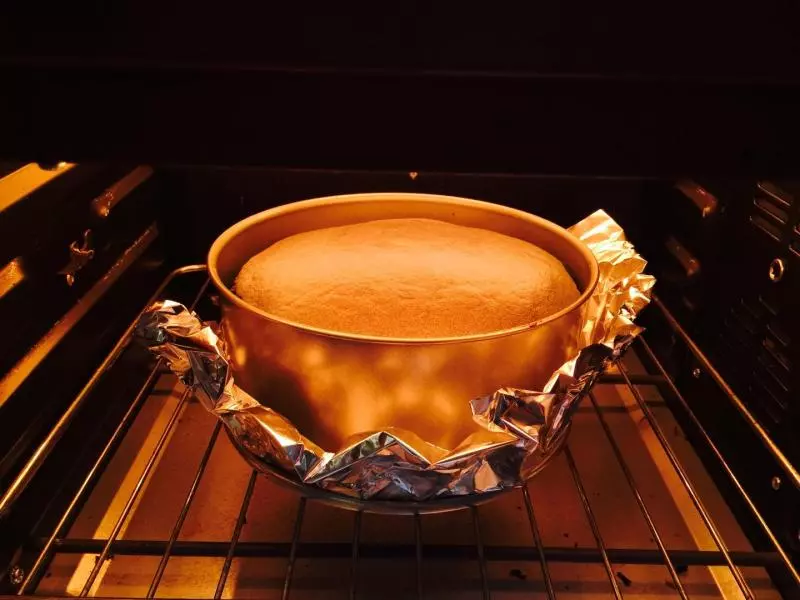
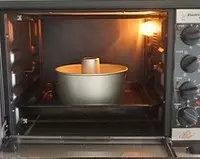
15将模具送入预热好的烤箱(175度预热),用温度170度来烘焙,上下火,放下层,烤45分钟
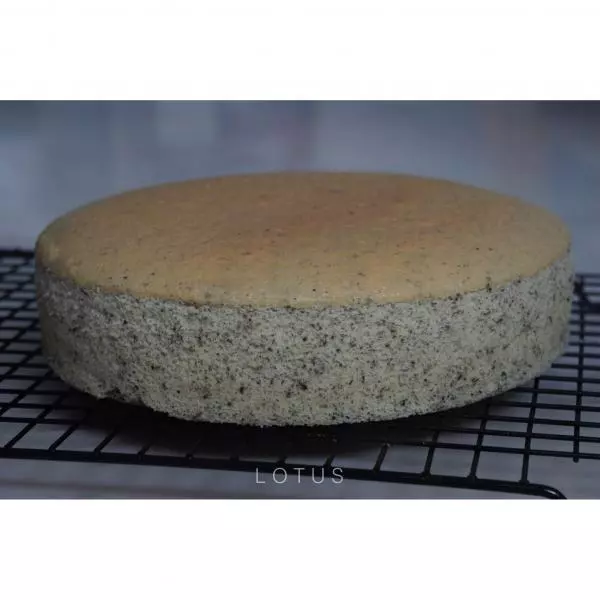
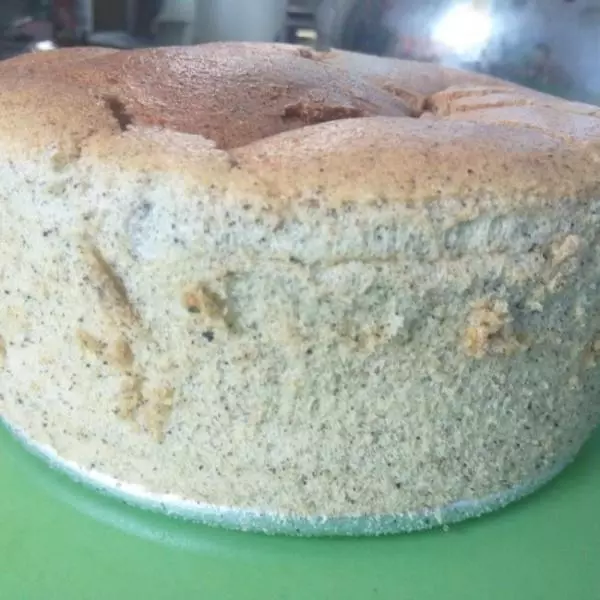
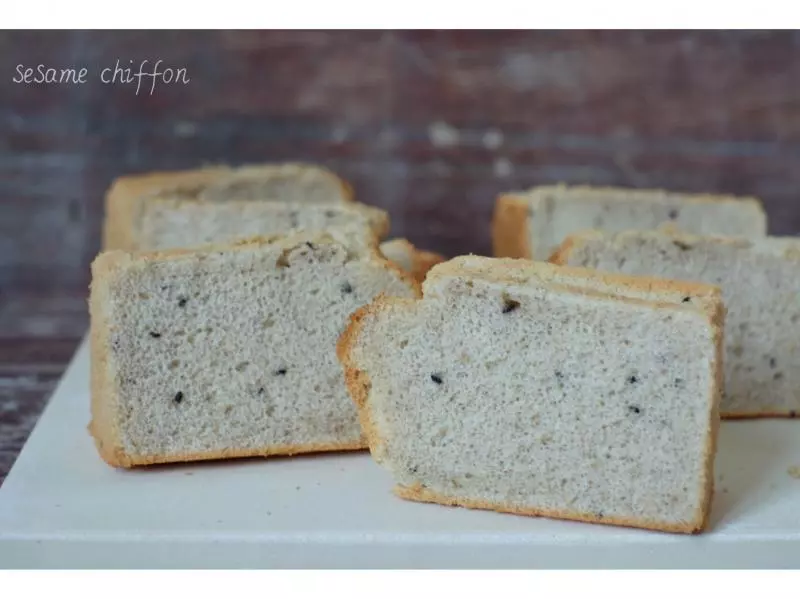
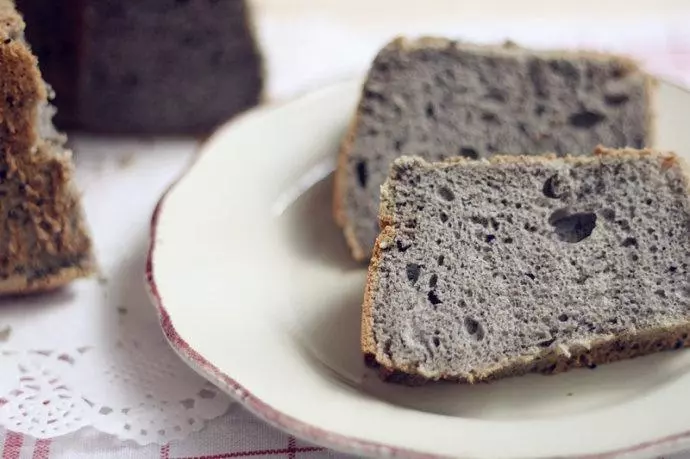
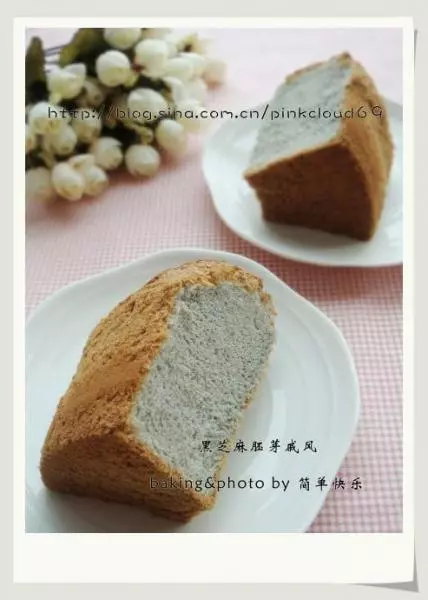
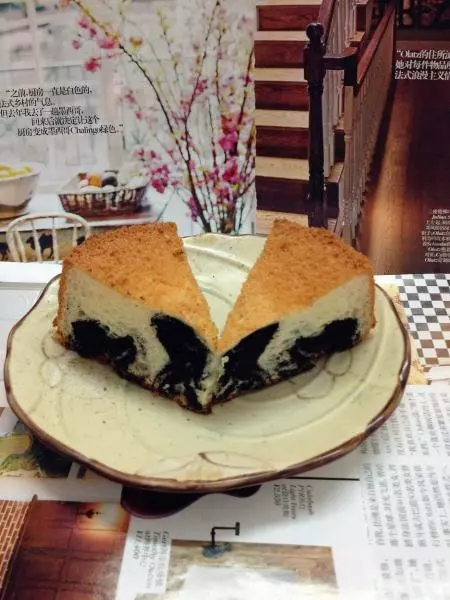
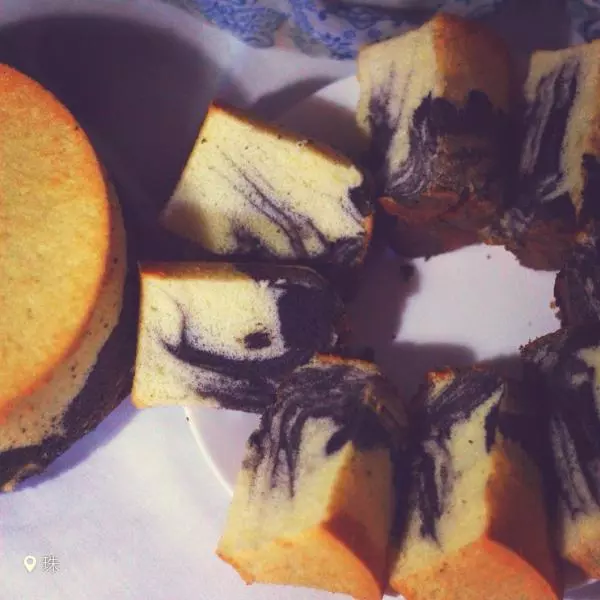
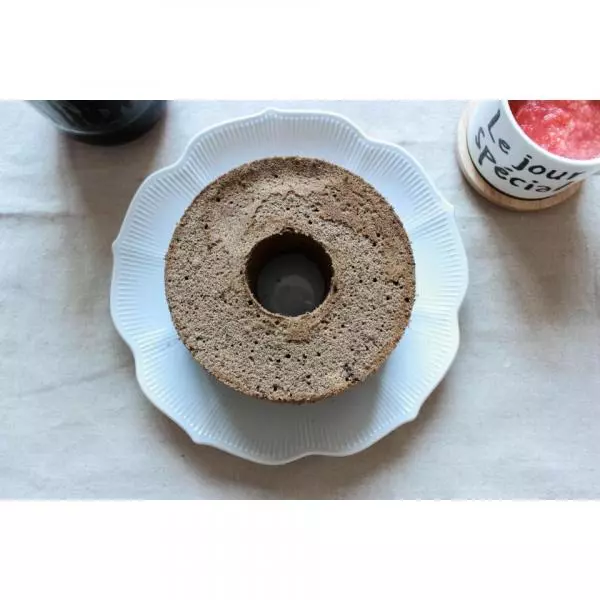
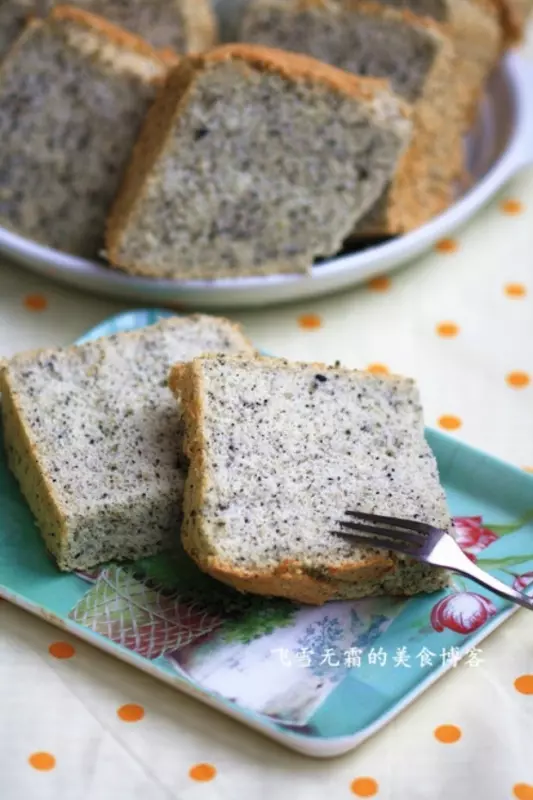
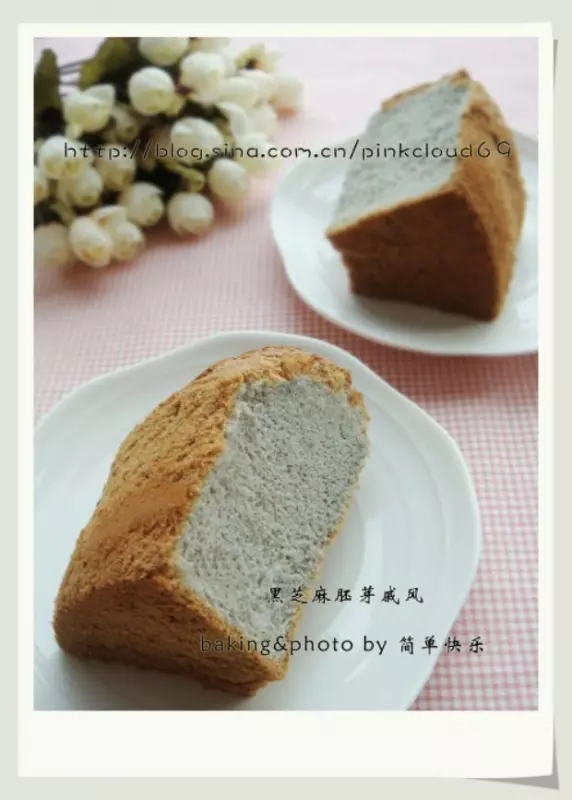
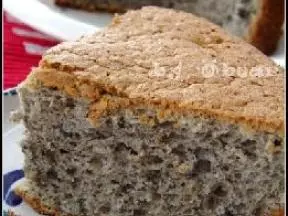
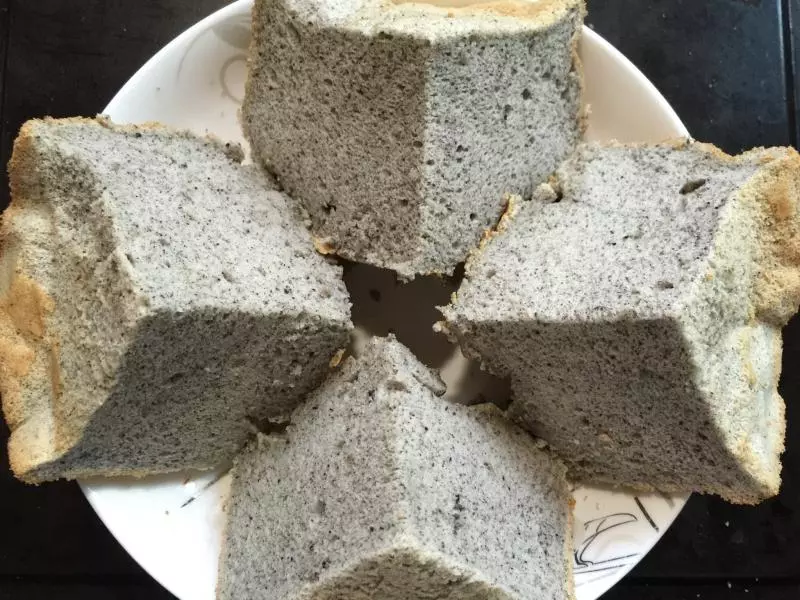
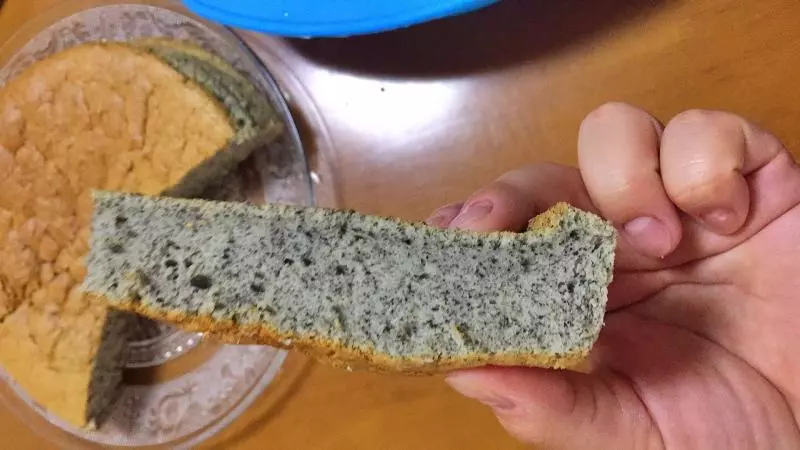
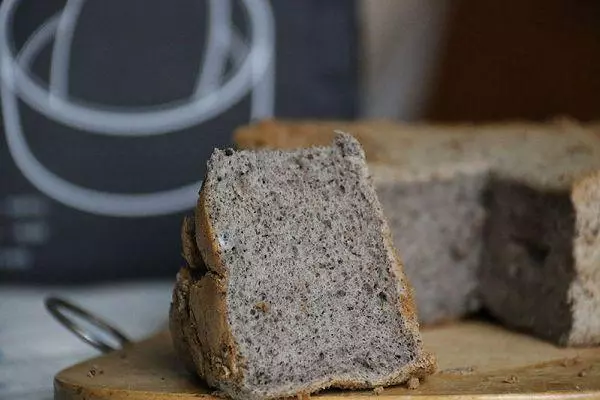
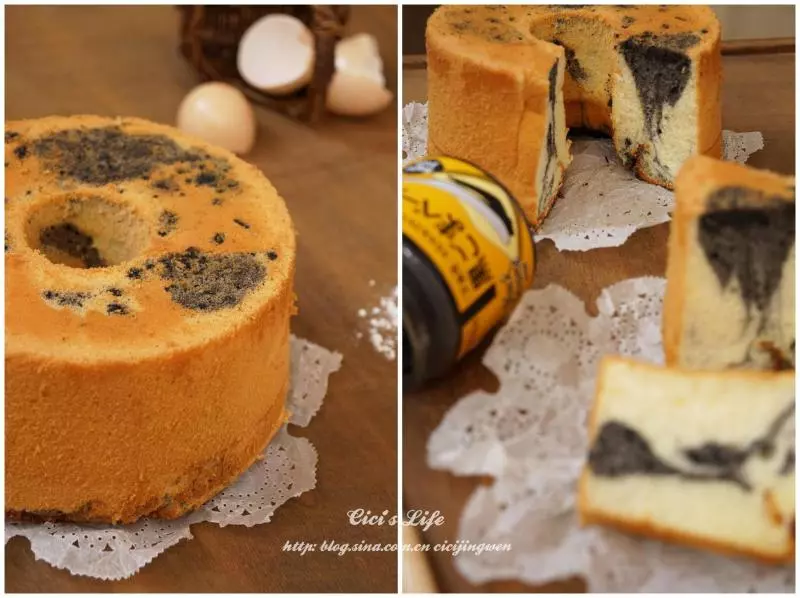
16烤好立即倒扣,彻底冷却后再脱模

小技巧
1、烤箱的温度仅供参考,因为一般家用小烤箱温度上都会有点不准,一般小烤箱都会温度偏高现象,建议使用烤箱内置温度计,可以测量出实际温度;我这里写的温度是170度,是烤箱测量的实际温度,因为我的烤箱温度偏高,所以我只开到150度在烤。我用的烤箱是长帝的30GS; 2、烤的时候,一般蛋糕都放下层,因为膨胀起来后会一直往上顶;如果放中层烤的话,膨胀起来后有可能会顶到上发热管,很容易焦顶; 3、请一定要正确规范的使用烤箱操作,在烘焙的时候不要总是站在烤箱前面看,不要把凉水溅到正在高温烘焙的玻璃门上,烘焙途中不可将手伸进烤箱里,以免烫伤,不要让孩子接近正在烘焙中的烤箱;烘焙途中不要将烤箱的电线插头贴牢发热的烤箱;食物烤好后,请一定记得要带上隔热手套再从烤箱中取食物;开烤箱门时,眼睛不要太靠近烤箱;