简介
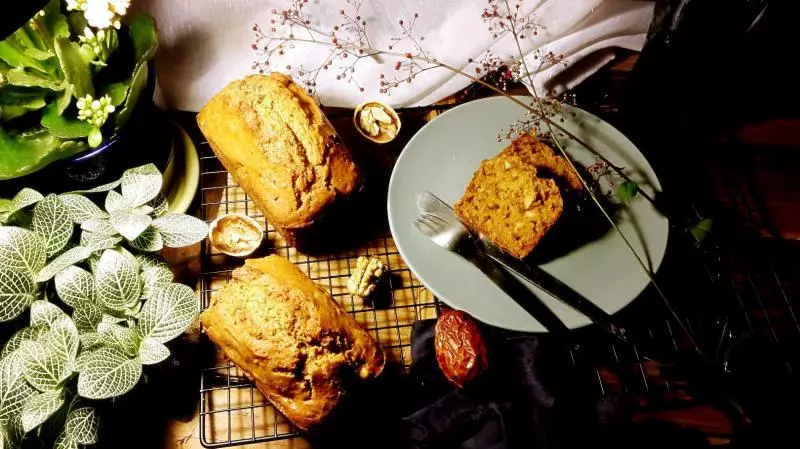
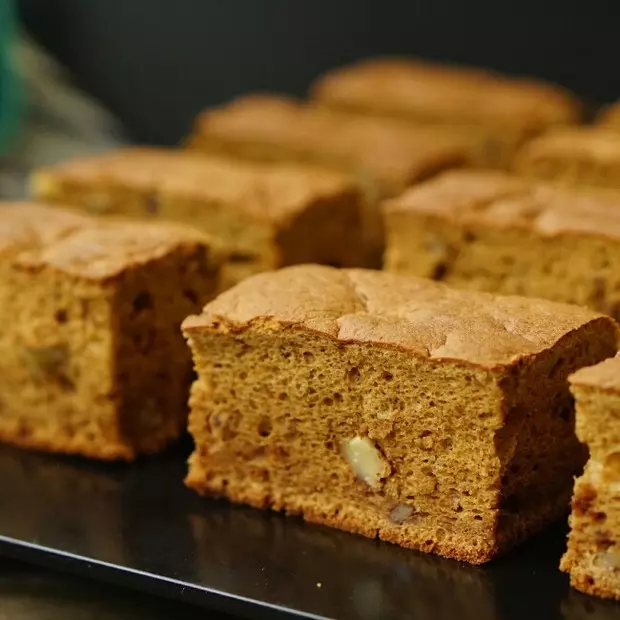
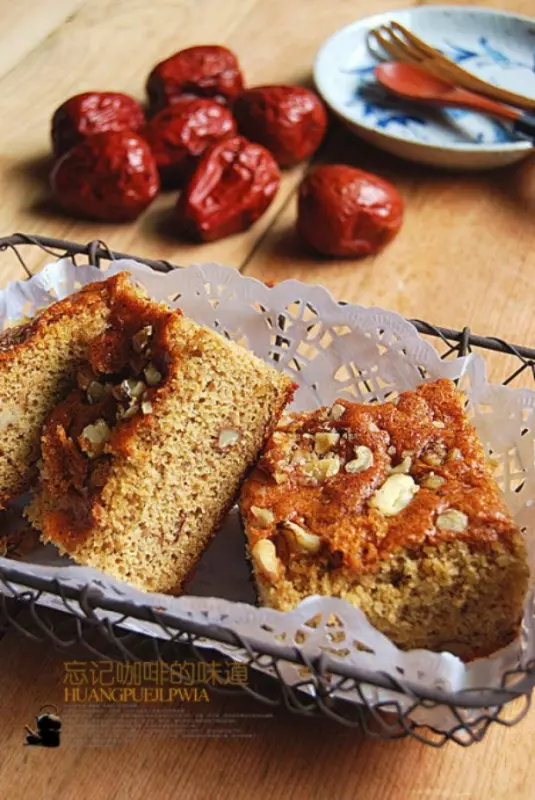
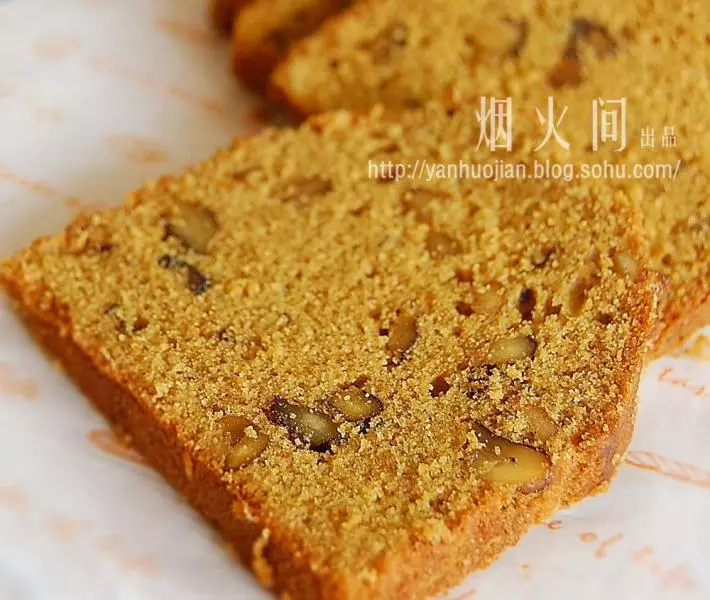
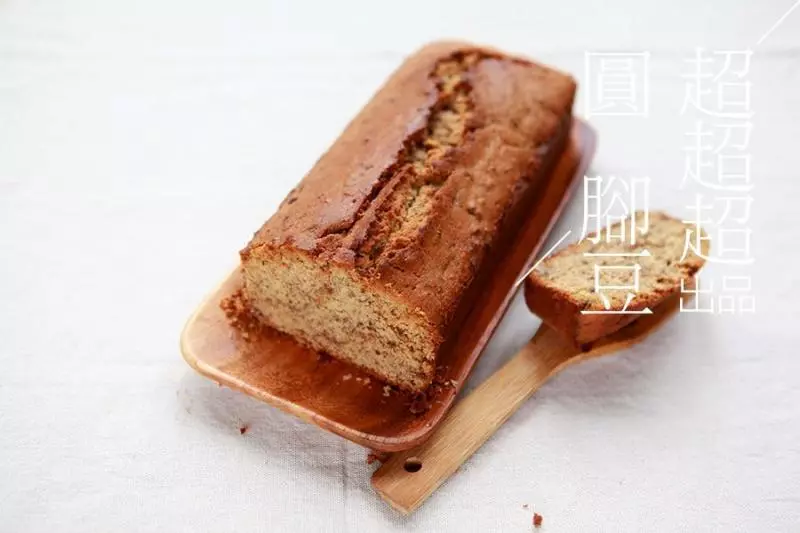
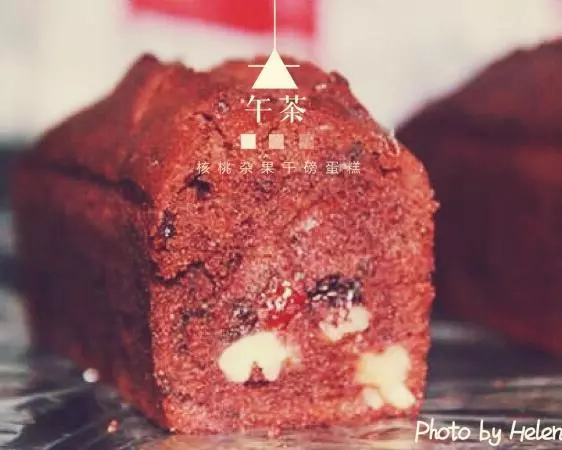
厚实有嚼头的磅蛋糕,添加了枣泥和核桃,补脑又养气。磅蛋糕不需要打发蛋白,相对省时简单,只要自制好了枣泥,一个多小时满屋就能弥漫着枣香了!
原料
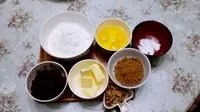
低筋面粉 175克, 黄油 125克, 红糖 80克, 鸡蛋 3个, 泡打粉 3克, 自制枣泥 100克, 核桃 60克
步骤
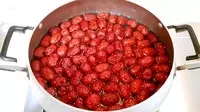
1红枣洗净浸泡·半小时煮软,再浸泡半小时冷却待用。(煮熟后再浸泡容易去皮)
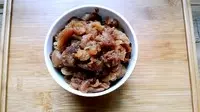
2冷却后的熟枣去皮去核取枣泥。(嫌去皮麻烦的把煮熟的红枣进料理机直接打成糊,再熬干水分)
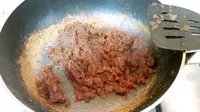
3入锅熬制水分蒸发。
4准备好材料。
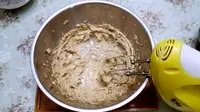
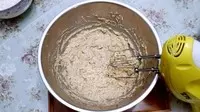
5黄油室温软化到手指轻戳可按出手指印,加入红糖用电动打蛋器打至黄油充分膨发,红糖完全溶解。
6分三次加入鸡蛋液,每次要待黄油完全吸收蛋液再可加入。
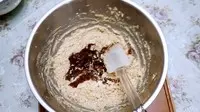
7加入枣泥拌匀,稍微搅拌以免水油分离。
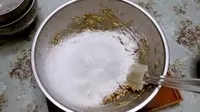
8加入过筛的低粉和泡打粉,以翻拌的手法搅拌均匀。
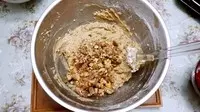
9再加入核桃拌匀。(生核桃预先用烤箱120度烤8分钟左右,微微变色就行)
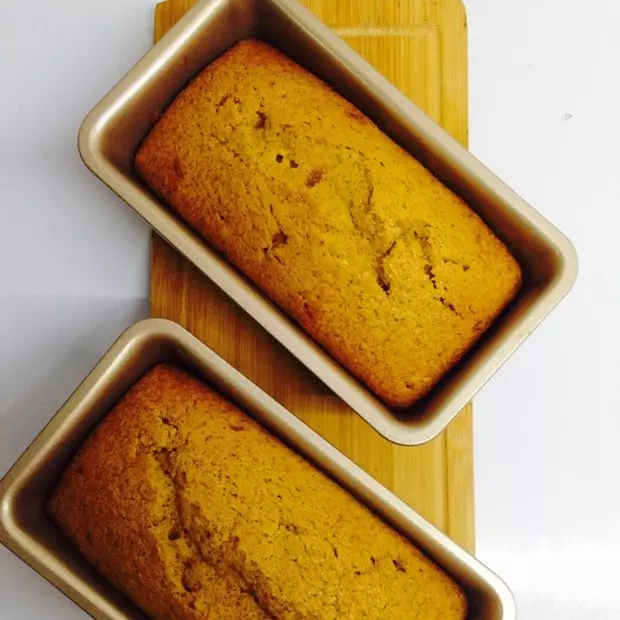
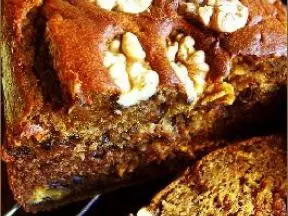
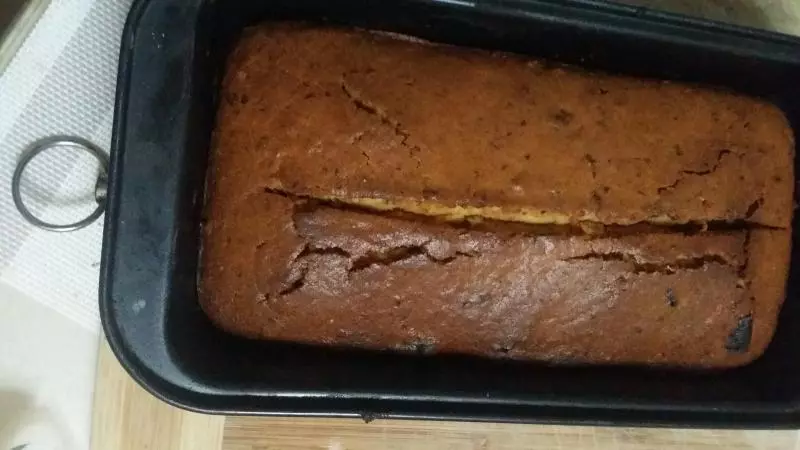
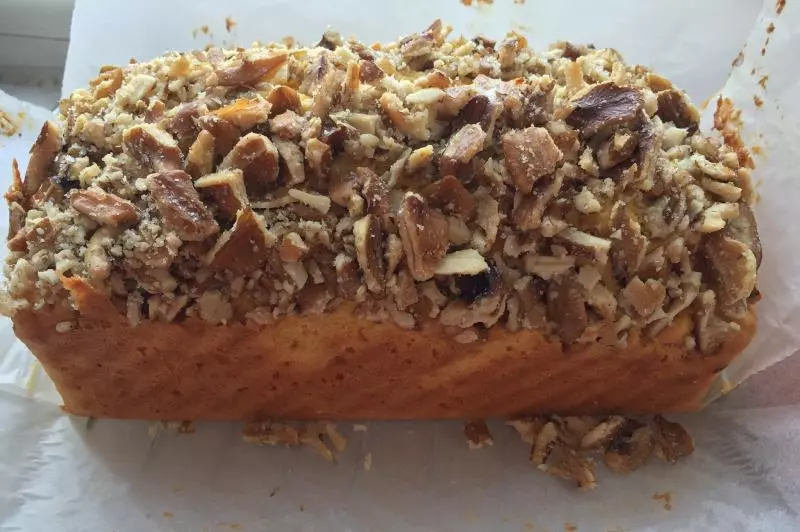
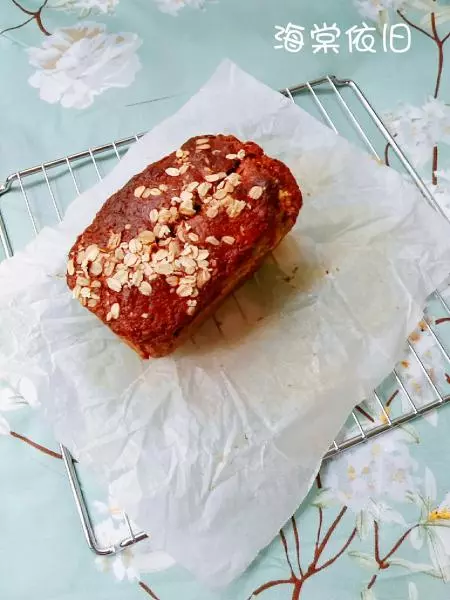
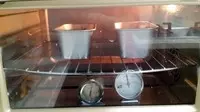
10倒入涂黄油的模具,七分满。烤箱预热180度40分钟。入烤箱烤了20分钟后拿出烤箱划一刀,这步不做也可以,让蛋糕随意爆开更自然,哈哈。
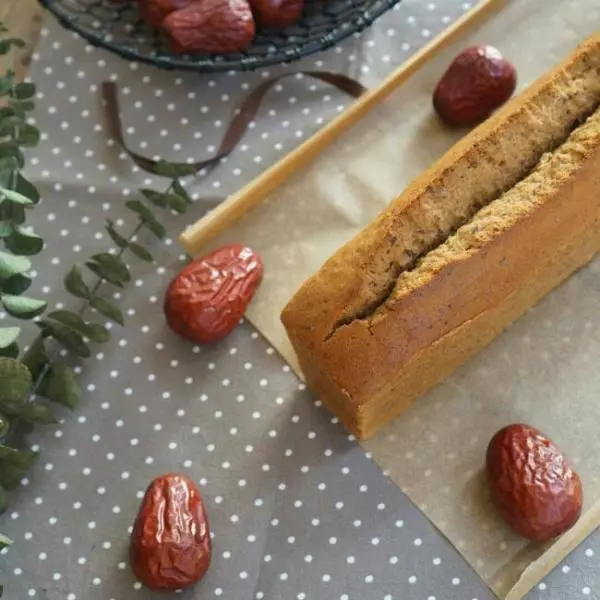
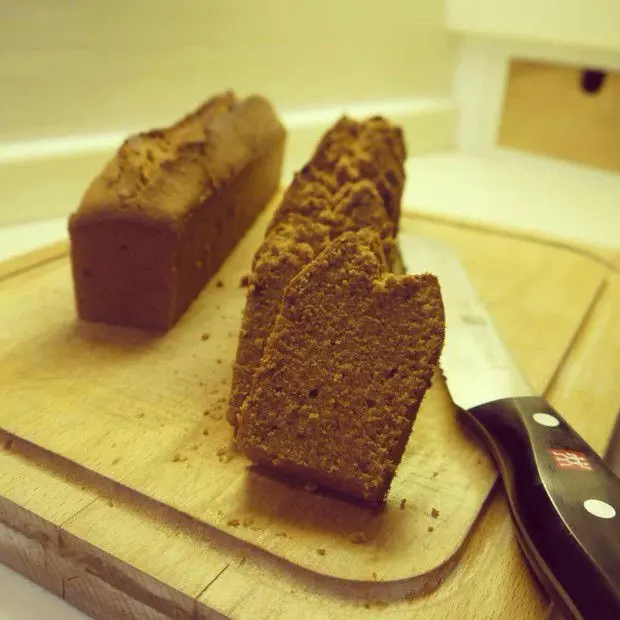
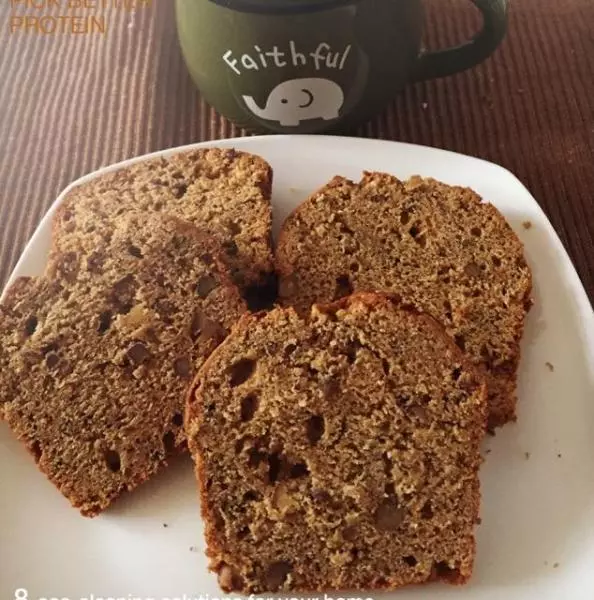
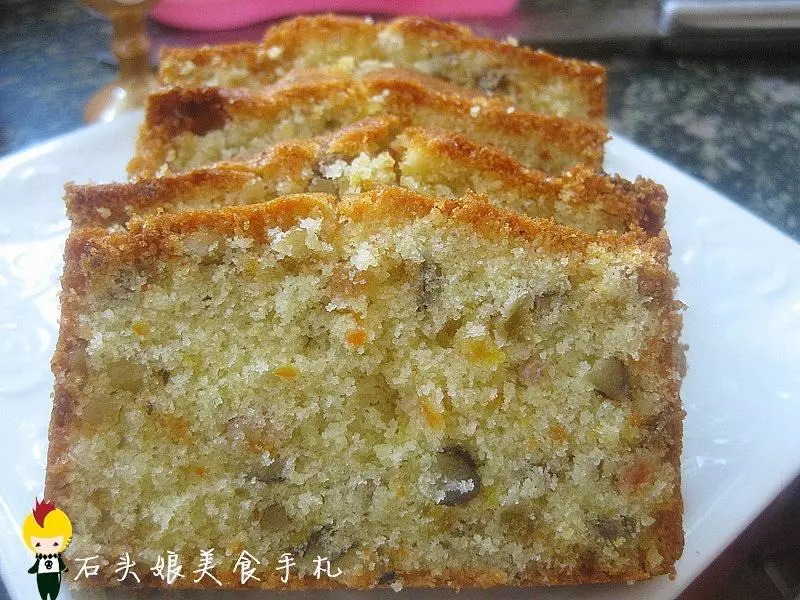
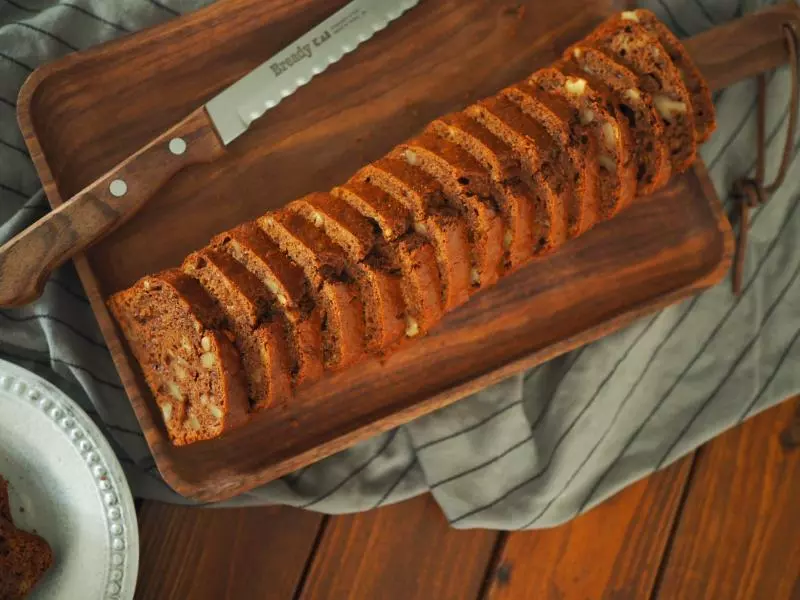
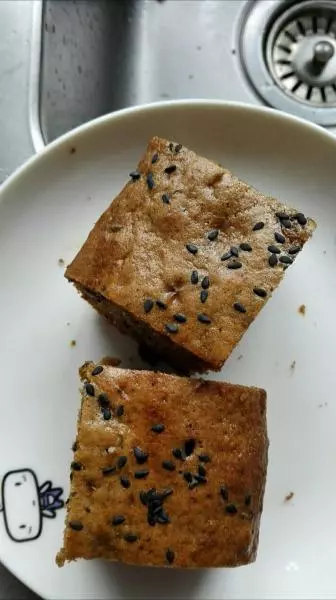
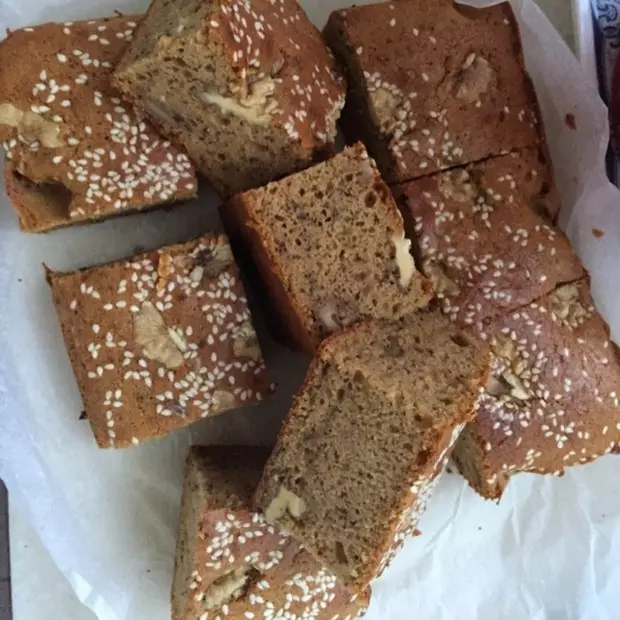
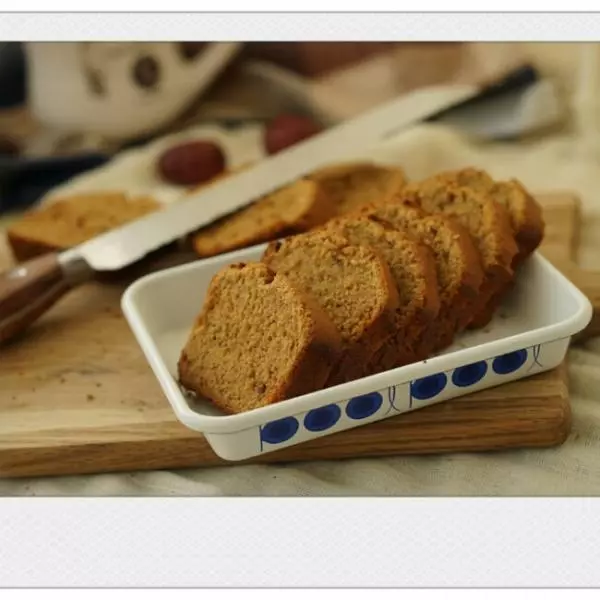
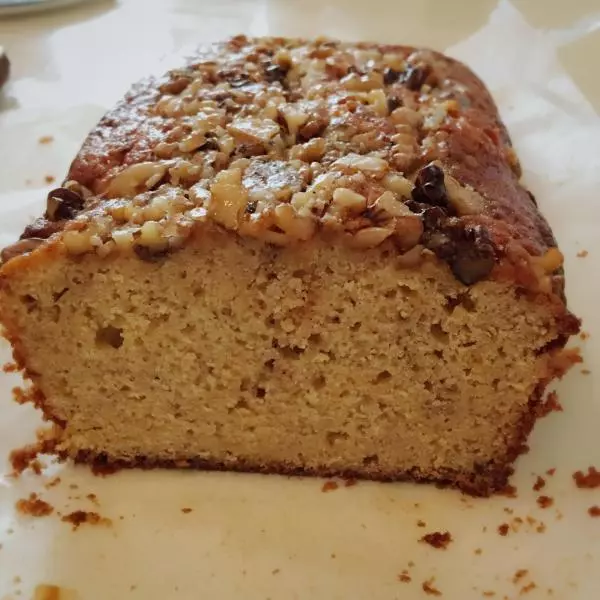
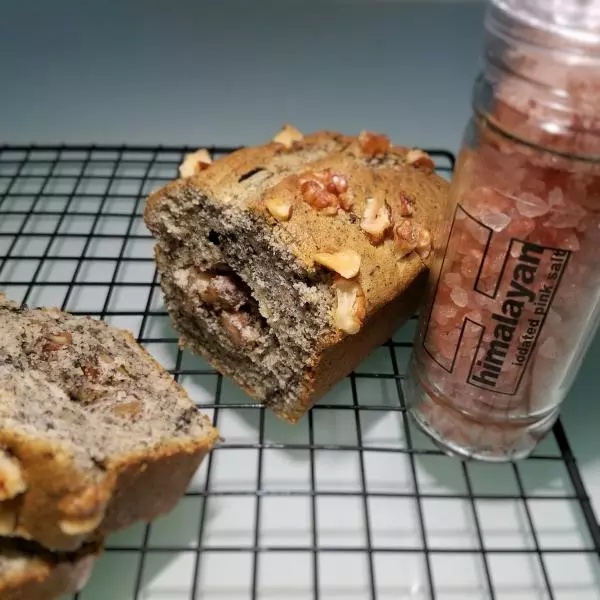
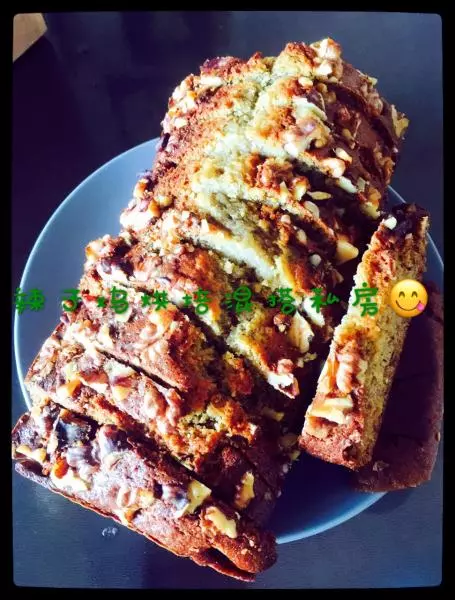
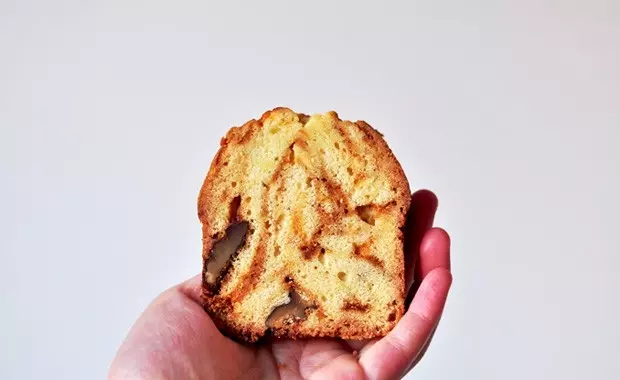
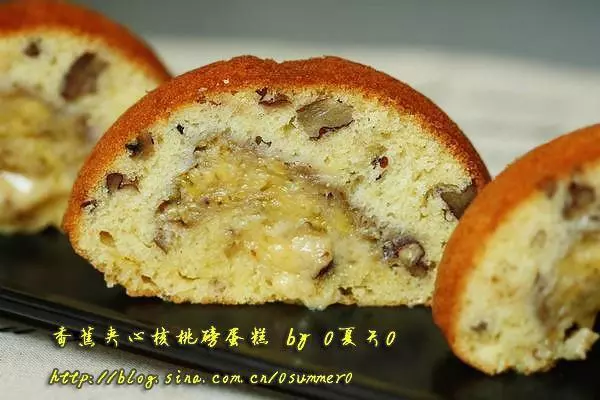
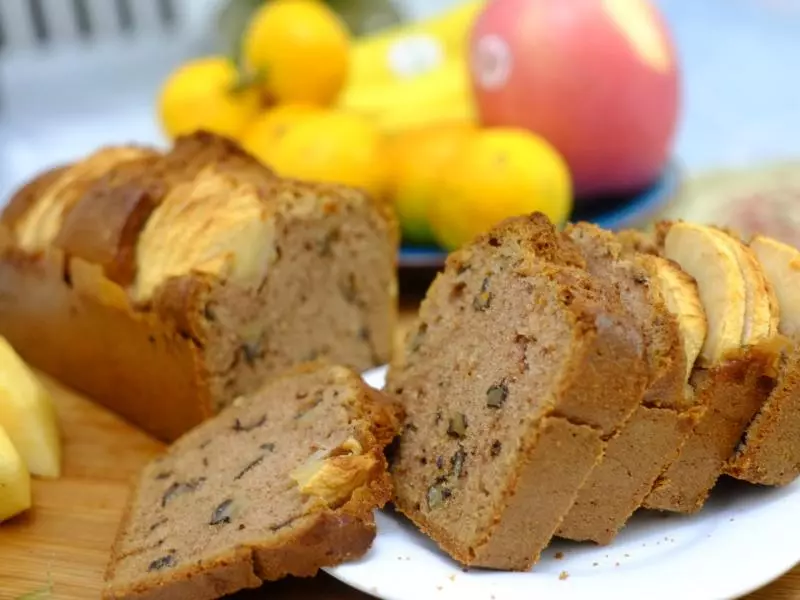
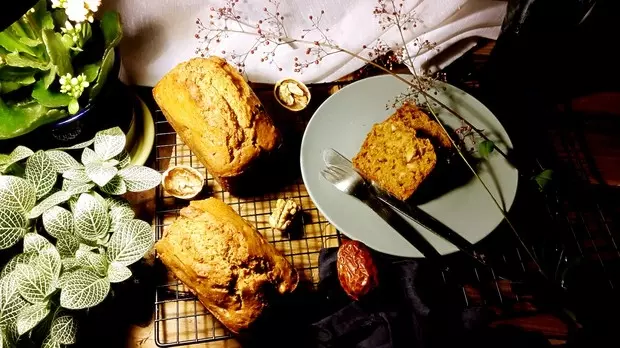
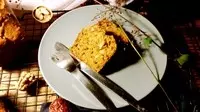
11冷却后脱模切片食用。
小技巧
1、此模具是63.52.5. 2.每家烤箱会有不同,时间和温度会有差异。