简介
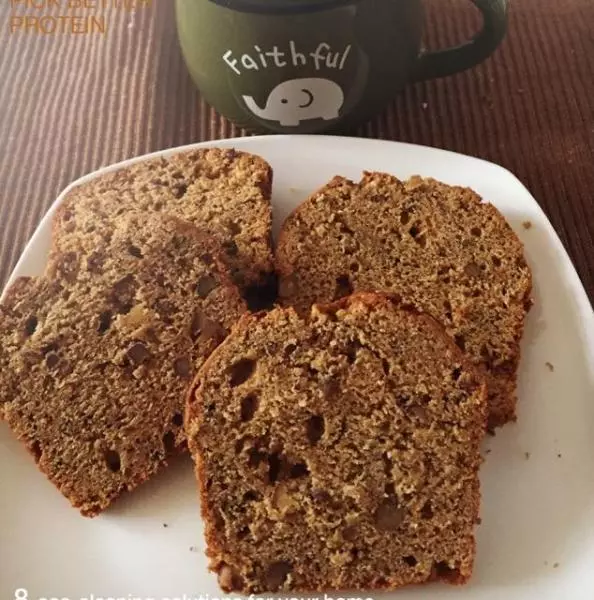
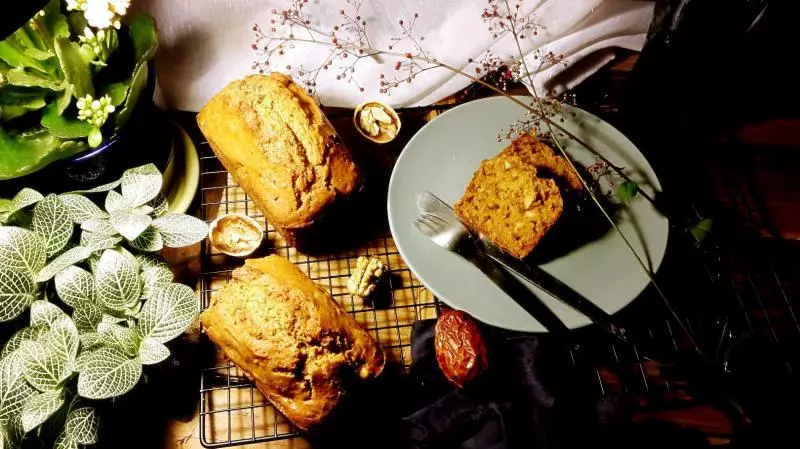
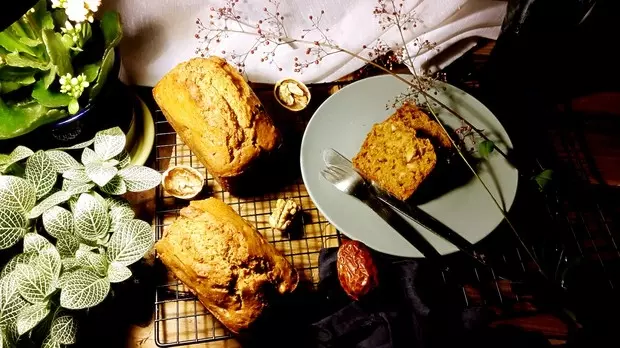
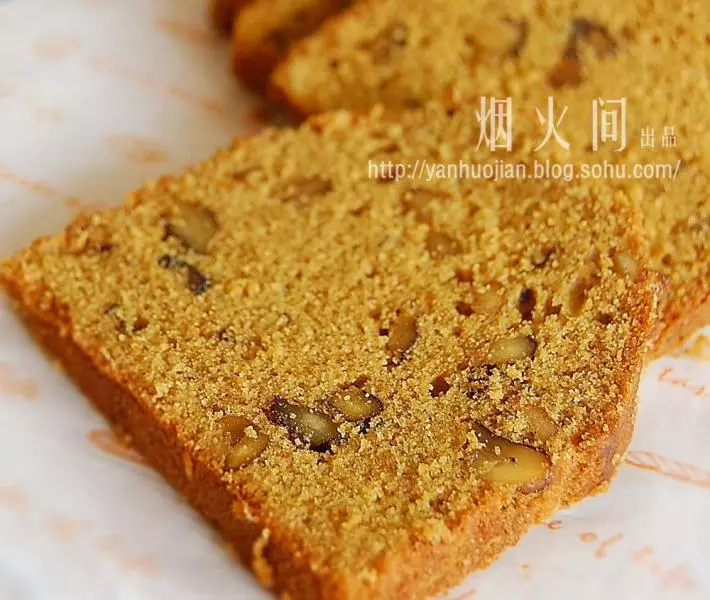
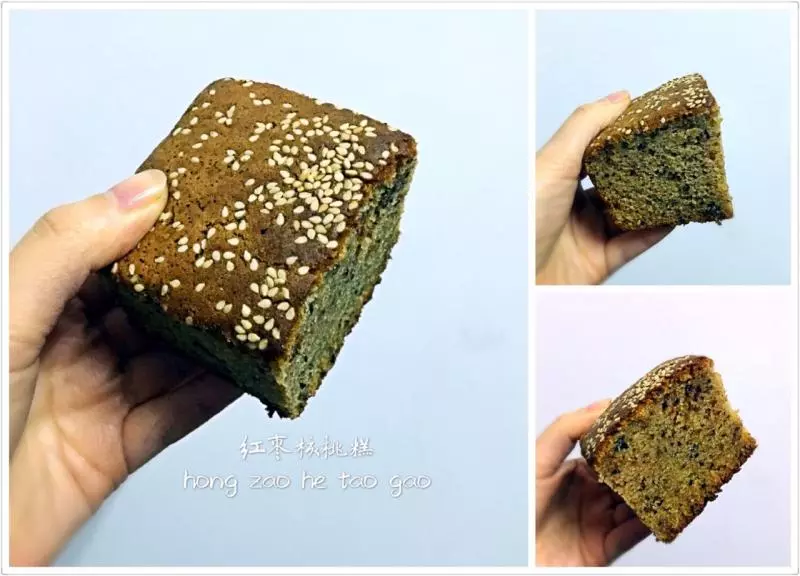
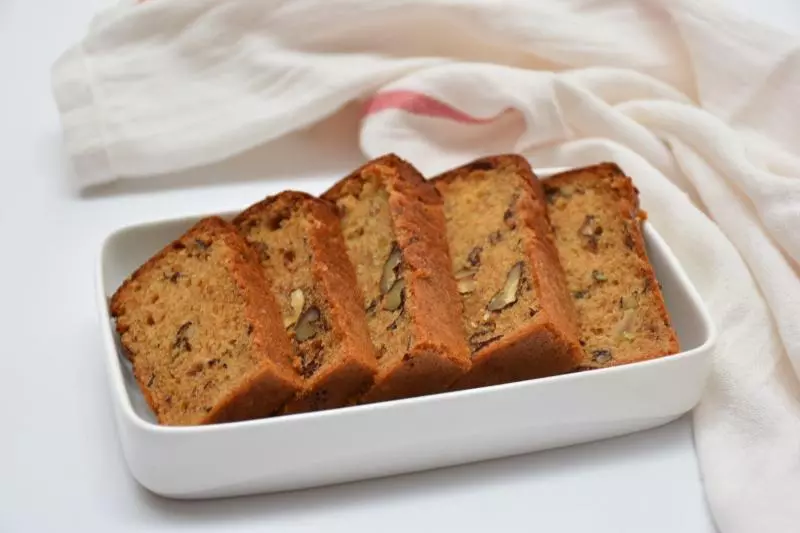
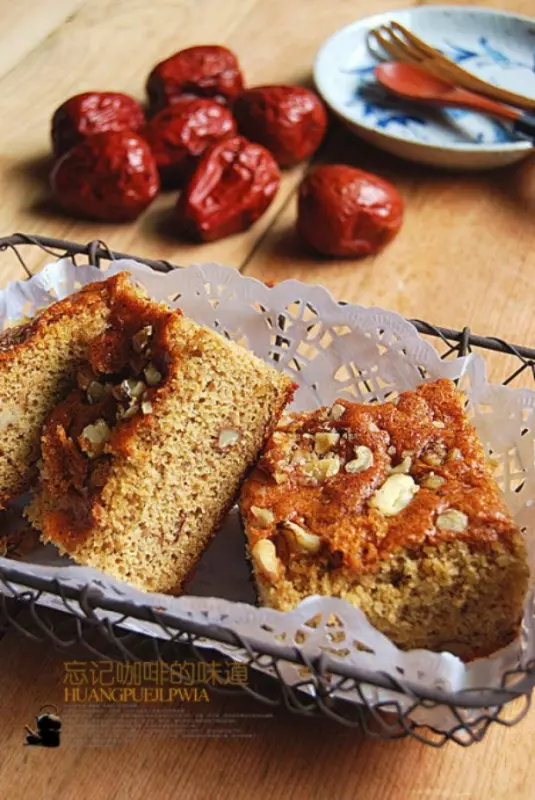
(全蛋法) 这款红枣蛋糕家里经常会做,作为家常点心它再适合不过,无论从取材营养价位等等它都无可挑剔,自己吃送父母送朋友没有一个不喜欢的,的确,把红枣做进蛋糕里乃最大程度发挥出了红枣特有的优势,把枣的甘香和营养都推向了极致,每次蛋糕还未出炉整个厨房就已弥漫着股股好闻的枣香了,很容易就让会让人感叹起生活的美好来! 蛋糕材料:(8吋长方模)
原料
干红枣去核 70克, 红糖 60克, 低粉 110克, 核桃仁 80克, 鸡蛋 5个, 蜂蜜 3茶匙, 植物油 85克, 泡打粉 1/2茶匙
步骤
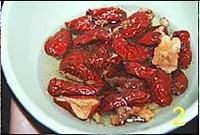
1干红枣去核后用水浸泡3小时以上
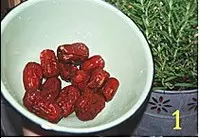
2让红枣吸饱水分,表面无明显皱纹
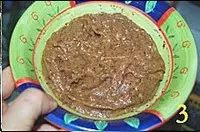
3然后取出沥干放入搅拌机内,加入一半(或以上)植物油搅拌成泥。搅拌好后的枣泥,加入3茶匙蜂蜜搅拌均匀。再加入剩下的植物油搅拌至均匀,至无油浮在表面备用
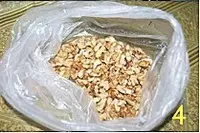
4准备核桃仁
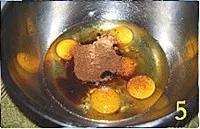
5取一干净无油的盆,打入5个鸡蛋,加入全部的60克红糖,红糖容易结块,先用手把红糖捏散,不然打发蛋白时会结块沉底
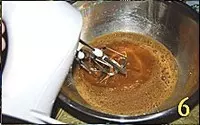
6电动打蛋机高速打至体积增加3倍
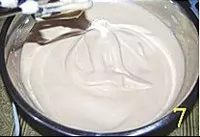
7提起打蛋头能在打好的蛋液上写字,并且字迹不会马上消失的状态
8低粉和泡打粉混合后筛入其中,切拌均匀

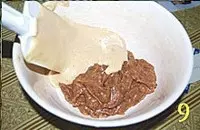
9用橡皮铲舀出一部分加入备用的枣泥糊中拌匀
10然后把枣泥再回倒入剩下的打发鸡蛋中切拌均匀

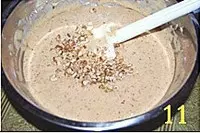
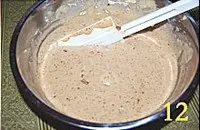
11倒入预先切碎成小颗粒的核桃仁拌匀
12即完成蛋糕糊的制作
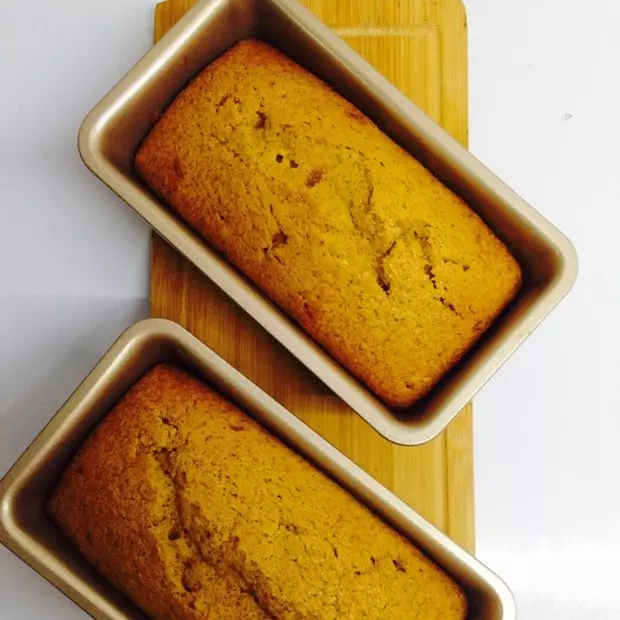
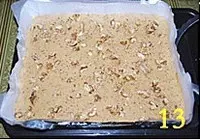
13把蛋糕糊倒入预先铺好烤纸的长方模中,轻震几下去掉大气泡
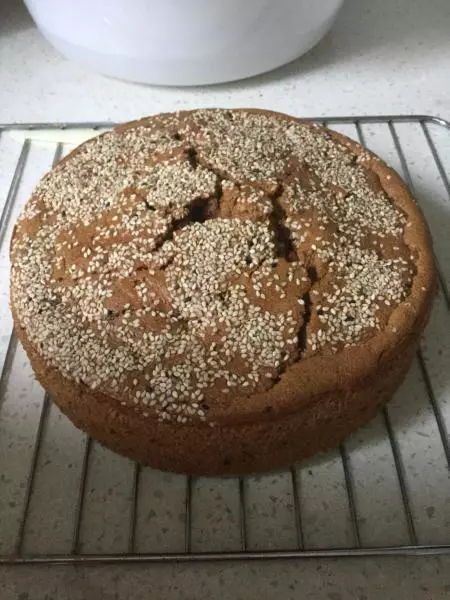
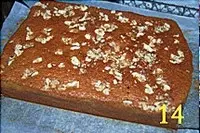
14烤箱预热180度,烤焙50分钟左右至熟
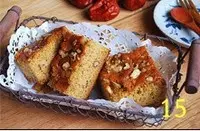
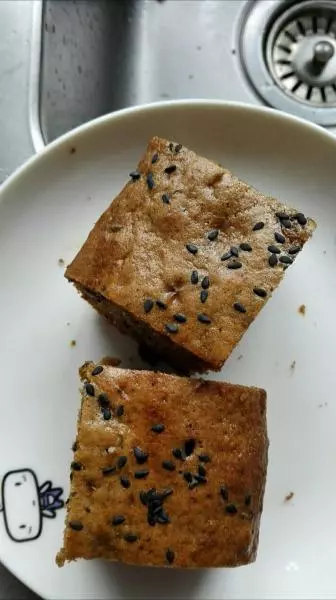
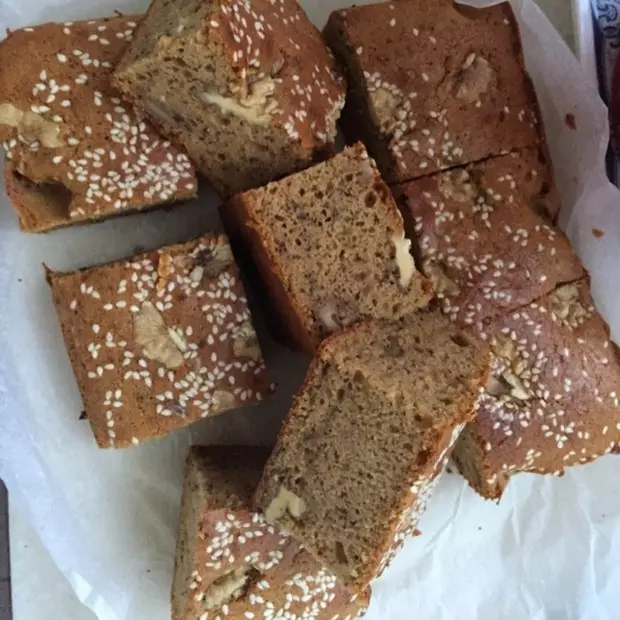
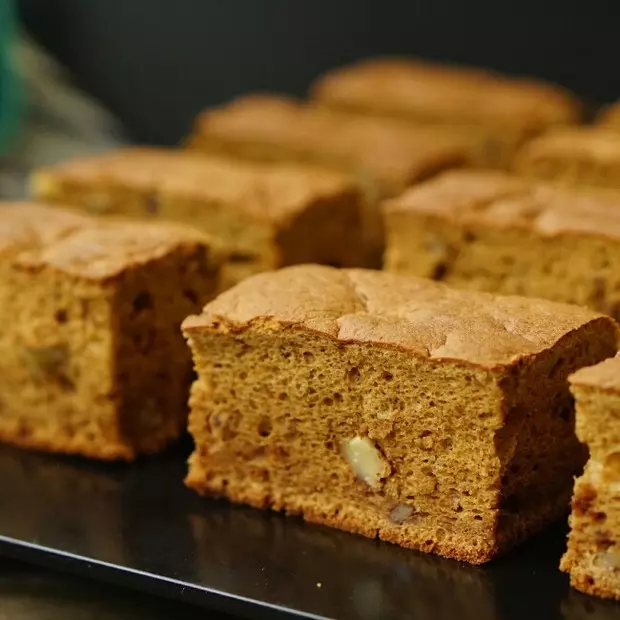
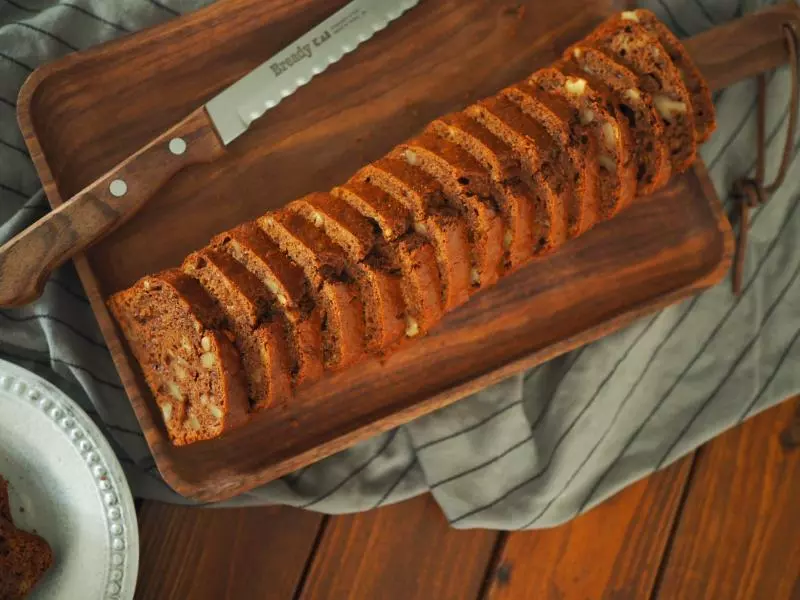
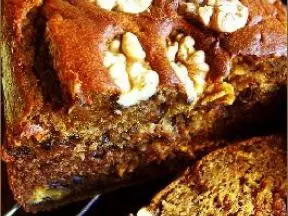
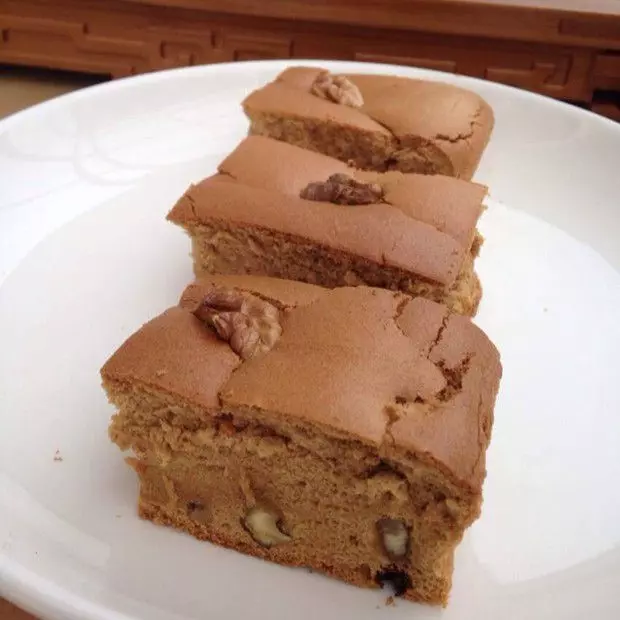
15取出放凉后撕去背面的烤纸切块食用