原料
黄油 120克, 低面 200克, 白砂糖 30克, 糖粉 50克, 草莓酱 若干, 鸡蛋 1个
步骤
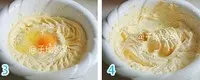
1将黄油切小块,室温软花,加入白砂糖和糖粉,低速打发至颜色变浅体,积略蓬松
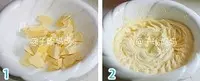
2打入一个蛋,继续低速打发至细腻光滑蓬松状
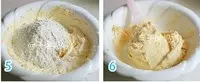
3筛入低粉,用刮刀切拌均匀
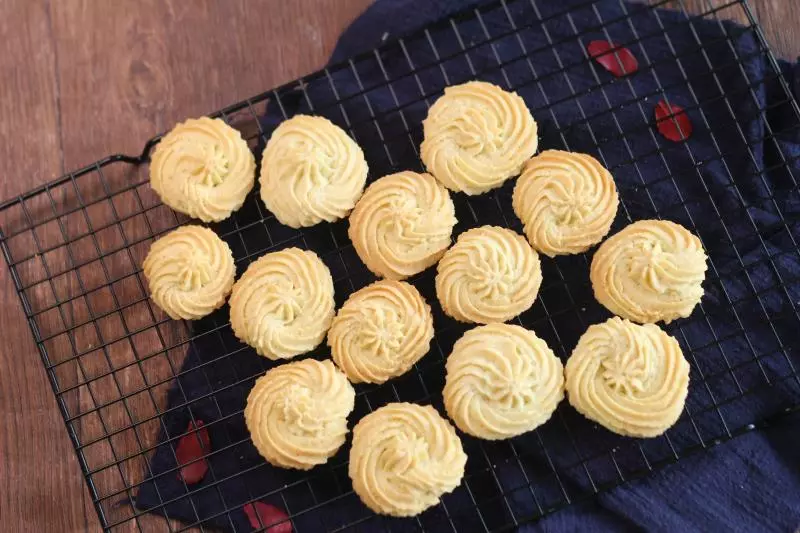
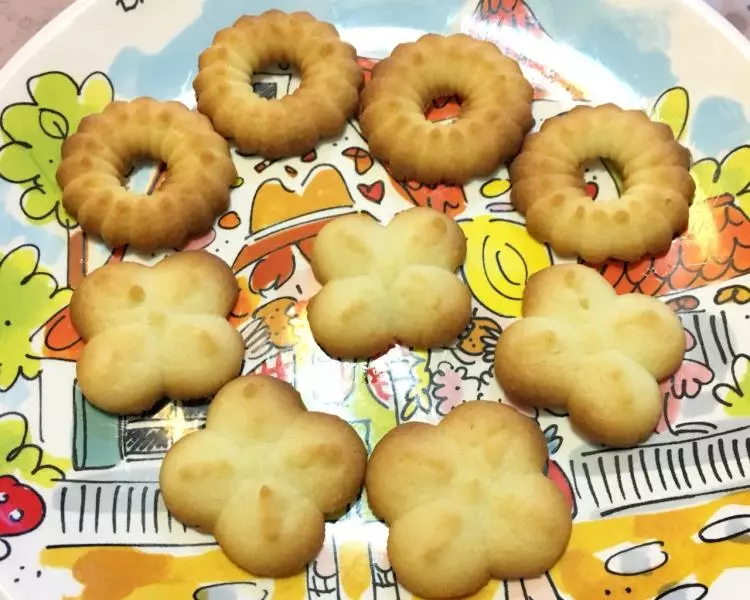
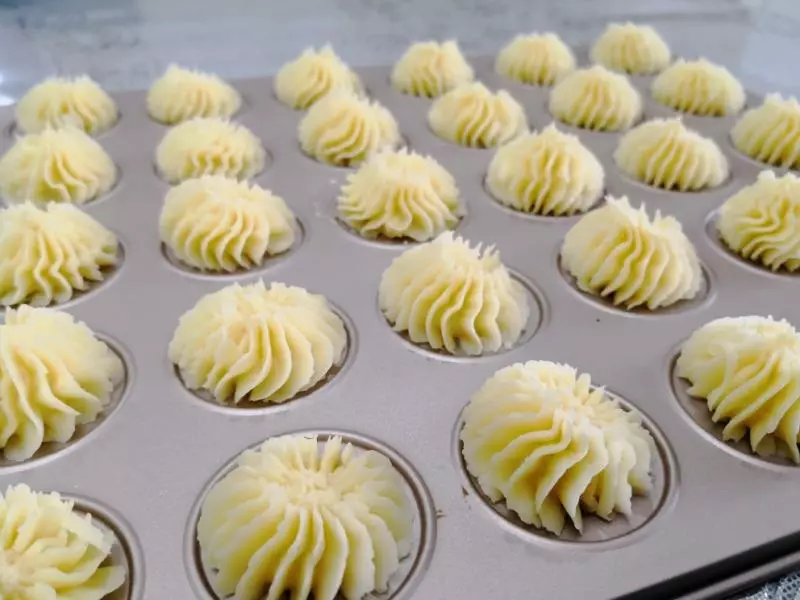
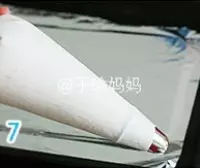
4装入布裱花袋,这里用的裱花嘴是12齿,大号菊花型裱花嘴
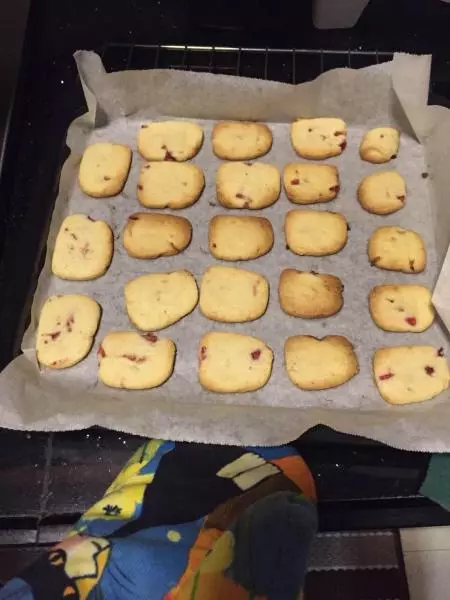
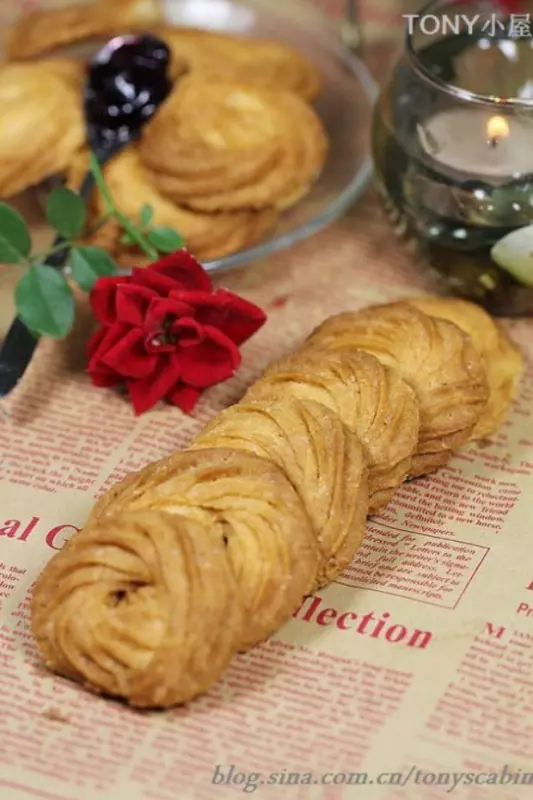
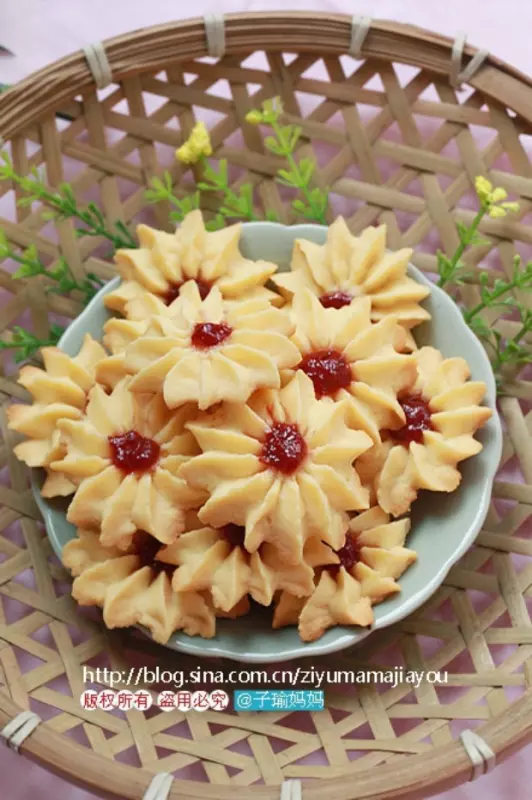
5烤盘垫烤盘纸,挤上菊花型饼干胚,中心点上点草莓酱
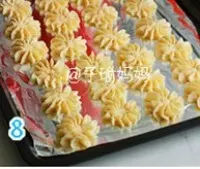
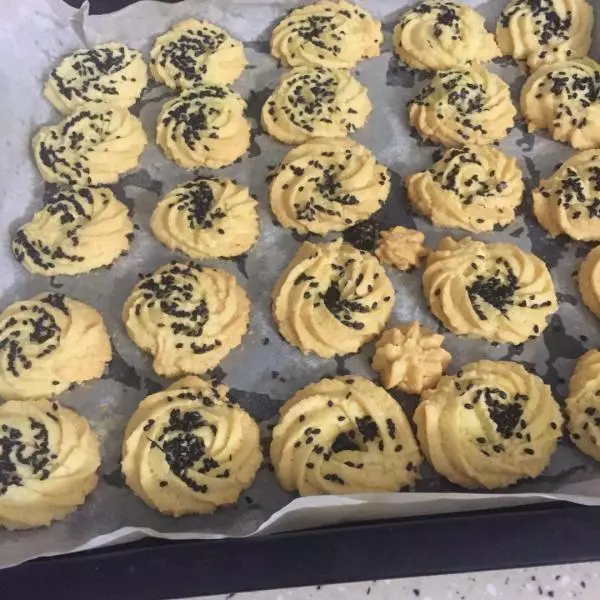
6送入预热好的烤箱中层上下火165度15-20分钟

小技巧
1、这里用的裱花嘴是12齿大号菊花型裱花嘴; 2、烤箱的温度和时间仅供参考,每家的火力可能都不一样; 3、因为点了草莓酱,所以最好是在两二天内吃完。建议一次不要做多了, 做多少吃多少比较合适。