原料
桂魚: 1條, 野山椒: 1包, 朝天椒: 適量, 青椒: 適量, 腐乳: 2塊
步驟
1 1⃣️:桂魚用鹽腌制10小時,然後流水洗去鹽分;姜、蔥,蒜、野山椒、紫蘇均切末,朝天椒、青椒切圈;腐乳2塊。

2 2⃣️:冷鍋冷油,小火下桂魚。

3 3⃣️:一直保持小火把桂魚煎熟,撈出備用。

4 4⃣️:鍋中留底油,把辣椒粉、姜、蒜、野山椒末小火炒香。

5加入清水適量

65⃣️:倒入清水適量,下桂魚煮,入料酒、醬油、白糖調味。

7 6⃣️:加入搗碎的腐乳同煮。

8 7⃣️:湯汁收得差不多時入白鬍椒粉、少量陳醋調味。

9 8⃣️:加入朝天椒、青椒、蔥花略煮即可出鍋。

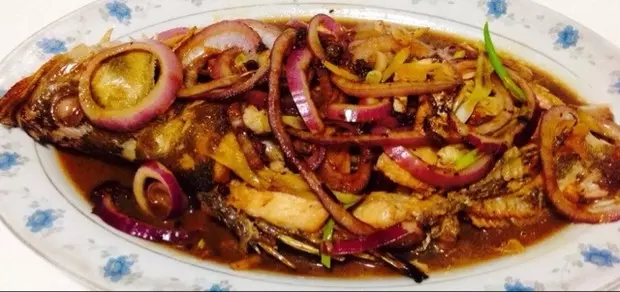
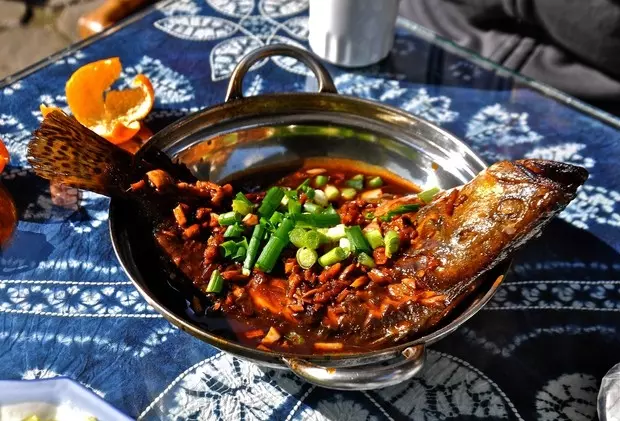
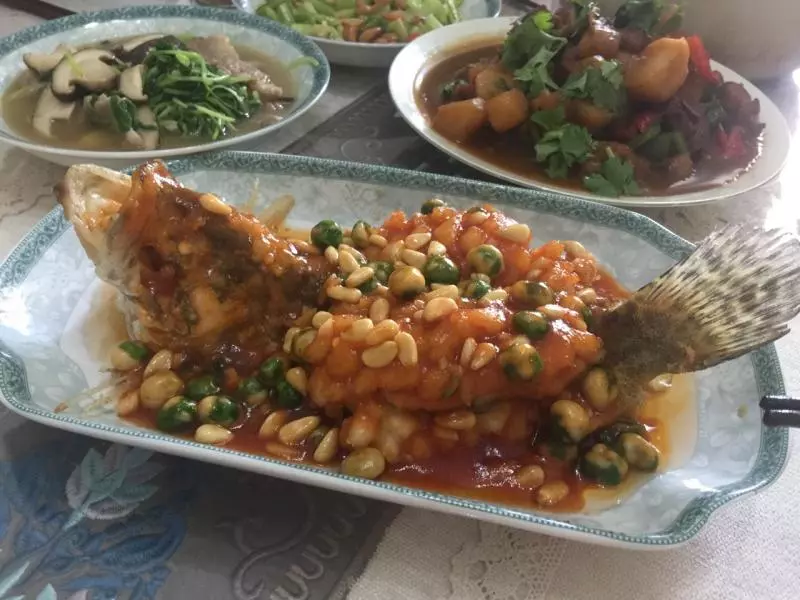
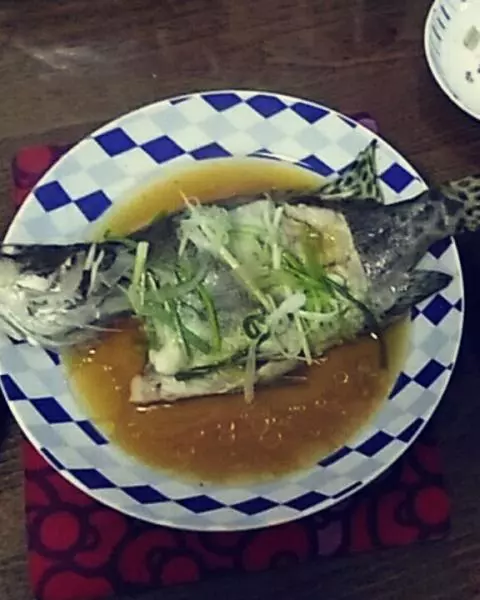
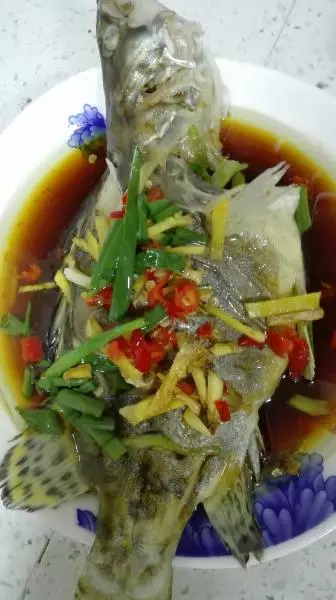
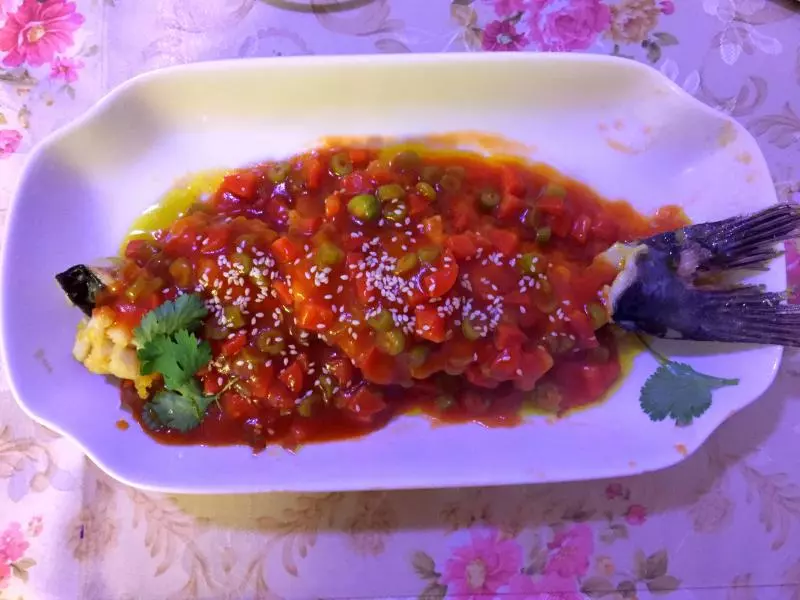
10成品

小技巧
PS:不吃辣的可省略辣椒粉和朝天椒。 皮姐給桂魚打了花刀,做完發現沒有必要,反而會使魚肉煎制時易碎。 桂魚背部肉比較厚實,可以在背部用刀開個切口方便入味。 因為已經用鹽腌制過,且腐乳也是比較鹹的配料,所以烹制過程中皮姐沒有再加鹽進去。