原料
派皮: , 黃油: 33g, 糖粉: 14g, 雞蛋: 5g, 低筋粉: 43g, 餡料: , 奶油奶酪: 190g, 綿糖: 40g, 雞蛋: 80g, 淡奶油: 25g, 玉米澱粉: 5g, 白蘭地: 5g, 檸檬汁: 2-4滴, 藍莓醬: 適量
步驟
1稱料
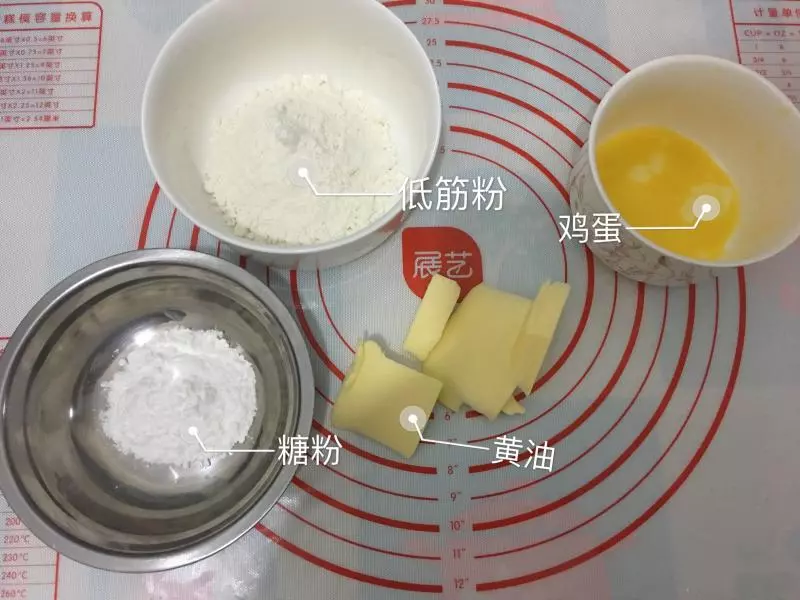
2黃油軟化加糖粉打發(我是直接上手的,習慣了)

3分次加入蛋液攪拌均勻

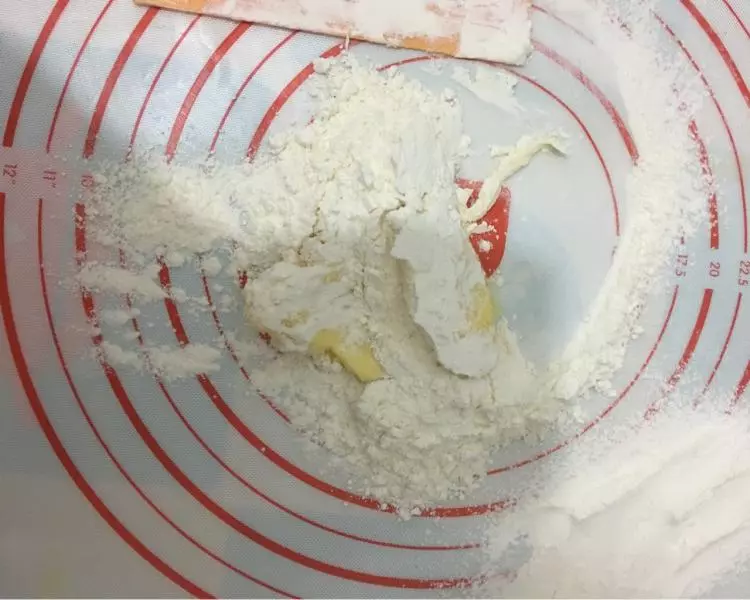
4將低粉過篩,然後拌勻成團。用保鮮膜包住然後鬆弛10-15分鐘
5稱餡的料。酒的話是用來調味的,朗姆酒啊白蘭地君度酒都可以用。糖的話家裡暫時沒綿糖我用的幼砂糖代替了。

6奶油奶酪軟化攪至細膩無顆粒,然後加入綿糖,攪勻。

7分次加入蛋液攪勻。每次必須充分混合,不能油水分離。

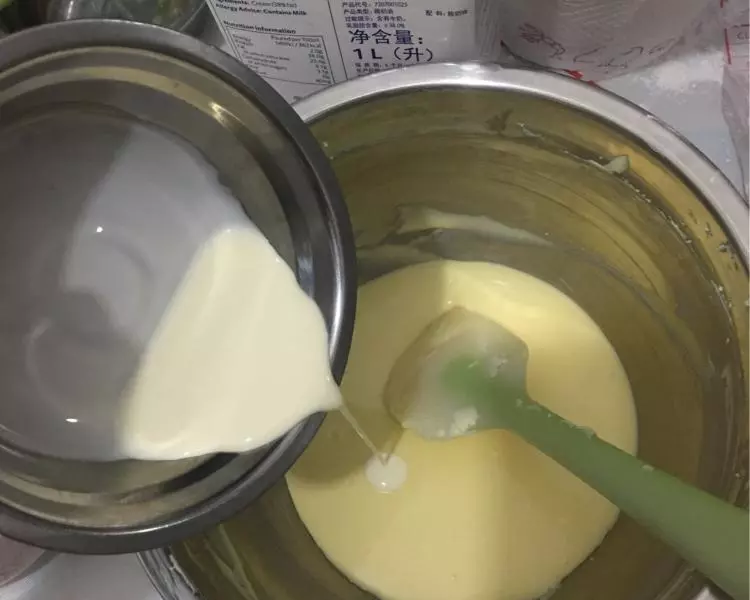
8加入淡奶油,稍微攪一下。混合均勻即可。
9加入玉米澱粉,同樣拌勻即可。
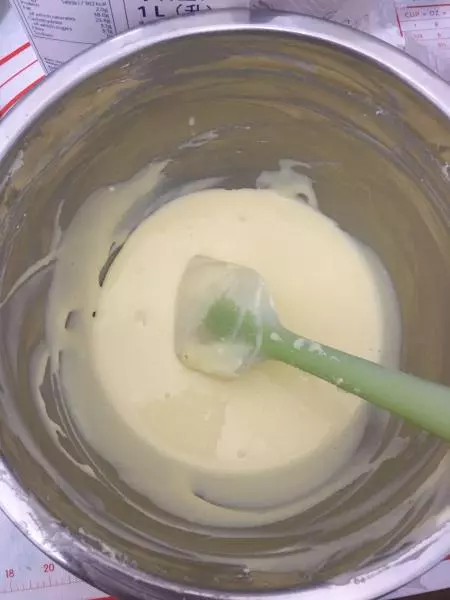
10加入白蘭地和檸檬汁,拌勻即可

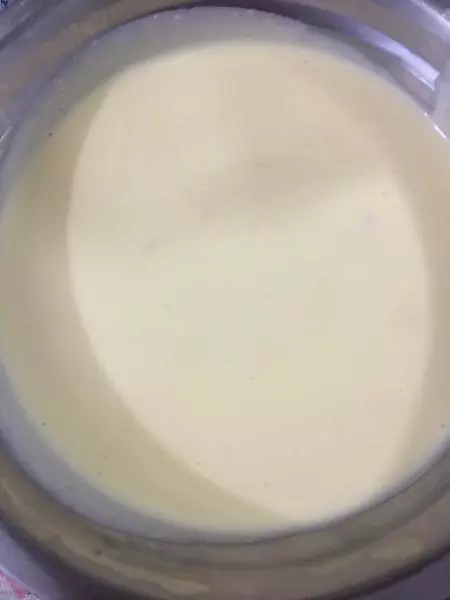
11覺得有顆粒可以過次篩。然後靜置。準備擀派皮。
12將麵糰擀至比模具大一點。然後模具倒扣。
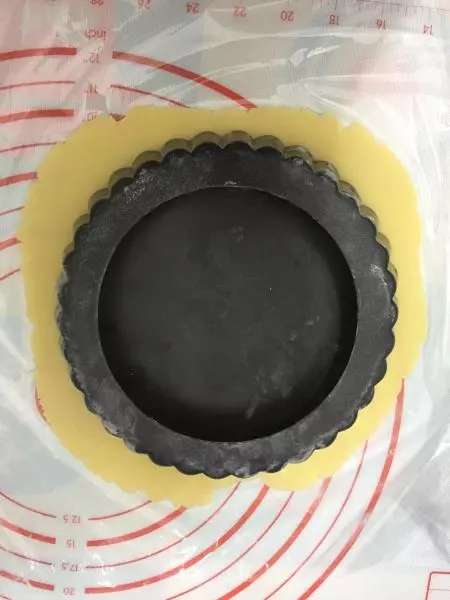
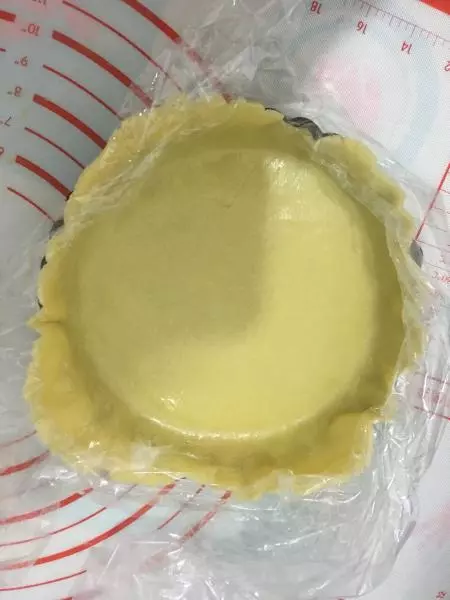
13然後兩隻手一起把派皮和模具翻過來。將派皮按到模具中,往下按好之後再掀保鮮膜。將派皮捏均勻,側邊不能太薄了。將多餘的派皮削掉。
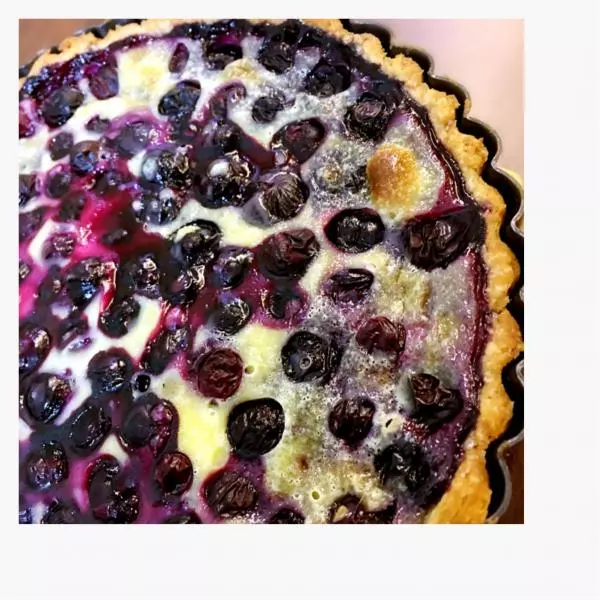
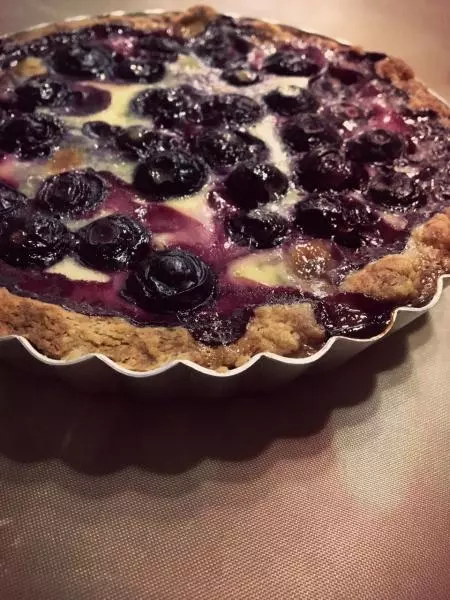
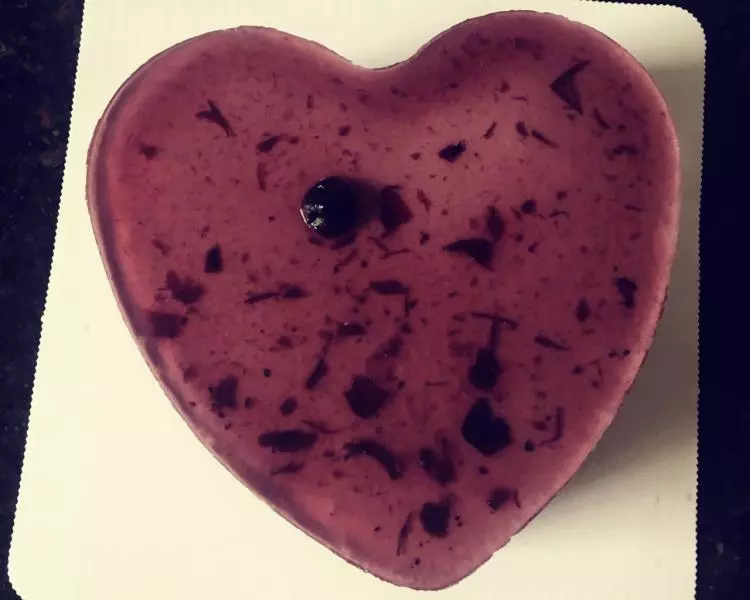
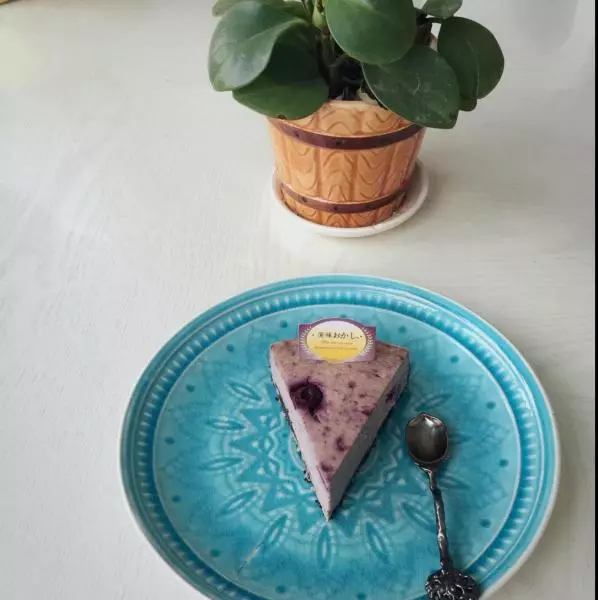
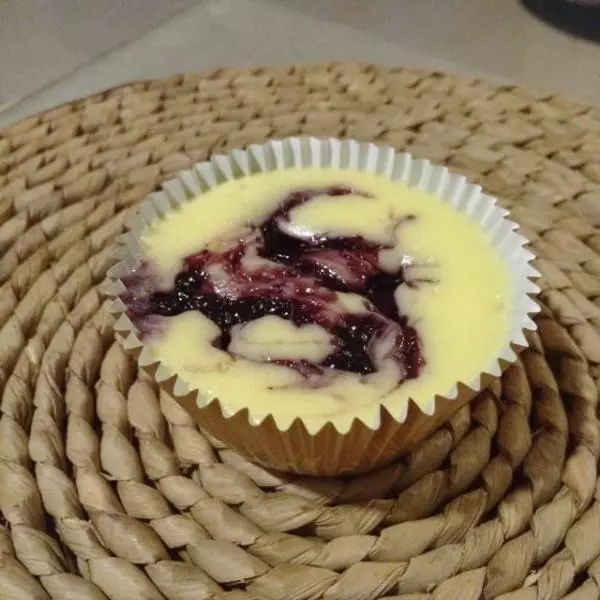
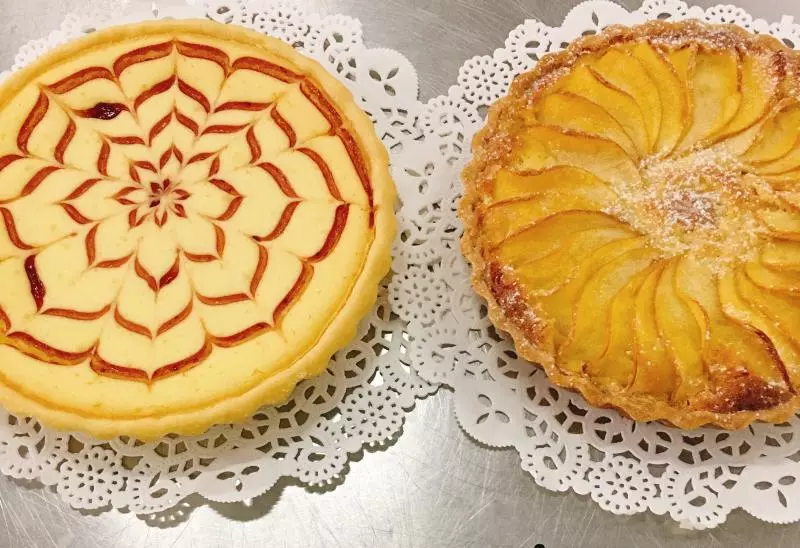
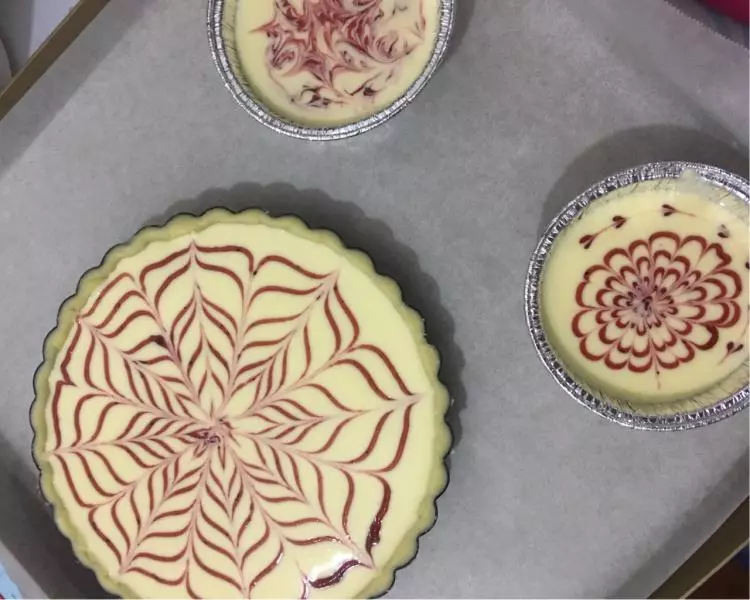
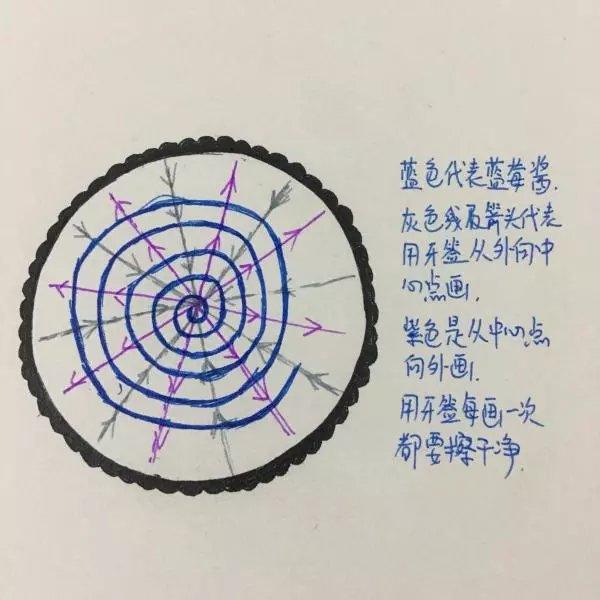
14將芝士糊倒入模具中,震出大氣泡。然後將藍莓果醬裝入裱花袋中,擠出花紋。
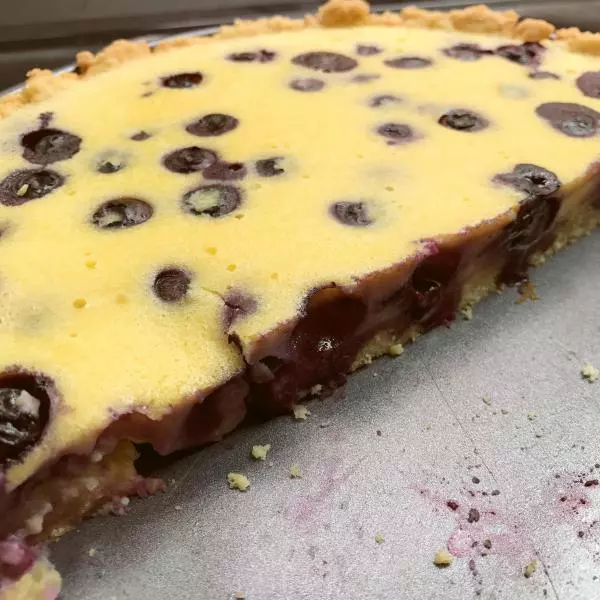
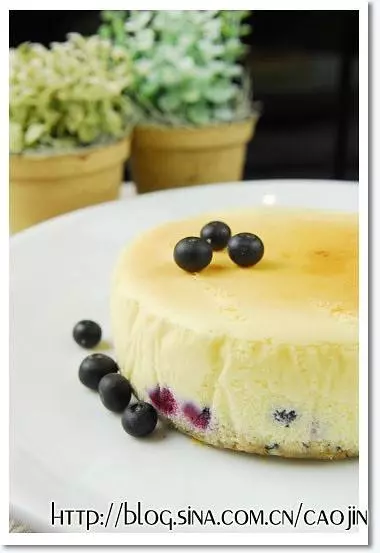
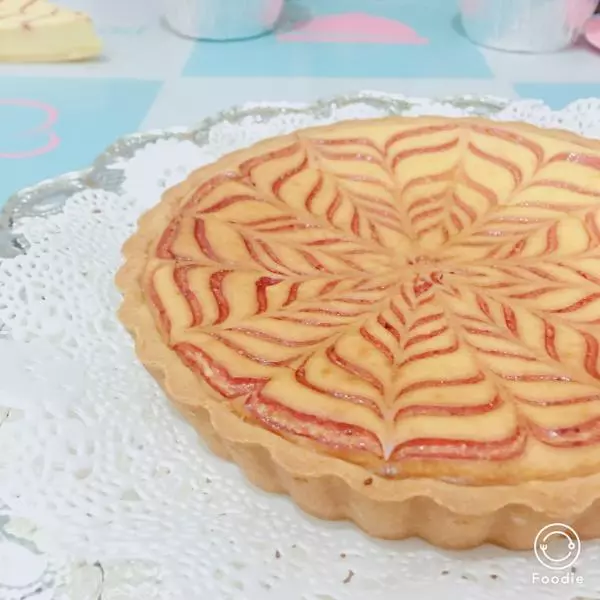
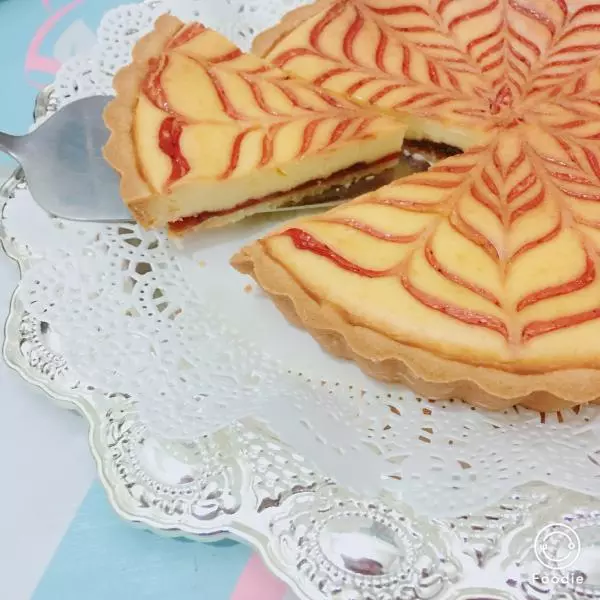
15入烤箱烘烤。上火150下火170,45分鐘。
16太陽花花紋的畫法 也可以自己隨意畫來著
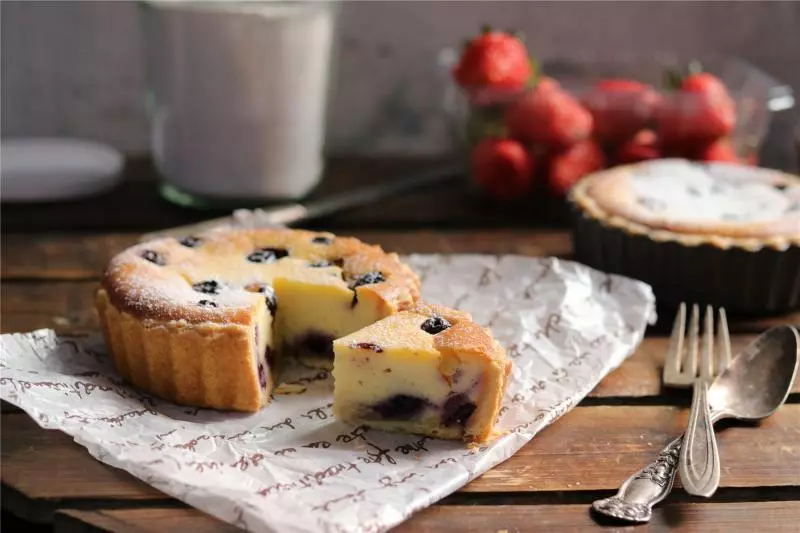
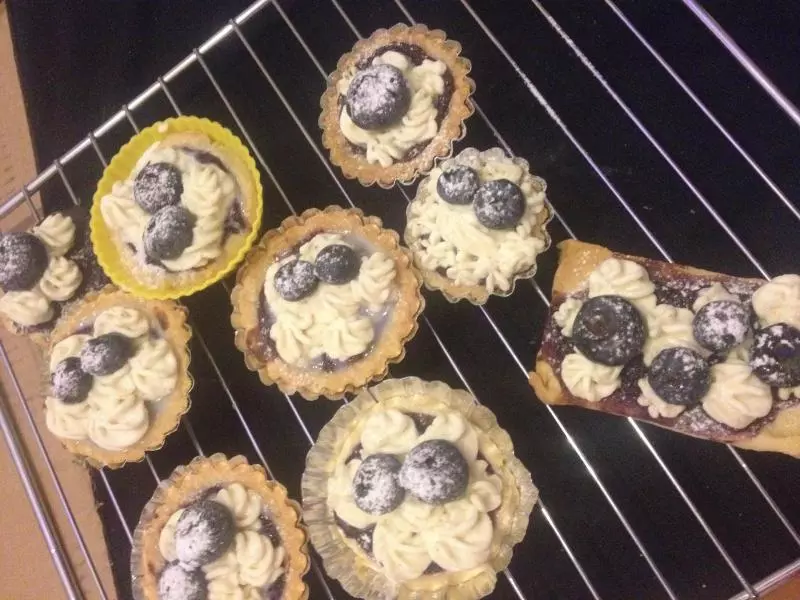
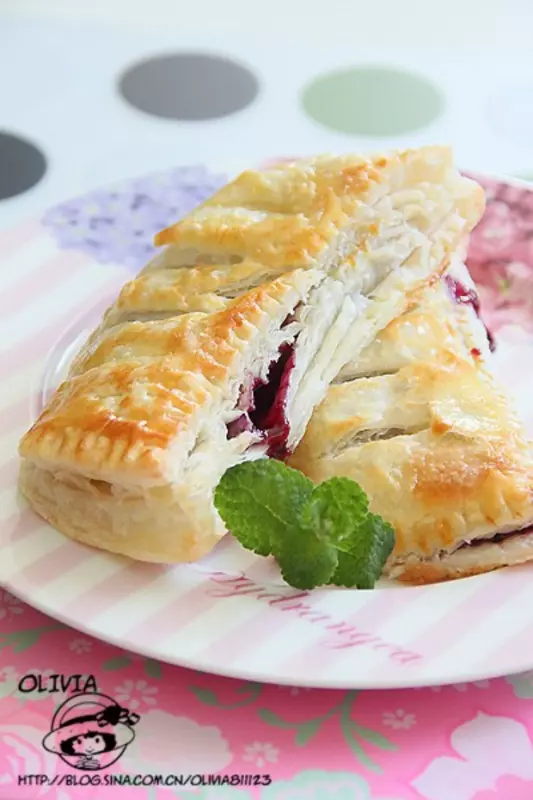
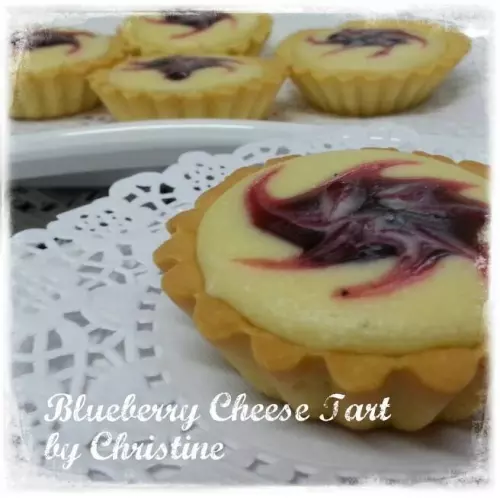
17我在芝士糊與派皮之間加了層藍莓醬 可以加也可以不加 也可以加在芝士糊中間 。當然,也可以用蛋撻模做小號的酥皮芝士撻。派的話放涼了再切芝士糊就結實了,不然很濕潤的。
小技巧
1.芝士糊加入淡奶油後攪勻即可。不然會將淡奶油打發,芝士糊里都是氣孔就不細膩了。 2.烤箱的溫度和時間不是絕對的,要根據自己烤箱的情況來判斷,我給的只是一個參考溫度。