原料
波蘭種: , 全麥粉: 100g, 水: 100g, 酵母: 0.2g, 主麵糰: , 高粉: 300g, 糖: 45g, 鹽: 4g, 酵母: 2.5g, 雞蛋: 1顆, 牛奶: 75g, 淡奶油: 60g, 黃油: 20g, 餡: , 全蛋液: 50g, 椰蓉: 70g, 黃油: 30g, 糖: 30g, 蔓越莓干碎: 適量, 麵包光亮劑: 少許
步驟
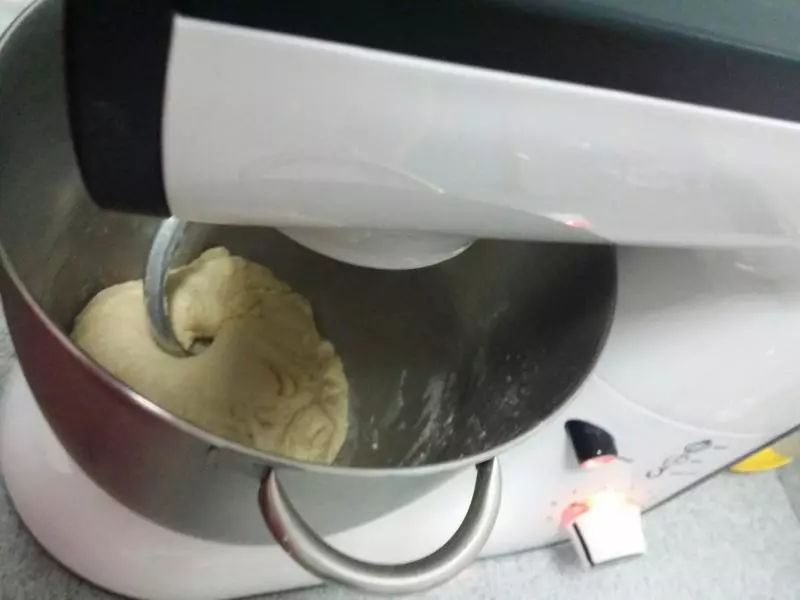
1和面神器:戀家廚師機

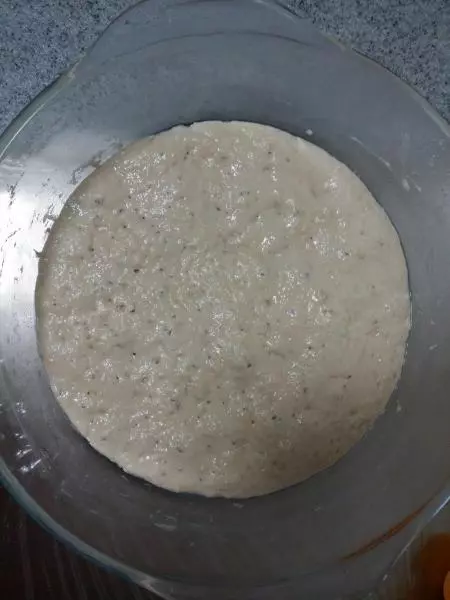
2波蘭種提前做好。全麥粉,水,酵母拌勻,看不到酵母,發酵。看狀態,不看時間。
3蛋液+牛奶+淡奶油混合均勻。
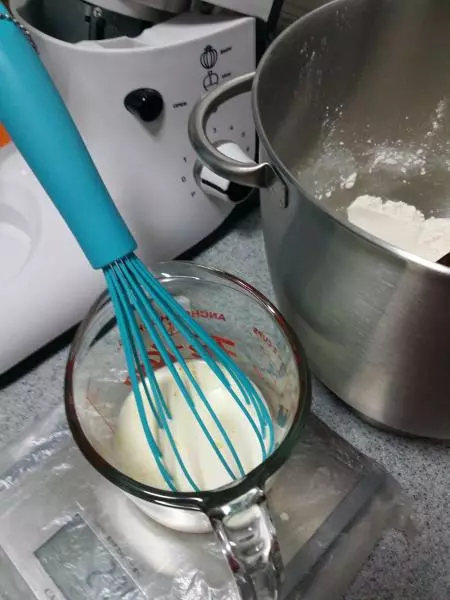
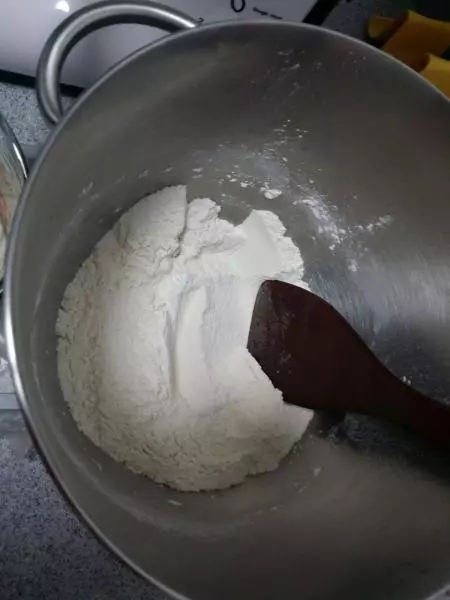
4主麵糰高粉+糖混合均勻;+鹽混合均勻+酵母混合均勻。
5加入液體及波蘭種
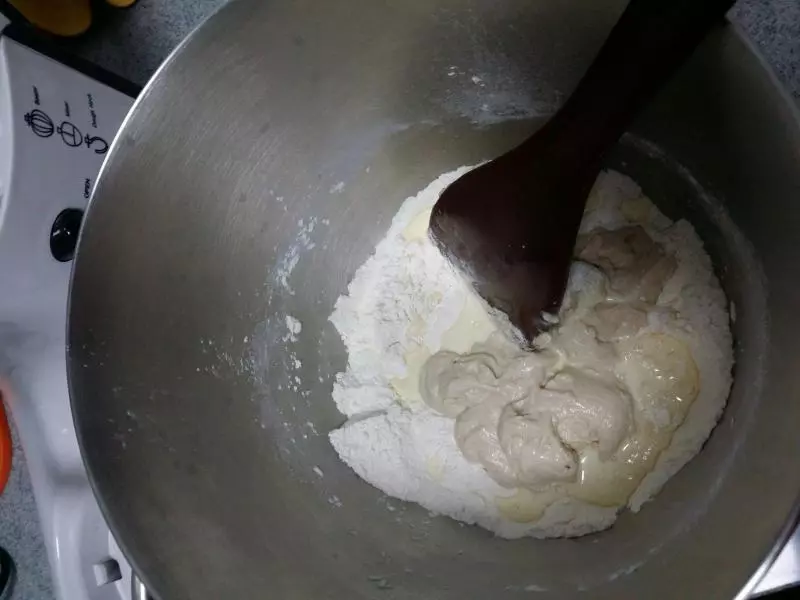
6拿鏟子或筷子攪拌成團
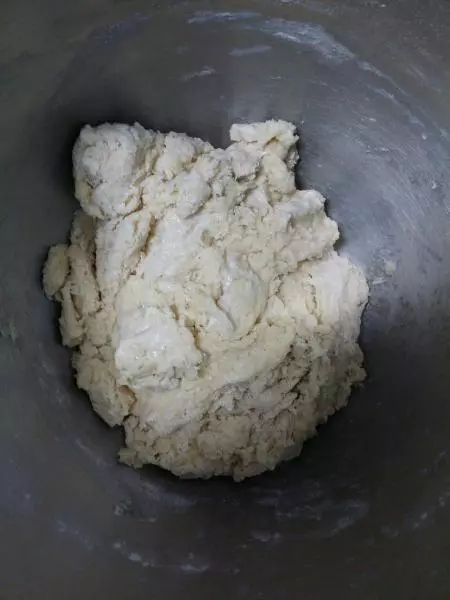
7開機,3檔3分鐘
8刮缸
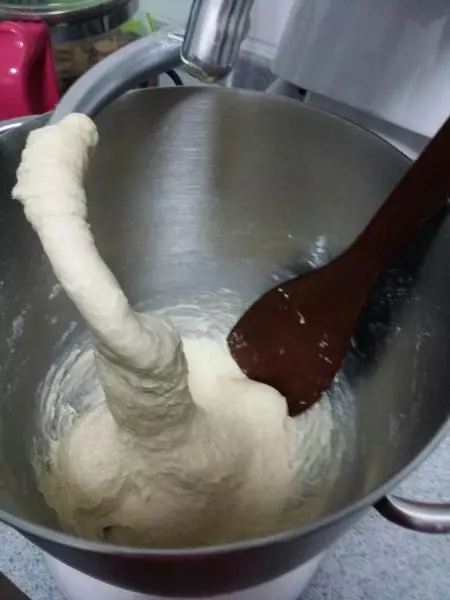
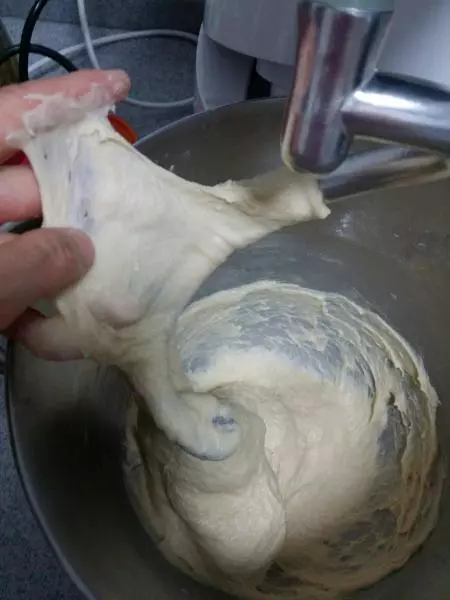
93檔2分鐘,4檔30秒,5檔30秒,3檔2分鐘。麵糰出筋,基本不粘手。
10刮缸,放入切塊黃油。
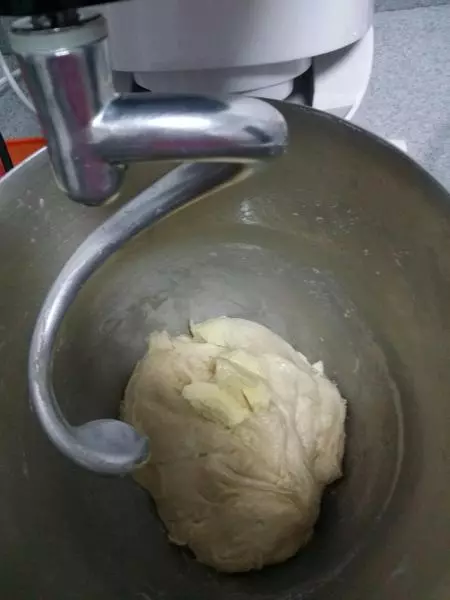
111~2檔黃油不見,轉3檔1分鐘,4檔30秒,5檔20秒,4檔30秒,3檔2分鐘。麵糰由粗糙變細膩。
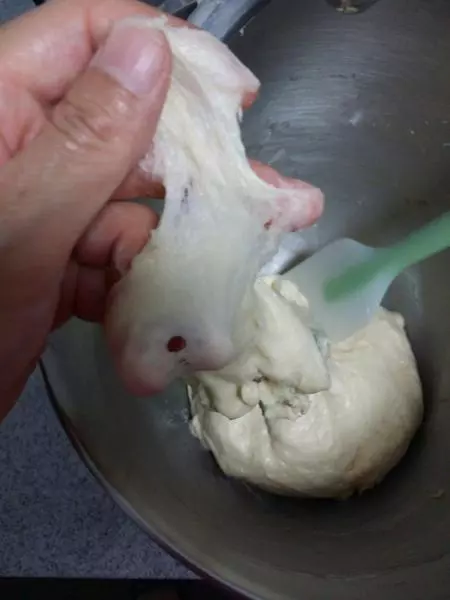
12刮缸檢查,麵糰細膩筋到,但還稍粘手。

133檔運行1分鐘。麵糰不再粘手,很彈。和面完成。
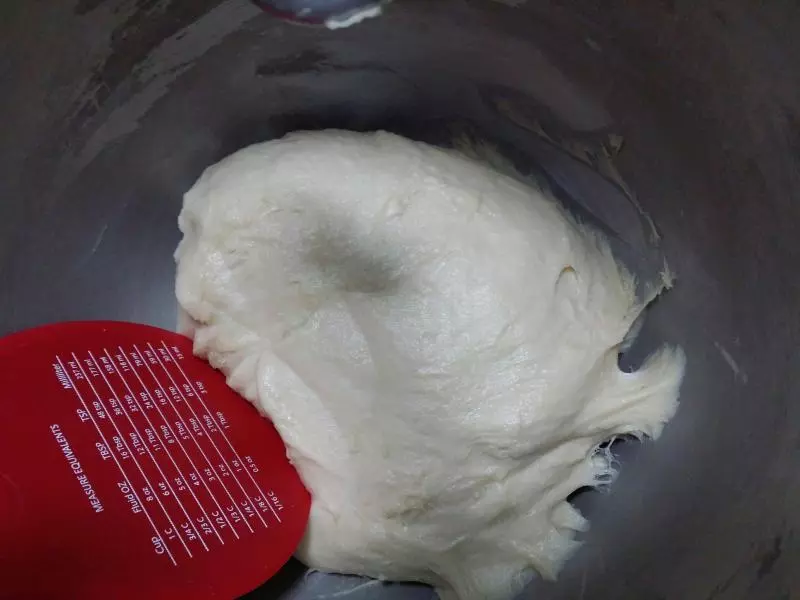
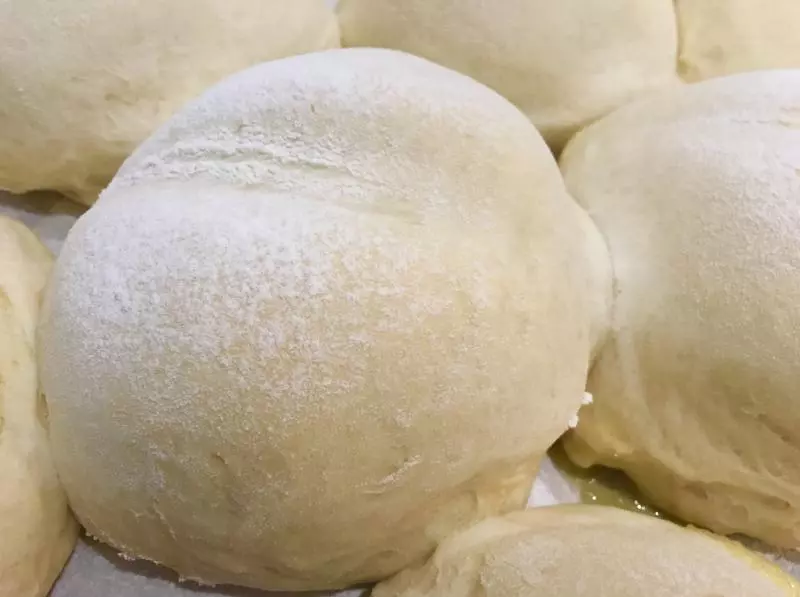
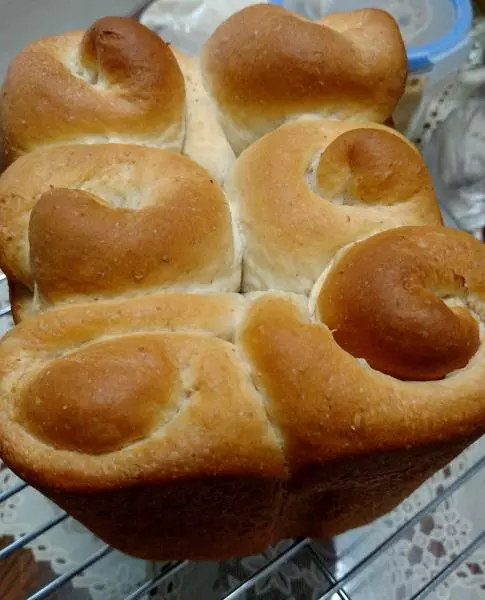
14取出麵糰,揉圓。表皮光滑,表皮下布滿細密的氣泡。

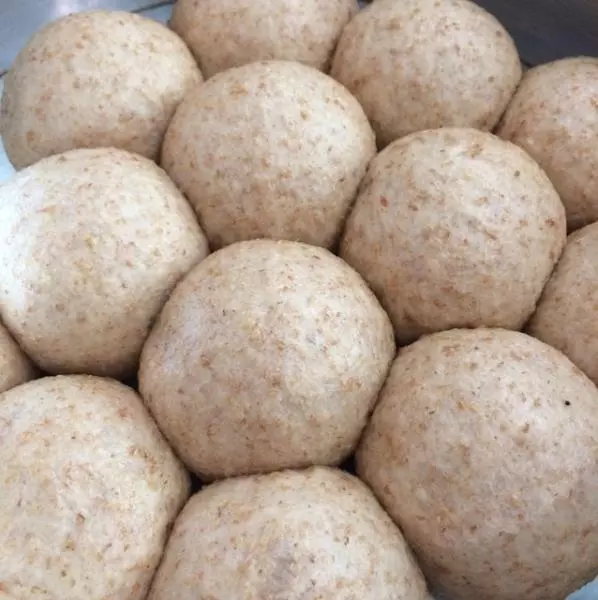
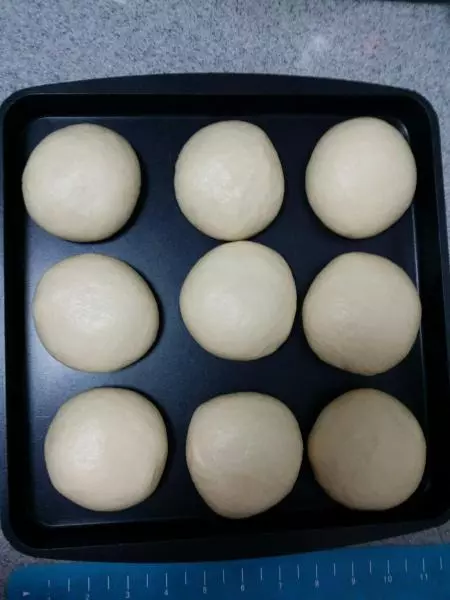
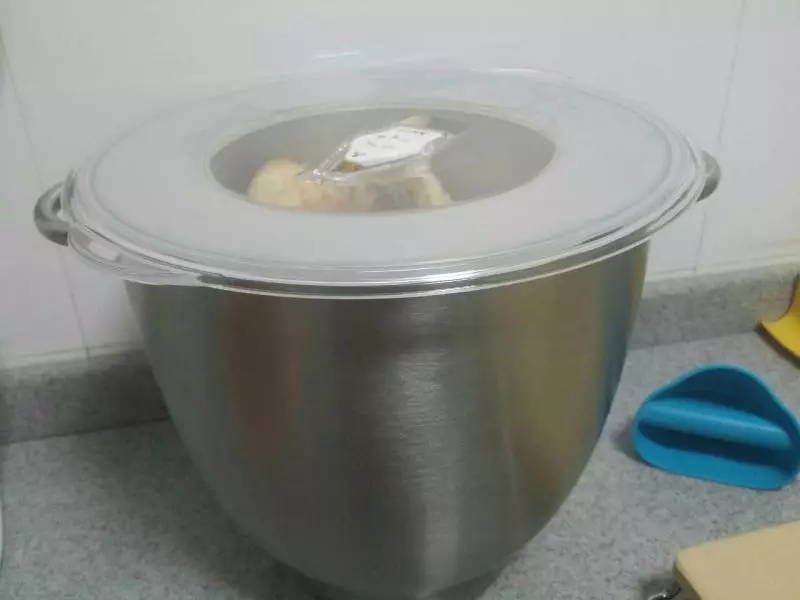
15分份揉圓,冷藏20~30分鐘。
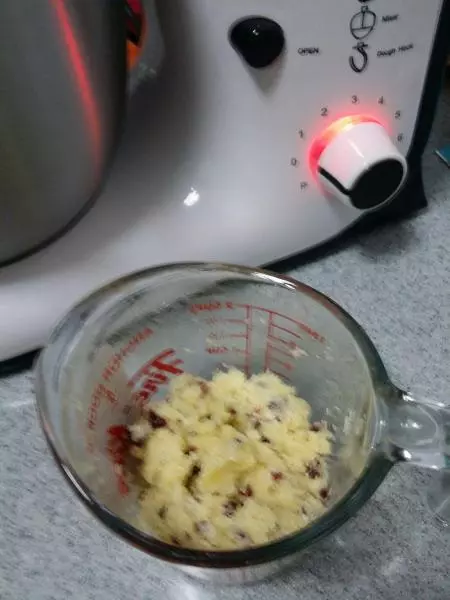
16沒有拍清晰。冷藏同時,做餡。蛋液+黃油+糖+椰蓉+蔓越莓碎混合均勻。
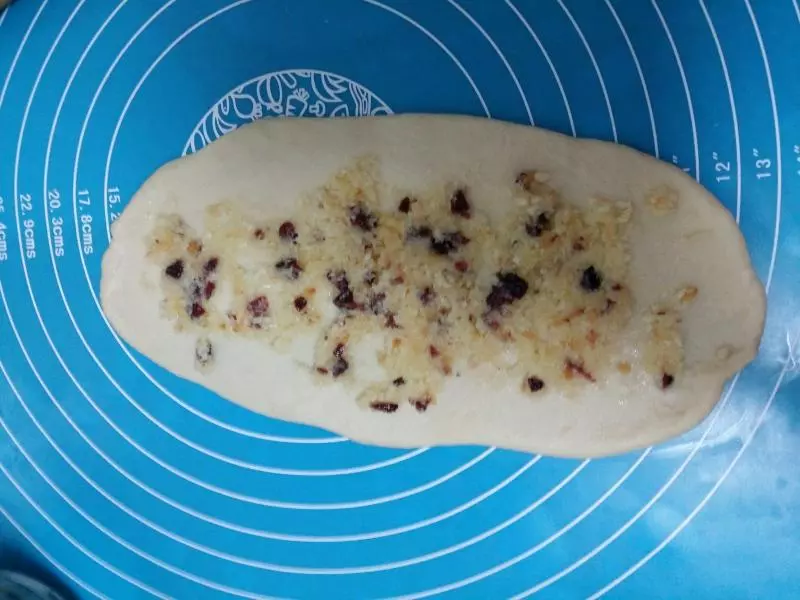
17擀開麵皮,放入餡料。
18橫向對摺
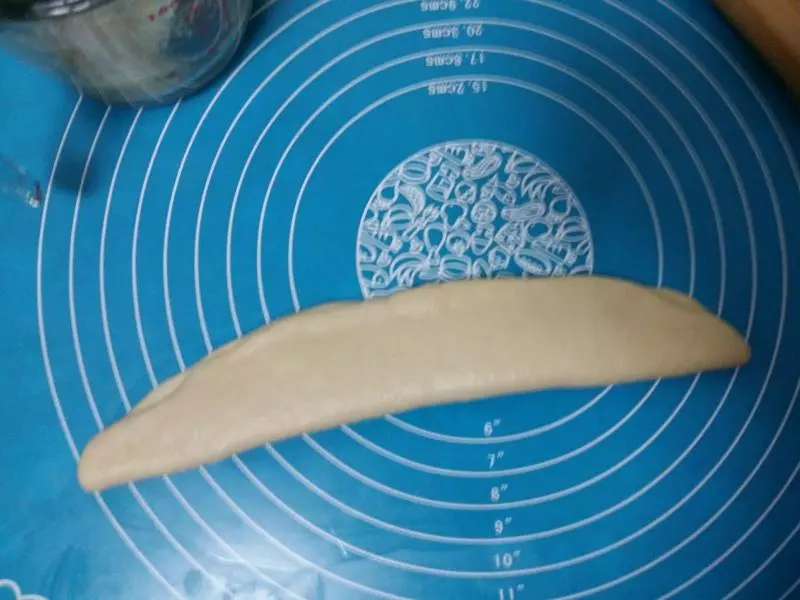
19從一頭鬆鬆捲起,收緊接口。
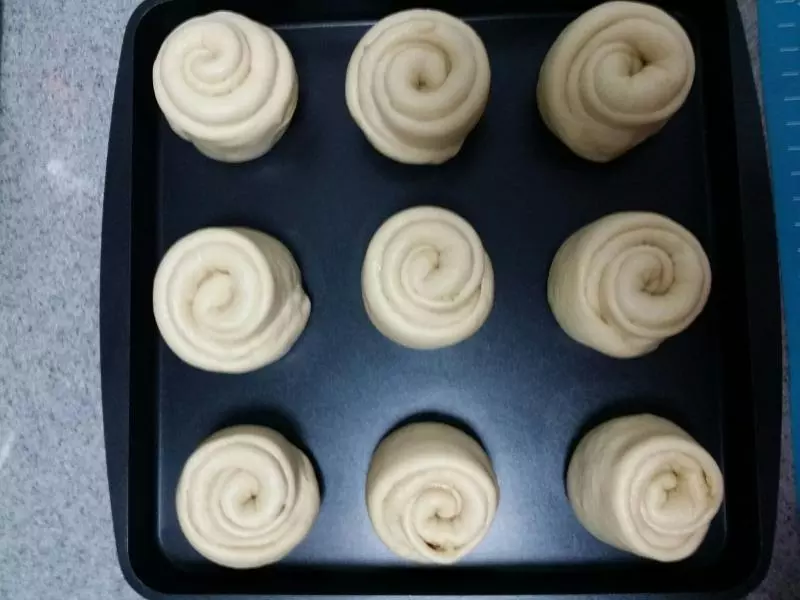
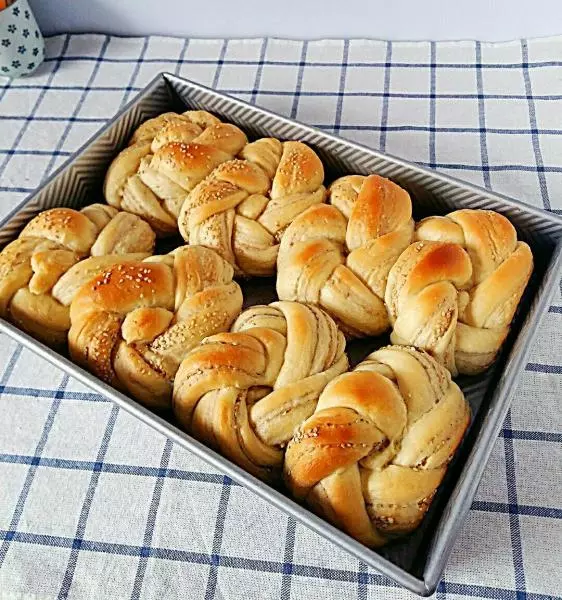
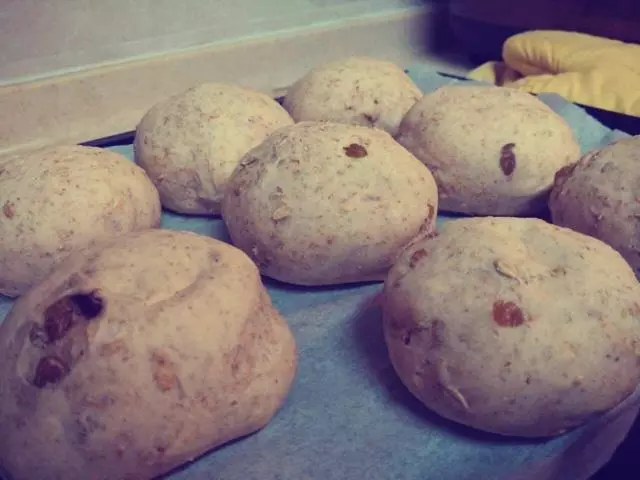
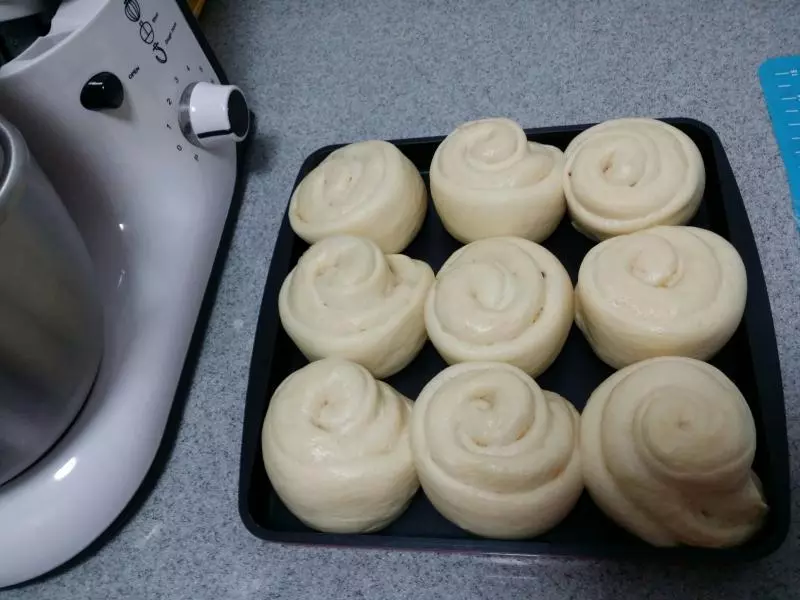
20放入密閉空,比放一大碗70~80度熱水,發酵35~40分鐘。輕按麵糰可慢慢彈回,發酵完成。取出面胚(此時可刷蛋液撒芝麻,姐沒刷)。預熱烤箱200度10分鐘。
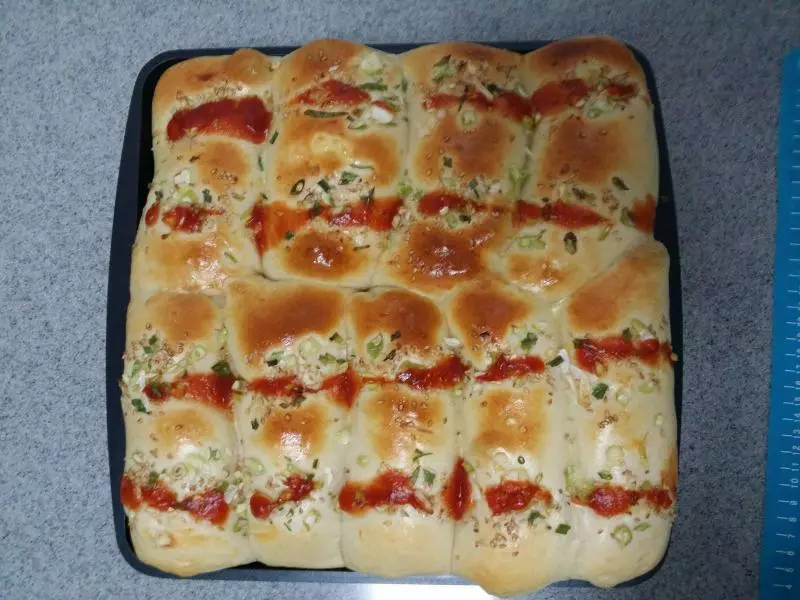
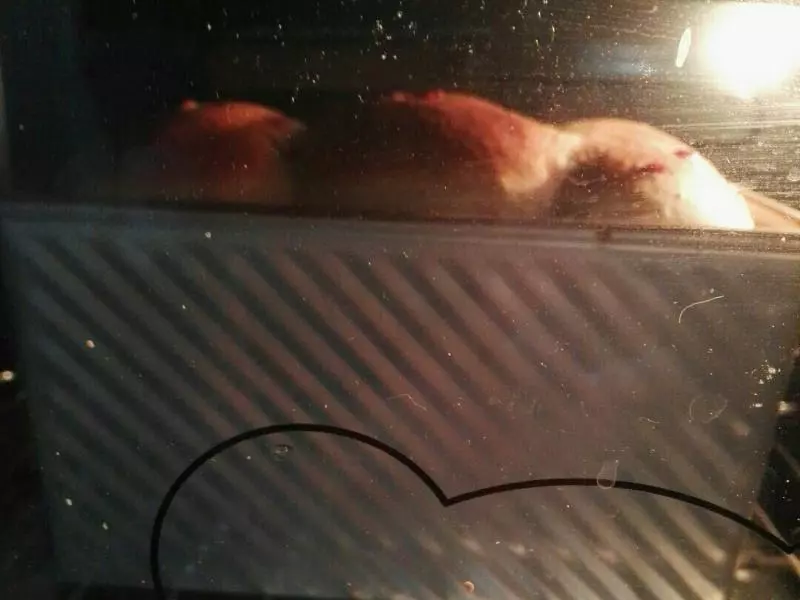
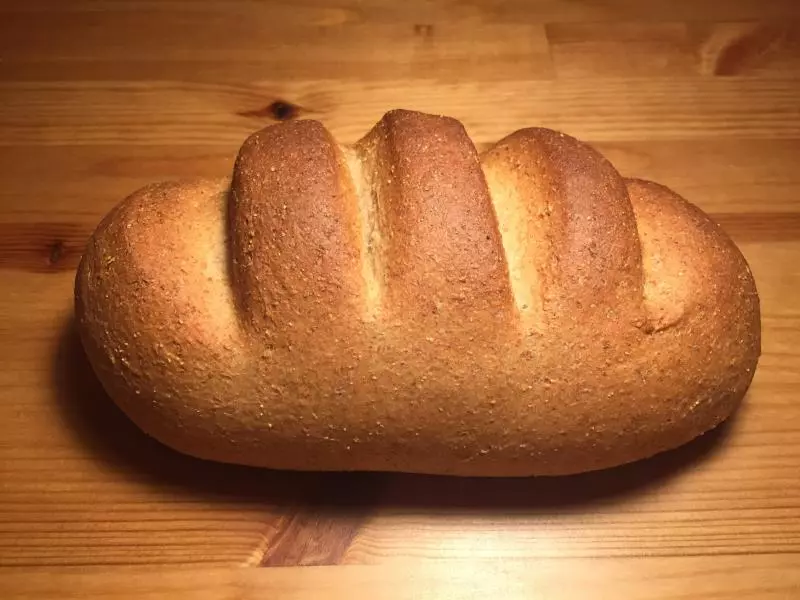
21中下層190度烤25分鐘。中途注意上色後加蓋錫紙。喜歡淺色的早蓋,姐是習慣深色了。

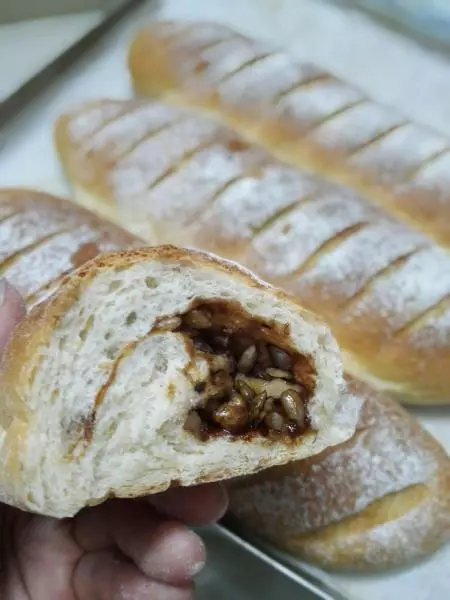
22出爐立即輕刷一層光亮劑
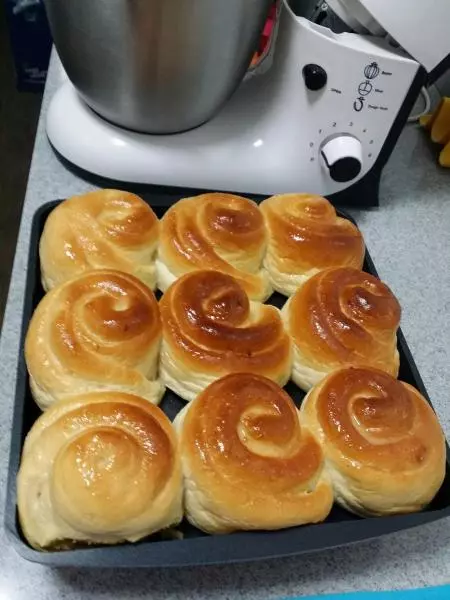
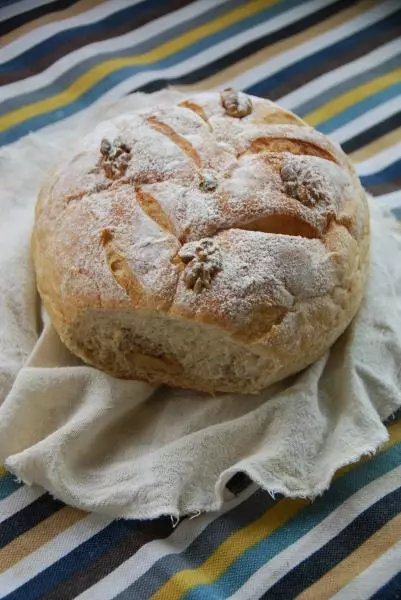
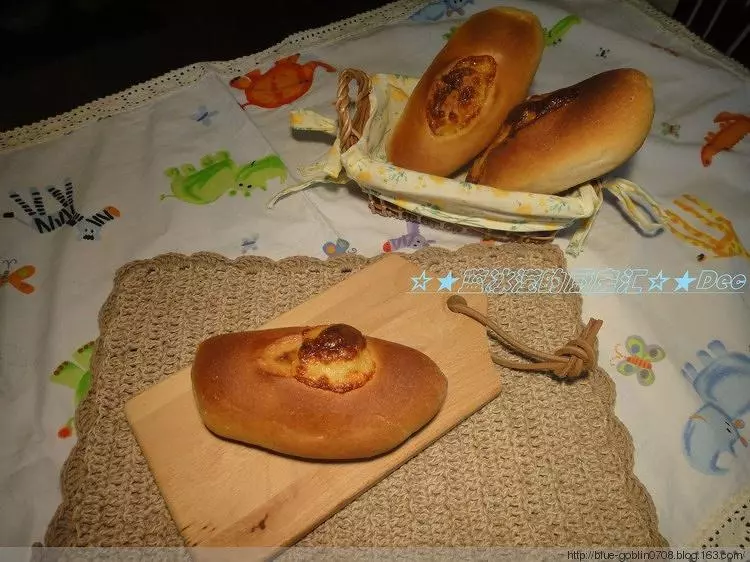
23來張正面
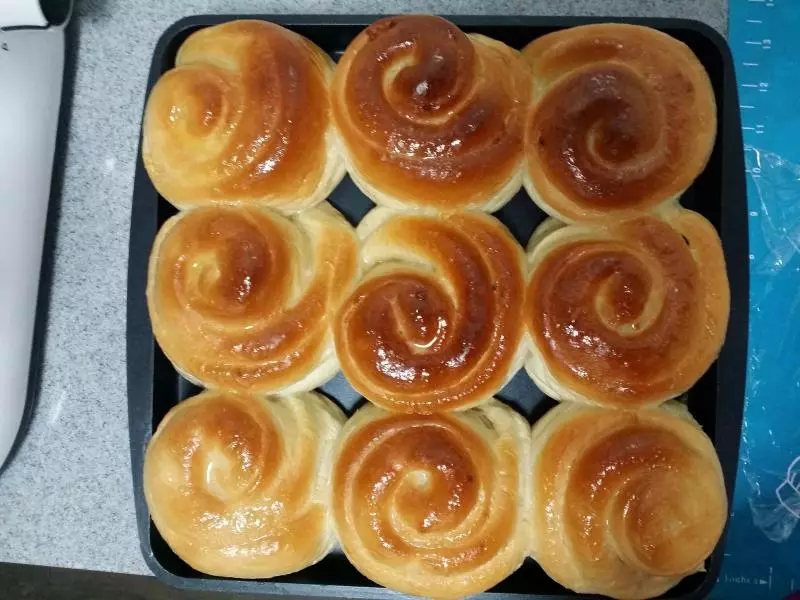
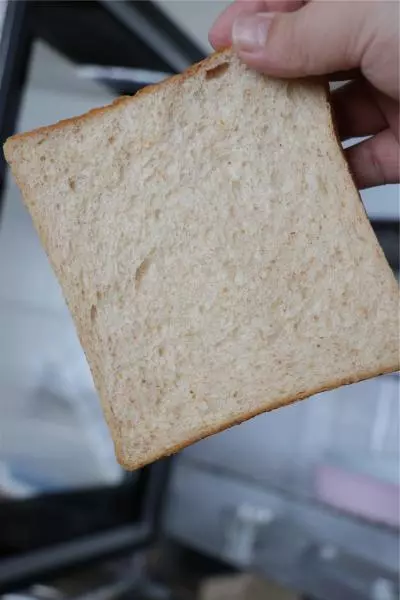
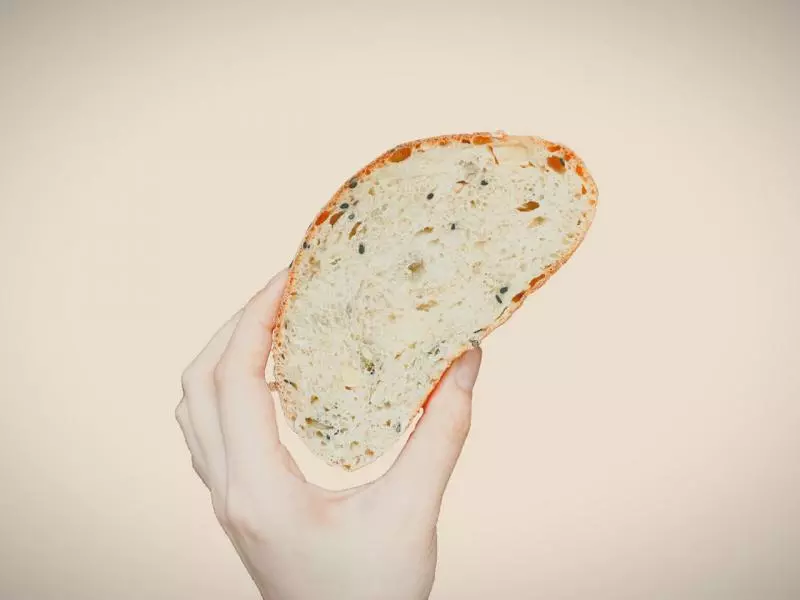
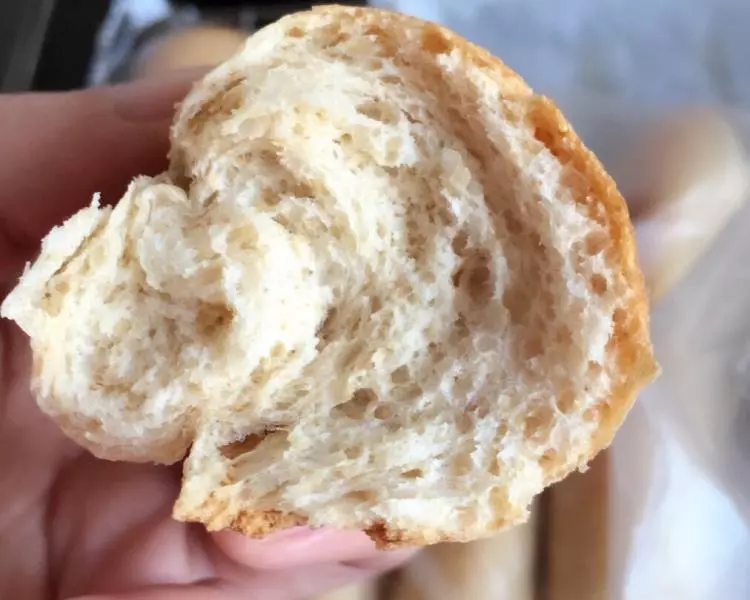
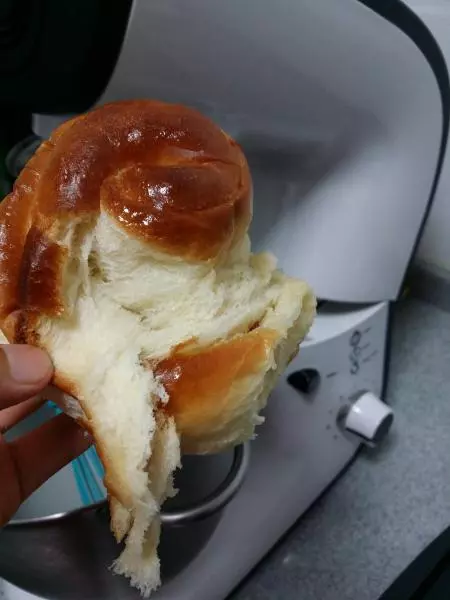
24撕開一個,蓬鬆綿軟細膩,咬一口,椰香十足,酸甜爽口。

25晾架涼至手溫,密封保存。
小技巧
1:液體量根據麵粉調整,不熟練的親請自覺留10~20克作調整用。 2:自己的烤箱自己掌握溫度和時間,姐的只做參考。