原料
肉鬆: 適量喜歡吃的就多加點, 雞蛋: 7個, 黃油: 200g, 蛋糕粉: 240g, 糖粉: 50克不喜歡甜,我用的蛋糕粉本身有點點甜
步驟
1黃油室溫軟化

2不用全化,加糖粉打勻

350g糖

46,7隻雞蛋,大個的就6個,蛋小的話就7個蛋液打散,分次加入黃油糖膏,攪拌充分後篩入麵粉。

5這個蛋糕粉本身就有點甜味,所以如果用普通蛋糕粉就酌加30-50g糖。

6240g

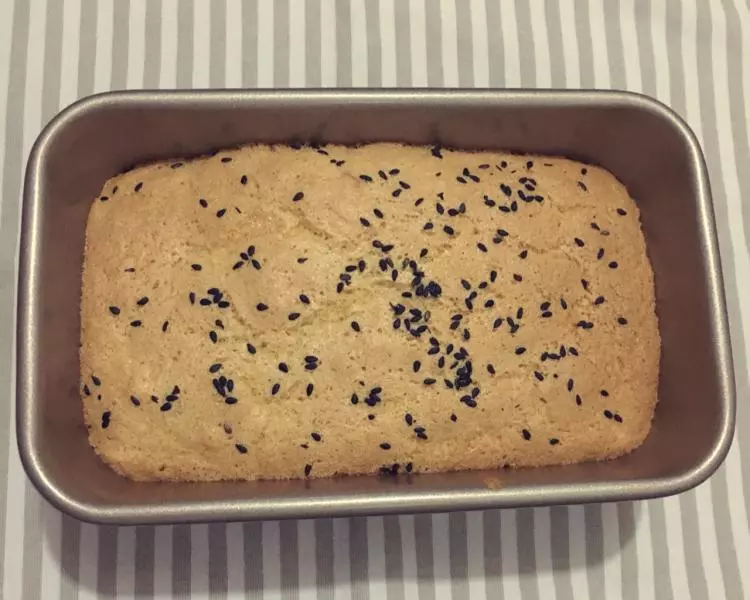
7蛋糕液因為加了兩種肉絲所以沒拍照,就蛋糕液攪拌好後,就可以加入喜歡的肉鬆!

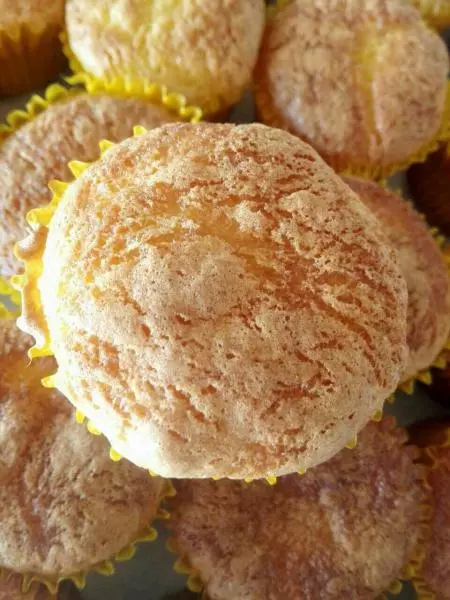
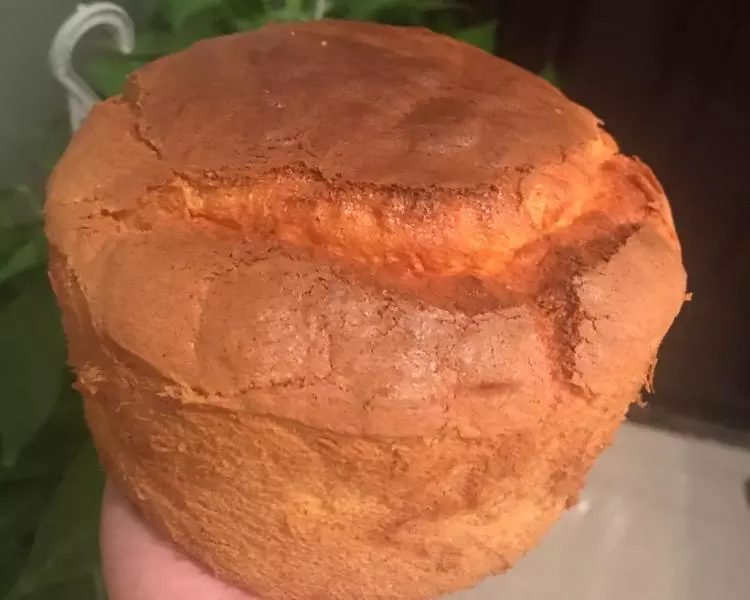
8130度30分鐘,顏色完美!

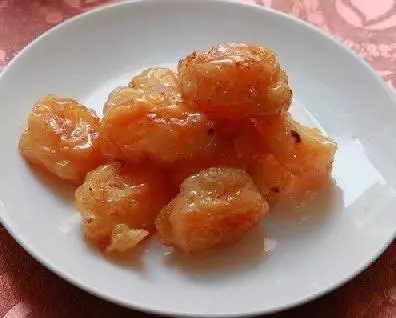
9肉鬆沒面,全肉,絲長,拔絲效果好!

小技巧
試過180度25分鐘,但低和面有點點焦酥,看各家烤箱的脾氣,130度30分鐘,比較對味!